Fog Light Installation (96-98 Civic)
#1
 05-18-2008, 11:57 AM


Thanks to Live_4it for this DIY
Introduction
I did this write up because I looked around many forums and couldn't find any DIY's with real pics (with the exception of a 5th gen), and the directions that came with the fogs are weak to say the least. So I thought I would document the methods I went through in installing them. Some of my methods might not of been the best way. But I got them to work and thats good enough for me. The fog lights I used are from Depo, the install is a little different than OEM, and maybe even other brands. But generally this can help a lot of folks installing any kind of fog lights. I installed these without removing the bumper, although it is easier to take the bumper off because of the mounting plates. Which you have to screw to the bumper for the foglights. As well as threading the harness through the bumper and around the engine bay. However it's not going to be a terrible ordeal.
Tools and supplies
Phillips screwdriver
Ratchet
10mm socket
Extension
utility knife
Hacksaw blade
Dremel/File
Step 1: Cutting front bumper
There are plastic cutouts on each side of the bumper, but there is a specific way to cut them out. You should have directions that show the right tabs to cut. You want to leave the plastic piece with the two holes in it intact (need them to put the screws through to mount the fogs) and a piece on the bottom with two slots (where the tabs on the bottom of the foglights slide into). Cut the rest away with the hacksaw blade or sharp knife.

Now if you have a template use it, but it's not needed to cut the rib (thicker plastic piece going across the bumper). It's not going to effect the look or fit (unless you cut too little off). Give about a half an inch space from the sides and cut as straight a line as possible. Clean it up with a dremel or file and test to see if the fog fits in. If still too tight take a little more off.
Step 2: Routing fog light harness
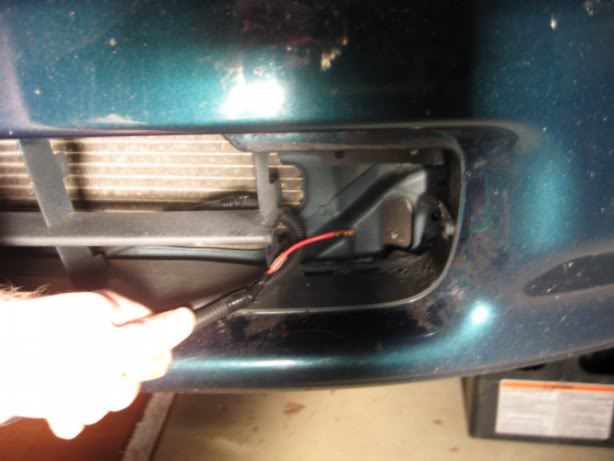
First unplug neg battery cable. There are two harness's in the Depo foglight kit, one for the button under the dash, and the other for the engine bay (longer one). Use the longer one and start from the battery and thread the wireing near the side of the engine bay, into the right side of the bumper, through to the left, and up near the washer fluid resevoir. Make sure the ground wire has a spot to ground, and the 2 pin connector's that plugs into the back of the fogs are visible in the bumper. Also make sure that the wires aren't near any moving parts (drive belt) or anything that gets really hot. [8D]
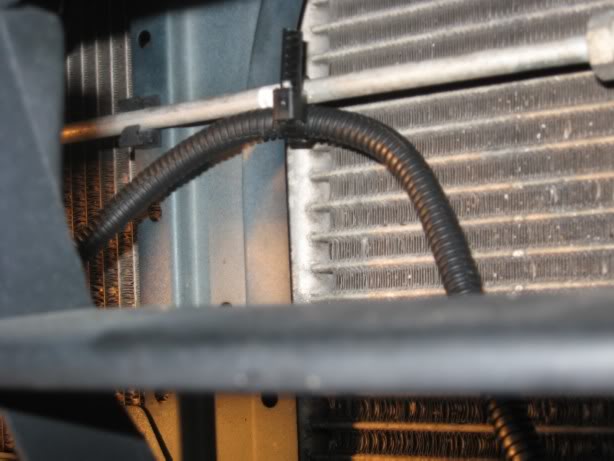
Once in place secure loosley with the wire ties, recheck to make sure that the wireing will reach everything it needs to, then retighten but don't overdue the tightening.
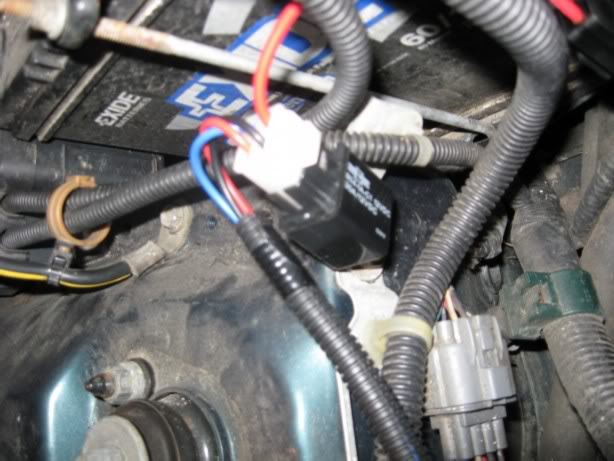
The relay screws down in the engine bay. There are a few spots near the strut you can choose, make sure that the hood wont smash it, then secure it.
Step 3: mounting fog lights
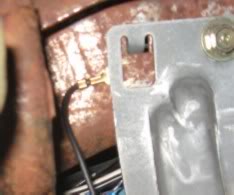
Hold the plate behind the two holes where you cut from the bumper, make sure it's the right one for each side. Attach the 5 x 60mm screw to the bracket. Then while holding both the plate and bracket in place, screw in the two 5 x 16mm screws. Same for other side.
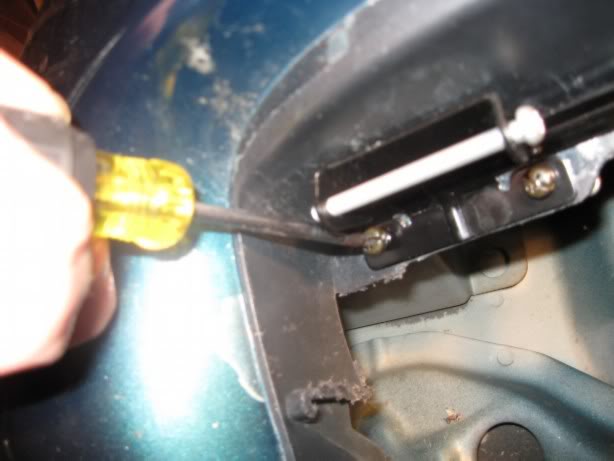
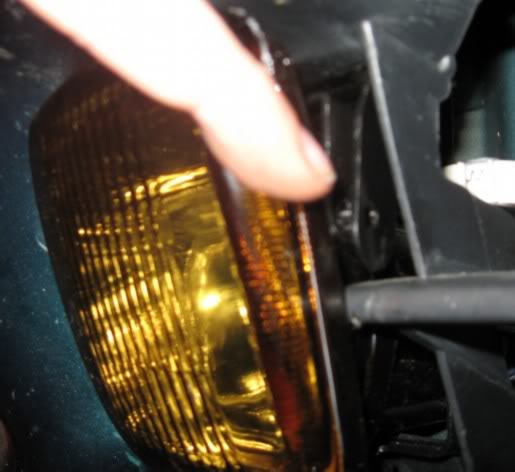
Plug in the 2 pin connector to the foglight, Press foglight into the slots on the bottom of the bumper and bracket. Then you need to get the hole on the side tab to line up with the hole on the foglight. Might take a little prying and pushing to get it too line up so that you can fit the 5 x 16mm screw in. Don't give up tho, you can use a vice or wedge something behind the tab to line it up.
Step 4: Routing switch harness
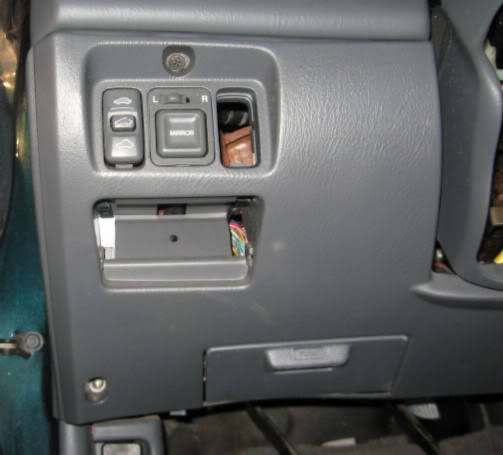
Remove the 3 screws holding the lower steering coloumn on. One above the mirror adjusting button, and the other two on the bottom of each side of the steering coloumn (one screw isn't shown in the pic). There are some clips holding the coloumn in place, just pull towards you and it should pop out.
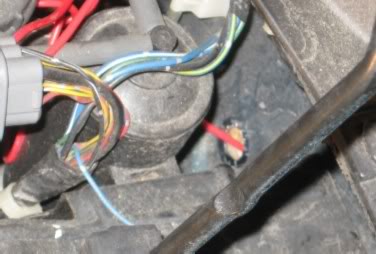
There is a plug on the firewall on the drivers side you can use to get your wire into the dash, remove this with a flathead screwdriver, connect the red wire to the harness supplied in the kit and thread it through there. What I did was use a wire clothes hanger, taped the wire to it with electrical tape and stuck it through the hole so I could find it under the dash.
Disconnect the connectors going to the buttons, and pop out the tab where your button will go. Thread your button harness through the hole befor wiring it up
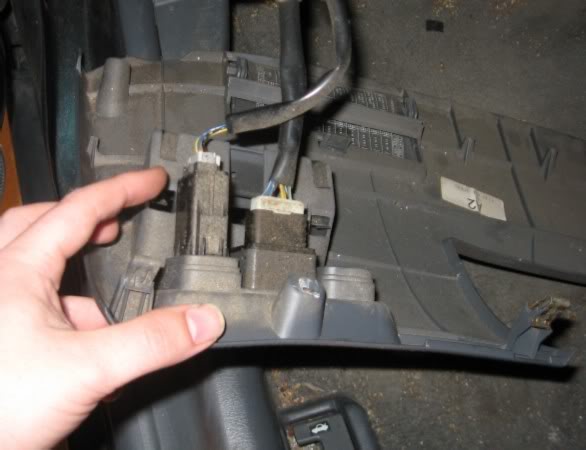
Now the brown plug in the pic is called the fuse label (in my directions), this goes into the fuse box. Should be a couple open spaces.
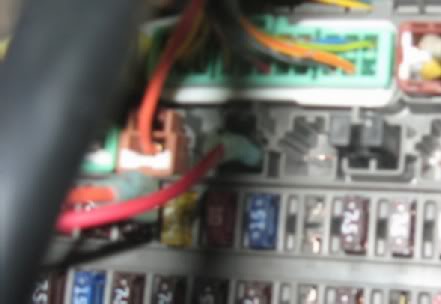
Then ground the ground wire to a metal place under the dash, that goes to the frame. I wedged mine behind the knee bolster because I think the knee bolster is aluminum and wouldn't make a good ground if I put it behind the bolt holding it down. I loosend the bolt first to the bolster than after wedging it in I tightened it down snug.
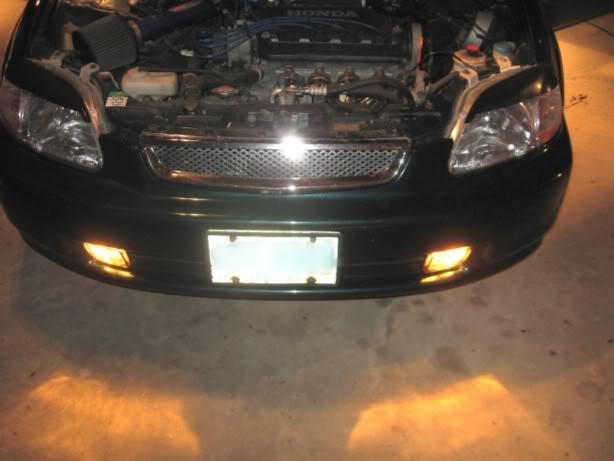
Befor putting everything back, now would be a good time to test your setup to see if it's working properly. If not it could be a bad ground, loose connections, or the inline fuse has blown.
If the fogs are working right, mount the wires with wire ties or tape so they aren't in the way of anything and to keep things clean looking. Then put the cover back on and your done.
Introduction
I did this write up because I looked around many forums and couldn't find any DIY's with real pics (with the exception of a 5th gen), and the directions that came with the fogs are weak to say the least. So I thought I would document the methods I went through in installing them. Some of my methods might not of been the best way. But I got them to work and thats good enough for me. The fog lights I used are from Depo, the install is a little different than OEM, and maybe even other brands. But generally this can help a lot of folks installing any kind of fog lights. I installed these without removing the bumper, although it is easier to take the bumper off because of the mounting plates. Which you have to screw to the bumper for the foglights. As well as threading the harness through the bumper and around the engine bay. However it's not going to be a terrible ordeal.
Tools and supplies
Phillips screwdriver
Ratchet
10mm socket
Extension
utility knife
Hacksaw blade
Dremel/File
Step 1: Cutting front bumper
There are plastic cutouts on each side of the bumper, but there is a specific way to cut them out. You should have directions that show the right tabs to cut. You want to leave the plastic piece with the two holes in it intact (need them to put the screws through to mount the fogs) and a piece on the bottom with two slots (where the tabs on the bottom of the foglights slide into). Cut the rest away with the hacksaw blade or sharp knife.
Now if you have a template use it, but it's not needed to cut the rib (thicker plastic piece going across the bumper). It's not going to effect the look or fit (unless you cut too little off). Give about a half an inch space from the sides and cut as straight a line as possible. Clean it up with a dremel or file and test to see if the fog fits in. If still too tight take a little more off.
Step 2: Routing fog light harness
First unplug neg battery cable. There are two harness's in the Depo foglight kit, one for the button under the dash, and the other for the engine bay (longer one). Use the longer one and start from the battery and thread the wireing near the side of the engine bay, into the right side of the bumper, through to the left, and up near the washer fluid resevoir. Make sure the ground wire has a spot to ground, and the 2 pin connector's that plugs into the back of the fogs are visible in the bumper. Also make sure that the wires aren't near any moving parts (drive belt) or anything that gets really hot. [8D]
Once in place secure loosley with the wire ties, recheck to make sure that the wireing will reach everything it needs to, then retighten but don't overdue the tightening.
The relay screws down in the engine bay. There are a few spots near the strut you can choose, make sure that the hood wont smash it, then secure it.
Step 3: mounting fog lights
Hold the plate behind the two holes where you cut from the bumper, make sure it's the right one for each side. Attach the 5 x 60mm screw to the bracket. Then while holding both the plate and bracket in place, screw in the two 5 x 16mm screws. Same for other side.
Plug in the 2 pin connector to the foglight, Press foglight into the slots on the bottom of the bumper and bracket. Then you need to get the hole on the side tab to line up with the hole on the foglight. Might take a little prying and pushing to get it too line up so that you can fit the 5 x 16mm screw in. Don't give up tho, you can use a vice or wedge something behind the tab to line it up.
Step 4: Routing switch harness
Remove the 3 screws holding the lower steering coloumn on. One above the mirror adjusting button, and the other two on the bottom of each side of the steering coloumn (one screw isn't shown in the pic). There are some clips holding the coloumn in place, just pull towards you and it should pop out.
There is a plug on the firewall on the drivers side you can use to get your wire into the dash, remove this with a flathead screwdriver, connect the red wire to the harness supplied in the kit and thread it through there. What I did was use a wire clothes hanger, taped the wire to it with electrical tape and stuck it through the hole so I could find it under the dash.
Disconnect the connectors going to the buttons, and pop out the tab where your button will go. Thread your button harness through the hole befor wiring it up
Now the brown plug in the pic is called the fuse label (in my directions), this goes into the fuse box. Should be a couple open spaces.
Then ground the ground wire to a metal place under the dash, that goes to the frame. I wedged mine behind the knee bolster because I think the knee bolster is aluminum and wouldn't make a good ground if I put it behind the bolt holding it down. I loosend the bolt first to the bolster than after wedging it in I tightened it down snug.
Befor putting everything back, now would be a good time to test your setup to see if it's working properly. If not it could be a bad ground, loose connections, or the inline fuse has blown.
If the fogs are working right, mount the wires with wire ties or tape so they aren't in the way of anything and to keep things clean looking. Then put the cover back on and your done.

Thread
Thread Starter
Forum
Replies
Last Post
WellFedHobo
Exterior DIYs
0
10-05-2008 07:56 AM

