Custom Door Panel
#1
 10-03-2008, 03:07 PM

Join Date: Jun 2006
Location: Brownsburg, IN 46112
Posts: 11,203
PART TWO...
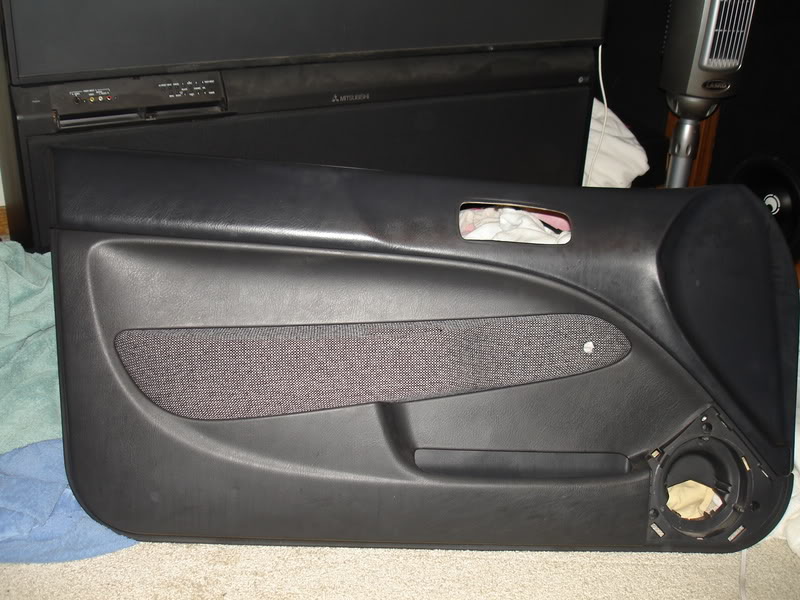
door arm rests recovered.
tools needed
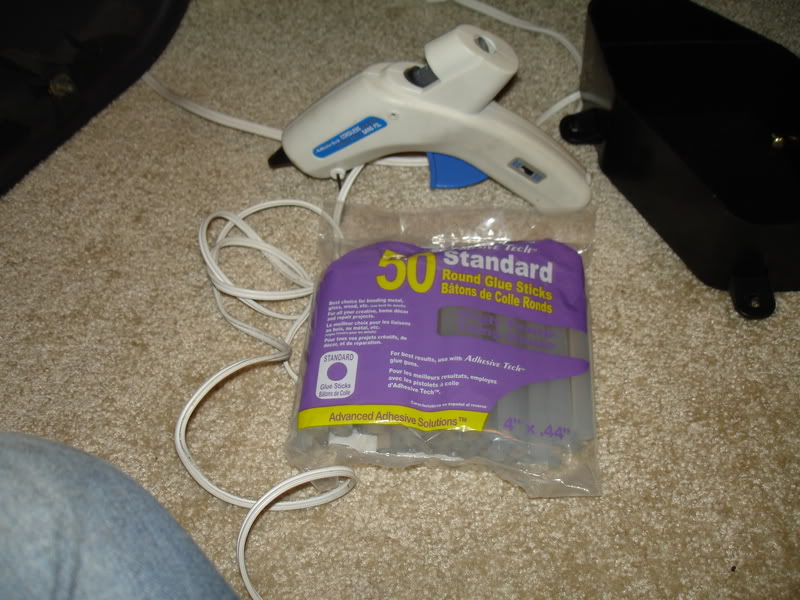
dremel
hot glue gun/ or epoxy
and your fabric and spray adhesive.
philips screw driver.
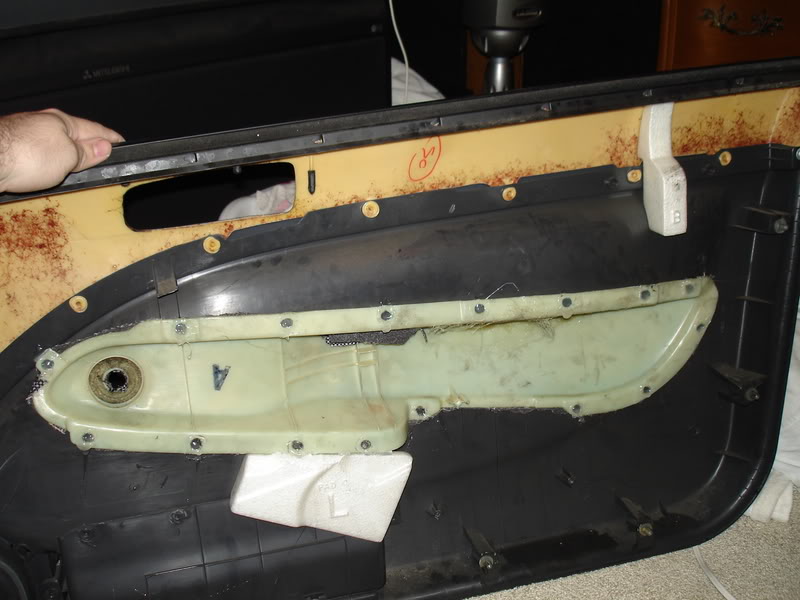
for the DX manual windows you can use a screw driver philips or flat to pull the rear clip off the window crank, first pull the speaker cover off and put the screw driver around that area flat to aim it behind the crank and spin the crank over and the screw driver tip should catch the clip and knock it off and then you can just slide off the crank handle.
then pull the philips screws one around the door handle, one on door handle pocket on the arm rest. and 3 more holding the stock speaker inplace and unplug the harness off the speaker, and then 3 more screws around the door speaker area.
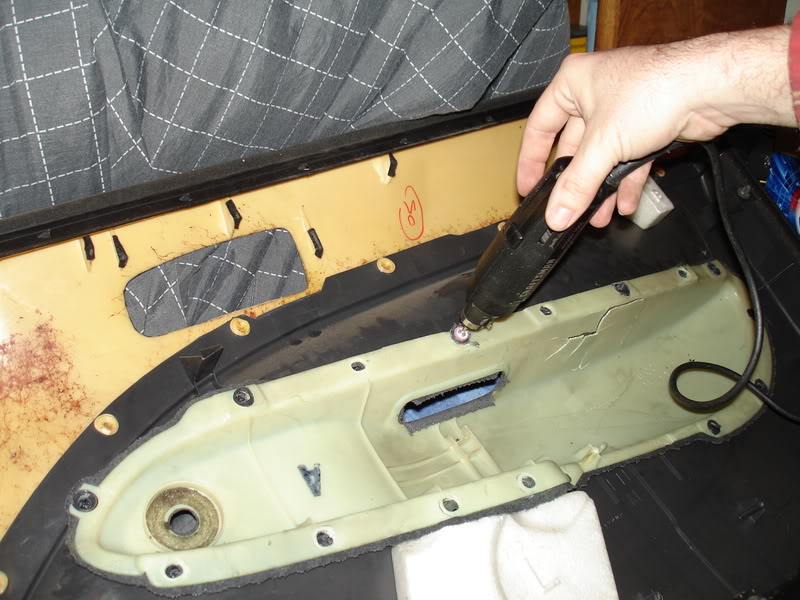
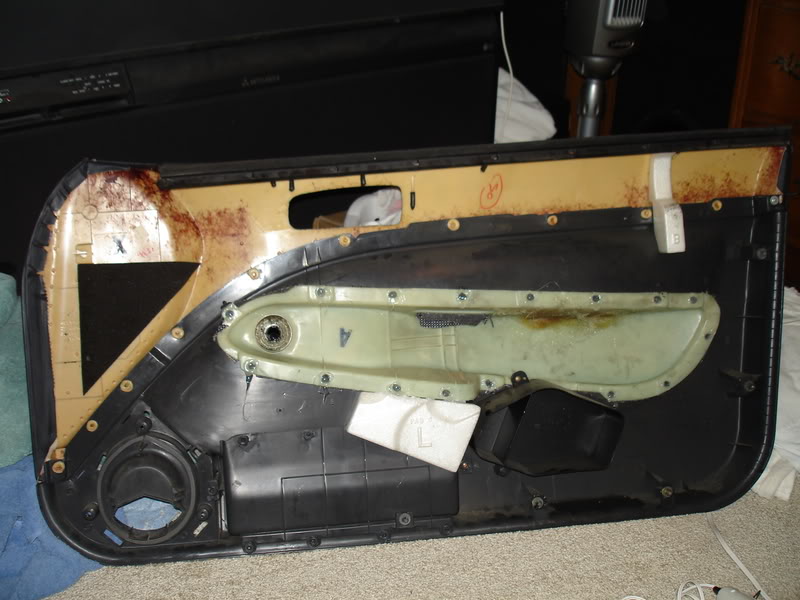
then pull the door panel up and out of the way.
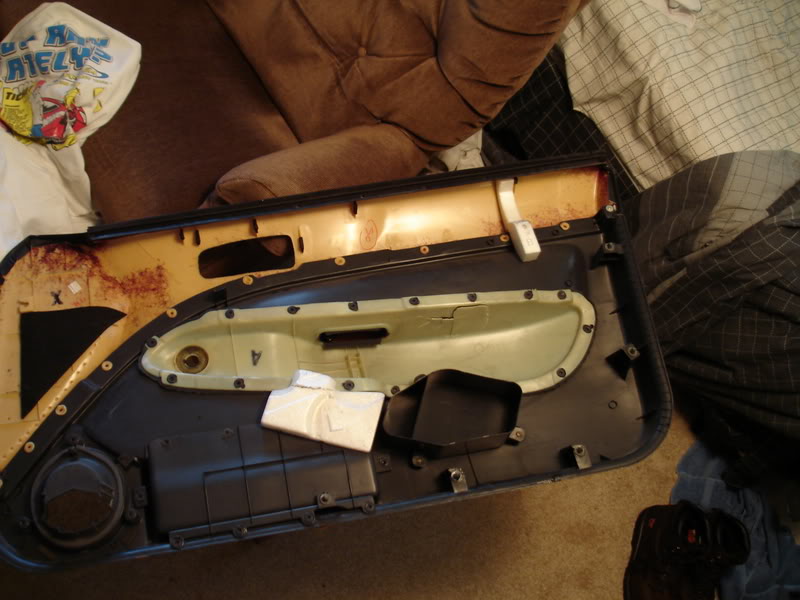
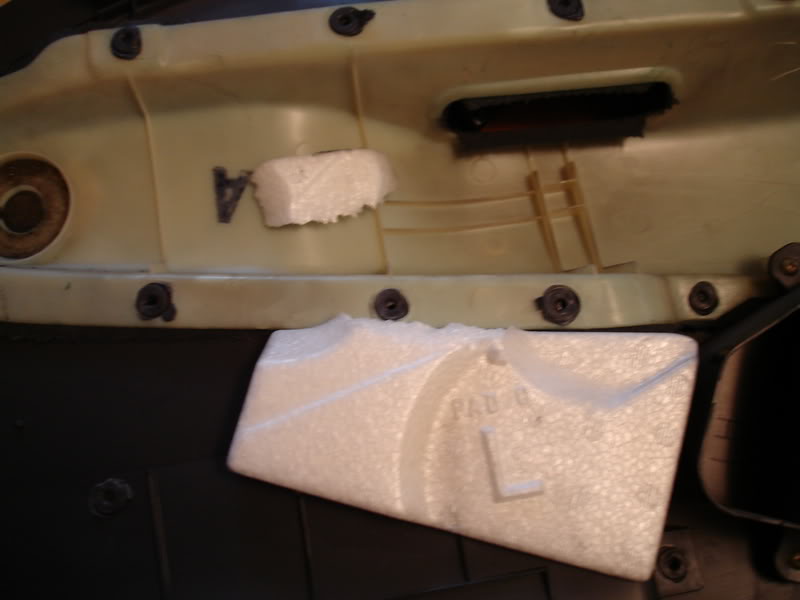
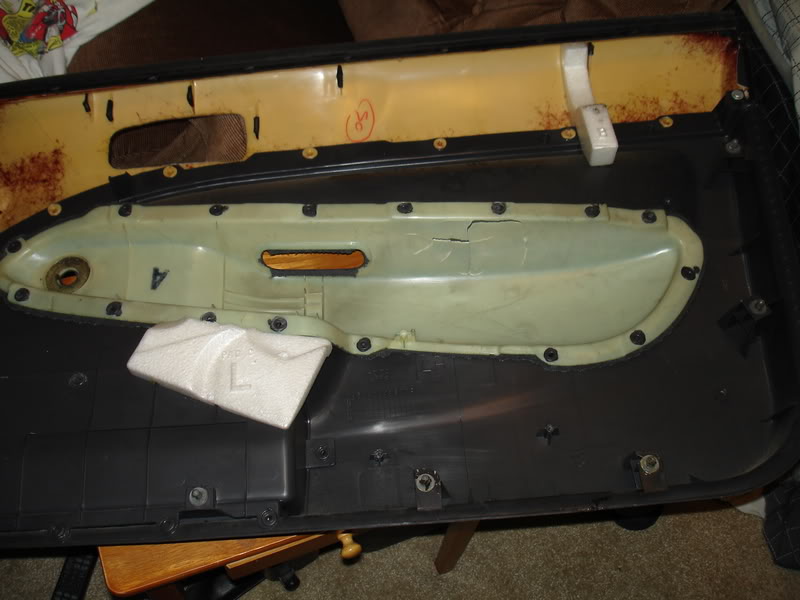
then bust out the dremel and cut the melted plastic dots. i used a cone shaped stone so it was pretty straight. grind em down alittle and push from the other side and you should feel it push in alittle when youve gone far enough.
continue around the panel and pull the whole section out.
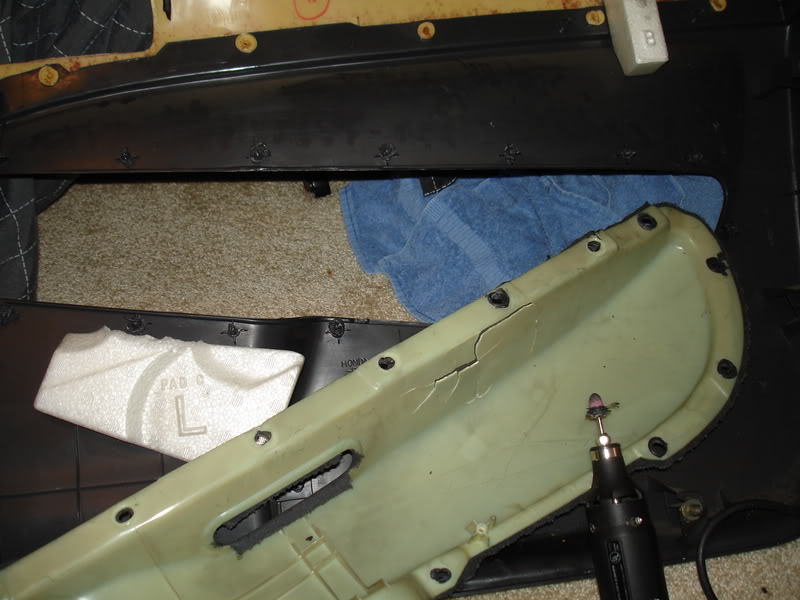
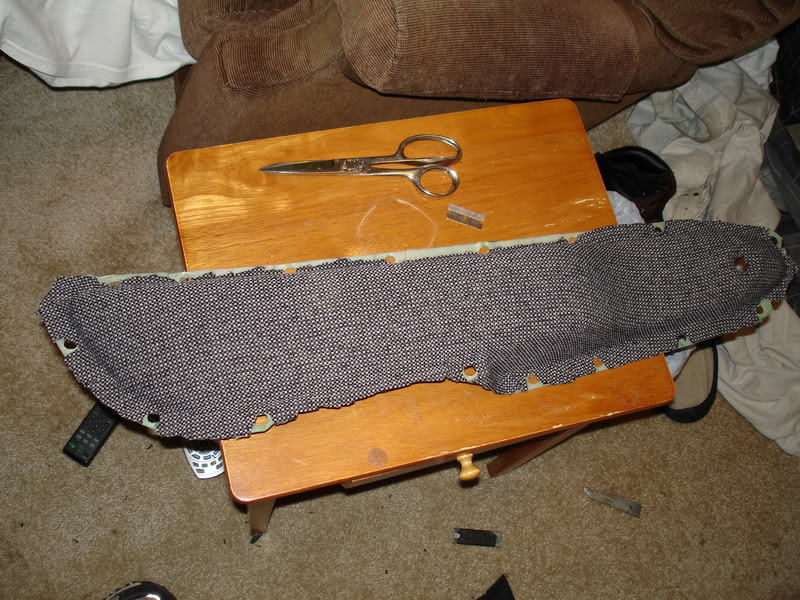
then simply pull off the old ugly fabric lay it out over your new material and cut out your material. then spray some glue on the back of the fabric and some glue on the trim piece and just give it a minute or two to tack up and then apply and work the fabric around to remove wrinkles. and keep pressing the fabric around the trouble areas to get them to stick good, it will take afew minutes for the glue to dry and stick good to hold the fabric inplace...
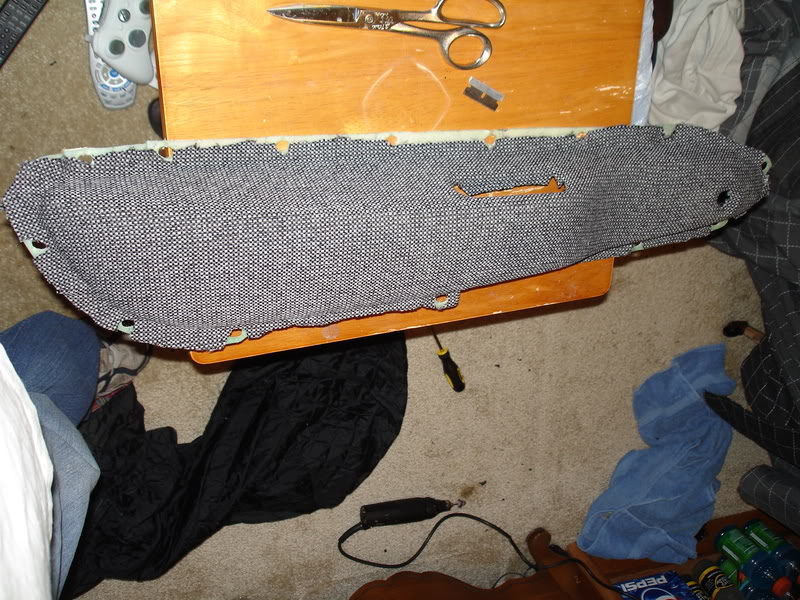
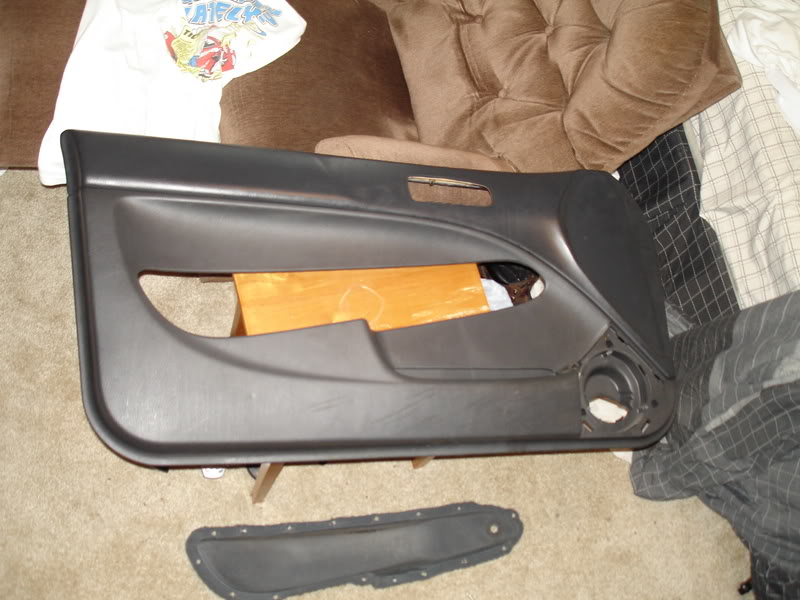
now you can either use hot glue like i did or go stronger and get some 1min epoxy.
either way only do about 3-4 mounting spots at a time until the glue or epoxy is dried or cooled hard then work to the next 3-4
i used hot glue and the low temp setting.
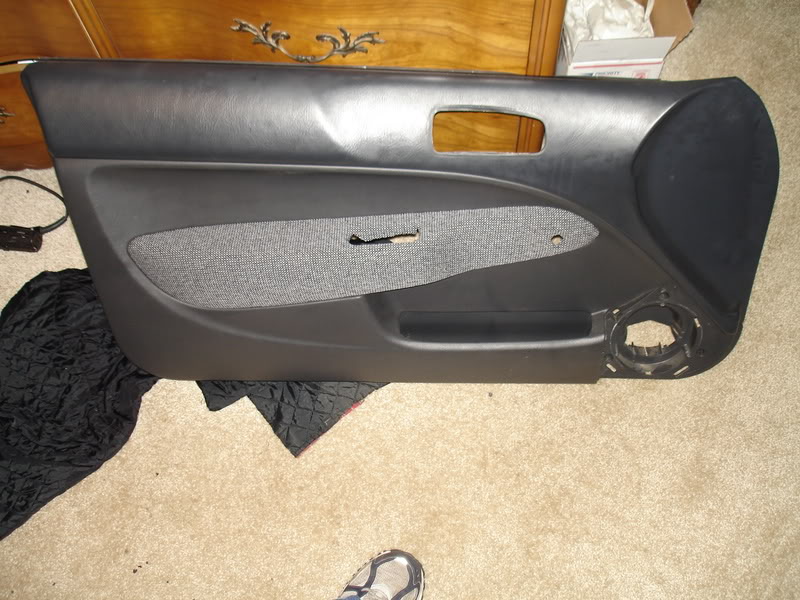
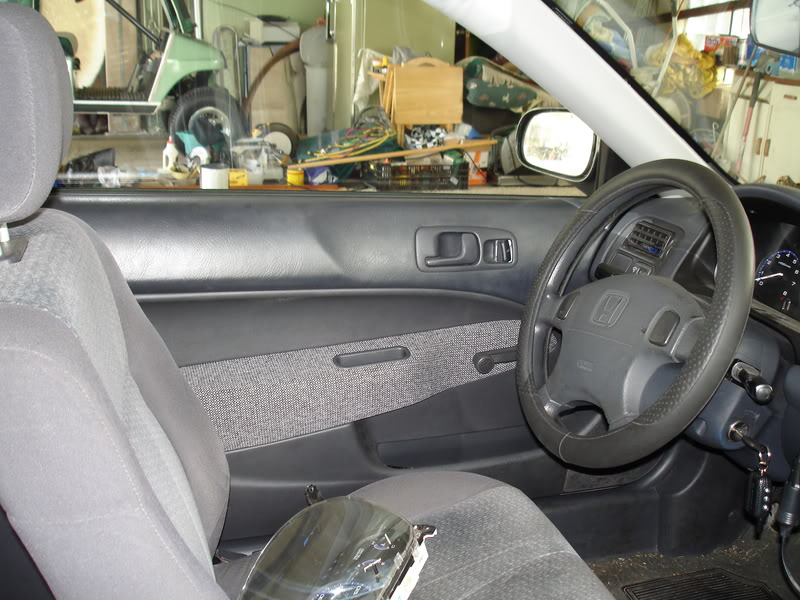
and simply reinstall
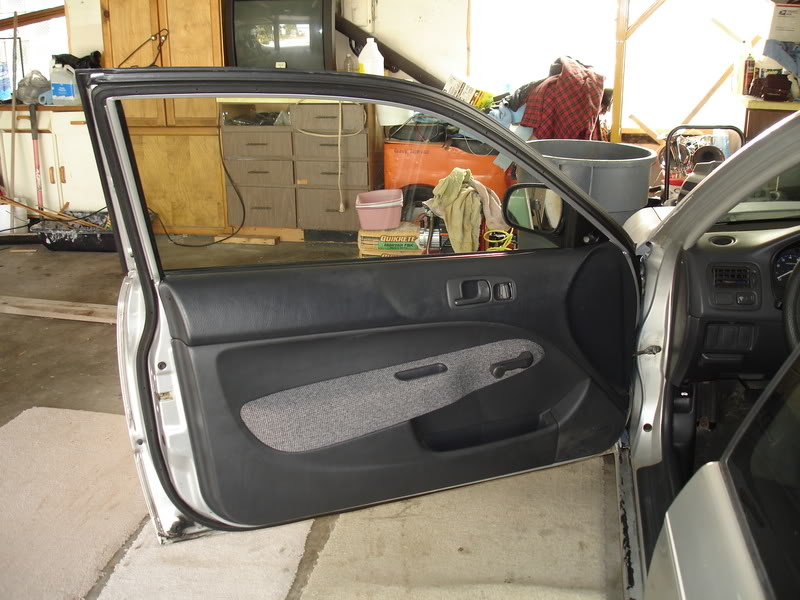
and the BEFORE/AFTER

took me about an hour (minus the fiberglass fix)
tomorrow ill do the passenger door, and then the arm rest.
door arm rests recovered.
tools needed
dremel
hot glue gun/ or epoxy
and your fabric and spray adhesive.
philips screw driver.
for the DX manual windows you can use a screw driver philips or flat to pull the rear clip off the window crank, first pull the speaker cover off and put the screw driver around that area flat to aim it behind the crank and spin the crank over and the screw driver tip should catch the clip and knock it off and then you can just slide off the crank handle.
then pull the philips screws one around the door handle, one on door handle pocket on the arm rest. and 3 more holding the stock speaker inplace and unplug the harness off the speaker, and then 3 more screws around the door speaker area.
then pull the door panel up and out of the way.
then bust out the dremel and cut the melted plastic dots. i used a cone shaped stone so it was pretty straight. grind em down alittle and push from the other side and you should feel it push in alittle when youve gone far enough.
continue around the panel and pull the whole section out.
then simply pull off the old ugly fabric lay it out over your new material and cut out your material. then spray some glue on the back of the fabric and some glue on the trim piece and just give it a minute or two to tack up and then apply and work the fabric around to remove wrinkles. and keep pressing the fabric around the trouble areas to get them to stick good, it will take afew minutes for the glue to dry and stick good to hold the fabric inplace...
now you can either use hot glue like i did or go stronger and get some 1min epoxy.
either way only do about 3-4 mounting spots at a time until the glue or epoxy is dried or cooled hard then work to the next 3-4
i used hot glue and the low temp setting.
and simply reinstall
and the BEFORE/AFTER
took me about an hour (minus the fiberglass fix)
tomorrow ill do the passenger door, and then the arm rest.

Thread
Thread Starter
Forum
Replies
Last Post
PredatorCoder
Inside and Out
6
08-15-2005 05:43 PM