Custom Headliner
#1
 09-17-2008, 01:53 PM

Join Date: Jun 2006
Location: Brownsburg, IN 46112
Posts: 11,203
Well just did my headliner to customize it and freshen it up. Thought id go ahead and do a DIY
My vehicle is a 1996 Honda Civic DX Coupe.
Tools needed;
small and large Philips screw drivers.
medium/large flat screw driver.
and a clip remover for more ease.
and a hot glue gun helps as well.
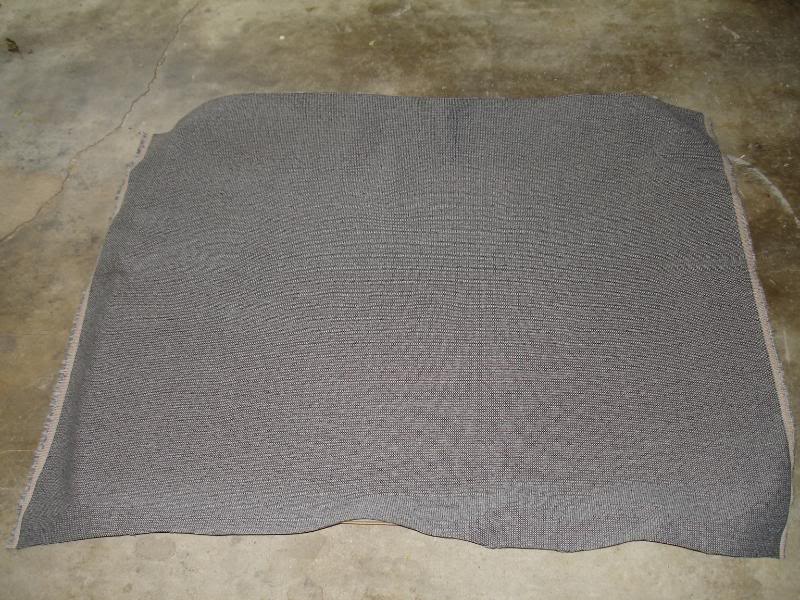
and your choice of fabric. i chose slate tweed from http://www.yourautotrim.com/prautw.html
length of material is your choice. i bought 3 yards, but 2 yards is more than enough! i bought extra for future projects to make everything match nicely.
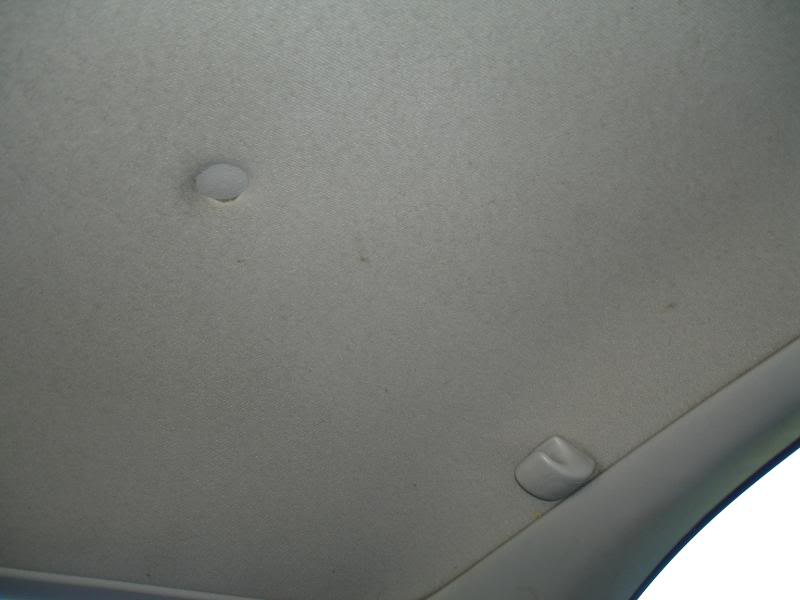
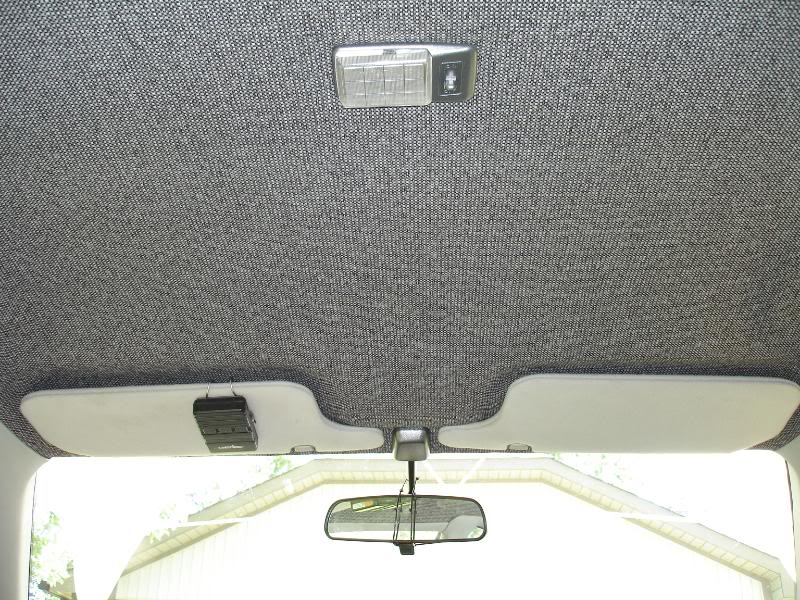
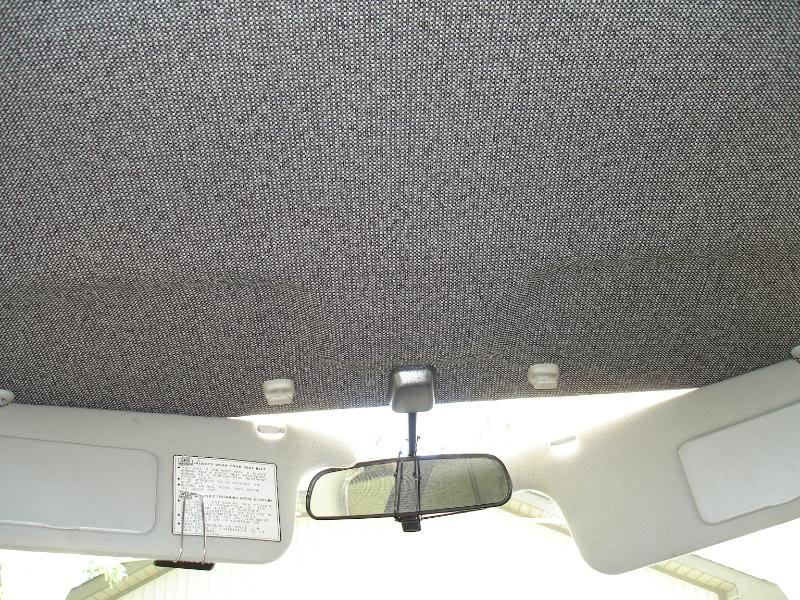
lets start out with the front of the headliner.
remove the rear view mirror trim that is just snapped on, simply pull it down, and remove the 3 Philips screws and the rear view mirror will come down just set it to the side.
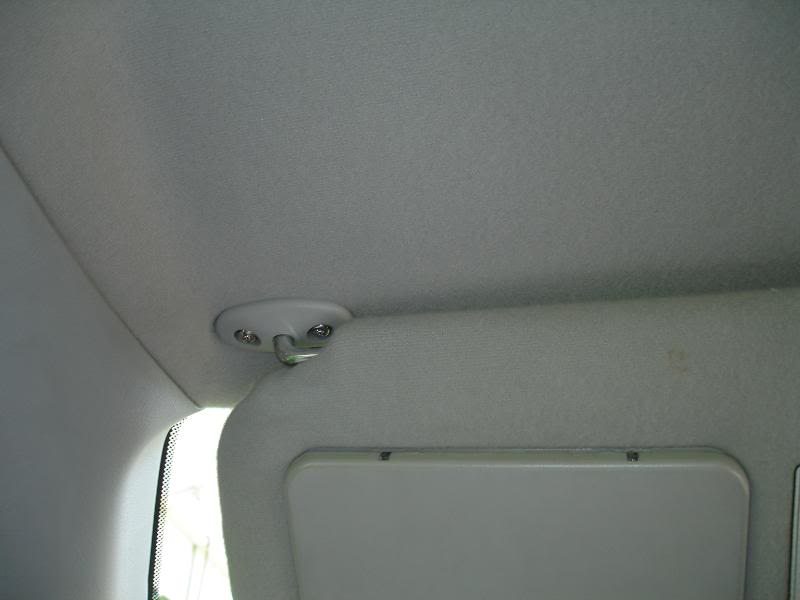
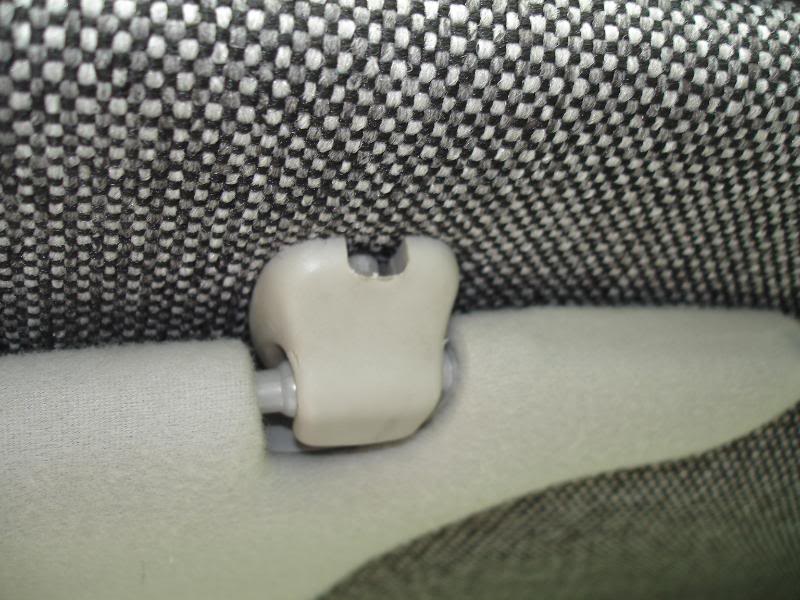
next the sun visors using the medium/large flat screw driver remove the 2 bolts on the main visors and set them to the side. now the center visor clips have a small opening towards the windshield, use a small screw driver to push through the back opening and that push in a little tab, and while pushing in that tab TURN the whole piece 90degrees and the piece will just pull down.
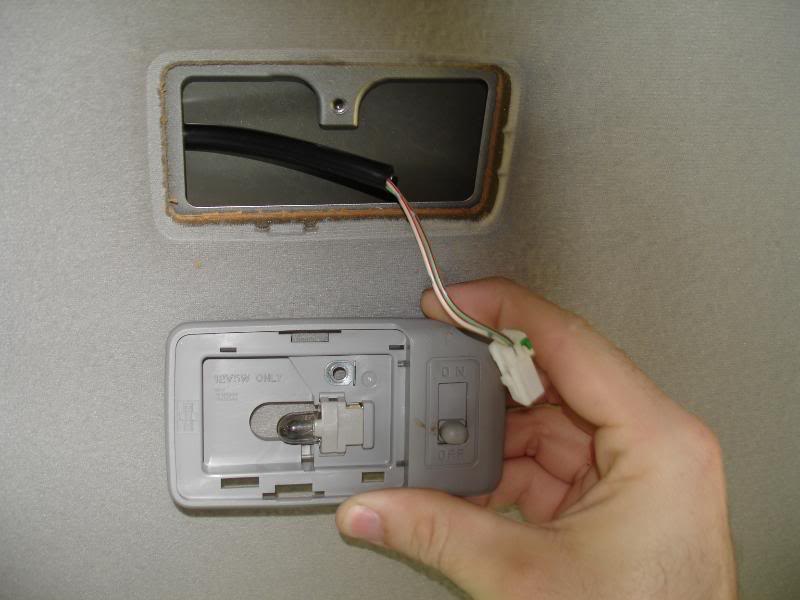
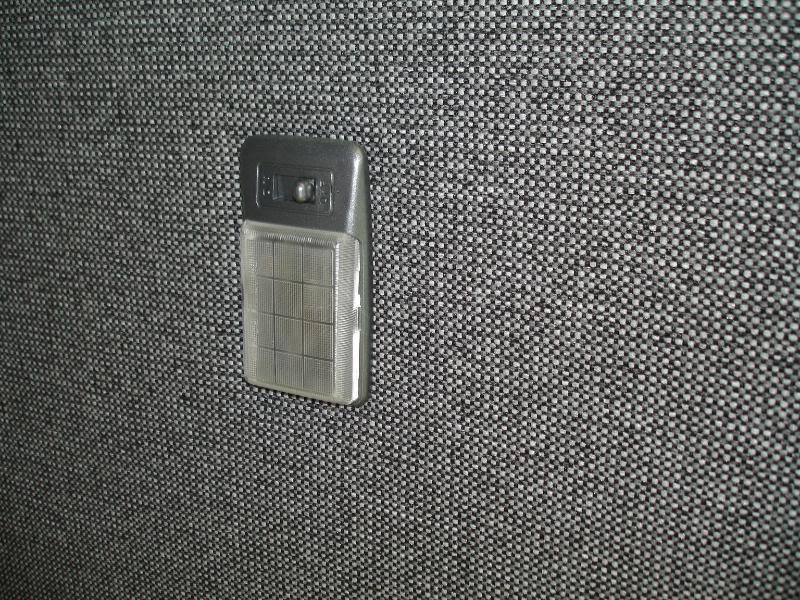
now moving back, pull the dome light clear cover off and remove the small Philips screw on it and unplug the wire harness and set it out of the way.
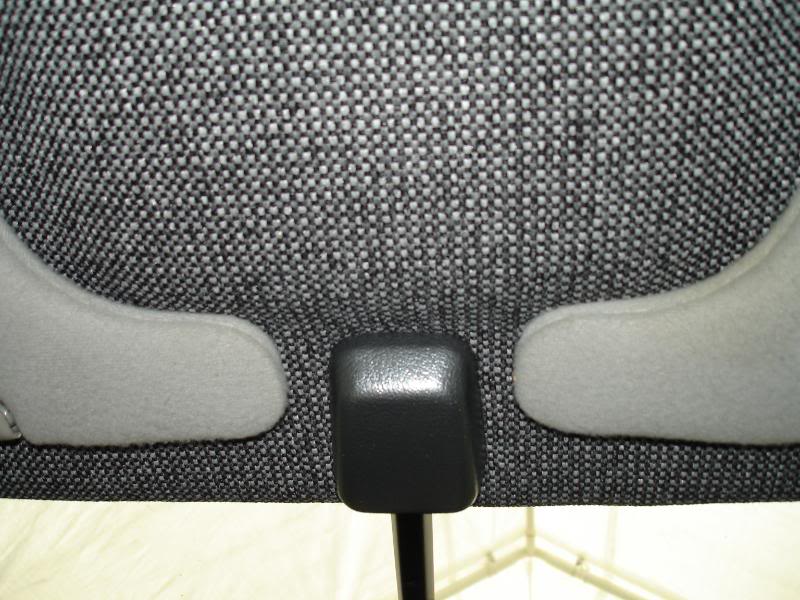
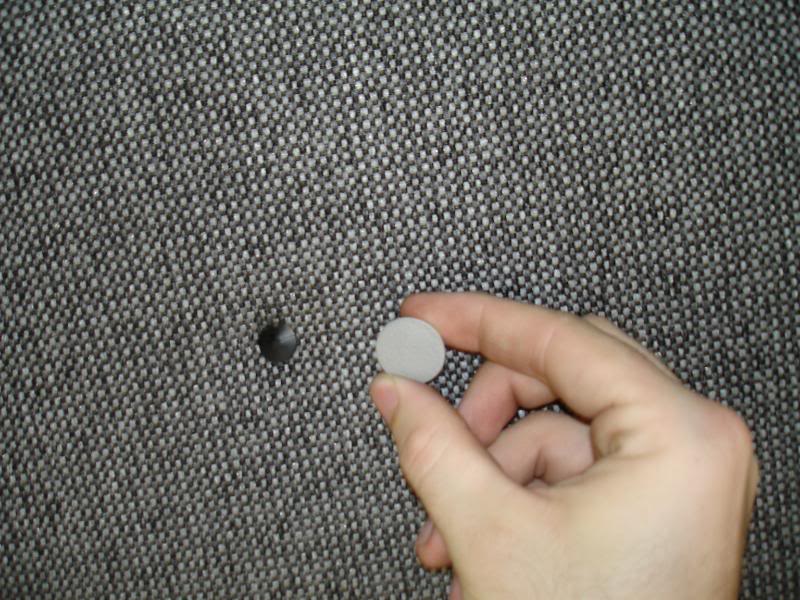
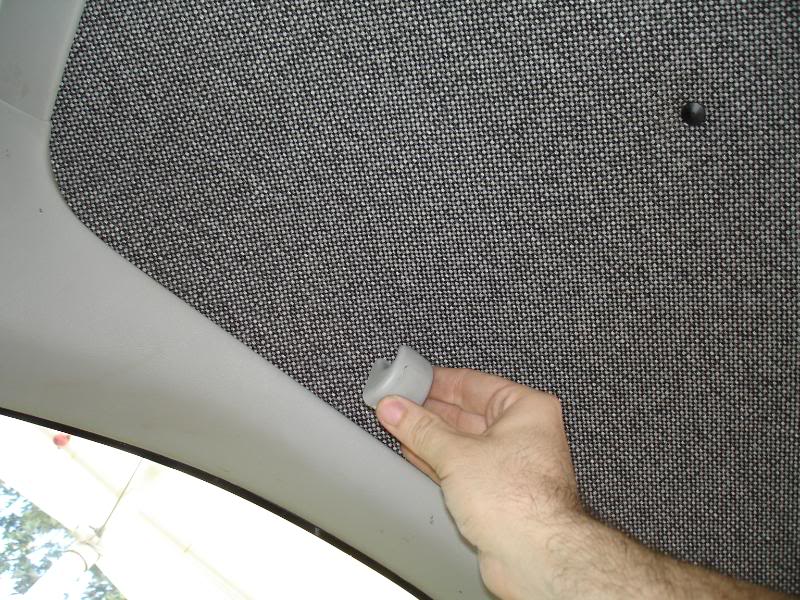
next remove the 2 rear plastic disk clips, just pull them down. a lot easier with a clip remover tool! and the rear hanger hook.
next pull the front side pillar trim panels off, pull the panel loose a little and move it forwards to free the rear corner and then just pull that panel out of the way.
now that everything is free, slide the whole headliner forwards to the windshield so it clears the rear side panels and pull it out of the car.
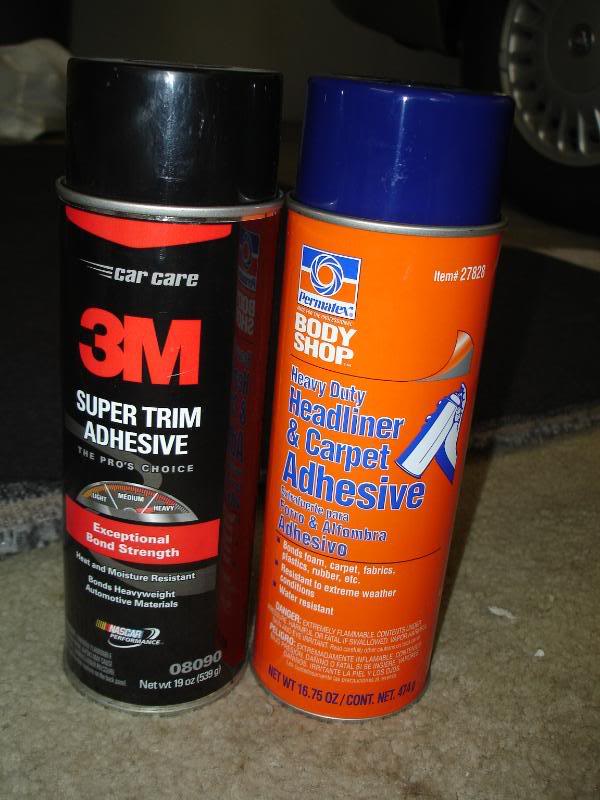
now use some GOOD headliner adhesive!!!! DON'T CHEAP OUT this glue is what holds the material up! i grabbed 2 cans. they only had one can of the 3M stuff so the other was just a backup. its also good stuff.
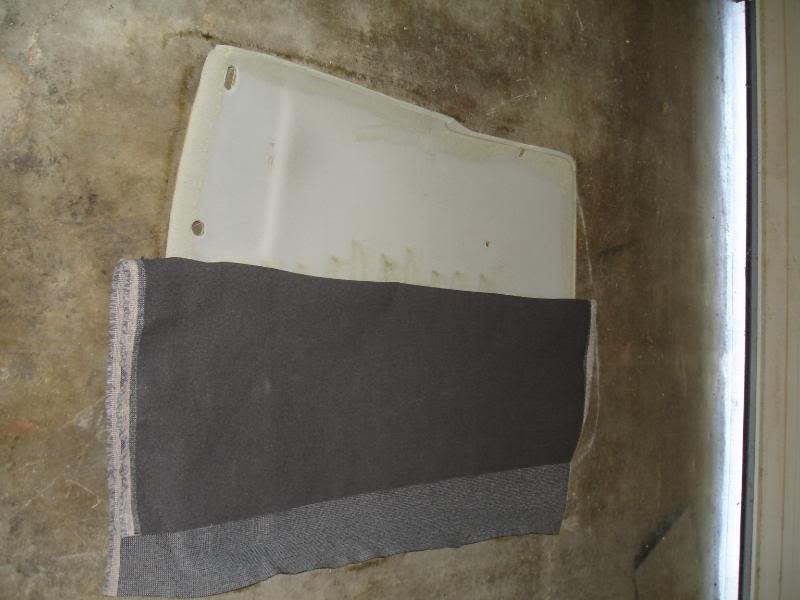
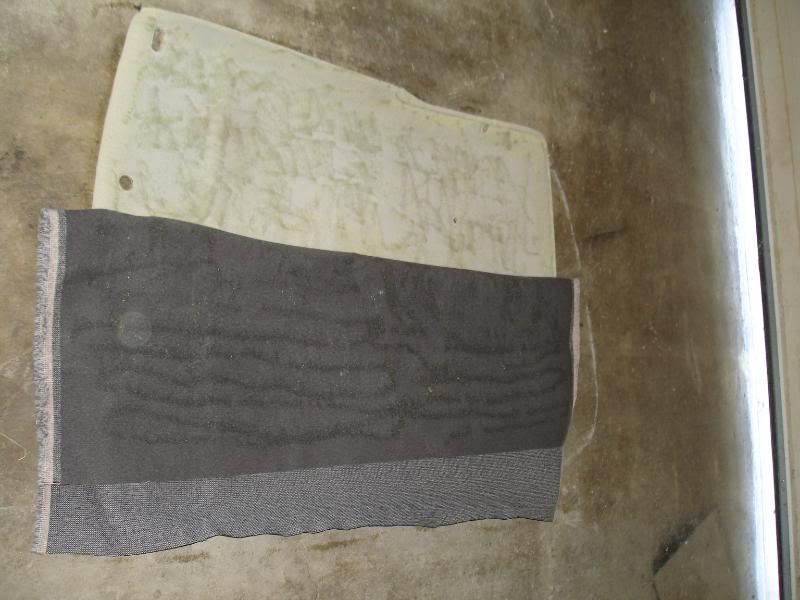
and depending on the condition of your headliner.... if your headliner is sagging and foam layer is falling apart then you'll need to use a wire brush to remove all the old foam from the cardboard backing.
OR if your material is in good condition just glue directly to it like i did.
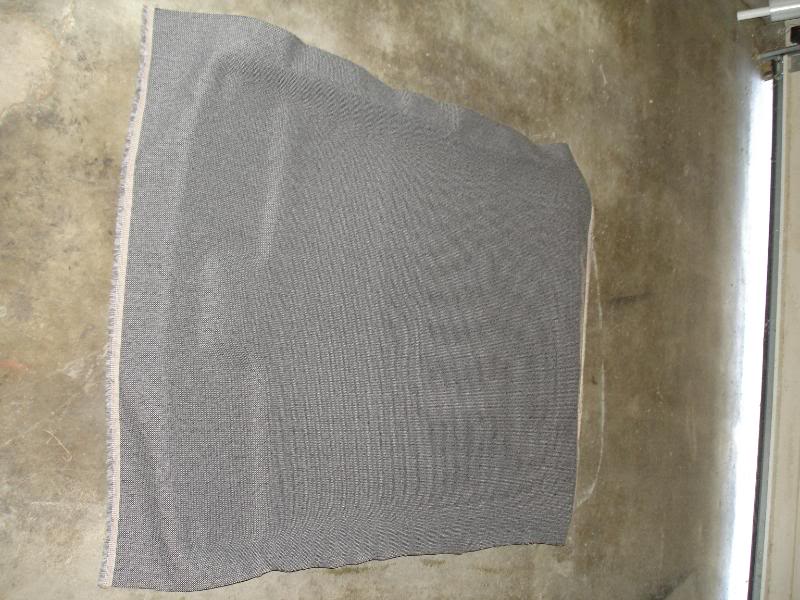
now put your fabric over the headliner and leave it a few inches to large on every side for extra room.
now apply 2 layers of spray glue to the headliner backing, best to put a little extra glue around tight corners and such since the fabric is stretched a bit.
and best to only do half of the headliner at a time.
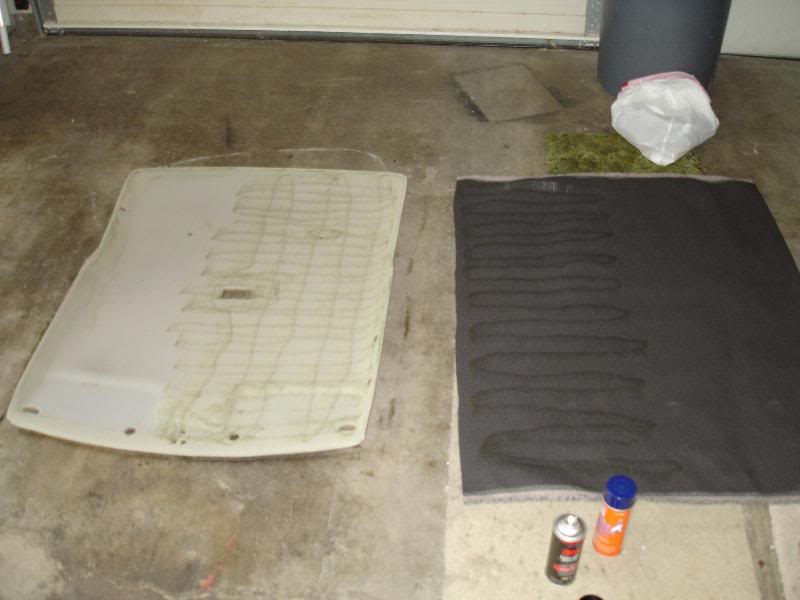
now spray a light layer onto the back side of your material and let sit there for a few minutes so the glue gets tacky.
now have a friend help ya position the new fabric onto the headliner and start in the middle working out any wrinkles or bubbles and continue to push down the whole thing and glue the rest the same way.
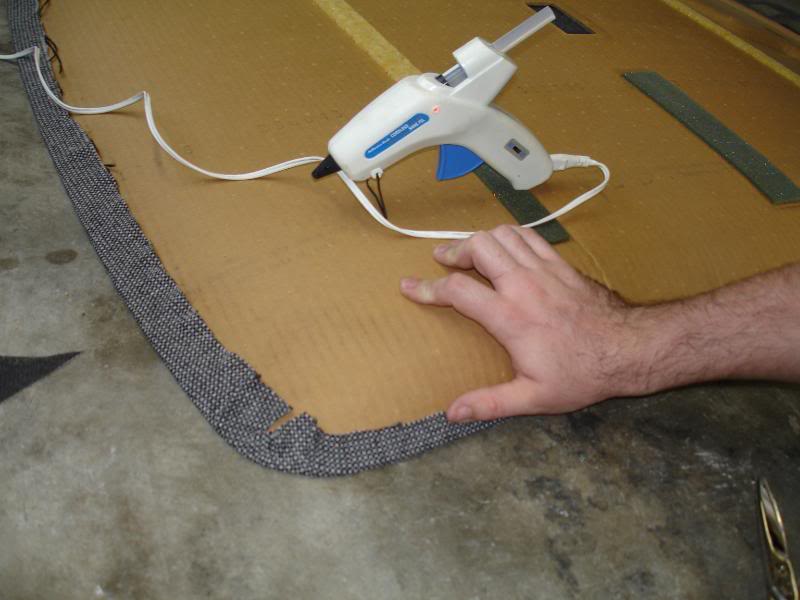
and let sit for at least 5mins so the glue sticks good and then flip the headliner over and using the hot glue gun apply the glue to the back of the headliner and pull the fabric tight to remove wrinkles around edges and extra strength so the sides don't get pulled off easily when reinstalling.....
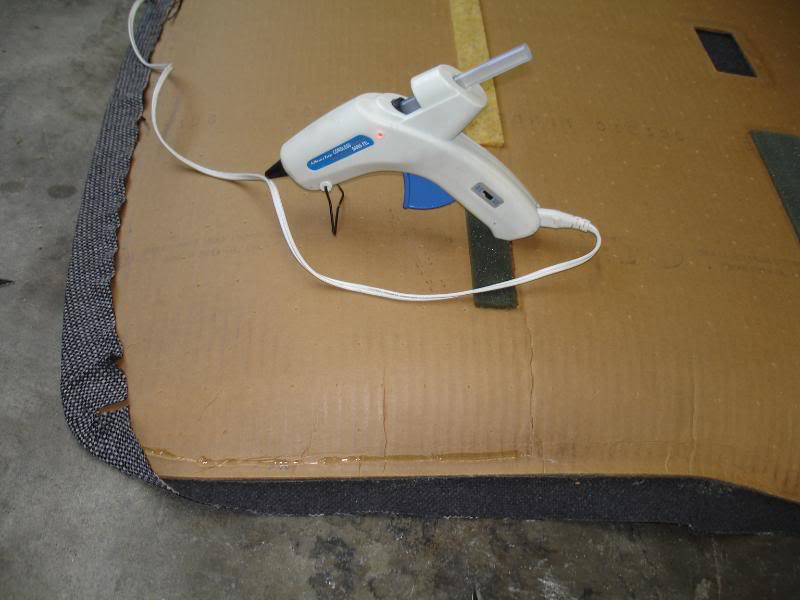

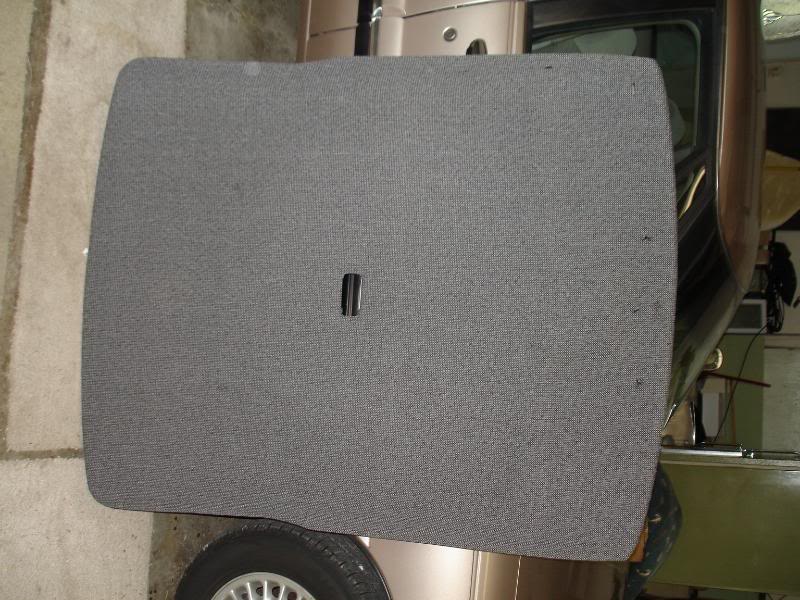
now cut off any extra fabric, also folds on the backside.
and then simply cut some holes through the material for your factory stuff for your hardware and your ready to reinstall! i used a razor blade to cut the holes for the dome light and other bolt holes.

now slide the headliner back in the way you removed it and screw everything back together. best to start out with everything loose. hardest thing to reinstall was the 2 front visor clips! that was a huge PITA to get back in and locked!
after you have those 2 pieces in the rest is a breeze!
My vehicle is a 1996 Honda Civic DX Coupe.
Tools needed;
small and large Philips screw drivers.
medium/large flat screw driver.
and a clip remover for more ease.
and a hot glue gun helps as well.
and your choice of fabric. i chose slate tweed from http://www.yourautotrim.com/prautw.html
length of material is your choice. i bought 3 yards, but 2 yards is more than enough! i bought extra for future projects to make everything match nicely.
lets start out with the front of the headliner.
remove the rear view mirror trim that is just snapped on, simply pull it down, and remove the 3 Philips screws and the rear view mirror will come down just set it to the side.
next the sun visors using the medium/large flat screw driver remove the 2 bolts on the main visors and set them to the side. now the center visor clips have a small opening towards the windshield, use a small screw driver to push through the back opening and that push in a little tab, and while pushing in that tab TURN the whole piece 90degrees and the piece will just pull down.
now moving back, pull the dome light clear cover off and remove the small Philips screw on it and unplug the wire harness and set it out of the way.
next remove the 2 rear plastic disk clips, just pull them down. a lot easier with a clip remover tool! and the rear hanger hook.
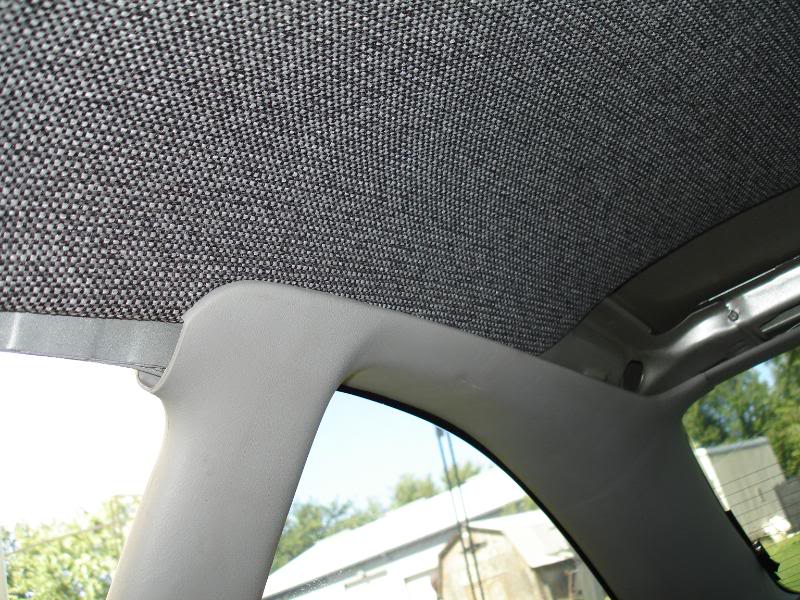
next pull the front side pillar trim panels off, pull the panel loose a little and move it forwards to free the rear corner and then just pull that panel out of the way.
now that everything is free, slide the whole headliner forwards to the windshield so it clears the rear side panels and pull it out of the car.
now use some GOOD headliner adhesive!!!! DON'T CHEAP OUT this glue is what holds the material up! i grabbed 2 cans. they only had one can of the 3M stuff so the other was just a backup. its also good stuff.
and depending on the condition of your headliner.... if your headliner is sagging and foam layer is falling apart then you'll need to use a wire brush to remove all the old foam from the cardboard backing.
OR if your material is in good condition just glue directly to it like i did.
now put your fabric over the headliner and leave it a few inches to large on every side for extra room.
now apply 2 layers of spray glue to the headliner backing, best to put a little extra glue around tight corners and such since the fabric is stretched a bit.
and best to only do half of the headliner at a time.
now spray a light layer onto the back side of your material and let sit there for a few minutes so the glue gets tacky.
now have a friend help ya position the new fabric onto the headliner and start in the middle working out any wrinkles or bubbles and continue to push down the whole thing and glue the rest the same way.
and let sit for at least 5mins so the glue sticks good and then flip the headliner over and using the hot glue gun apply the glue to the back of the headliner and pull the fabric tight to remove wrinkles around edges and extra strength so the sides don't get pulled off easily when reinstalling.....
now cut off any extra fabric, also folds on the backside.
and then simply cut some holes through the material for your factory stuff for your hardware and your ready to reinstall! i used a razor blade to cut the holes for the dome light and other bolt holes.
now slide the headliner back in the way you removed it and screw everything back together. best to start out with everything loose. hardest thing to reinstall was the 2 front visor clips! that was a huge PITA to get back in and locked!
after you have those 2 pieces in the rest is a breeze!
Last edited by reaper2022; 12-04-2008 at 07:03 PM. Reason: a few spelling corrections
#2
09-17-2008, 01:54 PM
Join Date: Jun 2006
Location: Brownsburg, IN 46112
Posts: 11,203
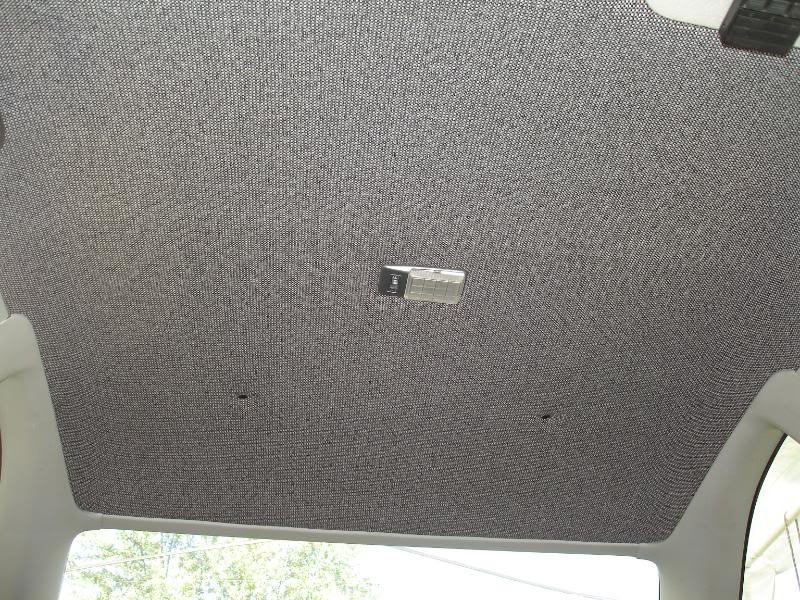
and if you want to take it another step you can paint the headliner trim pieces. i did a gunmetal paint on my dome light after popping it apart to paint the slide as well. not needed but just looks better with the darker color material.
i also used some black plastic clips. but IMO if your headliners backing is in firm condition then i don't think you need those 2 plastic clips. i would have left them off BUT i already cut the 2 holes
i also decided not to install the hanger hook at least not yet!
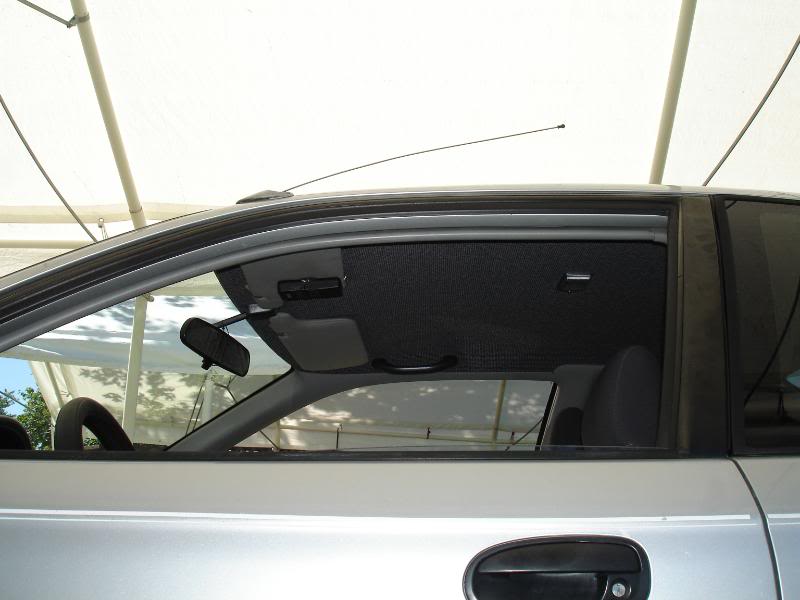
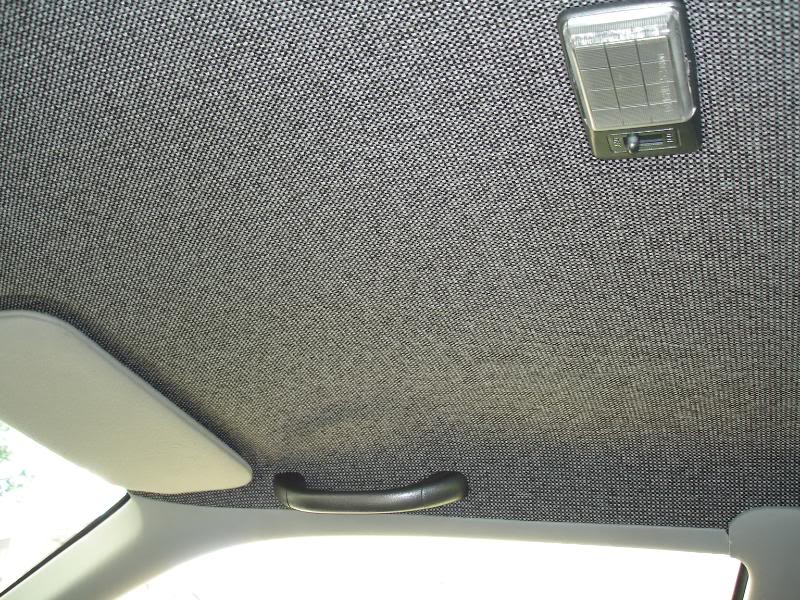
now sit back and admire your work!!!!! and maybe think about recovering your visors also. i have not yet but will change them to match....
as well as your door panel arm rests, center console arm rest, and anything else you might decide to match....
future DIY will be done for them when i do the work later on.
hopefully this helps you and you can do your own custom headliner.
you can also get more creative with some foam cut into some designs glued down under the fabric first to have a raised design on the headliner.
i also used some black plastic clips. but IMO if your headliners backing is in firm condition then i don't think you need those 2 plastic clips. i would have left them off BUT i already cut the 2 holes
i also decided not to install the hanger hook at least not yet!
now sit back and admire your work!!!!! and maybe think about recovering your visors also. i have not yet but will change them to match....
as well as your door panel arm rests, center console arm rest, and anything else you might decide to match....
future DIY will be done for them when i do the work later on.
hopefully this helps you and you can do your own custom headliner.
you can also get more creative with some foam cut into some designs glued down under the fabric first to have a raised design on the headliner.
Last edited by reaper2022; 12-04-2008 at 07:03 PM. Reason: a few spelling corrections

Thread
Thread Starter
Forum
Replies
Last Post
droolincivic
PRIVATE For Sale / Trade Classifieds
5
11-24-2004 12:30 AM
droolincivic
PRIVATE For Sale / Trade Classifieds
2
08-23-2004 04:06 PM