
Valve Cover Painting


Thanks to 93_red_ls at D-series.org for this life saving DIY.
-----
I have seen a SH*T ton of posts lately (on this board and others) about people asking how to paint their valve cover. Since my fiance and I have painted 15+ in the past few years i figured i would attempt to do my first DIY thread so here it goes
ITEMS YOU NEED:
-- sand blaster (you can use regular sheets of sand paper BUT it will take you FOREVER and you wont get in between all the cracks and crevises)
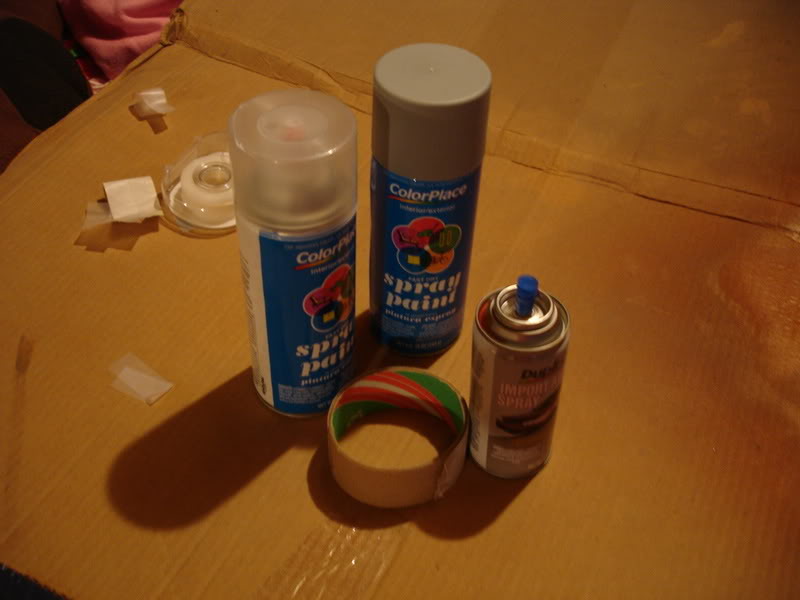
--1 can of primer, 1 can of paint (what ever color you choose doesnt HAVE to be high temp any brand/color/texture will work) 1 can of clear. NOTE you dont HAVE to use clear yes it does make it easire to clean off grease, dirt and what not. PLUS it makes it shine!
--1 piece of cardboard and 1 house hold oven.
thats all the items you need
1) prep the valve cover. Make sure to tape off the holes to ensure no sand from the sandblaster gets in the gaskets to the spark plugs. When you think you have sand blasted it well, do it again just to make sure it is clean. It should look white if it is good and done.
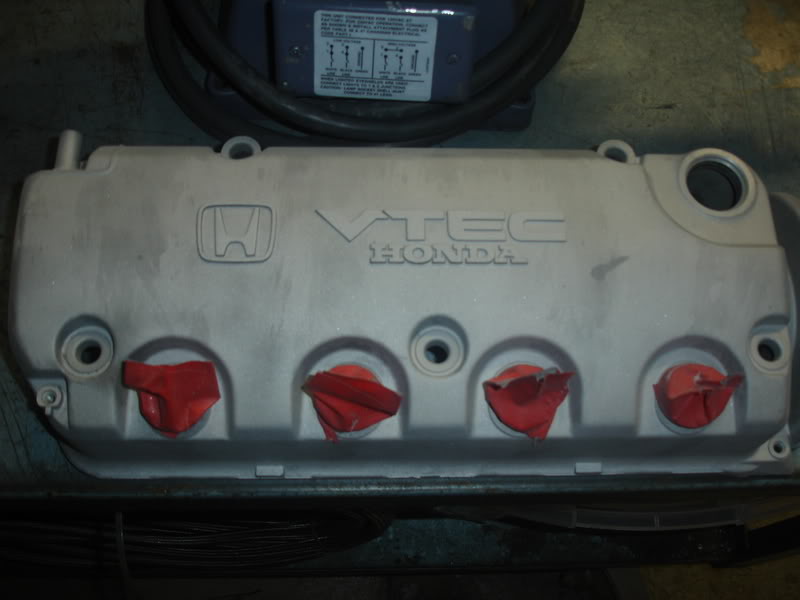
use a air hose and spray the inside and outside out of the VC. If you have one available to, you can use a parts cleaner and clean it off.
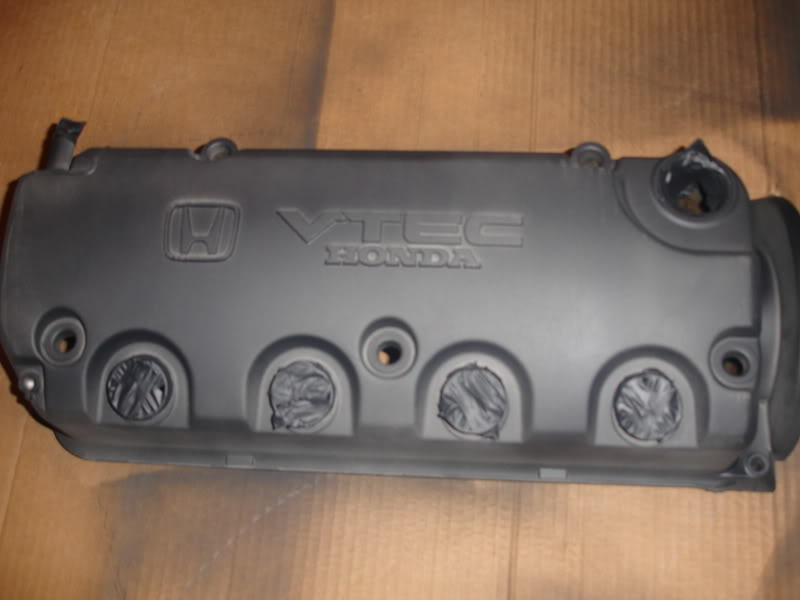
2) after it has dried and you have wiped it off, use the primer and lay on a nice thin even coat. allow it to dry for a good half hour then apply up to 2 or 3 more depending on how well of a job you did on the sandblasting. Allow it to dry for 1-2 hours after all the coats have been applied.
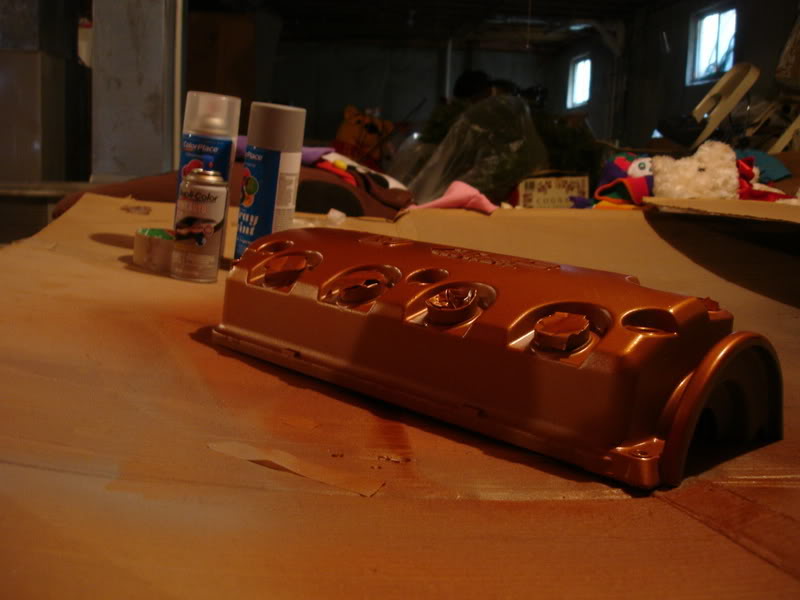
3) Once it has dried apply a thin layer of a color of your choice on the valve cover. leave the spray head 5-7 inched from the VC to ensure a nice smooth, even coat of paint. After allowing it to dry, apply another coat doing the same process. Leave the coat of paint dry for 2-4 hours.
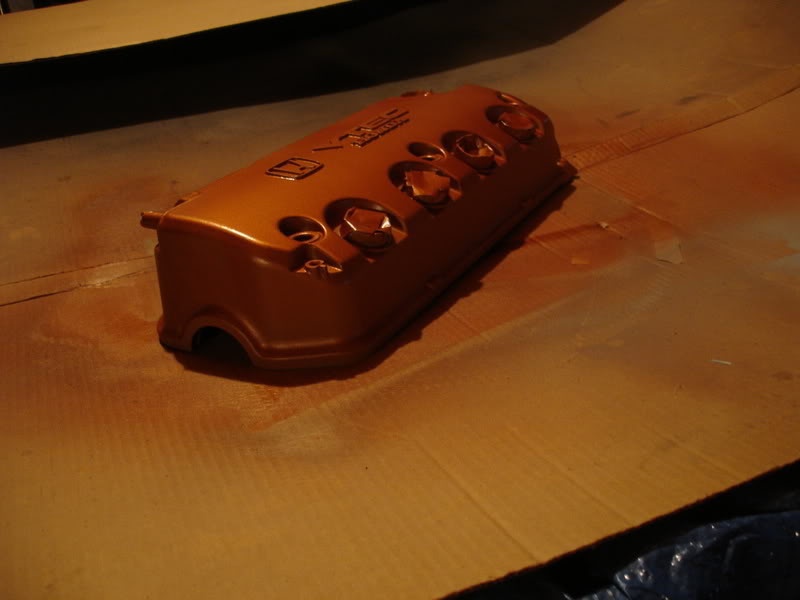
4) after it has dried apply a thin layer of clear coat. allow it to dry. once it has dried pre heat the oven to 325 degrees. place the VC on the top highest rack in the oven. Keep it in there for 10-15 minutes. This lets you know a good seal was made with the clear.
turn off oven and let it coo for awhile take it out and admire

just some side notes the better quality paint you buy, the better the work will show in the finished product.
I hope this walks everyone through the process of painting your own VC
------
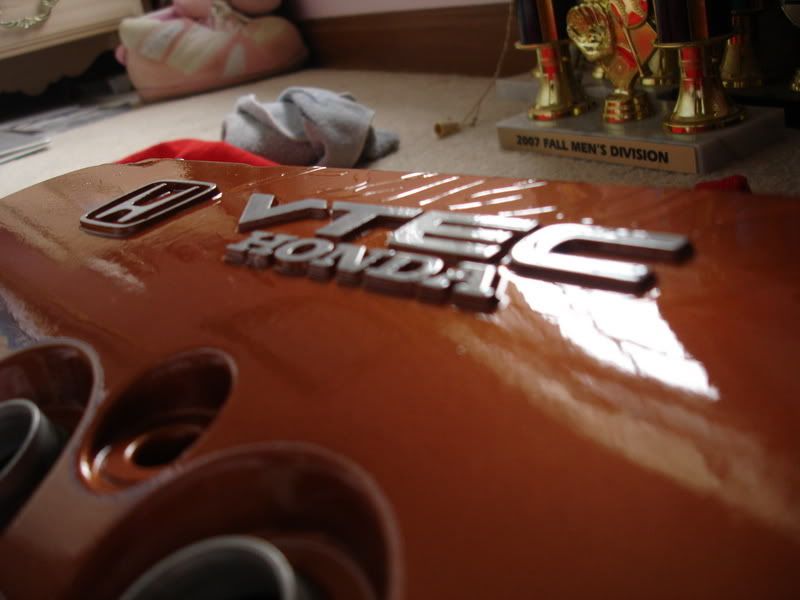
Footnote by Hobo: If you want the "HONDA" and emblem on your valve cover to look silver after paint, all you have to do is get a block of wood, wrap some sandpaper around it, and sand it back and forth in one direction until the surface is clean. It gives the letters that brushed steel look. Others say you can use chap stick on the letters before you paint and then wipe it off later. (I prefer sanding.) Anyways, once you've cleaned the letters and NOT damaged the rest of the paint, spray on your clear coat and do the rest.
-----
I have seen a SH*T ton of posts lately (on this board and others) about people asking how to paint their valve cover. Since my fiance and I have painted 15+ in the past few years i figured i would attempt to do my first DIY thread so here it goes
ITEMS YOU NEED:
-- sand blaster (you can use regular sheets of sand paper BUT it will take you FOREVER and you wont get in between all the cracks and crevises)
--1 can of primer, 1 can of paint (what ever color you choose doesnt HAVE to be high temp any brand/color/texture will work) 1 can of clear. NOTE you dont HAVE to use clear yes it does make it easire to clean off grease, dirt and what not. PLUS it makes it shine!
--1 piece of cardboard and 1 house hold oven.
thats all the items you need
1) prep the valve cover. Make sure to tape off the holes to ensure no sand from the sandblaster gets in the gaskets to the spark plugs. When you think you have sand blasted it well, do it again just to make sure it is clean. It should look white if it is good and done.
use a air hose and spray the inside and outside out of the VC. If you have one available to, you can use a parts cleaner and clean it off.
2) after it has dried and you have wiped it off, use the primer and lay on a nice thin even coat. allow it to dry for a good half hour then apply up to 2 or 3 more depending on how well of a job you did on the sandblasting. Allow it to dry for 1-2 hours after all the coats have been applied.
3) Once it has dried apply a thin layer of a color of your choice on the valve cover. leave the spray head 5-7 inched from the VC to ensure a nice smooth, even coat of paint. After allowing it to dry, apply another coat doing the same process. Leave the coat of paint dry for 2-4 hours.
4) after it has dried apply a thin layer of clear coat. allow it to dry. once it has dried pre heat the oven to 325 degrees. place the VC on the top highest rack in the oven. Keep it in there for 10-15 minutes. This lets you know a good seal was made with the clear.
turn off oven and let it coo for awhile take it out and admire
just some side notes the better quality paint you buy, the better the work will show in the finished product.
I hope this walks everyone through the process of painting your own VC
------
Footnote by Hobo: If you want the "HONDA" and emblem on your valve cover to look silver after paint, all you have to do is get a block of wood, wrap some sandpaper around it, and sand it back and forth in one direction until the surface is clean. It gives the letters that brushed steel look. Others say you can use chap stick on the letters before you paint and then wipe it off later. (I prefer sanding.) Anyways, once you've cleaned the letters and NOT damaged the rest of the paint, spray on your clear coat and do the rest.
Last edited by WellFedHobo; May 18, 2011 at 02:54 PM.

Thread
Thread Starter
Forum
Replies
Last Post
mill$civic
Inside and Out
11
Oct 31, 2005 06:25 PM
dalifts
Engine & Internal
4
Sep 13, 2004 03:33 PM