
Aftermarket Intake Manifold DIY


Thread Starter
|
HCF Member
Joined: Jun 2006
Posts: 3,086
From: West Virginia
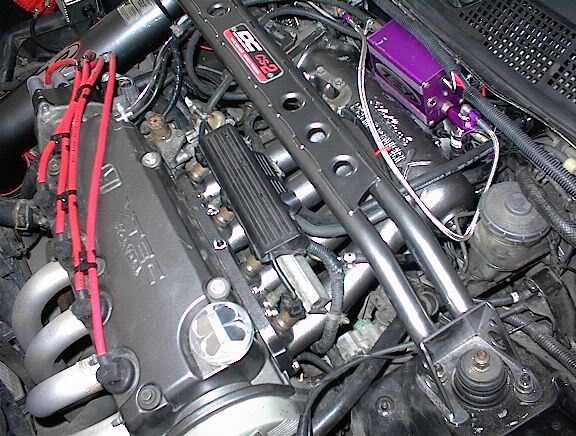
I am doing this install with an Edelbrock intake manifold but it shouldn't be much different with any other manifold like Skunk2, venom, BLOX, ex.
Install difficulty: 2 out of 5
Install time: Should take an experienced person no more than 2 hours I think but if this is your first time doing something like this then set aside a full day. It took me about 6 hours (I know, I know, stop laughing at me.)
Tools needed:
Socket Wrench
10mm Socket
12mm Socket
12mm Open-ended Wrench
17mm flare nut wrench
19mm Open-ended Wrench
Pliers
PB Blaster (Optional)
Thread sealant
Jack
Jack stands
Bucket to drain antifreeze into
New Antifreeze
Intake Manifold Gasket
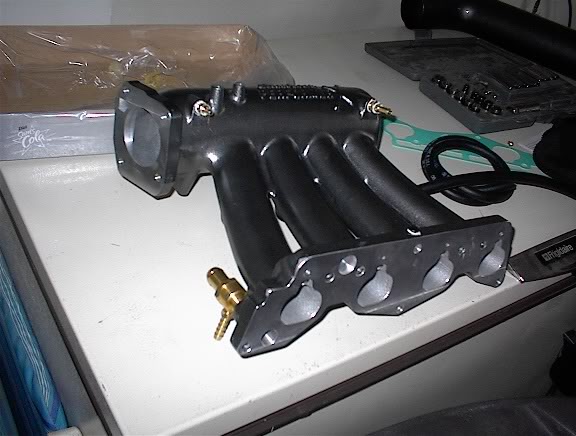
New Intake Manifold (Duh)
Something to scrape the old gasket off with, a Razor workswell (faster than a putty knifebut not recommended)
Depending on what intake you bought you might have to buy some extra vac hoses because some of the stock ones are no long enough, Edelbrock intakes already come with replacements.
Tape and marker to label lines
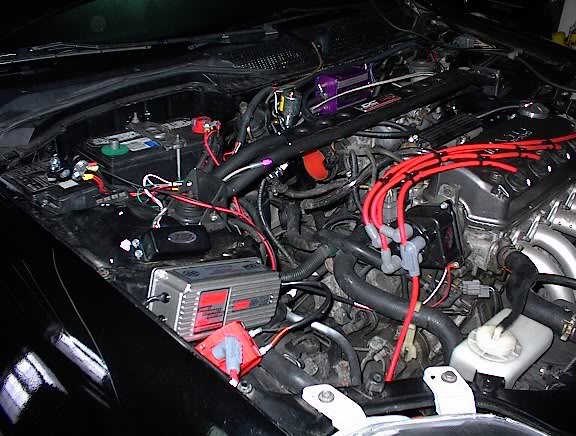
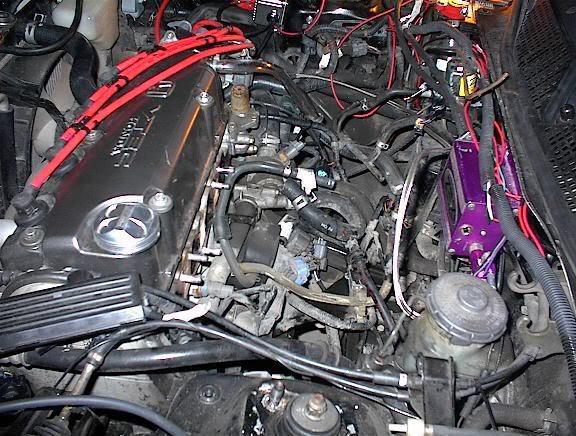
1.Disconnect negative battery terminal and remove the air intake. If you have a strut bar remove it also. (I tried to leave mine installed and there wasn't enough room to lift the manifold out of the engine bay, you have to remove it)
2. Jack the car up and support it with jack stands, drain coolant.
3. Relieve fuel pressure by removing the gas cap then use a 17mm flare nut wrench on the banjo bolt on the fuel filter, put a 19mm wrench on the bottom of the filter to counteract the turning stress, place a rag over the filter and loosen the bolt. It will leak a little fuel but that is okay.
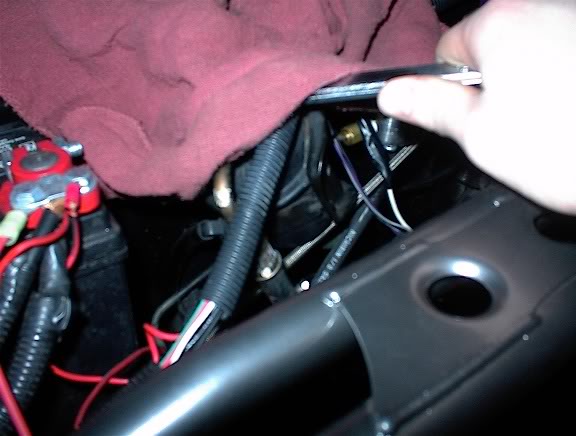
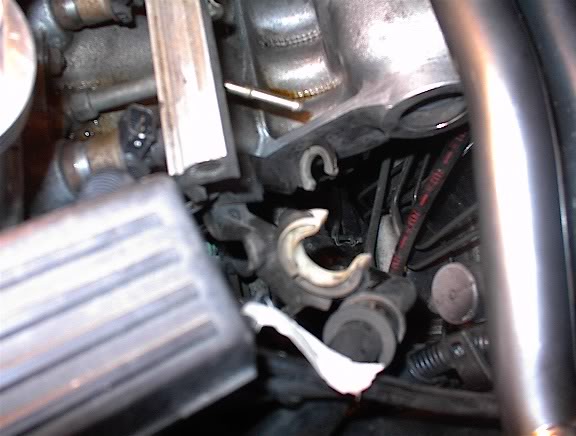
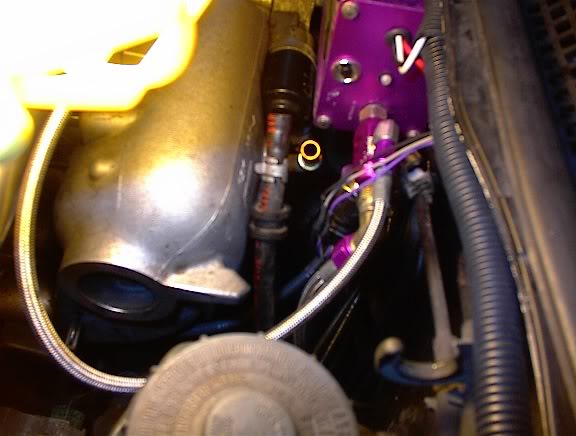
4. Begin labeling all the hoses and wires that go to the manifold and remove them. If you don't label them you will not know where to hook them back up to! There are two coolant hoses going to the iacv, a harness plugged into the iacv, two vac hoses connected under the manifold, three vac hoses connected on top, one coolant line going from the manifold to the throttle body, one coolant line coming from the thermostat to the manifold, the fuel return line, and a line going from the EVAP canister to the fuel rail. Also do not forget the throttle cable.
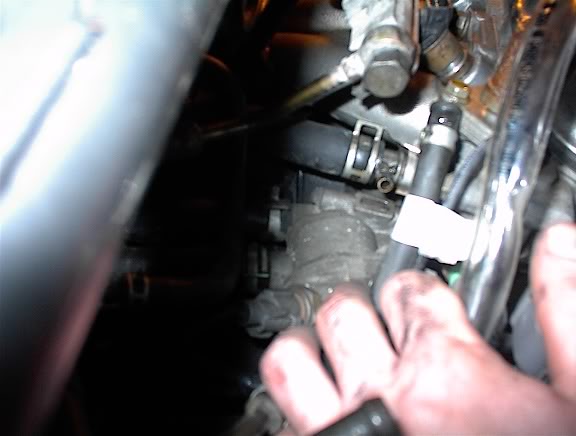
5. Unplug the harness from the injectors and set it aside, unbolt the two 10mm bolts holding the fuel rail on and remove the rail and injectors together.

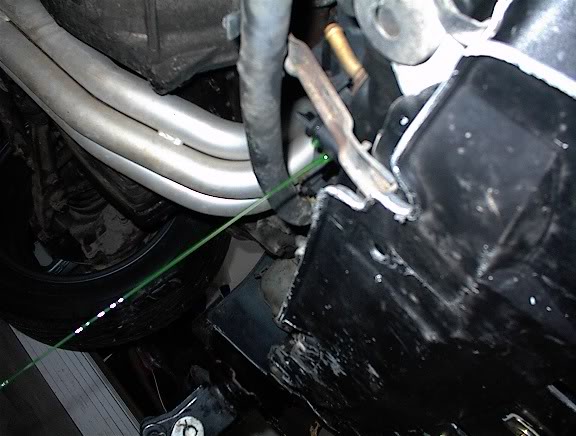
6. Once all the lines and hoses are disconnected you can now remove the 7 12mm bolts that hold the manifold to the head. To get to the middle bolt on the bottom, push the PVC hose down through the hole and then you can use a 12mm wrench to loosen the bolt. There is also a support bracket under the manifold held on by 4 12mm bolts. Two bolts are connected to the bottom of the manifold and can be reached from the top. The other two are bolted to the block and can be easily reached from under the car.
7. Now you can remove the intake manifold. It should come off fairly easy, if it does not then you forgot a hose or harness. After the manifold is removed you can remove the support bracket and place it aside, it will not be reused with most manifolds.
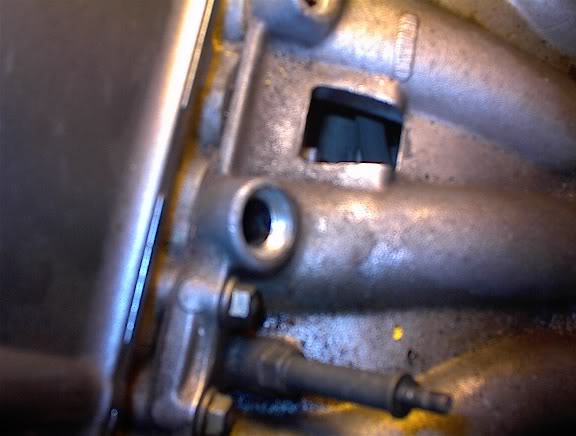
8. Now for the annoying work, scrape the old gasket off of the head. Grab a beer because this is gonna take awhile, no way around it. Get as much as you canas it will not seal correctly if too much of the old gasket is left behind. I didn't get it good enough the first time and it leaked coolant like a bitch and I had to uninstall the whole thing and do it over again. Don't make the same mistake I did. If you get sick of it take a break and start again later.
9. If you have a manifold that requires it, put thread sealant on the fittings and install them onto the manifold. Also, 96-98 civics with D16Y8 engines do not have air injection and you need to plug the holes in your manifold with the supplied dowls. 99-00 D16Y8's do have air injection and an extra fitting and hose to connect.
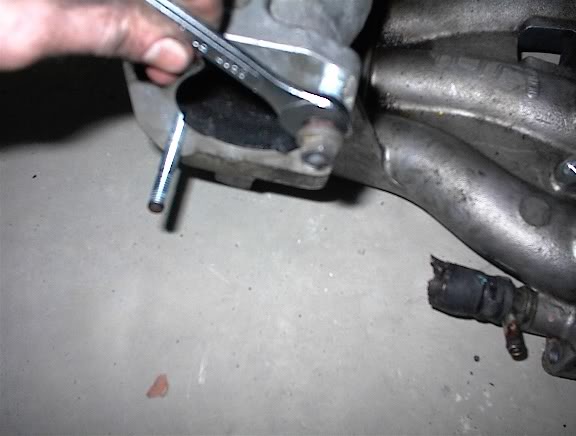
10. Remove the TB studs from the old manifold by placing two bolts together and then loosen the stud. Once removed put the studs onto your new manifold. If you are reusing your stock throttle body then move it and the IACV onto the new manifold also.
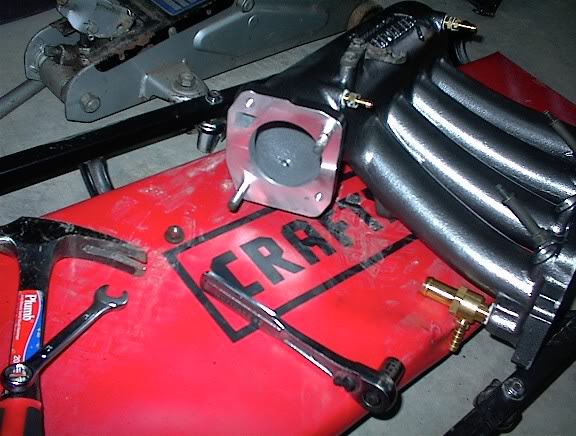
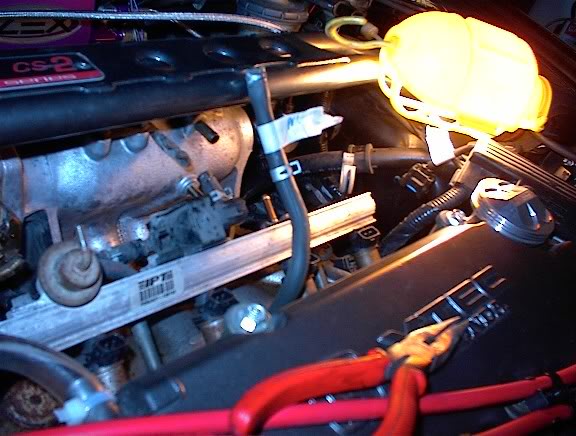
11. Install the new gasket and manifold. Torque the bolts to 17ft-lbs going from the middle bolt out.

12. Reconnect all of the lines, throttle cable (adjust because you probably changed its distance from the throttle body) ,and reconnect the harnesses
13. Lower your car off of the jackstands after retightening your radiator drain plug then refill your antifreeze and let the car idle for 10 mins, shut the car off again and check antifreeze and top off as necessary.
14. Take it for a test drive, make sure it is not losing coolant. Erratic idle means there is a vacuum leak somewhere. Spray carb cleaner or WD40 on the fittings andaround the gasket and if the idle changes or it stalls you found your leak.
Done! Enjoy your new manifold.
Install difficulty: 2 out of 5
Install time: Should take an experienced person no more than 2 hours I think but if this is your first time doing something like this then set aside a full day. It took me about 6 hours (I know, I know, stop laughing at me.)
Tools needed:
Socket Wrench
10mm Socket
12mm Socket
12mm Open-ended Wrench
17mm flare nut wrench
19mm Open-ended Wrench
Pliers
PB Blaster (Optional)
Thread sealant
Jack
Jack stands
Bucket to drain antifreeze into
New Antifreeze
Intake Manifold Gasket
New Intake Manifold (Duh)
Something to scrape the old gasket off with, a Razor workswell (faster than a putty knifebut not recommended)
Depending on what intake you bought you might have to buy some extra vac hoses because some of the stock ones are no long enough, Edelbrock intakes already come with replacements.
Tape and marker to label lines
1.Disconnect negative battery terminal and remove the air intake. If you have a strut bar remove it also. (I tried to leave mine installed and there wasn't enough room to lift the manifold out of the engine bay, you have to remove it)
2. Jack the car up and support it with jack stands, drain coolant.
3. Relieve fuel pressure by removing the gas cap then use a 17mm flare nut wrench on the banjo bolt on the fuel filter, put a 19mm wrench on the bottom of the filter to counteract the turning stress, place a rag over the filter and loosen the bolt. It will leak a little fuel but that is okay.
4. Begin labeling all the hoses and wires that go to the manifold and remove them. If you don't label them you will not know where to hook them back up to! There are two coolant hoses going to the iacv, a harness plugged into the iacv, two vac hoses connected under the manifold, three vac hoses connected on top, one coolant line going from the manifold to the throttle body, one coolant line coming from the thermostat to the manifold, the fuel return line, and a line going from the EVAP canister to the fuel rail. Also do not forget the throttle cable.
5. Unplug the harness from the injectors and set it aside, unbolt the two 10mm bolts holding the fuel rail on and remove the rail and injectors together.
6. Once all the lines and hoses are disconnected you can now remove the 7 12mm bolts that hold the manifold to the head. To get to the middle bolt on the bottom, push the PVC hose down through the hole and then you can use a 12mm wrench to loosen the bolt. There is also a support bracket under the manifold held on by 4 12mm bolts. Two bolts are connected to the bottom of the manifold and can be reached from the top. The other two are bolted to the block and can be easily reached from under the car.
7. Now you can remove the intake manifold. It should come off fairly easy, if it does not then you forgot a hose or harness. After the manifold is removed you can remove the support bracket and place it aside, it will not be reused with most manifolds.
8. Now for the annoying work, scrape the old gasket off of the head. Grab a beer because this is gonna take awhile, no way around it. Get as much as you canas it will not seal correctly if too much of the old gasket is left behind. I didn't get it good enough the first time and it leaked coolant like a bitch and I had to uninstall the whole thing and do it over again. Don't make the same mistake I did. If you get sick of it take a break and start again later.
9. If you have a manifold that requires it, put thread sealant on the fittings and install them onto the manifold. Also, 96-98 civics with D16Y8 engines do not have air injection and you need to plug the holes in your manifold with the supplied dowls. 99-00 D16Y8's do have air injection and an extra fitting and hose to connect.
10. Remove the TB studs from the old manifold by placing two bolts together and then loosen the stud. Once removed put the studs onto your new manifold. If you are reusing your stock throttle body then move it and the IACV onto the new manifold also.
11. Install the new gasket and manifold. Torque the bolts to 17ft-lbs going from the middle bolt out.
12. Reconnect all of the lines, throttle cable (adjust because you probably changed its distance from the throttle body) ,and reconnect the harnesses
13. Lower your car off of the jackstands after retightening your radiator drain plug then refill your antifreeze and let the car idle for 10 mins, shut the car off again and check antifreeze and top off as necessary.
14. Take it for a test drive, make sure it is not losing coolant. Erratic idle means there is a vacuum leak somewhere. Spray carb cleaner or WD40 on the fittings andaround the gasket and if the idle changes or it stalls you found your leak.
Done! Enjoy your new manifold.


Thread Starter
|
HCF Member
Joined: Jun 2006
Posts: 3,086
From: West Virginia
ORIGINAL: GReddy_Civic
Nice work....your thoughts on it? Any noticeable changes?
Nice work....your thoughts on it? Any noticeable changes?

Thread
Thread Starter
Forum
Replies
Last Post
Captain_Sl0w
Header, Intake, & Exhaust
11
Jul 8, 2007 02:52 PM
hazo vti
General Civic Talk
6
Jul 13, 2006 05:59 PM