Rear Trailing Arm Bushing DIY in progress....
#1
 11-14-2011, 10:03 PM


Just like to share some notes with the process of replacing RTA and I think the process is not that bad, just that I couldn’t decide at the beginning to remove the arm or leave it on the car, this is the part that take LOTS of my time.
At the beginning, I left it on the car and bang out the bushing from the inside out using a hammer, came off easy, but then can’t bang in the new one, then got frustrated. I’ve used the two claw puller, ball joint tool, hammer of course but didn’t work (wasted more time). Then decide to remove the whole arm, at first try to remove the e-brake cable from car hand brake area and below, found that it more work and in the process of doing so, one of the bolt holding the cable (passenger brake cable) in place by the gas tank would pin to the tank when loosen and wouldn’t come off all the way, this process wasted so much time, cuz have to reinstall .. lol
So what ending was to remove the brake cable from the brake shoe area, and then got issue too, couldn’t remove the drum cuz the shoe was pin on the drum, so use the two bolt on the shoe to force it out, well that broke the holding pin which sit in middle of the shoe to keep it in place, but it finally came off.
So RTA is off, bring to my friend house to press it in, but you can actually hammer it out and back in, cuz I did it on the other side RTA with a hammer. So now the car is in the air on stands waiting for my new LCA so I can put back together cuz the current LCA bushing show sign of cracks. What suppose to be a three hours job, will now turn into three day.
Sorry for being long winded, but this is a Bitch-*** experience, I rather do a timing belt job, or maybe it just me.
Last edited by droopy128; 11-16-2011 at 09:08 PM. Reason: update
#2
11-15-2011, 04:22 AM

Those are a pain. When I had mine done, we just removed the whole trailing arm from the beginning. We removed the ebrake cable and then had to use a torch to burn the old ones out. The BFH wouldn't hammer it out...
#3
11-15-2011, 08:26 AM

.......It took about 3 days for me to do mine.
Removed the Arm, Took the drum brake apart to get to the Parking Brake cable, then had a hard time getting the Bushings in with the hammer. After 2 days of banging, banging and banging...then I discovered a technique by accident to hammer them in correctly.
Grease it up, Hold 1 side of the bushing down HARD as you can with your hand and hammer the other side. Do the same with the other side of the bushing so it don't POP OUT while hammering.
Yeah...People can get the Honda Push tool for alittle under $100..but if hammering is possible..then you can save yourself $100.
Last edited by Mecca8383; 11-15-2011 at 08:28 AM.
#4
11-15-2011, 10:16 AM

i wish i had the honda tool when i did mine
ended up using 2 c-clamps and some scrap metal to press it in. i removed mine completely from the car.
it wasn't fun. but it wasn't entirely difficult, just frustrating trying to find a solution. make sure to put them in properly, making sure the rotation is correct and that they are pressed as far in as they were before.

#6
11-15-2011, 02:34 PM
It more of waiting for the new LCA than working on it. I like this car, it my DD so might as well do some replacement parts on it (lots within last 6 months), this car gets great gas mileage.
I'll post some pix of the process when I install the LCA.
#7
11-16-2011, 09:01 PM
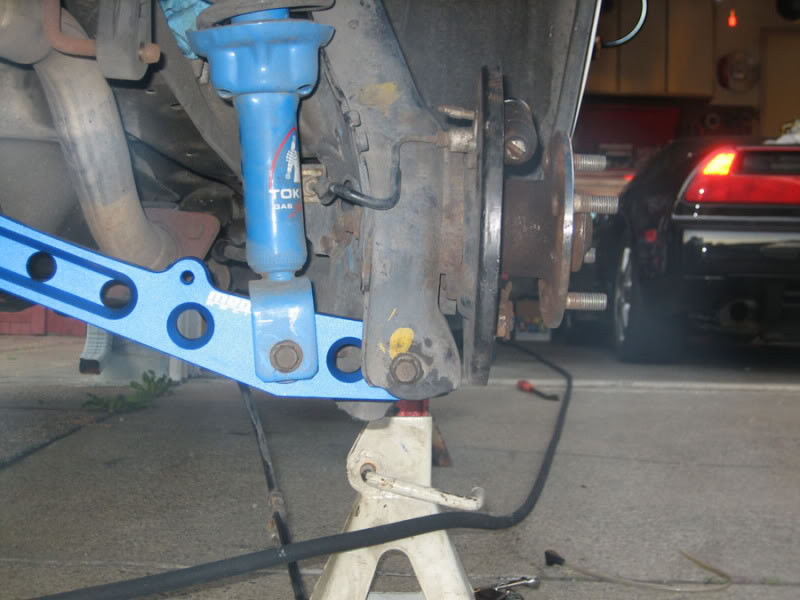
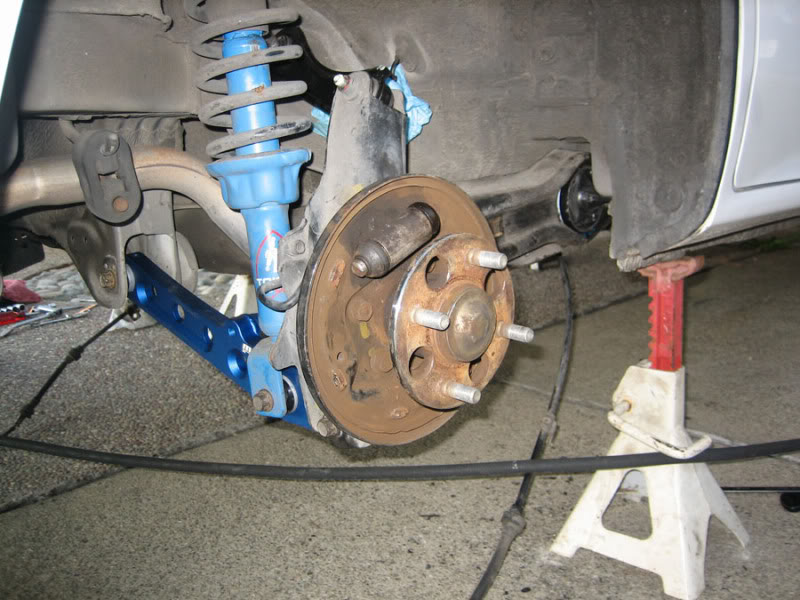
Here some pix of the process..
Bled the brakes myself, doesn't feel right, will have a friend to help with it. Also will go for an alignment, although it drive straight, just want to be sure.
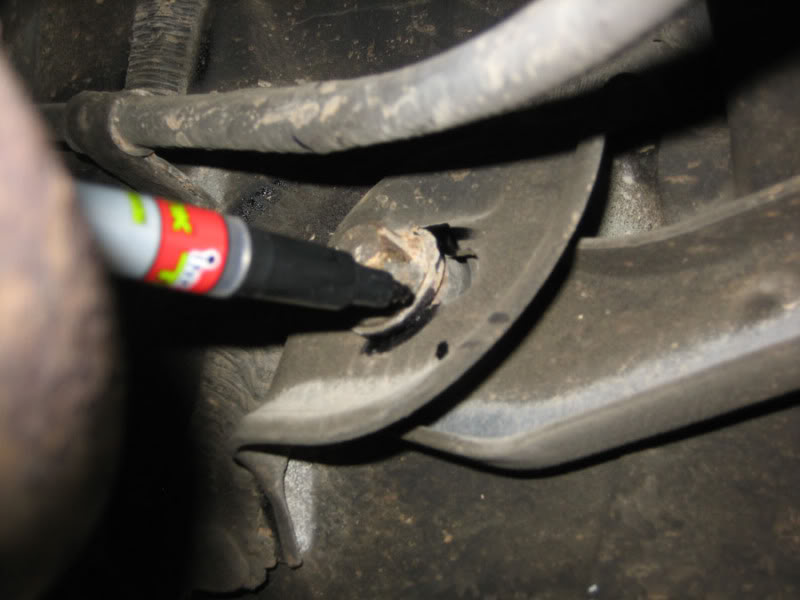
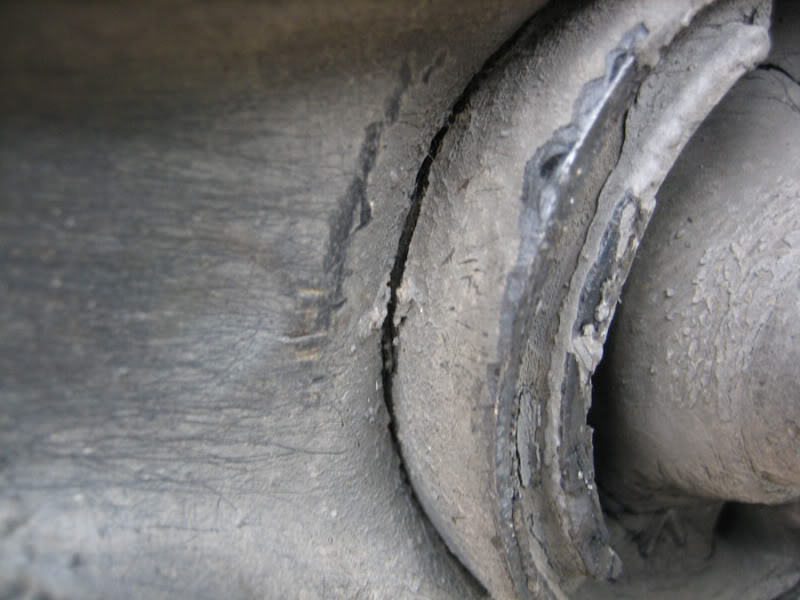
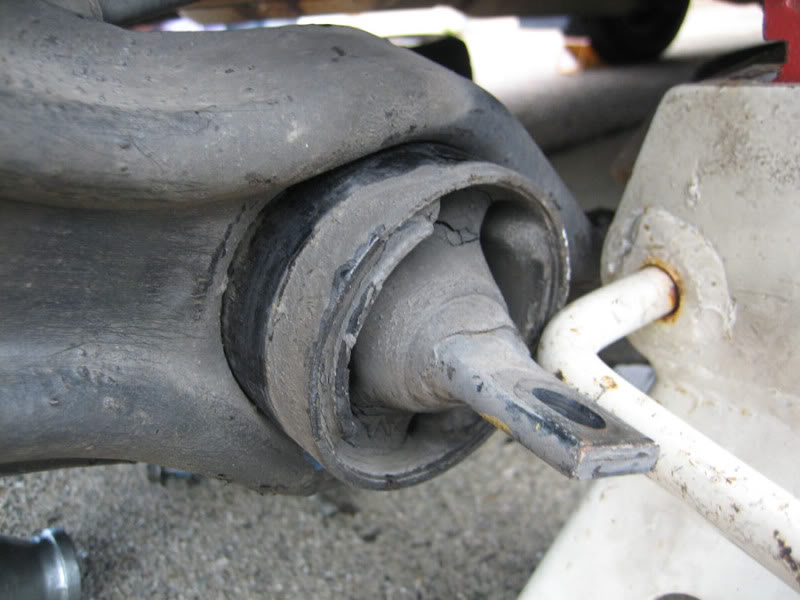
Close-up of crack bushing
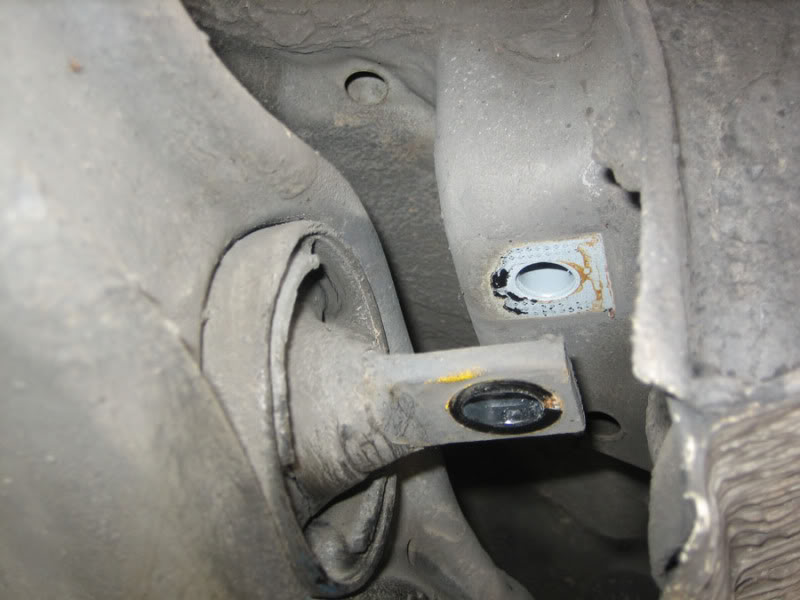
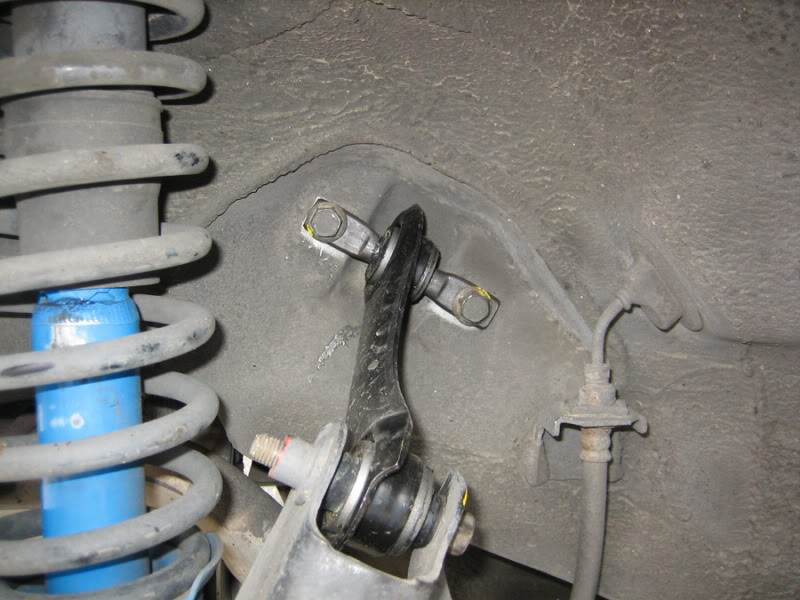
Mark the toe adjusting bolt before removal
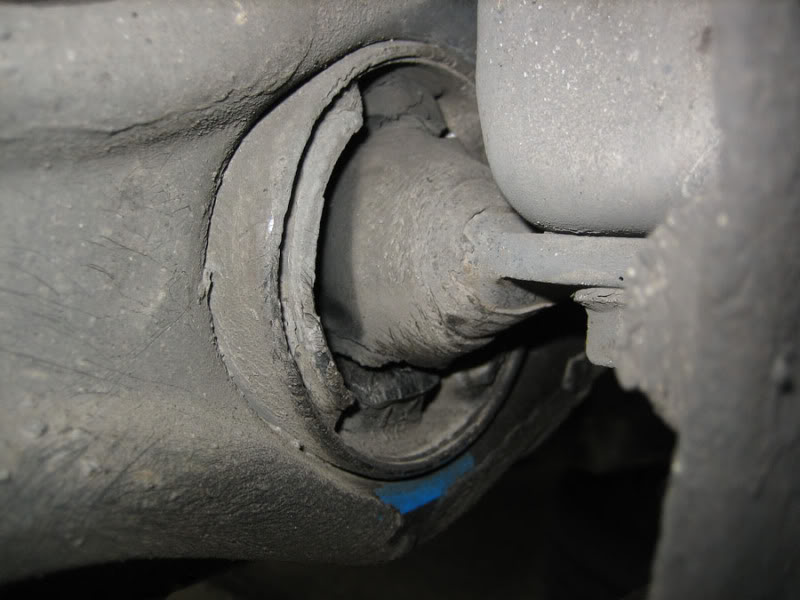
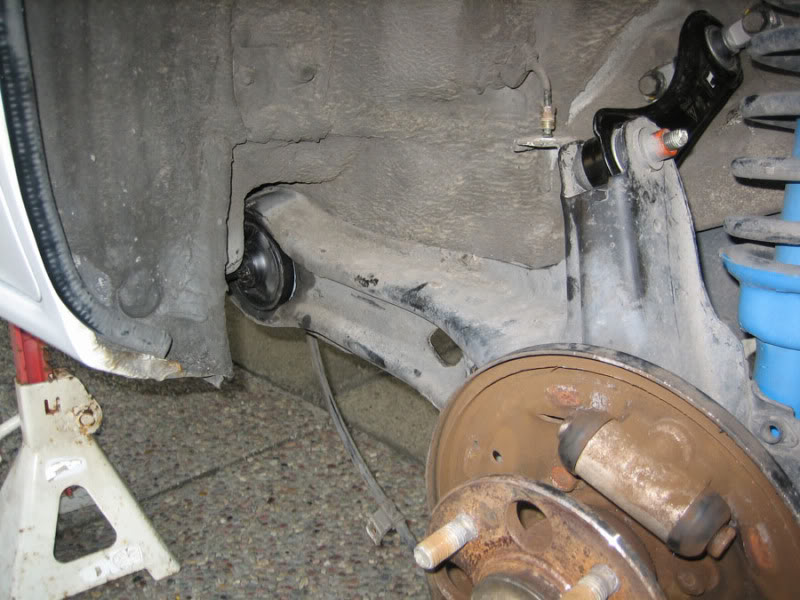
Removing of RTA bushing
Mark the alignment of bushing horizontal
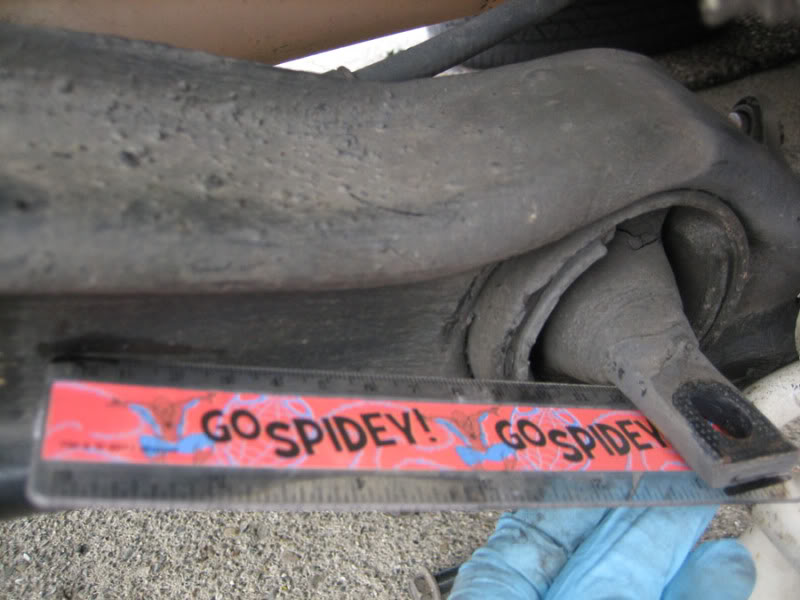
Mark the alignment of bushing depth
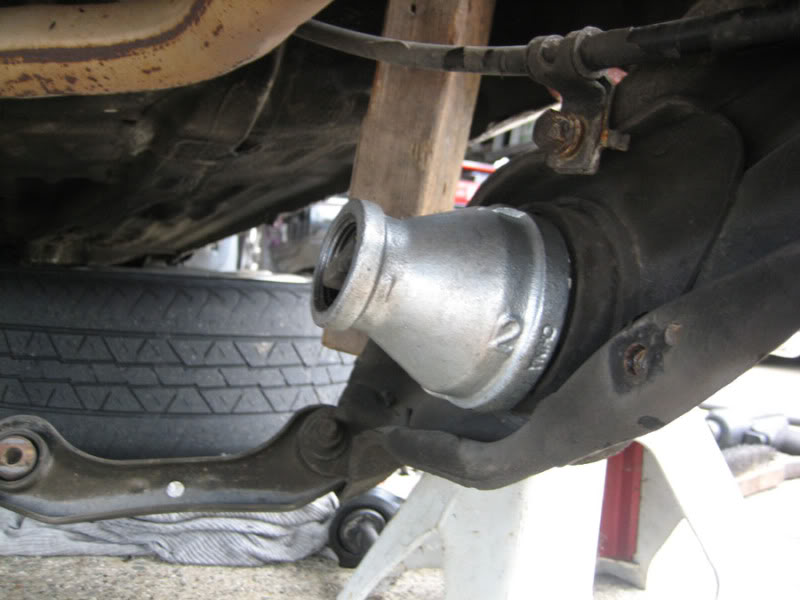
Purchase this two inch water pipe fitting from hardware store to use for hammering out the bushing

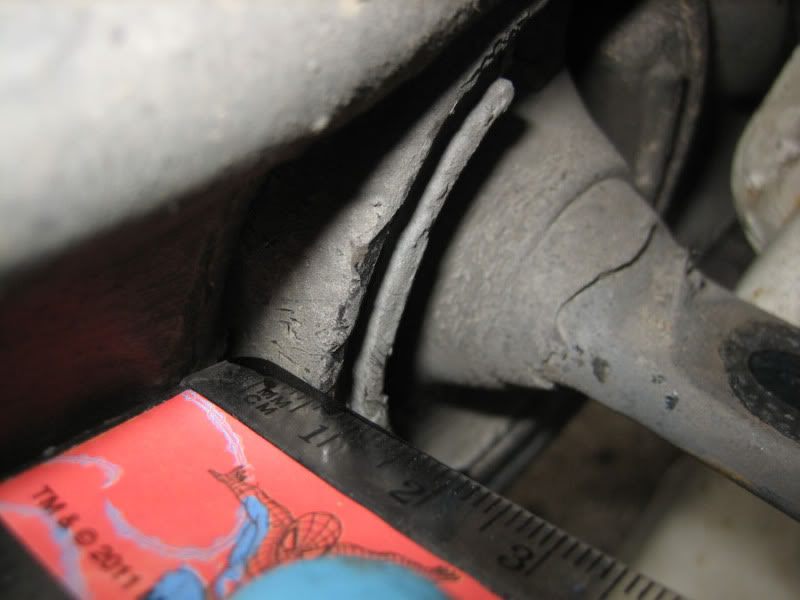
Saw a slight crack after hammering, so I know I can actually hammer it out while on the car, whoopee..
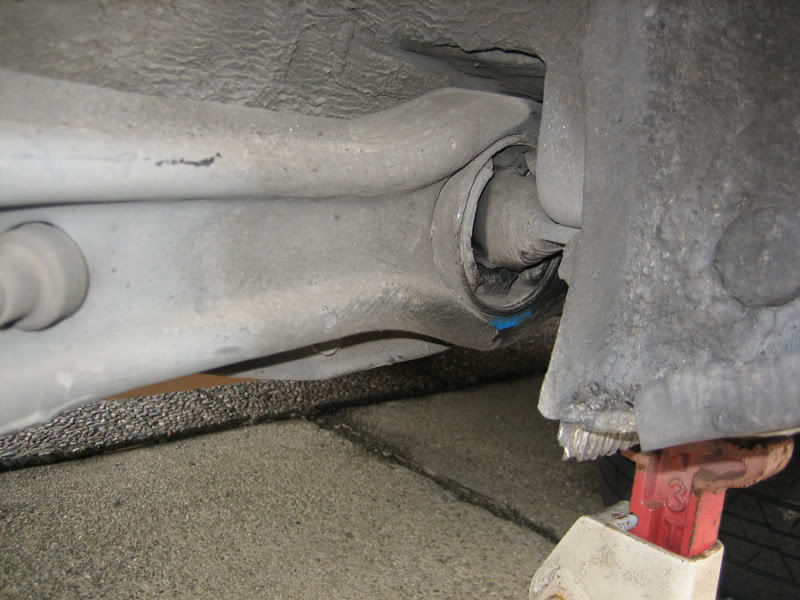
Almost out..
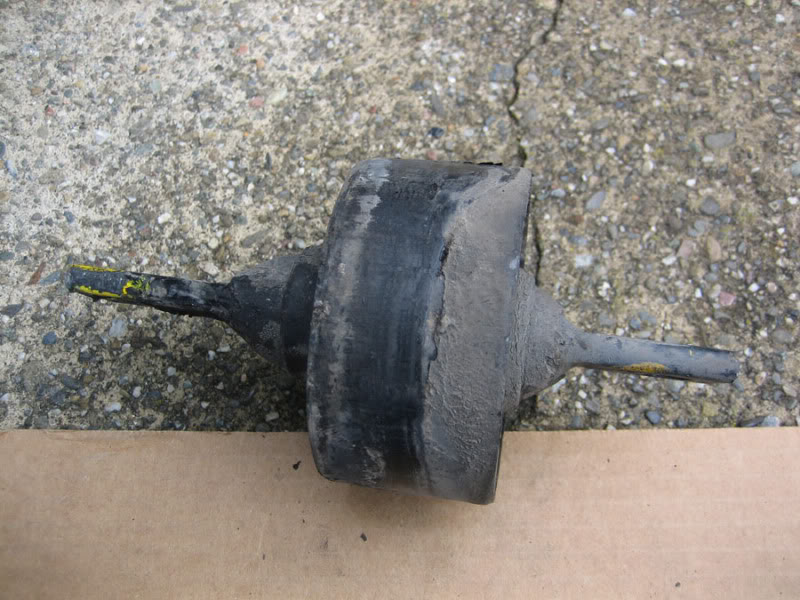
Removed
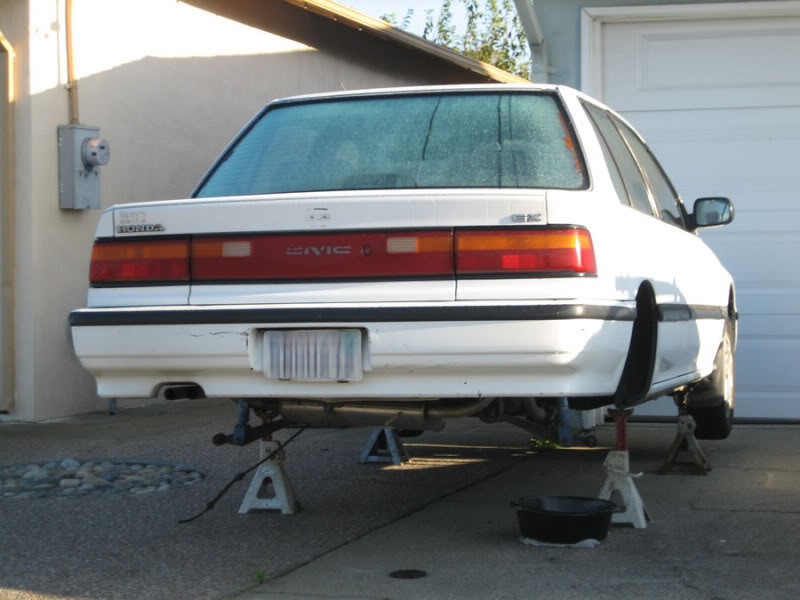
On air waiting for new LCA
LCA arrived and installed, will need a little muscle for the new bushing to bolt up.
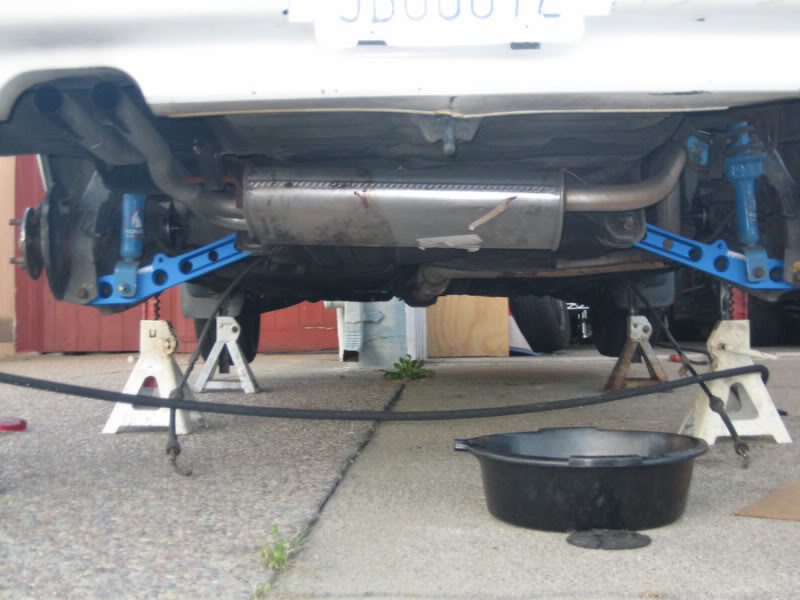
Also install new UCA, might as well..
Bled the brakes myself, doesn't feel right, will have a friend to help with it. Also will go for an alignment, although it drive straight, just want to be sure.
Close-up of crack bushing
Mark the toe adjusting bolt before removal
Removing of RTA bushing
Mark the alignment of bushing horizontal
Mark the alignment of bushing depth
Purchase this two inch water pipe fitting from hardware store to use for hammering out the bushing
Saw a slight crack after hammering, so I know I can actually hammer it out while on the car, whoopee..
Almost out..
Removed
On air waiting for new LCA
LCA arrived and installed, will need a little muscle for the new bushing to bolt up.
Also install new UCA, might as well..
Last edited by droopy128; 11-22-2011 at 08:55 AM.

#9
11-17-2011, 08:00 AM
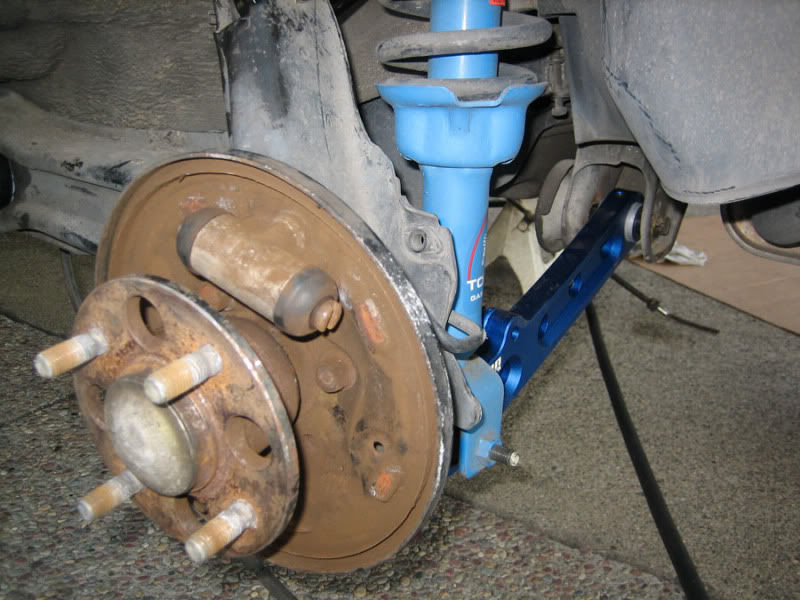
lol, I was thinking the same thing. I was looking at those rusty hubs and then was like HOLYNSX.
#10
11-17-2011, 09:37 AM
Ya.. I drive it all the time (but got other cars beside civic & nsx), taken it out last week during rain, didn't meant to but my kid insist.. LOL.
My kid climb on the hood and use that as her slide (I wasn't paying attention cuz was working on the civic), and with those girly pants with sparkler diamond thingy on back pocket kinda scratch the hood.. found out a day later, then I was like where that come from? couldn't be from the rain, so I ask her and confirmed. Wasn't really pissed, just told not to do it again, lets see.
My kid climb on the hood and use that as her slide (I wasn't paying attention cuz was working on the civic), and with those girly pants with sparkler diamond thingy on back pocket kinda scratch the hood.. found out a day later, then I was like where that come from? couldn't be from the rain, so I ask her and confirmed. Wasn't really pissed, just told not to do it again, lets see.

