
DIY/Review of ES shifter, front swaybar endlink, & steering rack bushings


Thread Starter
|
Moderator
Joined: Jul 2005
Posts: 5,802
got my Energy Suspension Hyperflexbushing master kit yesterday and decided to start. i've only done the shifter, front swaybar endlinks, and steering rack bushings since they are easiest. ill probably be doing the LCA bushings next week but wont do a DIY for them since ill be using a bushing press which most ppl probably dont have access to. ill be doing the shock mount bushings once my new suspension comes in(hopefully couple days), i might do a DIY for those but it would be short as they are real easy to replace. im not sure about the ball joint end boots and tie rod end boots. dont exactly know how to replace them yet or if i will even replace them at all yet.
anyways, here the DIYs for the shifter, swaybar endlinks, and steering rack bushings.
Shifter bushings:
tools needed:
-socket wrench
-12mm socket
-14mm socket
-flathead screwdriver
-extension(s)
-grease
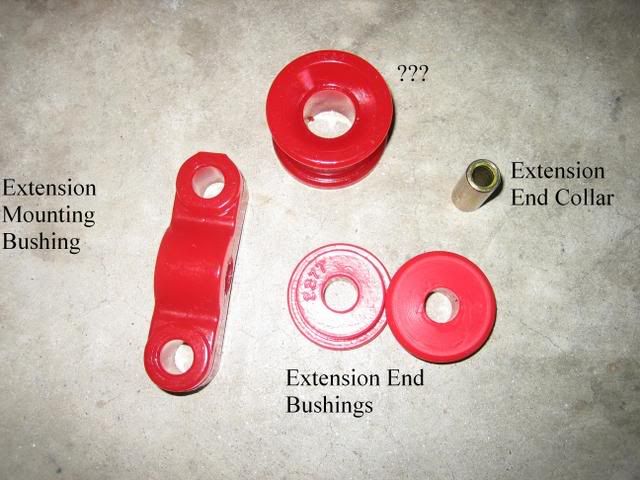
here are the shifter bushings. im unsure of what that top piece is, if someone could let me know that'd be great!

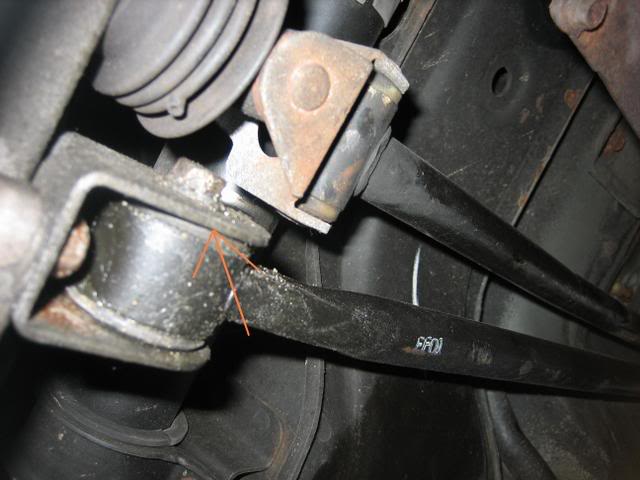
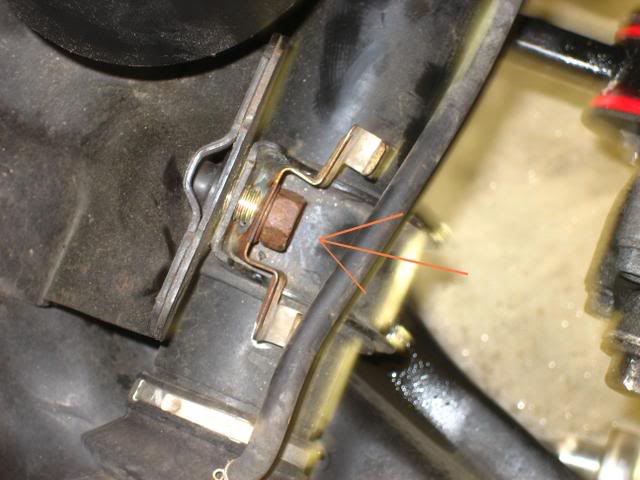
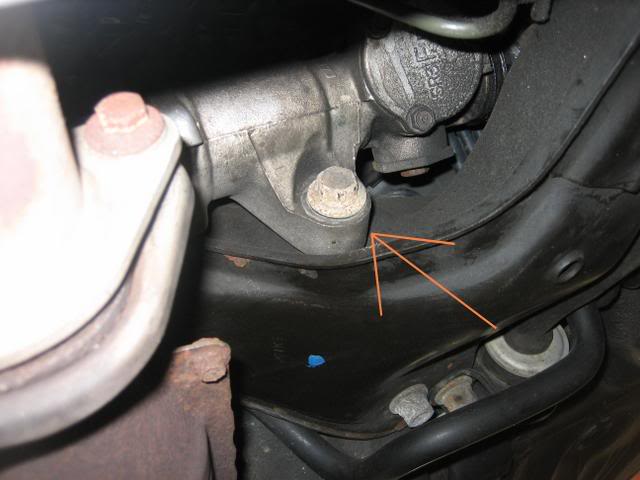
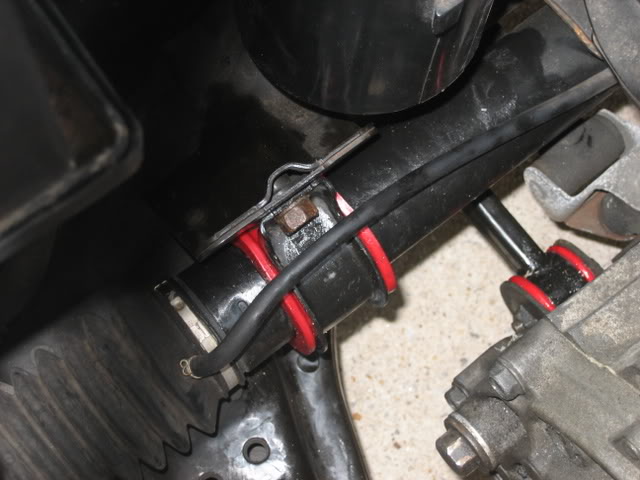
heres where the old bushing is and the 12mm bolt u will need to remove.
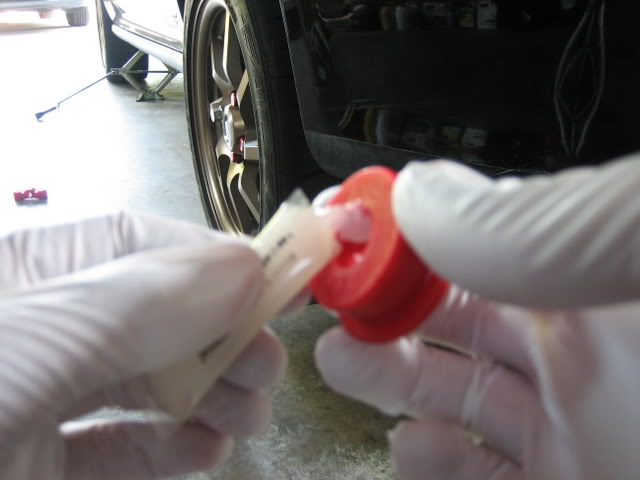
once the 12mm bolt is removed, the extension rod will come down. u can then push the old bushing out with a screwdriver. the old bushing isone whole piece as where the new bushing is actually 2 pieces. u can see the comparison of both below.
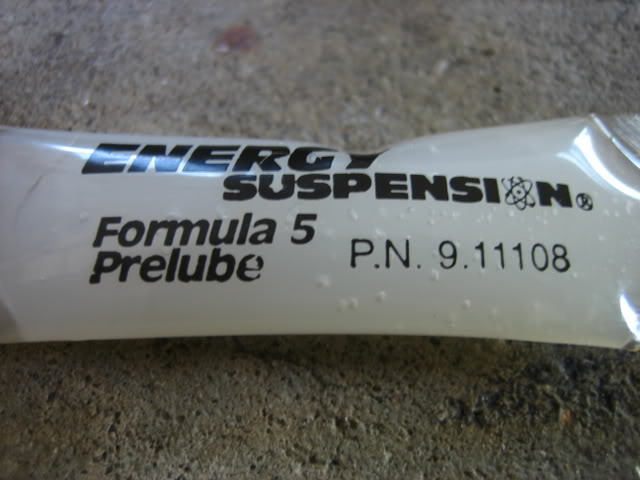
Energy Suspension sent me plenty of prelude which is great. u'll want to grease up the bushings well so u dont have any squeaking and the shifts are smooth.
once lubed up, place the new bushings in the entension rod end. it'll look like this.
once the bushing is in, u can reconnect the extension rod and tighten down the bolt.
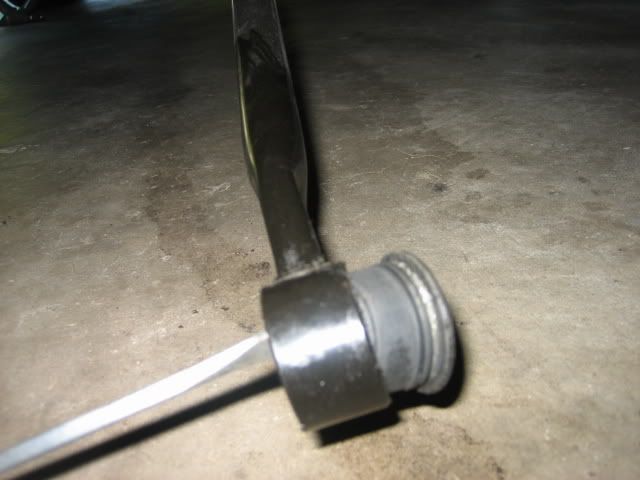
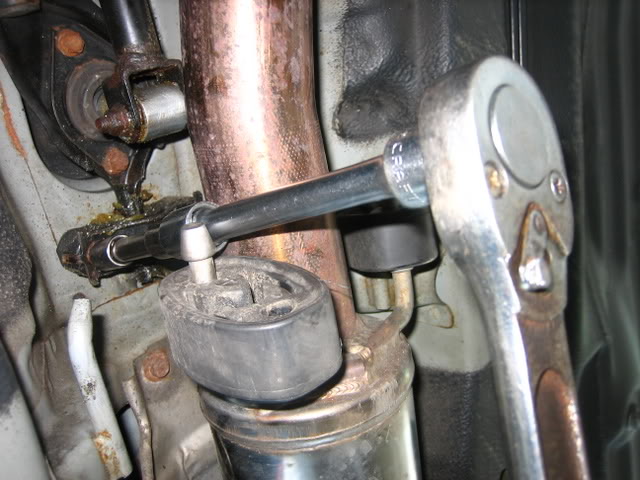
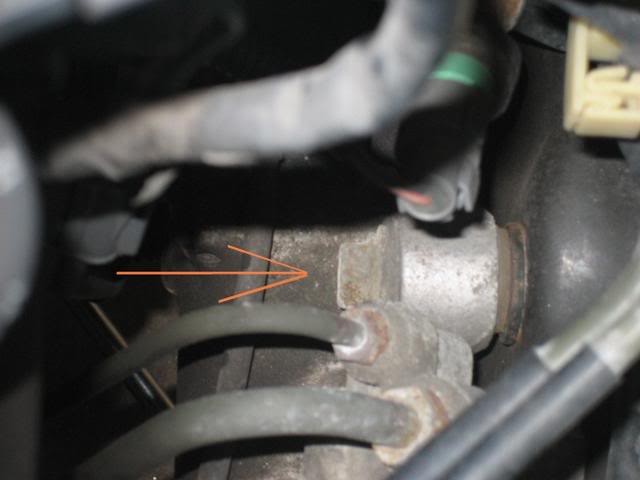
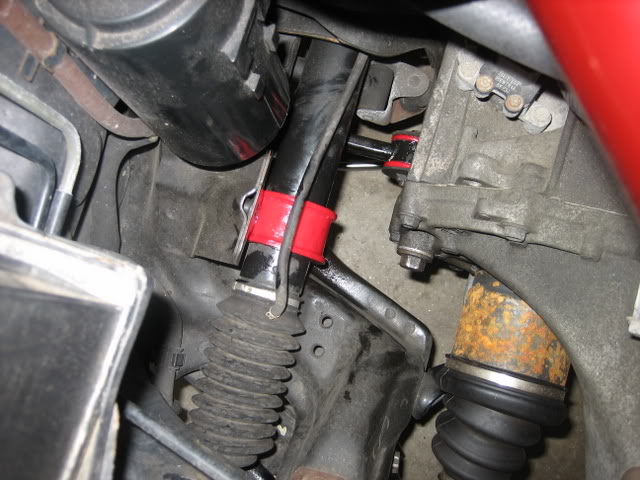
alright heres what the other end looks like.
take a 14mm socket and extension(or 2) and unbolt the 2 bolts holding it up.
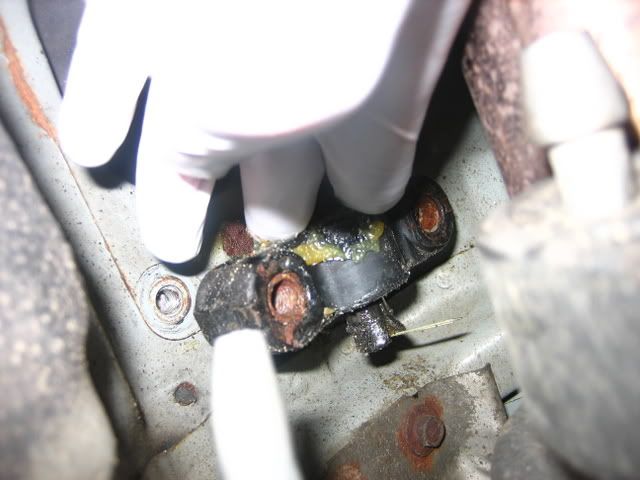
once the bolts are removed, u can simply push the bushing out the end of the extension rod.
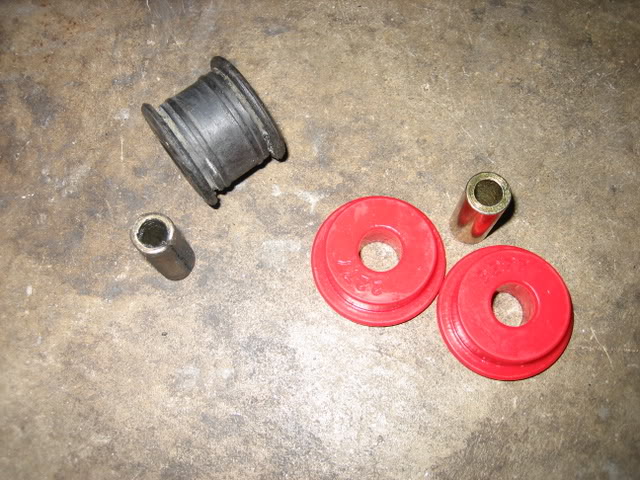
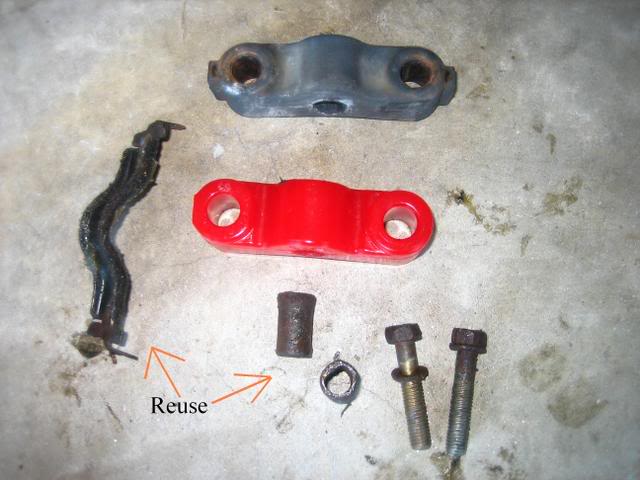
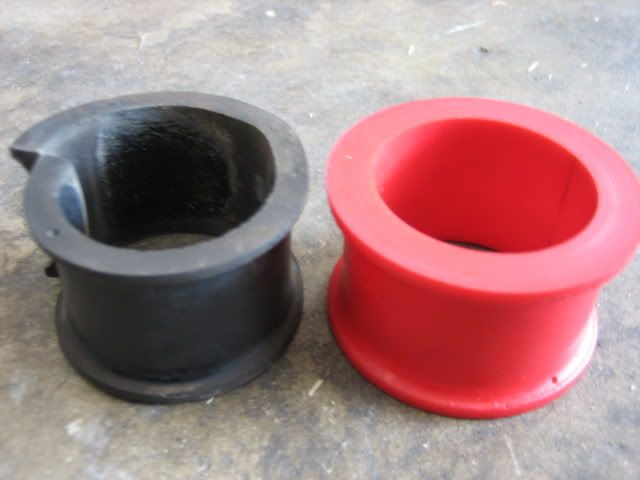
heres a look at all the pieces. the red is obviously the new part. be sure to reuse the 2 metal collars and also the bracket.
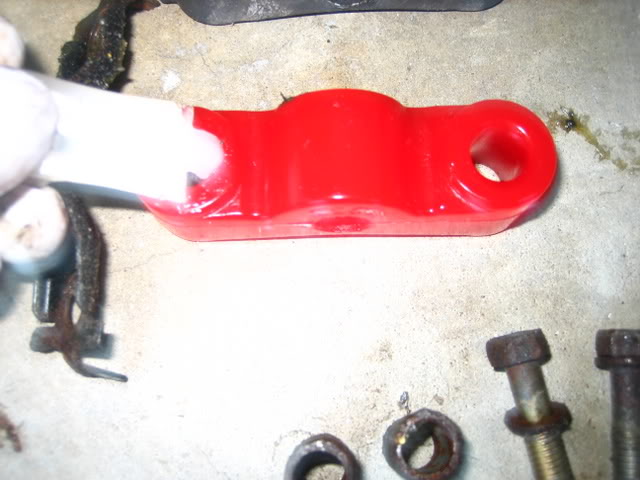
before replacing, apply grease all over the bushing and place the 2 metal collars back in the bushing.
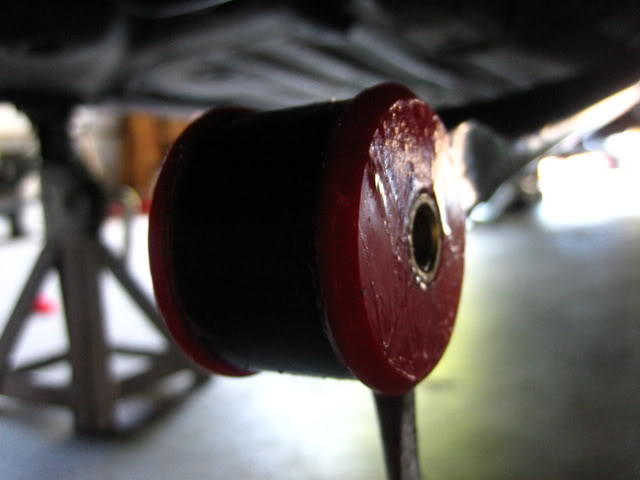
putting the bushing back on is same as taking it off just reverse. heres what it'll look like once finished.
Front swaybar endlinks/bushings:
tools needed:
-penetrating oil
-socket wrench
-12mm socket
-12mm open end wrench
-grease
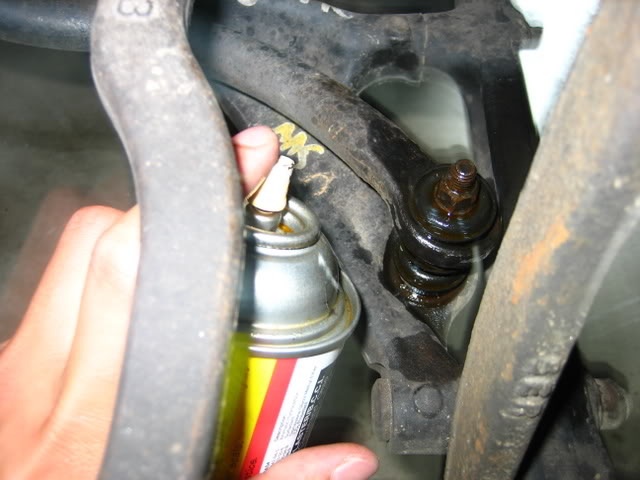
spray the endlinks with penetrating oil. u probably dont need to as mine came off without a struggle but it wont hurt.
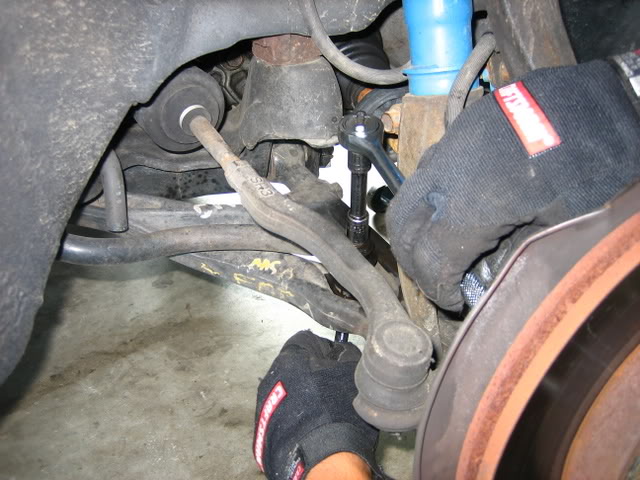
theres 2 12mm nuts on each side of the endlink. use the socket wrench on one side and the open end wrench on the other and take one of the nuts off. u'll only be able to get one off, either top or bottom, at the time.
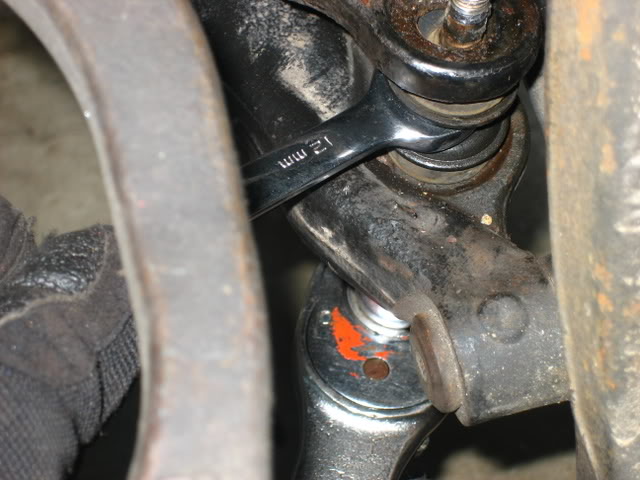
once that nut is off, place the socket wrench on the other nut and use the open end wrench in the middle of the endlink. in the middle of the endlink there is another 12mm nut that is actually a part of the endlink. hold that nut still while u take the other nut off the endlink.
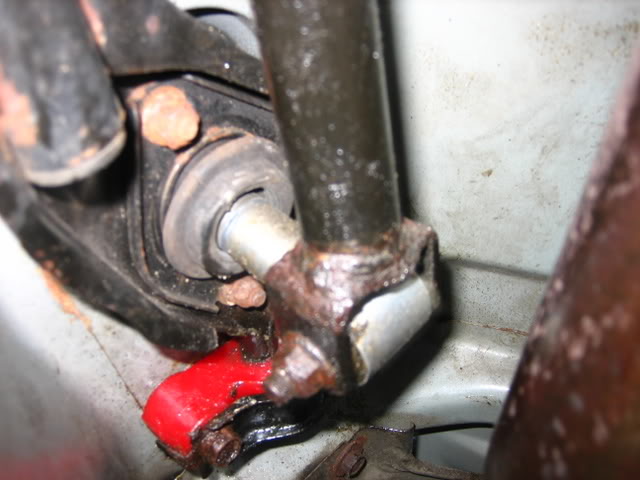
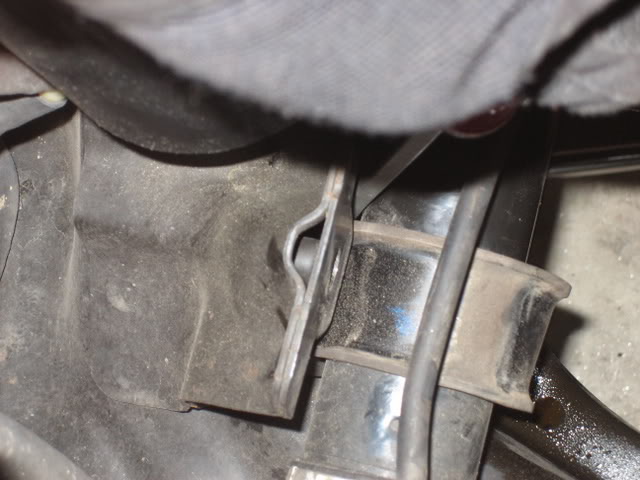
once the 2 nuts are off the endlink, pry the sway bar up off the top of the endlink and pull the endlink out.
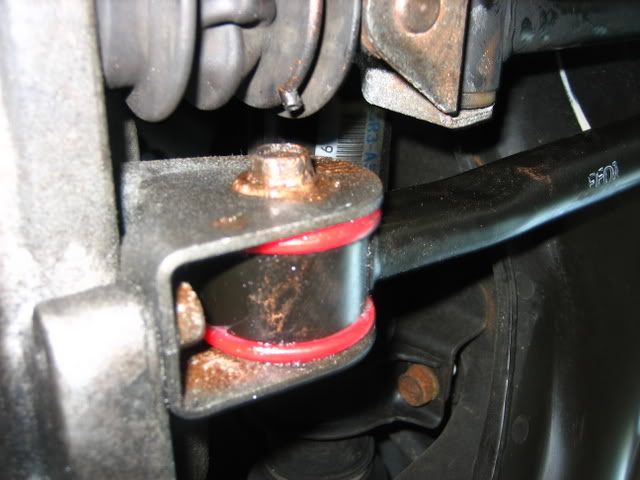
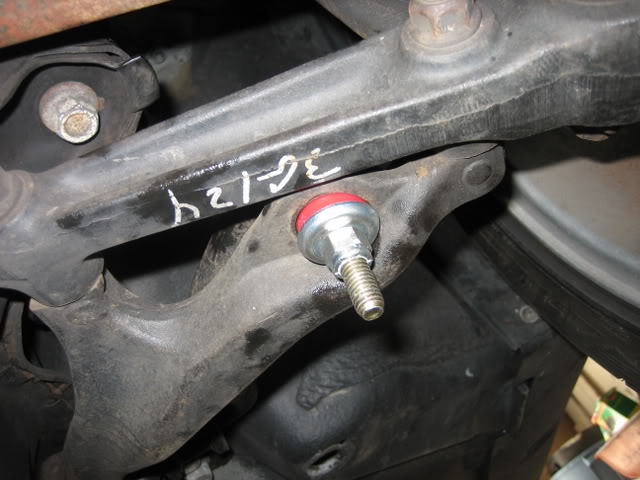
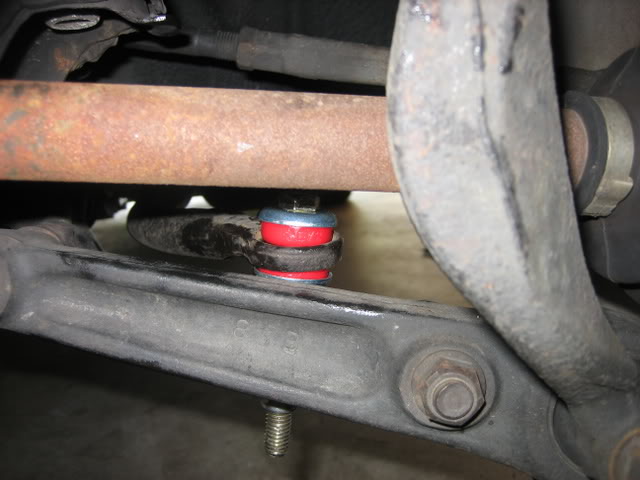
installation is reverse of disassembly. i recommend applying a good amount of grease on the new endlink bushings before installation so u dont have squeaking. tq the endlink nuts to 16 ft/lbs. heres what it looks like once finished.
Steering rack bushing:
tools needed
-socket wrench
-14mm socket
-17mm socket
-extensions
-screwdriver
-grease
look to the back of ur engine bay and up agenst the firewall u'll see the steering rack and pinion.
start by taking off the 2 14mm bolts holding the rack to the firewall.

after, use a screwdriver and pry the bracket off the rack/bushing.
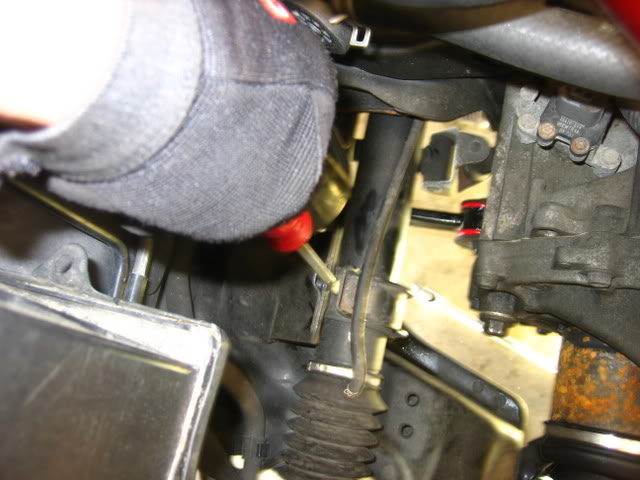
next, go to the oposite side of the exhaust and u'll see 2 17mm bolts holding the rack agenst the firewall. one u can see while under the car, the other u can see only from above. only loosen these 2 bolts slightly.
once these 2 bolts are loosened up, take a screwdriver and carefully wiggle the rack off of the mounting area. doing this will allow u to pull the old bushing off of the rack easily.
heres a comparison of the old and new one.
grease the new bushing and place it on the rack.
installation is same reversed. tq the passenger side mounting bolts to 28 ft/lbs and tq the driver side bolts to 43 ft/lbs. NOTE: the new bushings may be slightly thicker than the old bushing. this in turn makes placing that bracket and bolting it back up extremely difficult. i used my bench grinder and grinded a little bit off the new bushing so that i would be able to reinstall the bracket without hassel.
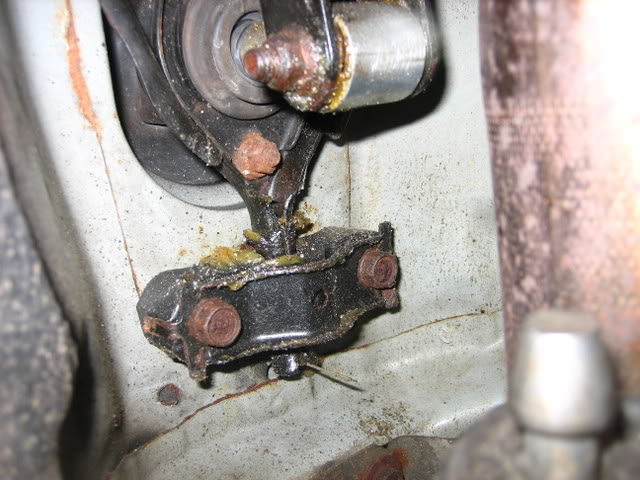
heres what it looks like installed.
also, there are a few other bushings that are for the rack. im probably not going to put them on since its more difficult and im not sure exactly how to go thru with it. if ur wondering, those other bushings go right where those 17mm bolts are on the steering rack.
Review: tho i've just installed these and havnt driven around very much, i have stillnoticed a slight difference. the shi
anyways, here the DIYs for the shifter, swaybar endlinks, and steering rack bushings.
Shifter bushings:
tools needed:
-socket wrench
-12mm socket
-14mm socket
-flathead screwdriver
-extension(s)
-grease
here are the shifter bushings. im unsure of what that top piece is, if someone could let me know that'd be great!
heres where the old bushing is and the 12mm bolt u will need to remove.
once the 12mm bolt is removed, the extension rod will come down. u can then push the old bushing out with a screwdriver. the old bushing isone whole piece as where the new bushing is actually 2 pieces. u can see the comparison of both below.
Energy Suspension sent me plenty of prelude which is great. u'll want to grease up the bushings well so u dont have any squeaking and the shifts are smooth.
once lubed up, place the new bushings in the entension rod end. it'll look like this.
once the bushing is in, u can reconnect the extension rod and tighten down the bolt.
alright heres what the other end looks like.
take a 14mm socket and extension(or 2) and unbolt the 2 bolts holding it up.
once the bolts are removed, u can simply push the bushing out the end of the extension rod.
heres a look at all the pieces. the red is obviously the new part. be sure to reuse the 2 metal collars and also the bracket.
before replacing, apply grease all over the bushing and place the 2 metal collars back in the bushing.
putting the bushing back on is same as taking it off just reverse. heres what it'll look like once finished.
Front swaybar endlinks/bushings:
tools needed:
-penetrating oil
-socket wrench
-12mm socket
-12mm open end wrench
-grease
spray the endlinks with penetrating oil. u probably dont need to as mine came off without a struggle but it wont hurt.
theres 2 12mm nuts on each side of the endlink. use the socket wrench on one side and the open end wrench on the other and take one of the nuts off. u'll only be able to get one off, either top or bottom, at the time.
once that nut is off, place the socket wrench on the other nut and use the open end wrench in the middle of the endlink. in the middle of the endlink there is another 12mm nut that is actually a part of the endlink. hold that nut still while u take the other nut off the endlink.
once the 2 nuts are off the endlink, pry the sway bar up off the top of the endlink and pull the endlink out.
installation is reverse of disassembly. i recommend applying a good amount of grease on the new endlink bushings before installation so u dont have squeaking. tq the endlink nuts to 16 ft/lbs. heres what it looks like once finished.
Steering rack bushing:
tools needed
-socket wrench
-14mm socket
-17mm socket
-extensions
-screwdriver
-grease
look to the back of ur engine bay and up agenst the firewall u'll see the steering rack and pinion.
start by taking off the 2 14mm bolts holding the rack to the firewall.
after, use a screwdriver and pry the bracket off the rack/bushing.
next, go to the oposite side of the exhaust and u'll see 2 17mm bolts holding the rack agenst the firewall. one u can see while under the car, the other u can see only from above. only loosen these 2 bolts slightly.
once these 2 bolts are loosened up, take a screwdriver and carefully wiggle the rack off of the mounting area. doing this will allow u to pull the old bushing off of the rack easily.
heres a comparison of the old and new one.
grease the new bushing and place it on the rack.
installation is same reversed. tq the passenger side mounting bolts to 28 ft/lbs and tq the driver side bolts to 43 ft/lbs. NOTE: the new bushings may be slightly thicker than the old bushing. this in turn makes placing that bracket and bolting it back up extremely difficult. i used my bench grinder and grinded a little bit off the new bushing so that i would be able to reinstall the bracket without hassel.
heres what it looks like installed.
also, there are a few other bushings that are for the rack. im probably not going to put them on since its more difficult and im not sure exactly how to go thru with it. if ur wondering, those other bushings go right where those 17mm bolts are on the steering rack.
Review: tho i've just installed these and havnt driven around very much, i have stillnoticed a slight difference. the shi


HCF Member
Joined: Jul 2005
Posts: 7,994
From: Rochester, NY
ORIGINAL: civicexracer
here are the shifter bushings. im unsure of what that top piece is, if someone could let me know that'd be great!
 .
.
here are the shifter bushings. im unsure of what that top piece is, if someone could let me know that'd be great!
.


HCF Member
Joined: Feb 2005
Posts: 8,469
I have been thinking about doing this for a wile, I want to do the shifter for sure, but now that you made the review on the other ones, I dont think Ill need them since im not racing around.Please do a review on the shock mount bushings and the LCA bushings,that would be great. Nice write up !!!!
HCF Member
Joined: Sep 2005
Posts: 188
From: SF Bay Area
This is a very nice write up. There are too many DIY articles that might as well not have been written because they don't give any instructions with visual aids.
Great stuff. I wasn't planning on doing this because I didn't know where to start but this has changed my mind.
Thanks!
Great stuff. I wasn't planning on doing this because I didn't know where to start but this has changed my mind.
Thanks!

Thread
Thread Starter
Forum
Replies
Last Post
boiler1
Mechanical Problems & Technical Chat
2
Oct 17, 2011 03:08 PM
MrLizard
Suspension, Brakes, Tires & Wheels
4
Aug 21, 2008 01:53 PM