
Cvcrcr's project/fix-up thread (version 1.1)


Here are some pics of the work I did yesterday.
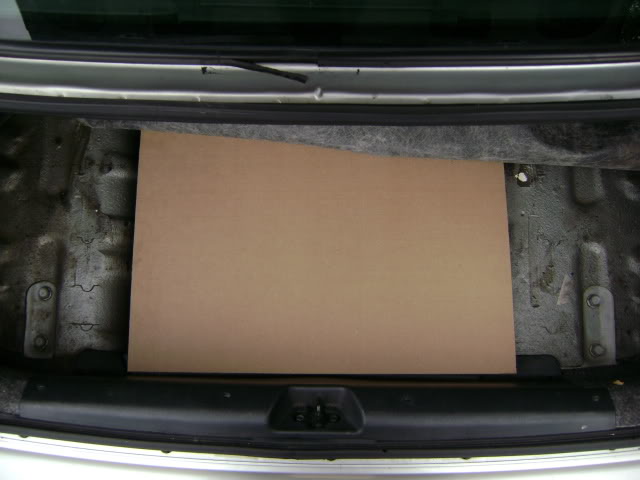
Bought a 8'x 2'x 1/2''x board of MDF, cut it and fit it into my trunk. I am planning on cutting a circle out for the sub which will sit into my spare tire area.
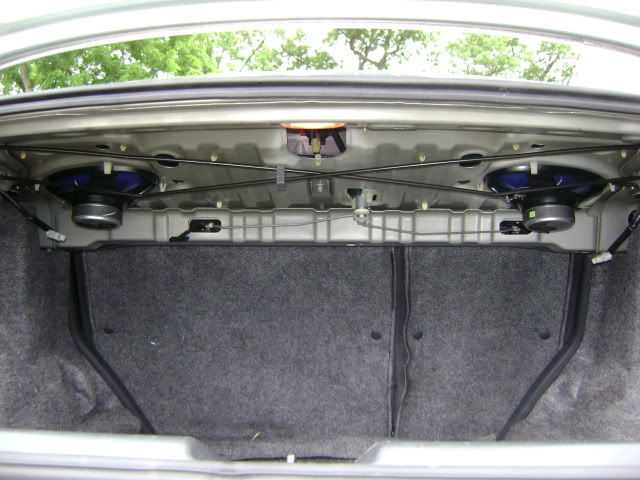
New rear speakers. Some type of Pioneer 4 ways.. I didn't get the model number or care about the model number. lol
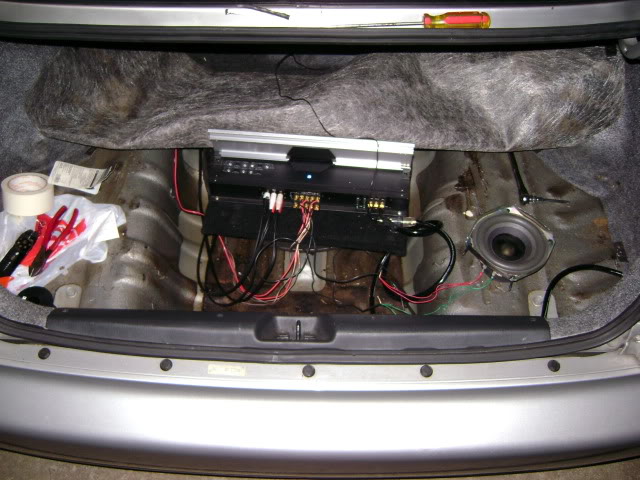
A quick pic of the amp wired up and working. Do not mind the sh!tty display of wires, I have yet to clean everything up. It's a five channel Alpine amp. The 6'' Bose subwoofer is in the pic as well. But it is a POS. I will be junking it and buying some type of 10" sub to go in there.
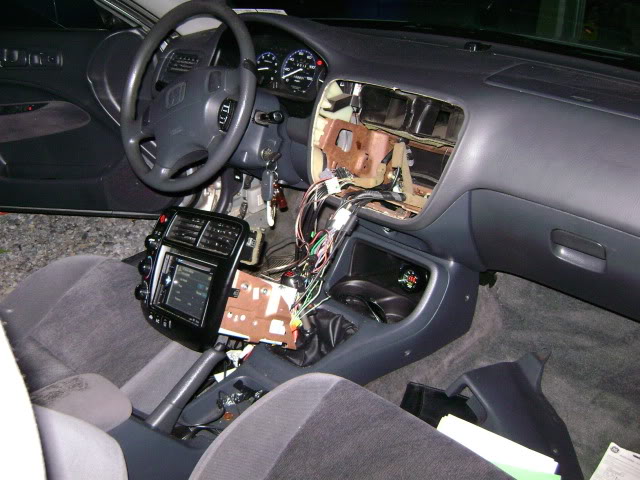
lol... quick pick of my dashboard puking wires and climate controls... hehe
I will be changing a few things up regarding the wiring, and how the amp sits on the rack I made for it, but for the most part, it's done! I'll post up some pics when completed.
Bought a 8'x 2'x 1/2''x board of MDF, cut it and fit it into my trunk. I am planning on cutting a circle out for the sub which will sit into my spare tire area.
New rear speakers. Some type of Pioneer 4 ways.. I didn't get the model number or care about the model number. lol
A quick pic of the amp wired up and working. Do not mind the sh!tty display of wires, I have yet to clean everything up. It's a five channel Alpine amp. The 6'' Bose subwoofer is in the pic as well. But it is a POS. I will be junking it and buying some type of 10" sub to go in there.
lol... quick pick of my dashboard puking wires and climate controls... hehe
I will be changing a few things up regarding the wiring, and how the amp sits on the rack I made for it, but for the most part, it's done! I'll post up some pics when completed.
Last edited by cvcrcr99; Jul 26, 2009 at 10:14 AM.
^^ lol.. skillz. The climate control bezel has not been bolted in (under the plastic pieces) for the past day or two so I could get to everything easier when working on the install. The wiring will be 100% complete by the end of the day tomorrow, and I'll go ahead and put everything back as it should.
New windshield tomorrow!
New windshield tomorrow!

^^ hell yes I am. I ended up spending something along the lines of $2500 for everything regarding the turbo, and I still needed oil lines/gaskets/bunch o' little things. For this new "project", with the body damage fixed up/car painted, I am looking at around $2000.
I do know that it is only $500 cheaper and my car will not be as nearly as fast without turbo, but you have to keep in mind that if I spent that $2500 on a turbo I would still need/want the body work done. Equaling around $4-5k total. I am happy running around with a almost stock set-up. Right now, I am just concerned with having a clean looking car, and not some half painted, fast, banged up car. BTW, I have had the amp I installed and all the wires just sitting around in the garage. I only spent an extra $30 to complete the system with new 6x9's in the rear.
Looky looky at what I got today in the mail...
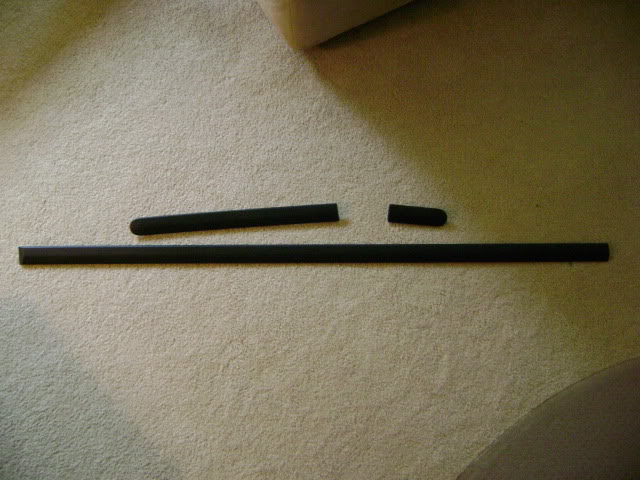
^obviously, that's only half the kit, but you get the idea.
mmmmmm....... pure JDM goodness OEM Honda parts straight from Japan.
Edit - Just to add, I feel like that one board of MDF looks awkward in the trunk....I am thinking about buying another board, and cutting it and making just an entirely new trunk "floor" that's 1/2" thick.
Also, I forgot to add that a guy down in Philly has a Cluster from a 2000 Civic SI (with 20,000 miles... but that really doesn't matter) that he is selling for $100. If I have enough cash left over after the windshield is replaced, I might go and pick it up.
I do know that it is only $500 cheaper and my car will not be as nearly as fast without turbo, but you have to keep in mind that if I spent that $2500 on a turbo I would still need/want the body work done. Equaling around $4-5k total. I am happy running around with a almost stock set-up. Right now, I am just concerned with having a clean looking car, and not some half painted, fast, banged up car. BTW, I have had the amp I installed and all the wires just sitting around in the garage. I only spent an extra $30 to complete the system with new 6x9's in the rear.
Looky looky at what I got today in the mail...
^obviously, that's only half the kit, but you get the idea.
mmmmmm....... pure JDM goodness OEM Honda parts straight from Japan.
Edit - Just to add, I feel like that one board of MDF looks awkward in the trunk....I am thinking about buying another board, and cutting it and making just an entirely new trunk "floor" that's 1/2" thick.
Also, I forgot to add that a guy down in Philly has a Cluster from a 2000 Civic SI (with 20,000 miles... but that really doesn't matter) that he is selling for $100. If I have enough cash left over after the windshield is replaced, I might go and pick it up.
Last edited by cvcrcr99; Jul 26, 2009 at 10:54 AM.
Good news - New windshield. 1/2 the time I was driving home, I feel like I didn't even see the windshield in front of me. Clean
Bad news - The painting guy is not able to meet up with my buddy and I. Oh well, I'll probably end up meeting up with him within the next 2 weeks or so.
Lip kit is arriving tomorrow! yay
Bad news - The painting guy is not able to meet up with my buddy and I. Oh well, I'll probably end up meeting up with him within the next 2 weeks or so.
Lip kit is arriving tomorrow! yay

HCF Member
Joined: Jun 2007
Posts: 1,184
From: Texas
if you are going to put the sub straight into the floor like that, make sure there is still a sealed enclosure under it. you'll basically just have to build a box that fits into the tire well area and is flush with the rest of the floor.

HCF Member
Joined: Oct 2006
Posts: 1,996
From: New York/Up state
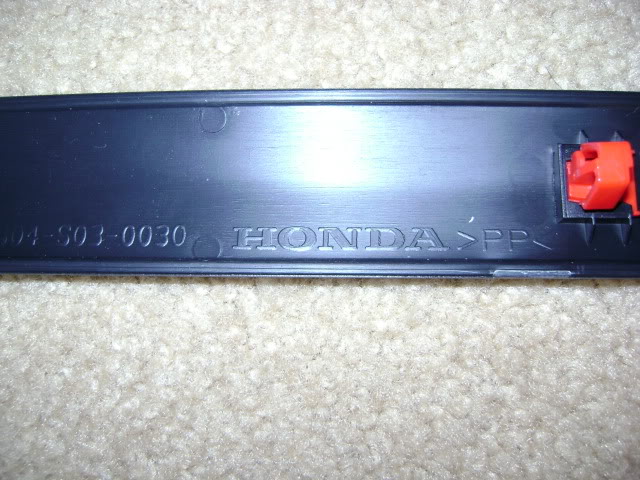
I thought you left the screws out, because there is no way to just pull that off without removing the rest.
Those side molding looks diff from mine, when i bought mine it came with the double sided tape, i wounder why yours didnt.
If you cant pick that cluster up, could i?
Those side molding looks diff from mine, when i bought mine it came with the double sided tape, i wounder why yours didnt.
If you cant pick that cluster up, could i?
The cluster sold already... I called him and he told me it was already gone. You don't like your CTR cluster splat?
Received my lip kit today! Opened everything up, unfolded the lip kit (lol), and let it sit out in the sun for about 2 hours. "Molded" it to shape and mounted it using the self-tapping screws that the lip came with. The front lip fit incredibly well, the rear, was kind of a PITA. Here's how my car looks at the moment.
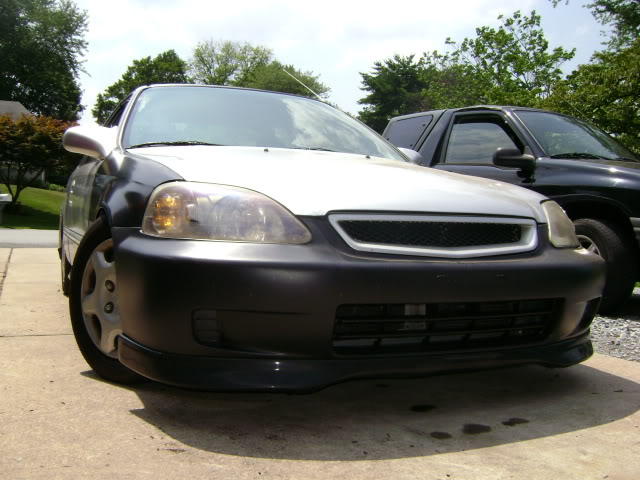
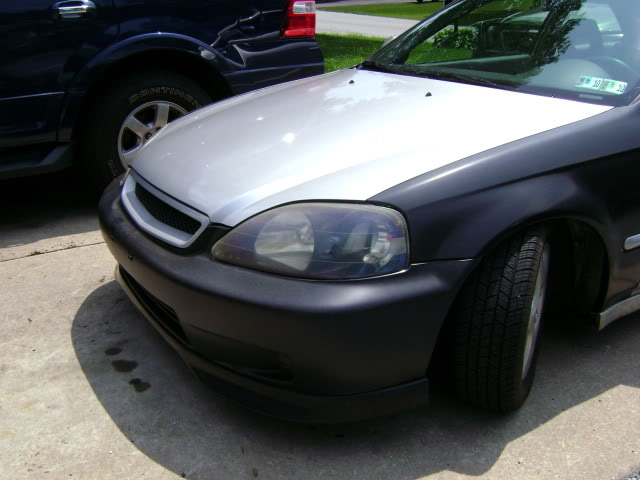
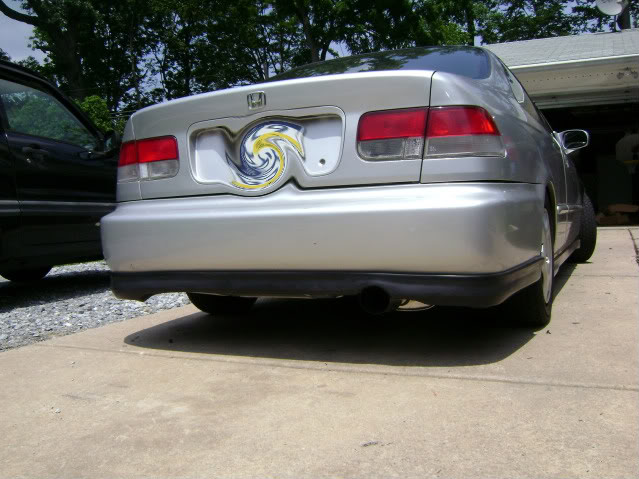
It'll eventually have some double sided tape to help it attach to the bumper, I'll add that on after everything is taken off, painted, then reinstalled. Once my sidemarkers come in and get installed, I'm ready for paint! Time for a new siggy!!!!
Last edited by cvcrcr99; Jul 25, 2009 at 10:44 AM.