GReddy_Civic's build thread v2.5-Same car, new direction
#41
 07-08-2009, 11:10 PM


Join Date: Dec 2006
Location: Don't worry about it
Posts: 3,040
WOOT! motor is O-U-T! do NOT wanna do that for a while. Might just slam it on the Si's for a lil and wait to build a block and head. Anyway...my arms look like an emo had a field day with them, my feet hurt, and I'm pretty angry. But the motor is out. I might take a day or two off. Maybe tomorrow ill finish pulling my gauges and pull the ECU and paint the stuff I want to...no, that sounds like a two day job. Pics in the AM
#42
07-09-2009, 06:39 AM
Join Date: Dec 2006
Location: Don't worry about it
Posts: 3,040
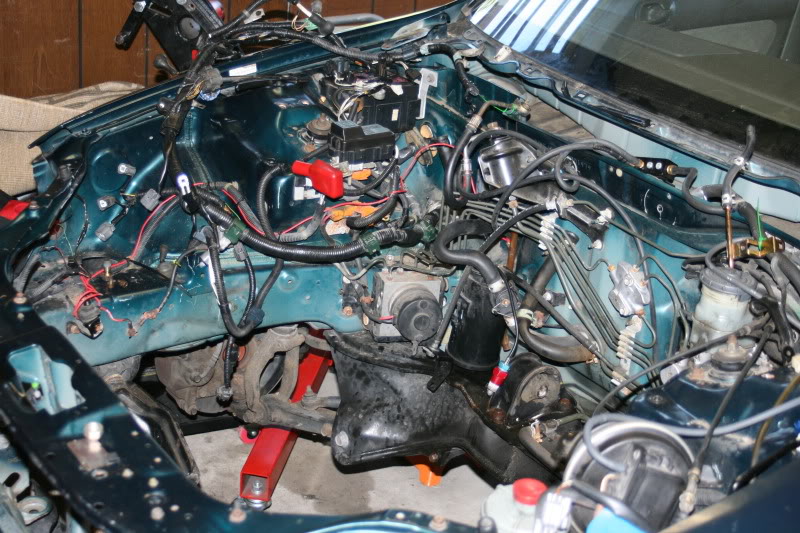
So here are the pics...FYI...oil and coolant in hair makes it feel absolutely gross. Anyway...pics

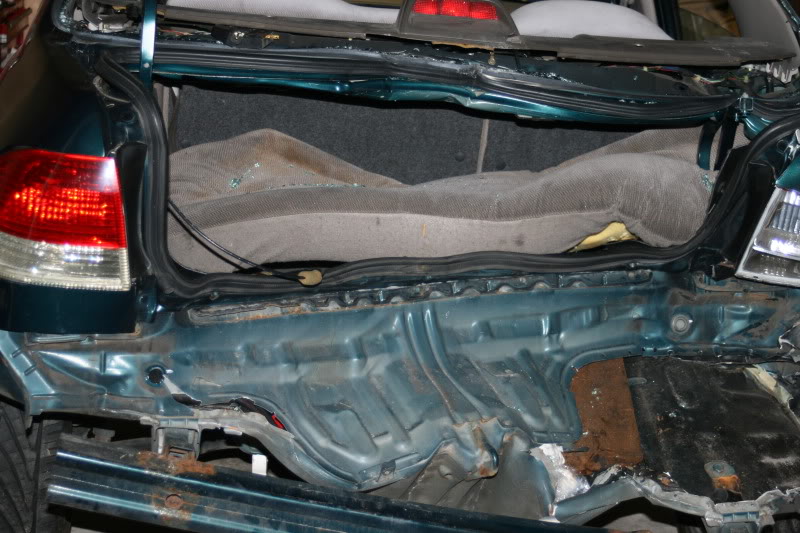
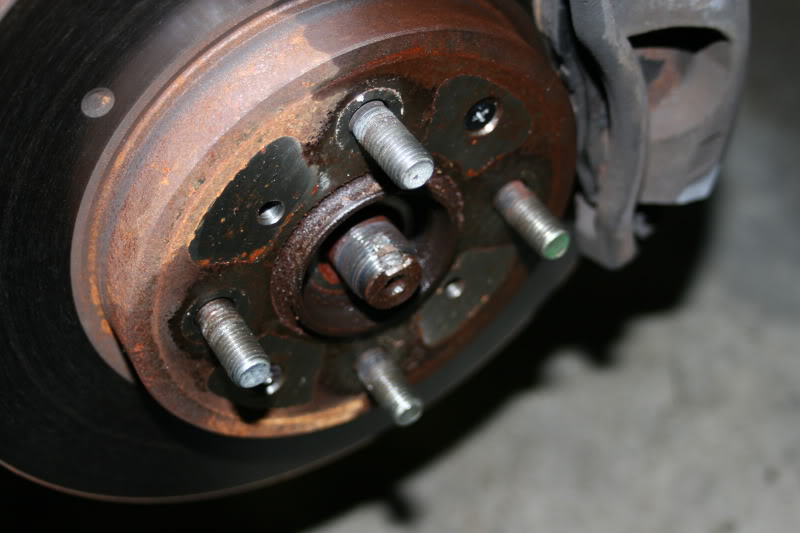
Axles out
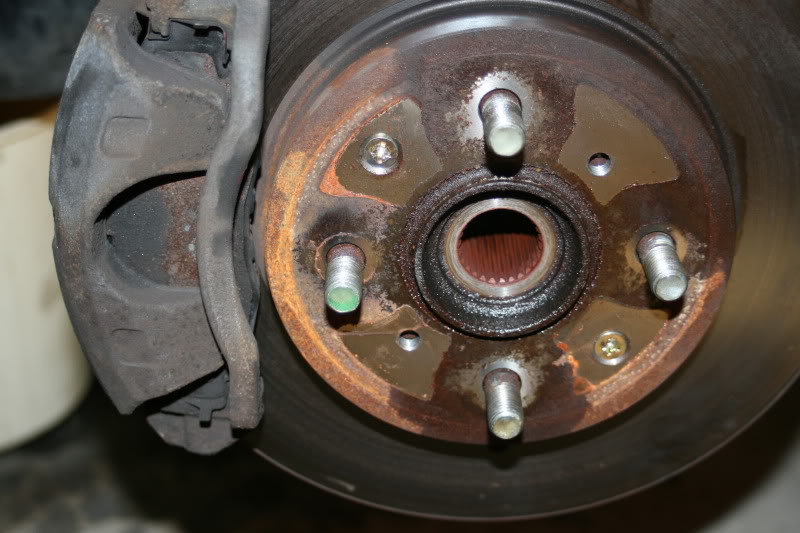
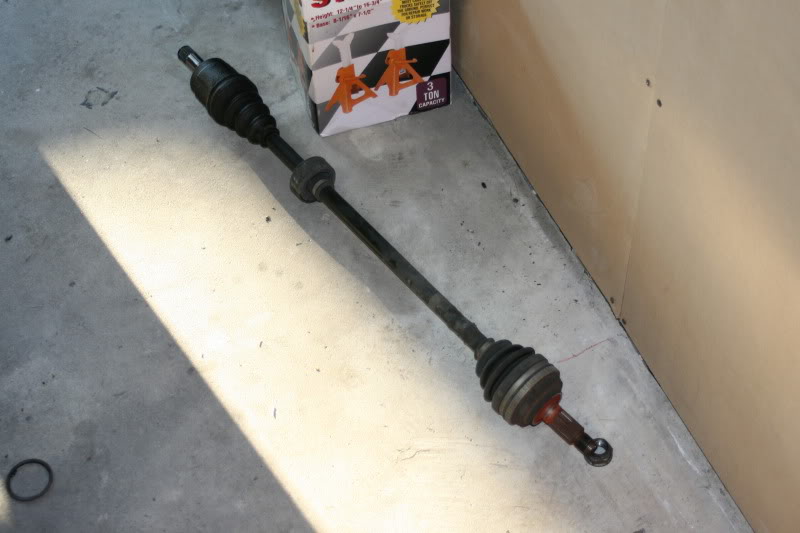
Axles out
#43
07-09-2009, 06:48 AM
Join Date: Dec 2006
Location: Don't worry about it
Posts: 3,040
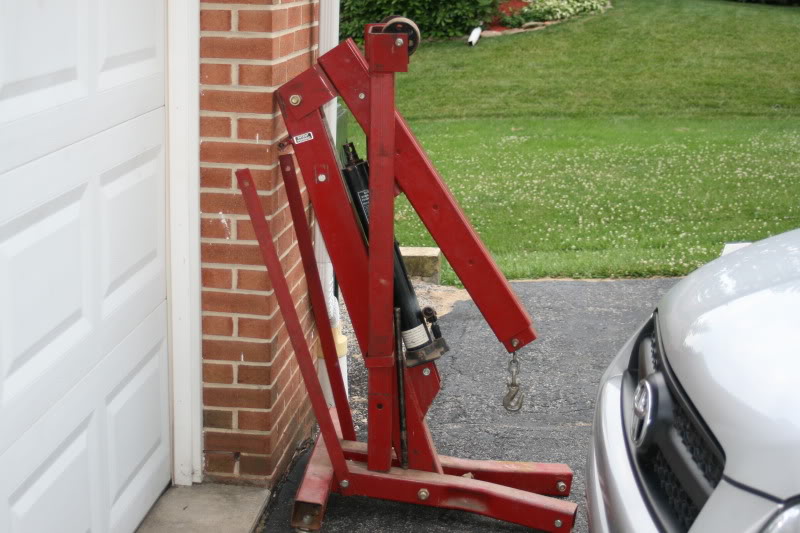
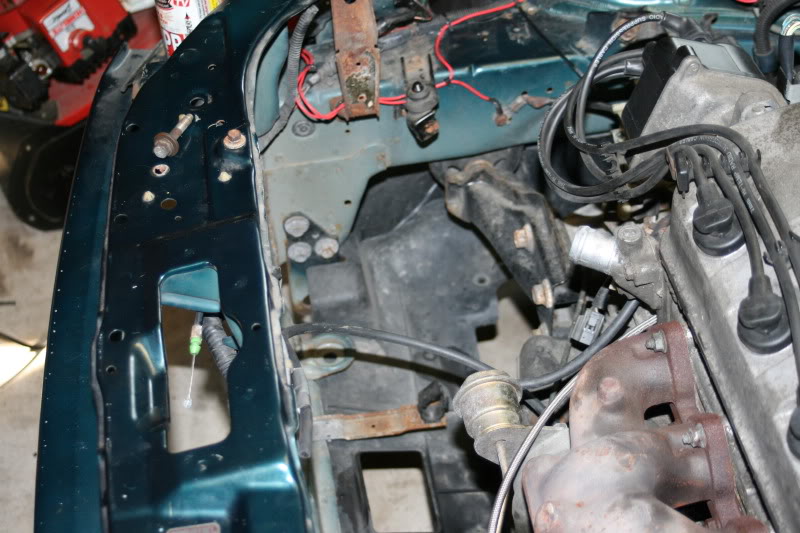
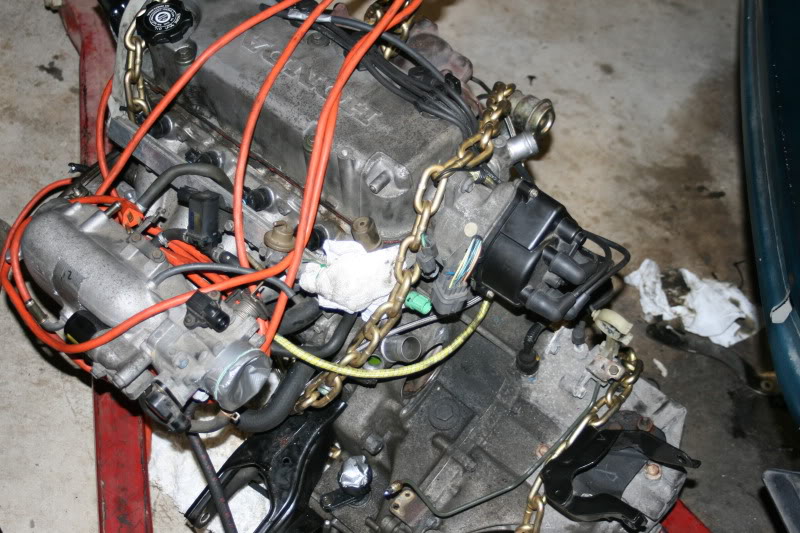
Here's the actual motor pulling pics
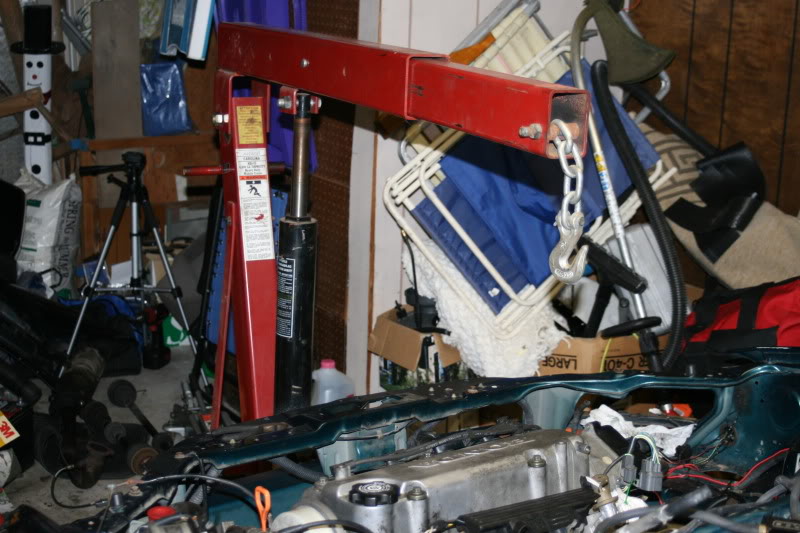
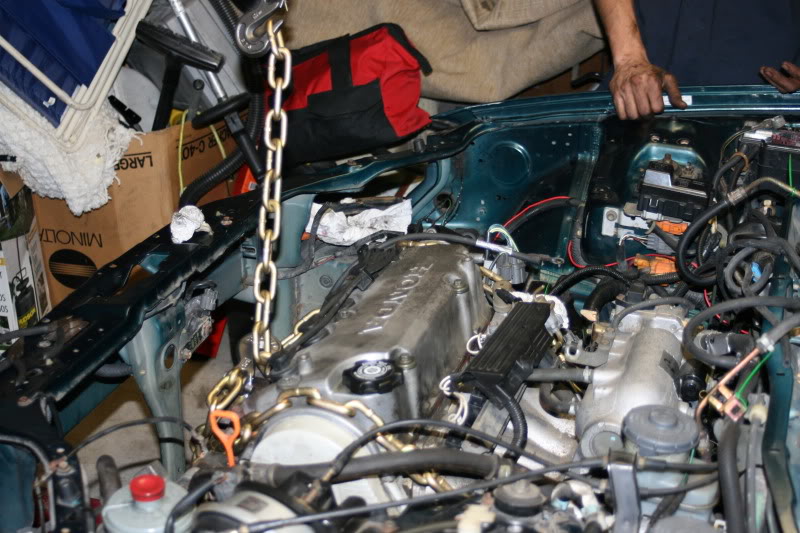
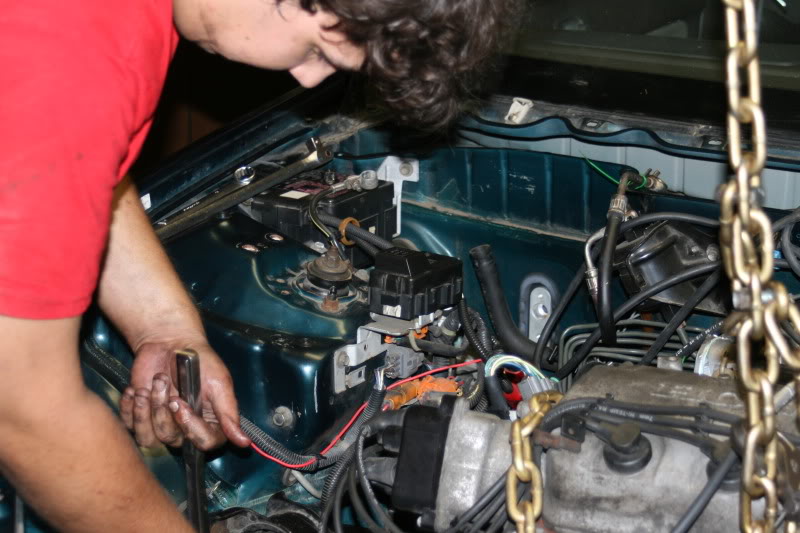
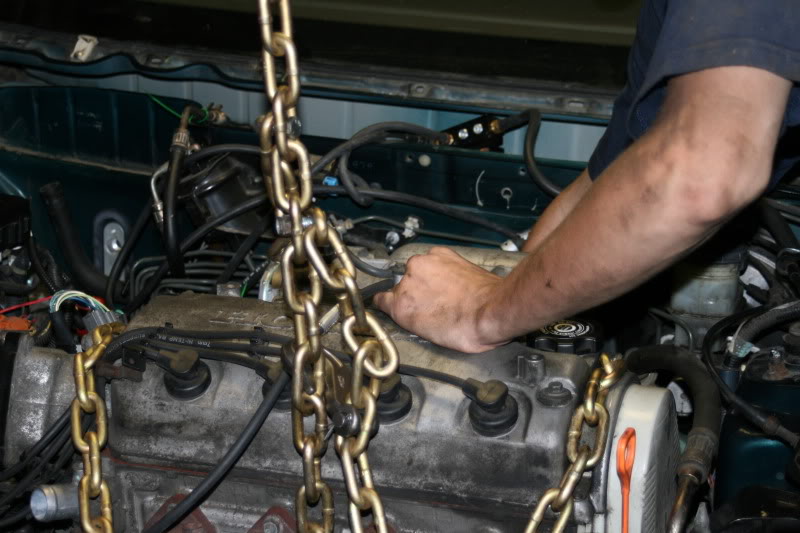
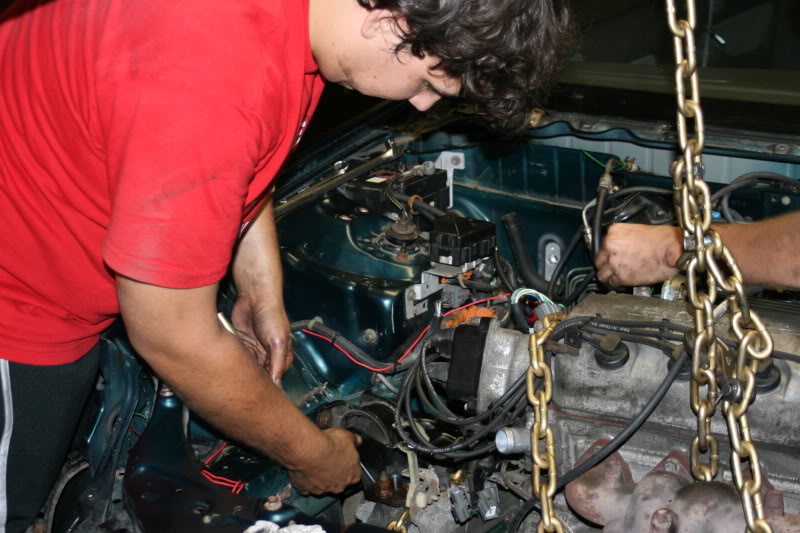

So after getting most of the mount bolts out...We figured out that because I didn't have enough chain to wrap around the intake manifold, just that little bit of weight was tilting the motor backwards...sooooooooooo extension cord to the rescue! and yes...it worked.
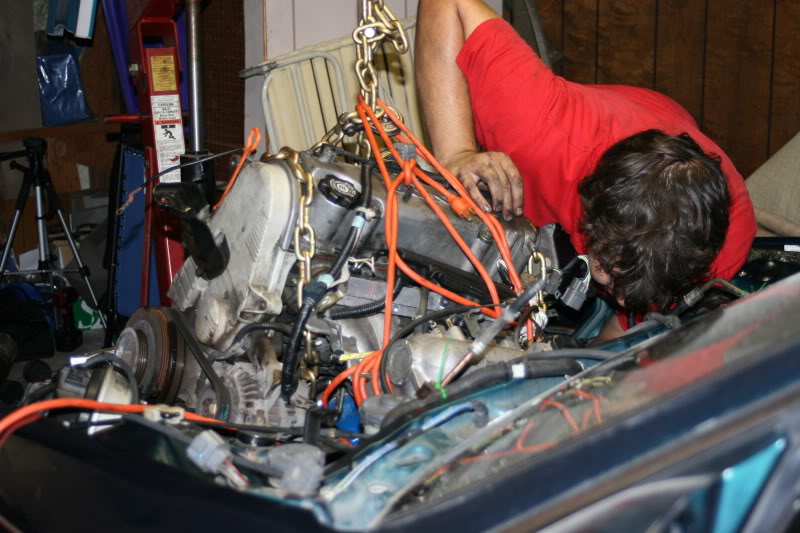
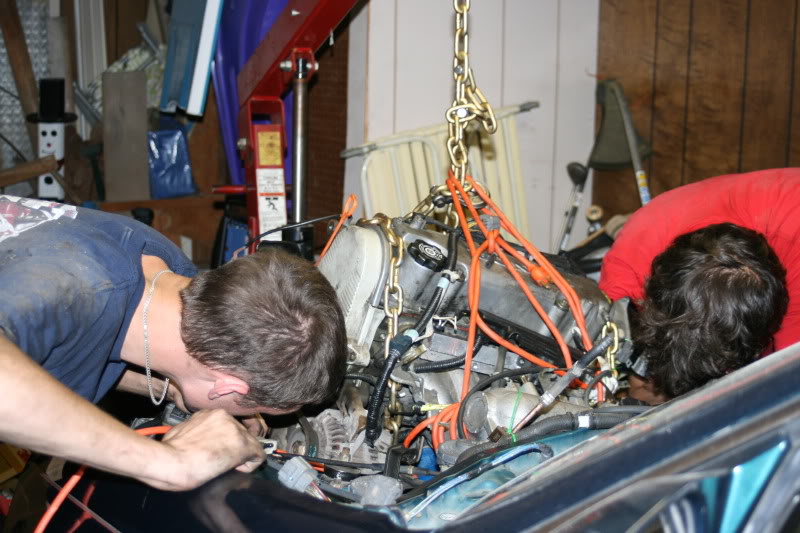
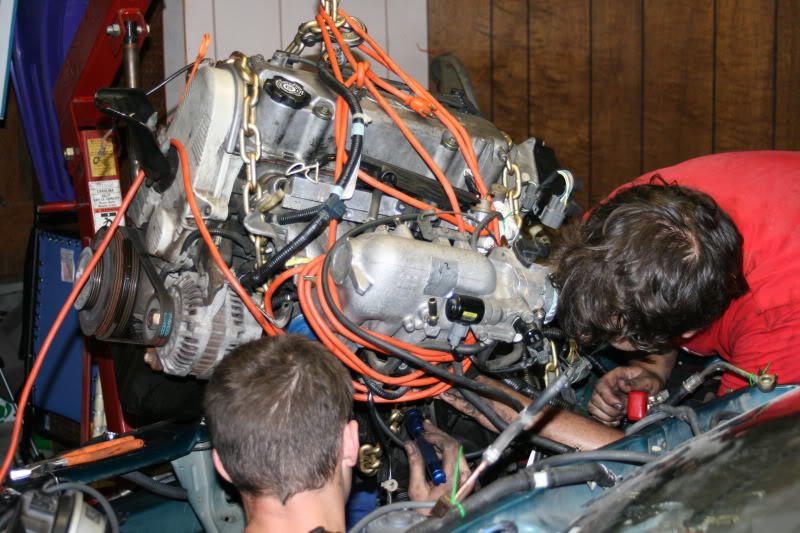
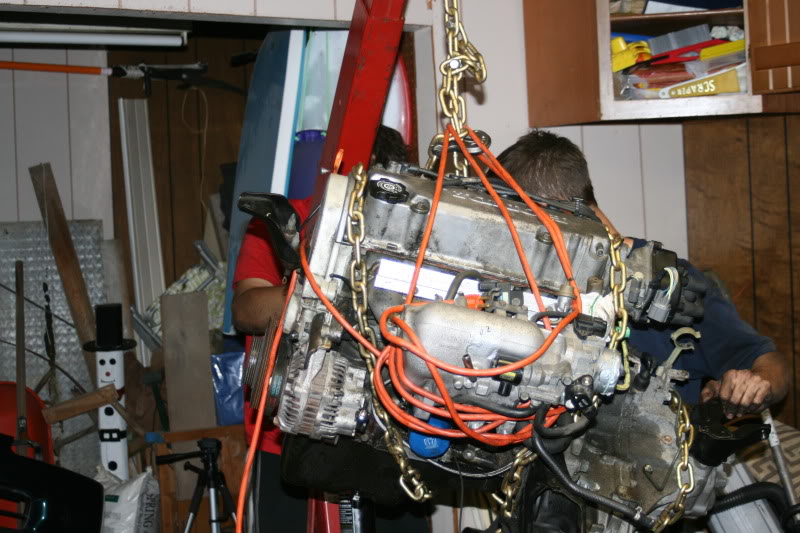
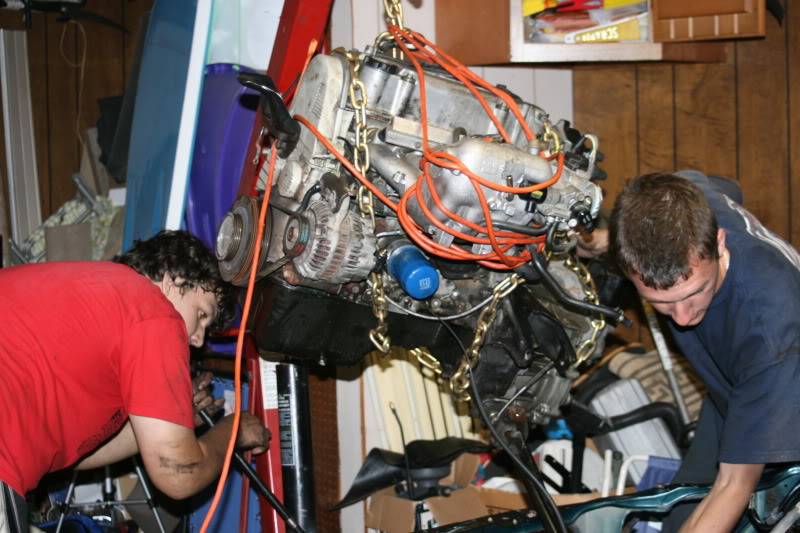
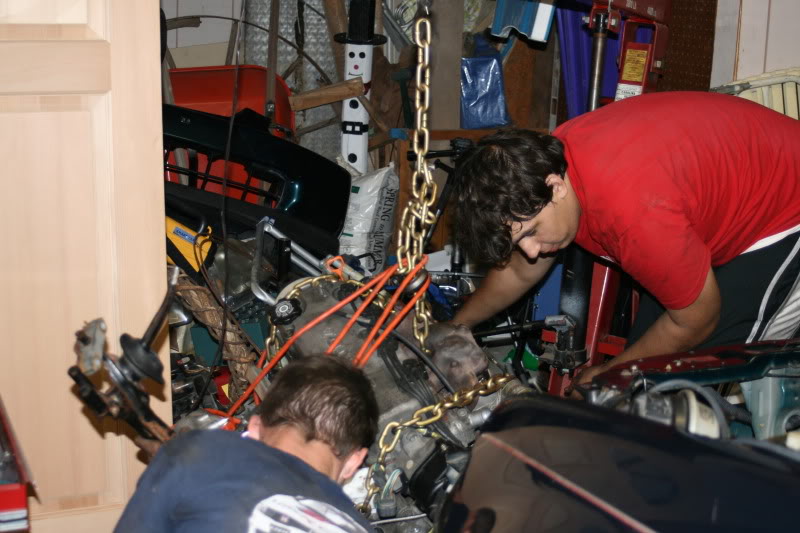
Profit!
So after getting most of the mount bolts out...We figured out that because I didn't have enough chain to wrap around the intake manifold, just that little bit of weight was tilting the motor backwards...sooooooooooo extension cord to the rescue! and yes...it worked.
Profit!
#44
07-09-2009, 08:50 AM
Recognized HCF Member
Join Date: Jun 2006
Location: Brownsburg, IN 46112
Posts: 11,203
extension cord FTW
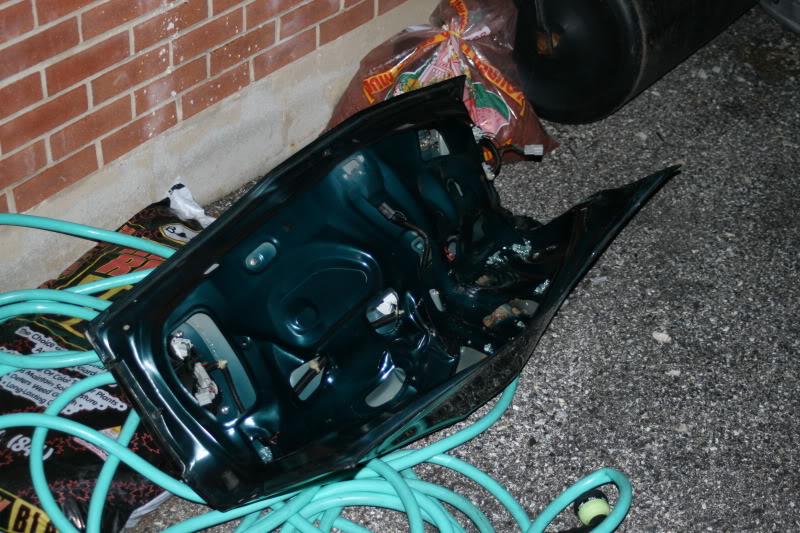
how you going to get rid of the left over shell? flat bed the car to a scrap yard?
how you going to get rid of the left over shell? flat bed the car to a scrap yard?

#46
07-09-2009, 11:40 AM

extension cord ftw
i just read this whole thing, i haven't kept on it at all, but props for keeping things rolling, coming together good, hope physical therapy helps the back.
i just read this whole thing, i haven't kept on it at all, but props for keeping things rolling, coming together good, hope physical therapy helps the back.
#48
07-10-2009, 06:24 PM
Join Date: Dec 2006
Location: Don't worry about it
Posts: 3,040
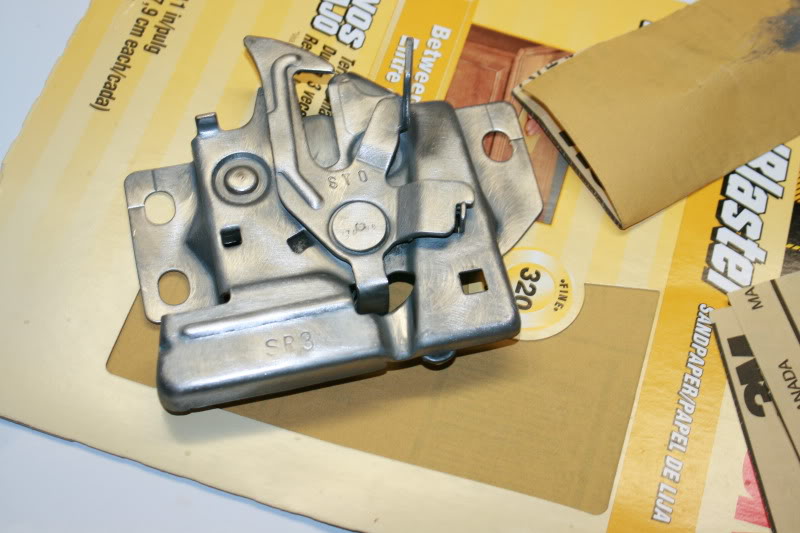
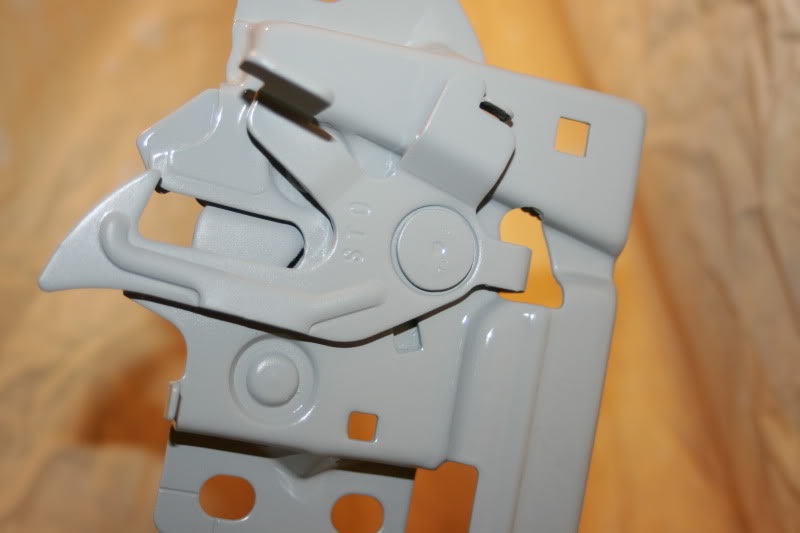
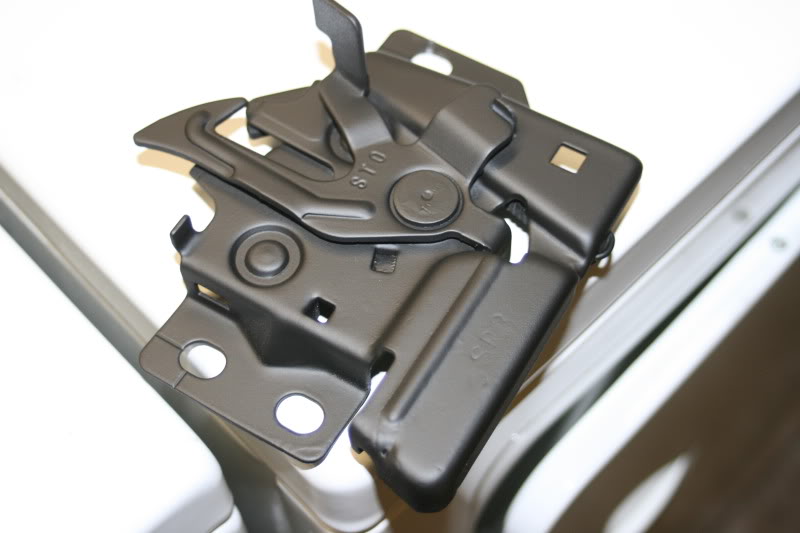
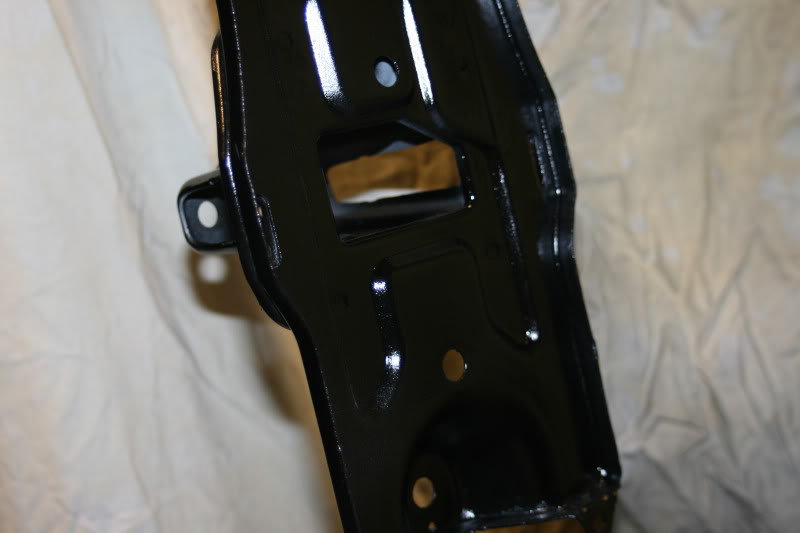
so i found out that I need high temp paint for the intercooler...shoulda figured. Anyway, I decided to go ahead and paint my hood latch (if you look in my sig, the hood latch and 2 bolts holding the intercooler on are visible(and the bolts will be painted too)) also decided to paint my wipers, and the batter tray and the battery mount. There's a lot of other things that need done as well, just not today. I ended up prepping for 2 hrs and then 2 coats of primer on everything. So I just put the first coat of paint on.
#49
07-10-2009, 09:58 PM
Join Date: Dec 2006
Location: Don't worry about it
Posts: 3,040
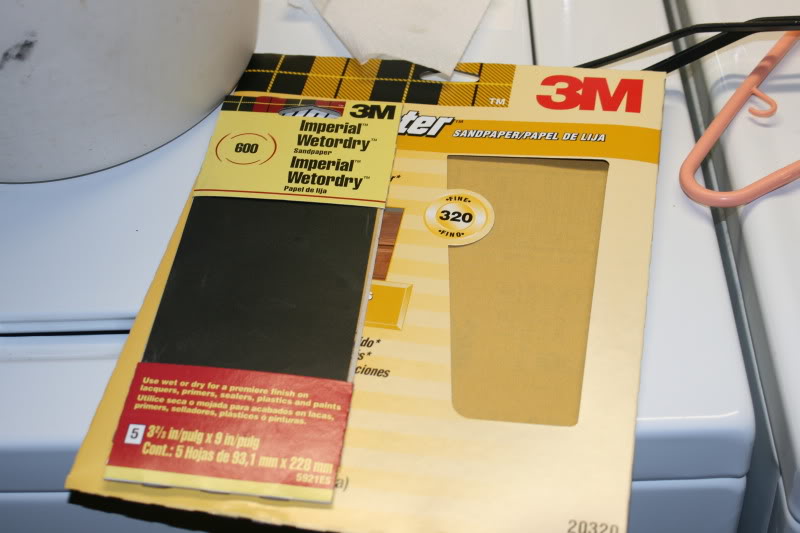
Well here are the pics from painting. Like i said in the post before this, lotta time went into prep work and primering.
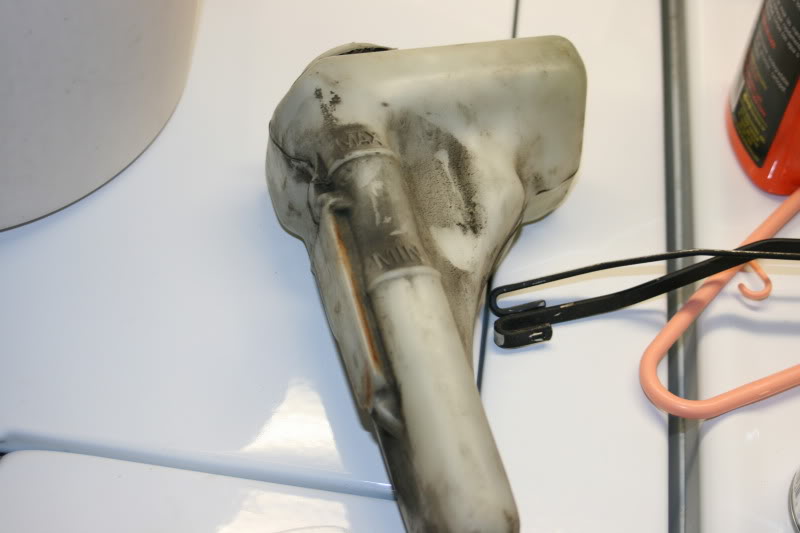
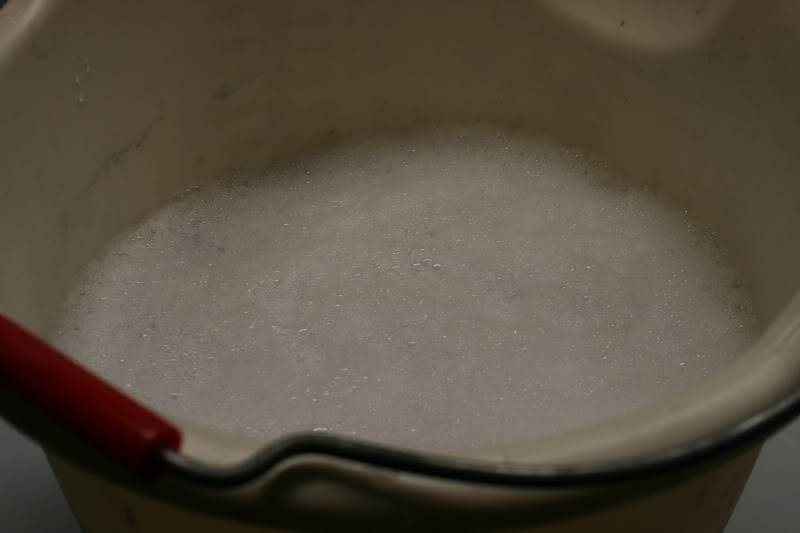
Simple Green and water
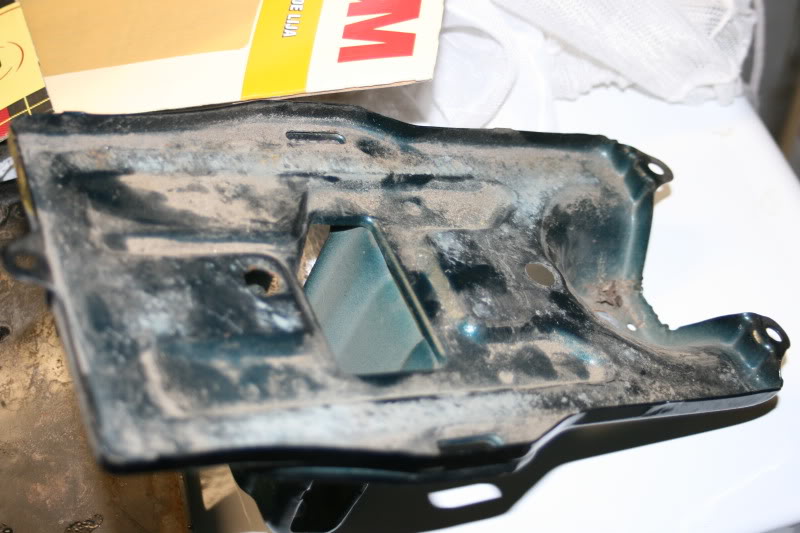
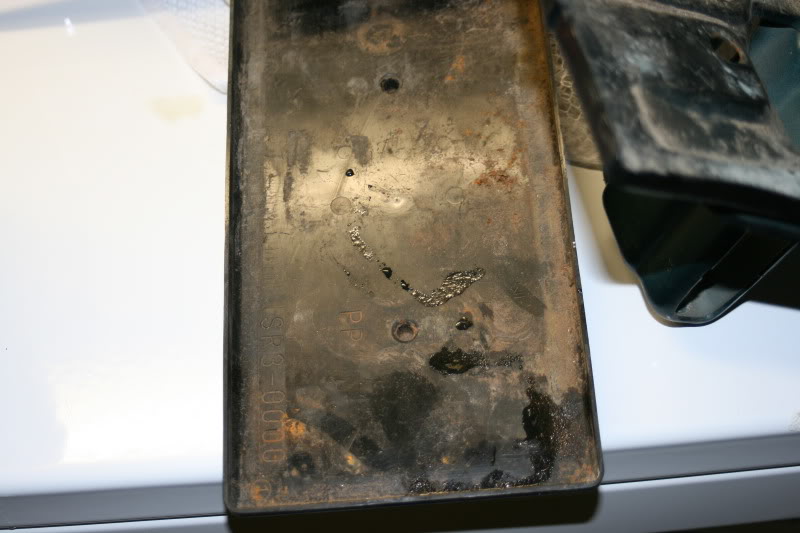
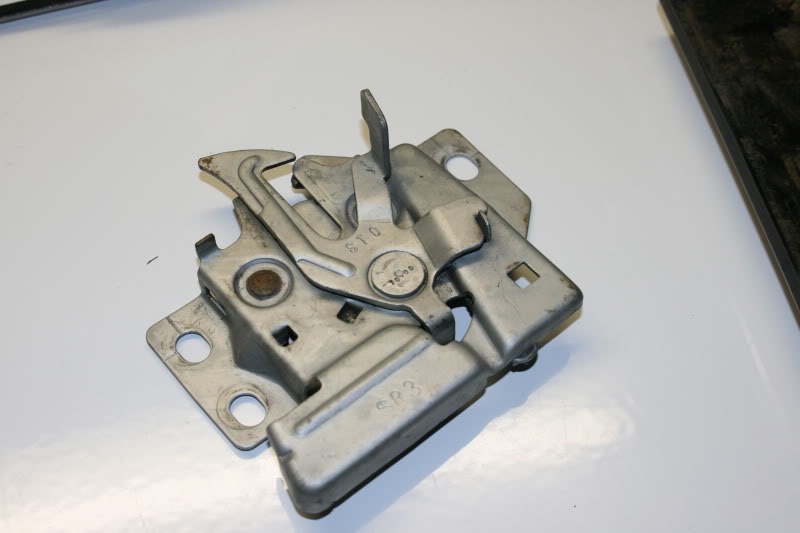
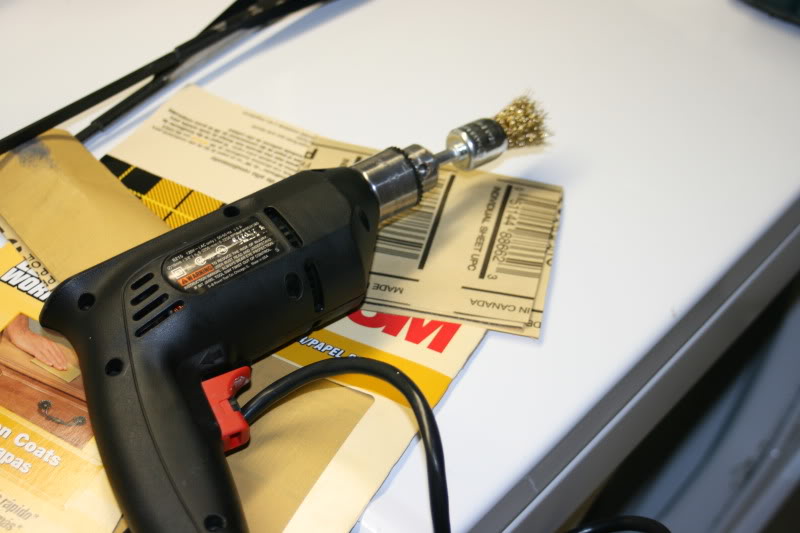
Wire brushed and ready for primer
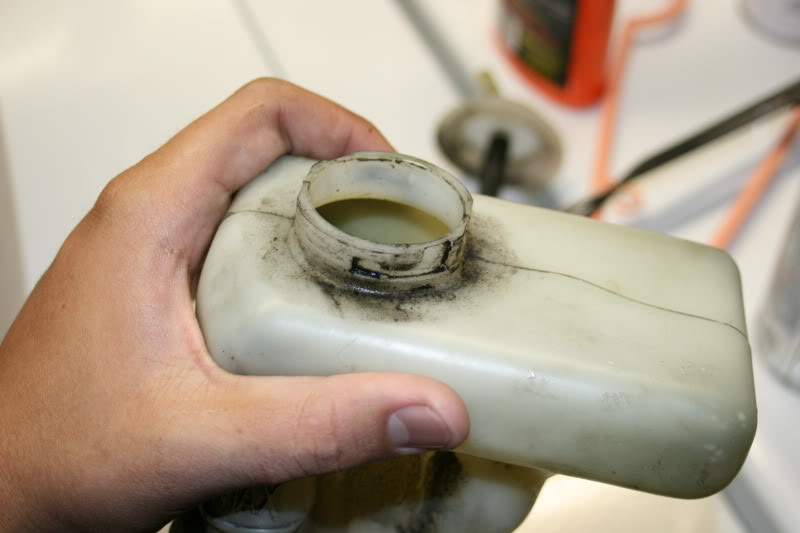
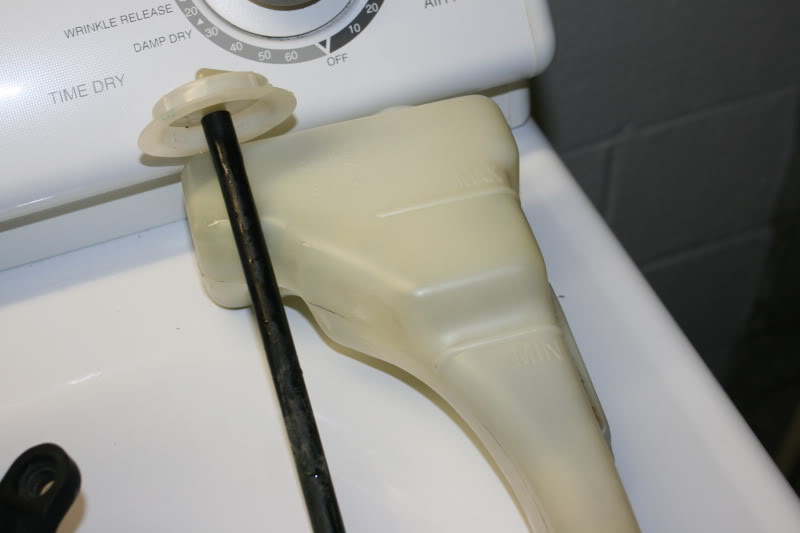
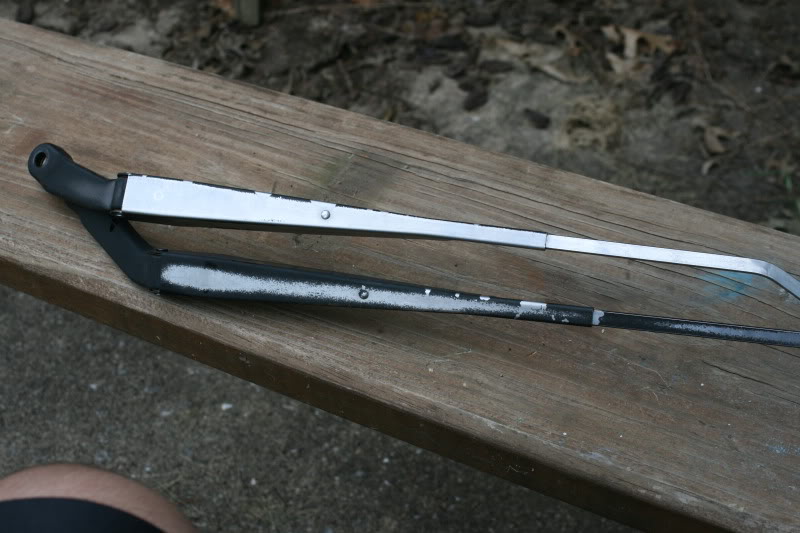
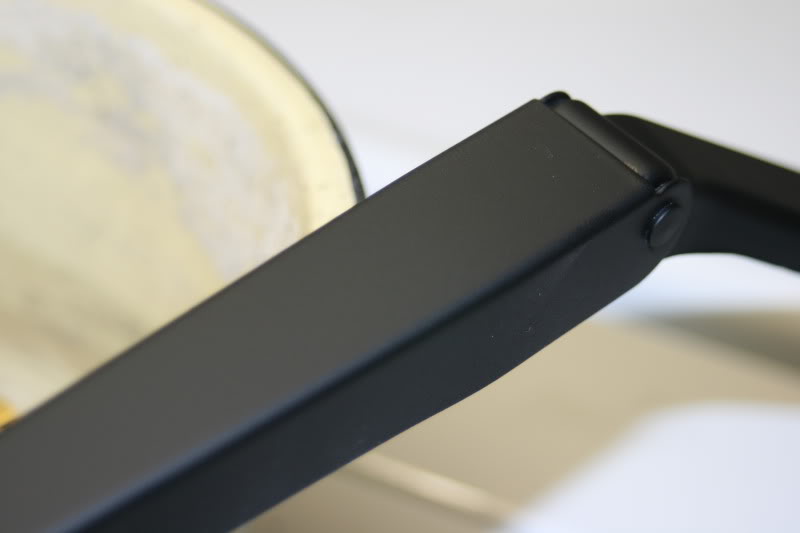
This is how my wipers looked before stripping the car
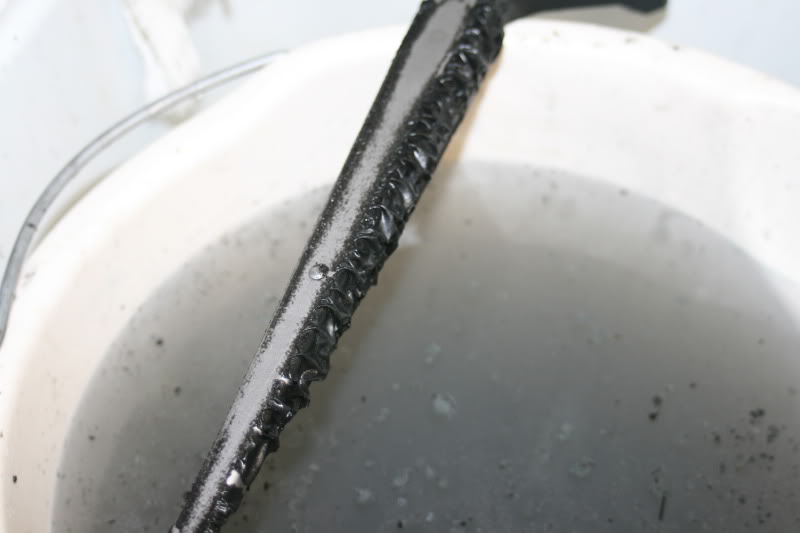
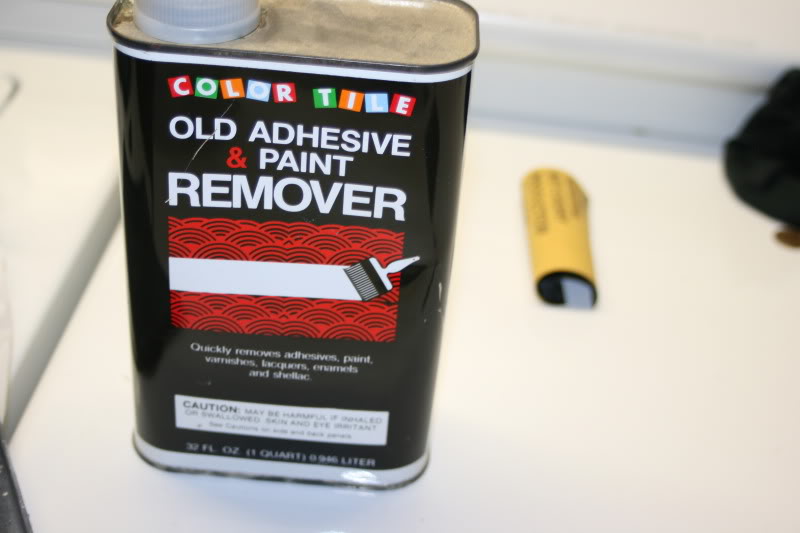
This stuff burned so bad when it got on your skin.
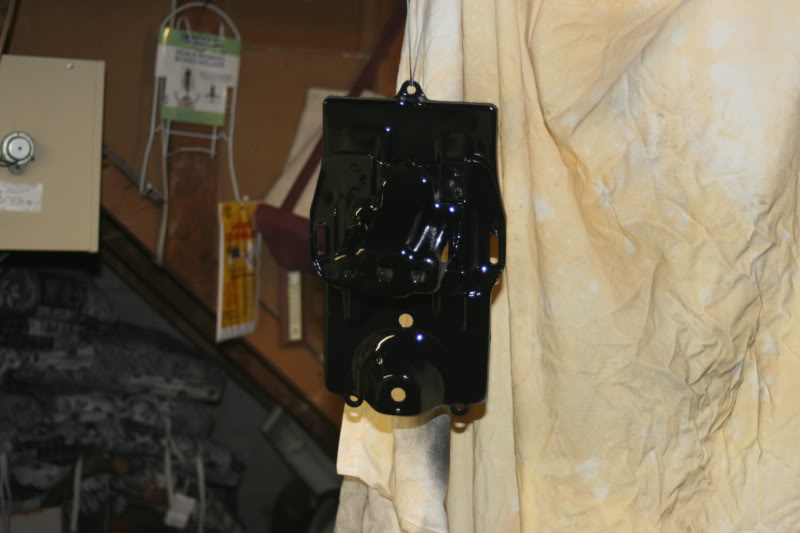
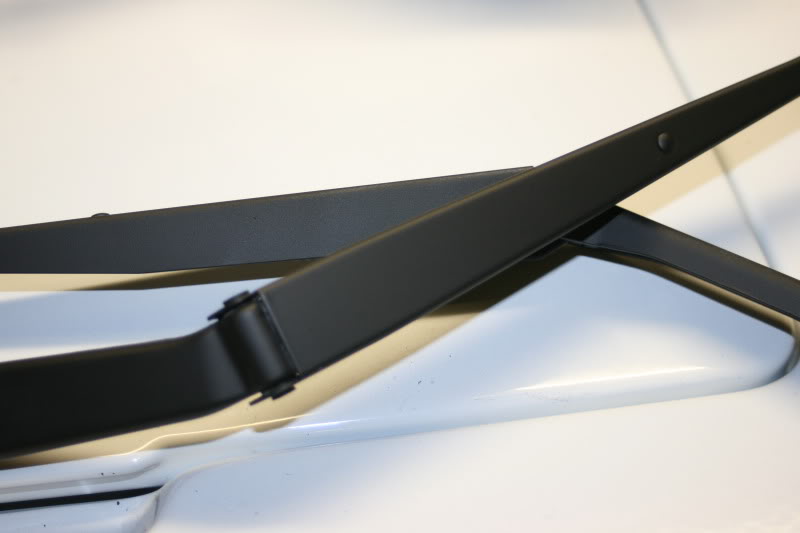
MMMM smooth

Simple Green and water
Wire brushed and ready for primer
This is how my wipers looked before stripping the car
This stuff burned so bad when it got on your skin.
MMMM smooth
#50
07-10-2009, 10:22 PM

what kind of paint did you use for the wipers? they look like they are brand new
I need to get off my lazy butt and paint mine
I need to get off my lazy butt and paint mine