
Acura Integra Map Light Installation (92-95 Civic)


Thread Starter
|
June 2010 ROTM
Joined: Oct 2006
Posts: 3,284
From: Milwaukee, WI
DIY: DC2 Map Light into EG w/Moon Roof
I saw some write-ups of installing a map light into a Civic without a moon roof. That style would not work for my EJ1 so, I wrote this up to share...
Tools needed:
-Screw Drivers - phillips flat head
-Box Cutter or cutting blade
-Wire strippers (or use the blade^)
-Electrical tape
-A brain
Parts needed:
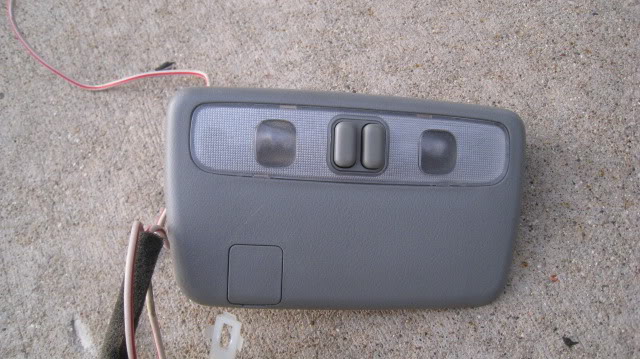
-Map light from an Integra, preferably with the wire (white/red) too.
It should look like this:
Let's get started...
1. Remove the 7.5A interior fuse and test that the dome light will not turn on to be sure you pulled the proper fuse.
2. Remove:
-sun visors (4 screws)
-visors clips/stays (2 screws)
-center mini-visor (1 screw)
-A pillar garnish pieces (pull)
-Oh Snap handle on passenger's side (2 screws)
-plastic trim screws found behind A pillar garnishes (2 screws)
-moon roof headliner trim piece (pull)
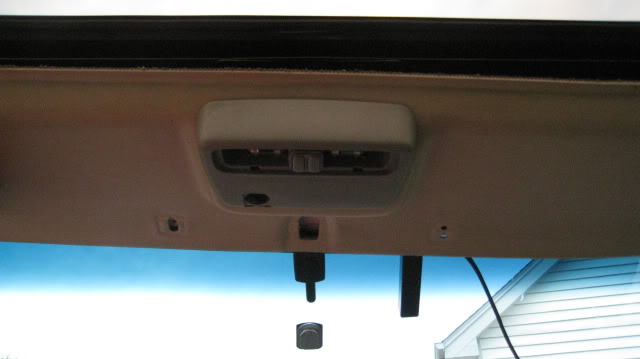
NOTE: You can stop here or keep pulling off parts. However, I was able to do this with just removing these parts and keeping the headliner on the car.
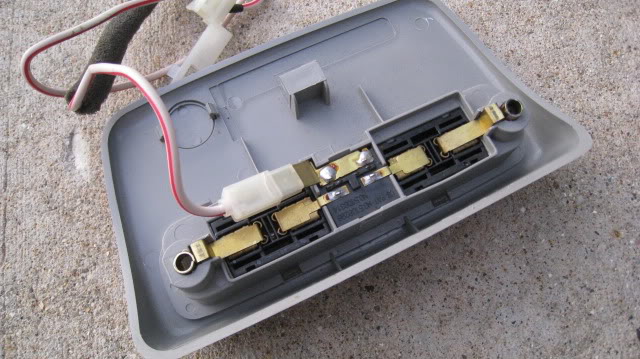
3. Look at the back side of the map light. Notice where it will hit the headliner. Cut a pilot hole to see where else you have to cut from there. Measure twice, cut once. Or do as I do and don't measure and cut until it fits.
Back side of the Map Light:

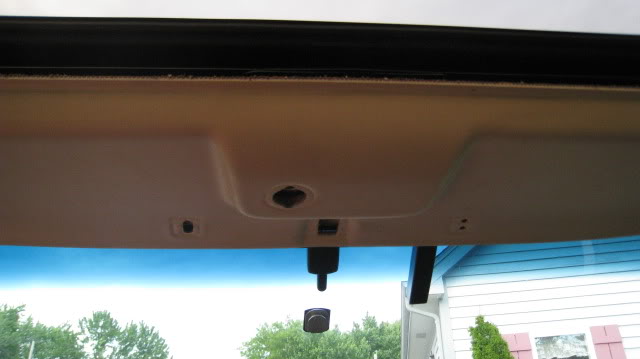
Headliner with all the parts removed:
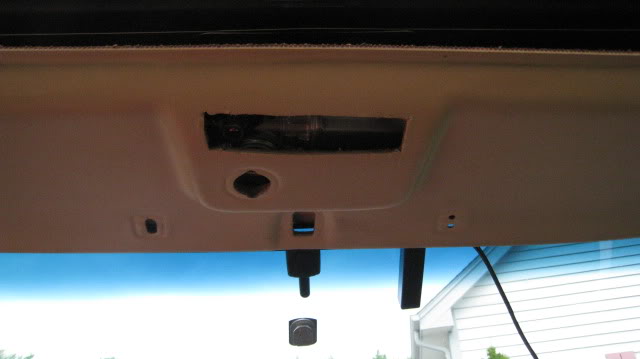
Headliner after first pilot hole was cut:
Test fitting:
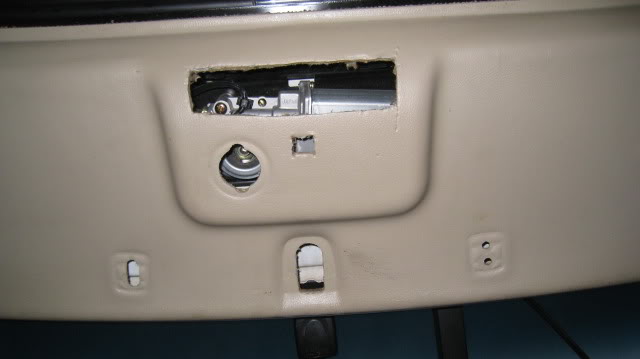
4. Now, before you cut any more, notice that there are 2 brackets on the car that match up with the holes to mount the map light to.
See the brackets:
5. Cut the initial hole until the holes for mounting the map light match up with the brackets on the car.

6. I'm sure you noticed that the map light piece has a tab that also helps hold it in place. The easiest way to get the correct location in the headliner to make a hole for the tab is to press the map light into the headliner and mark where the tab leaves an impression in the headliner. Then make your hole accordingly.
The headliner with the cut made:
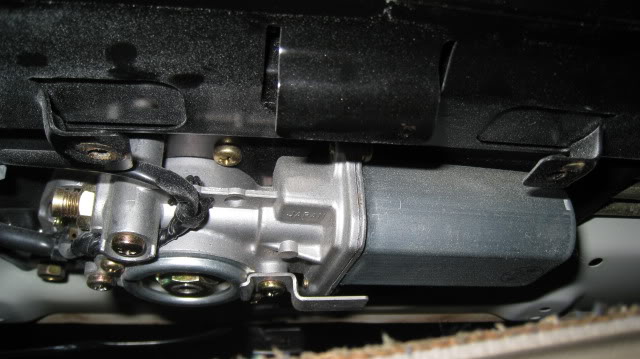
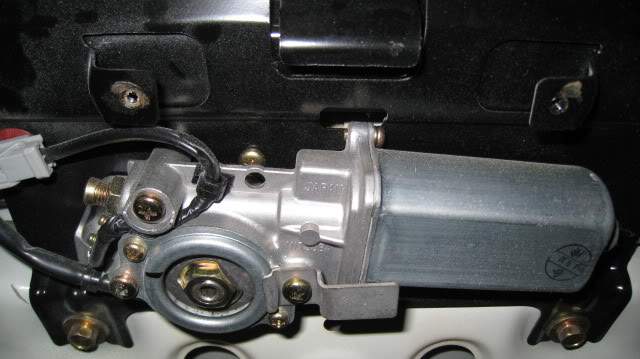
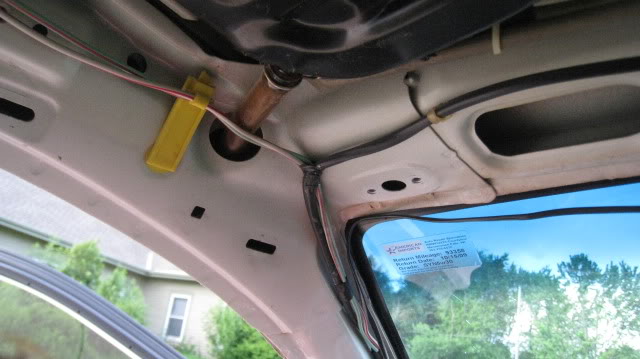
7. Wire it up. Hopefully you got the white/red wire and plug. Running up the Driver's side A pillar is white/red wire. Weird, I wonder... Yes, this is the wire you should tap into and connect the white/red wire from the map light.
Here's where the wire is:
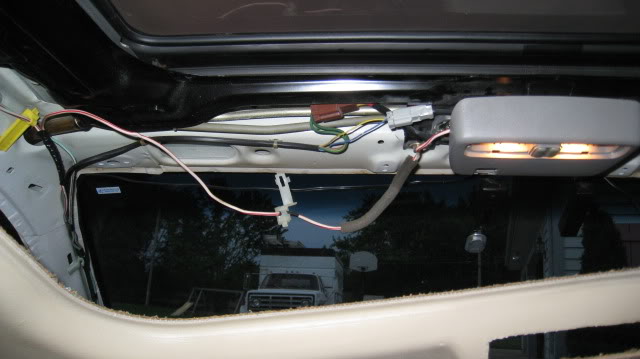
8. Where's the ground!!?!? Well, when you screw in the map light to the car, the screws are the ground, proving you didn't lose any of the pieces.
So you can see, the White/Red white is power and the mounting holes/screws become the ground.
9. It's good practice to mount and test it first before you put everything back together:
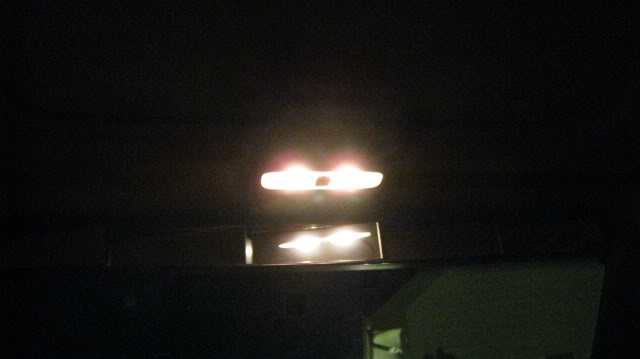
10. Put everything back together and enjoy you map light!!
I saw some write-ups of installing a map light into a Civic without a moon roof. That style would not work for my EJ1 so, I wrote this up to share...
Tools needed:
-Screw Drivers - phillips flat head
-Box Cutter or cutting blade
-Wire strippers (or use the blade^)
-Electrical tape
-A brain
Parts needed:
-Map light from an Integra, preferably with the wire (white/red) too.
It should look like this:
Let's get started...
1. Remove the 7.5A interior fuse and test that the dome light will not turn on to be sure you pulled the proper fuse.
2. Remove:
-sun visors (4 screws)
-visors clips/stays (2 screws)
-center mini-visor (1 screw)
-A pillar garnish pieces (pull)
-Oh Snap handle on passenger's side (2 screws)
-plastic trim screws found behind A pillar garnishes (2 screws)
-moon roof headliner trim piece (pull)
NOTE: You can stop here or keep pulling off parts. However, I was able to do this with just removing these parts and keeping the headliner on the car.
3. Look at the back side of the map light. Notice where it will hit the headliner. Cut a pilot hole to see where else you have to cut from there. Measure twice, cut once. Or do as I do and don't measure and cut until it fits.
Back side of the Map Light:
Headliner with all the parts removed:
Headliner after first pilot hole was cut:
Test fitting:
4. Now, before you cut any more, notice that there are 2 brackets on the car that match up with the holes to mount the map light to.
See the brackets:
5. Cut the initial hole until the holes for mounting the map light match up with the brackets on the car.
6. I'm sure you noticed that the map light piece has a tab that also helps hold it in place. The easiest way to get the correct location in the headliner to make a hole for the tab is to press the map light into the headliner and mark where the tab leaves an impression in the headliner. Then make your hole accordingly.
The headliner with the cut made:
7. Wire it up. Hopefully you got the white/red wire and plug. Running up the Driver's side A pillar is white/red wire. Weird, I wonder... Yes, this is the wire you should tap into and connect the white/red wire from the map light.
Here's where the wire is:
8. Where's the ground!!?!? Well, when you screw in the map light to the car, the screws are the ground, proving you didn't lose any of the pieces.
So you can see, the White/Red white is power and the mounting holes/screws become the ground.
9. It's good practice to mount and test it first before you put everything back together:
10. Put everything back together and enjoy you map light!!


Thread Starter
|
June 2010 ROTM
Joined: Oct 2006
Posts: 3,284
From: Milwaukee, WI

Thread Starter
|
June 2010 ROTM
Joined: Oct 2006
Posts: 3,284
From: Milwaukee, WI
I pulled it from the first Integra I say in the junk yard. So I can only narrow it down to 94-01. I'm not sure of what year specifically.

Thread
Thread Starter
Forum
Replies
Last Post
danomatic93
Interior DIYs
6
Dec 2, 2008 06:30 PM
trustdestruction
Audio/Video & Electronics DIYs
0
Nov 26, 2008 02:03 PM
pellhum21
Private 'Wanted' Classifieds
6
Aug 23, 2007 05:22 PM
joe383
Suspension, Brakes, Tires & Wheels
1
Jun 9, 2006 03:06 PM