
1993 Honda Civic Head Gasket.


Thread Starter
|
Junior Member
Joined: Jul 2014
Posts: 11
Thanks for bearing with me this is probably going to be a VERY long post. Long of the short of it is I bought a 1993 Honda Civic LX with a blown head gasket. I figured for $400.00 why not, it may end up being a decent gas saver. Ohhh man have I opened a can of worms, so far I have found the following: locked up AC Compressor (figures its an r12 system), busted CV joint, tires so far out of alignment the ones on the front have outer tread that literally looks brand new and the inner tread is worn to the wires. Missing radio Eh NBD and a bunch of other little cosmetic issues. I am always looking for advice so here is where I am currently. I am also cataloging this for my own benefit as there are a TON of pictures.
I started the procedure by pulling the fuel pump fuse, and starting the vehicle to depressurize the fuel system.
I then unhooked the battery ground cable.
I followed that up by labeling each of the spark plug wires as such this is kind of an unnecessary step you can always trace the plug wires back to the distributor, but it just eliminates unnecessary aggravation upon reassembly.
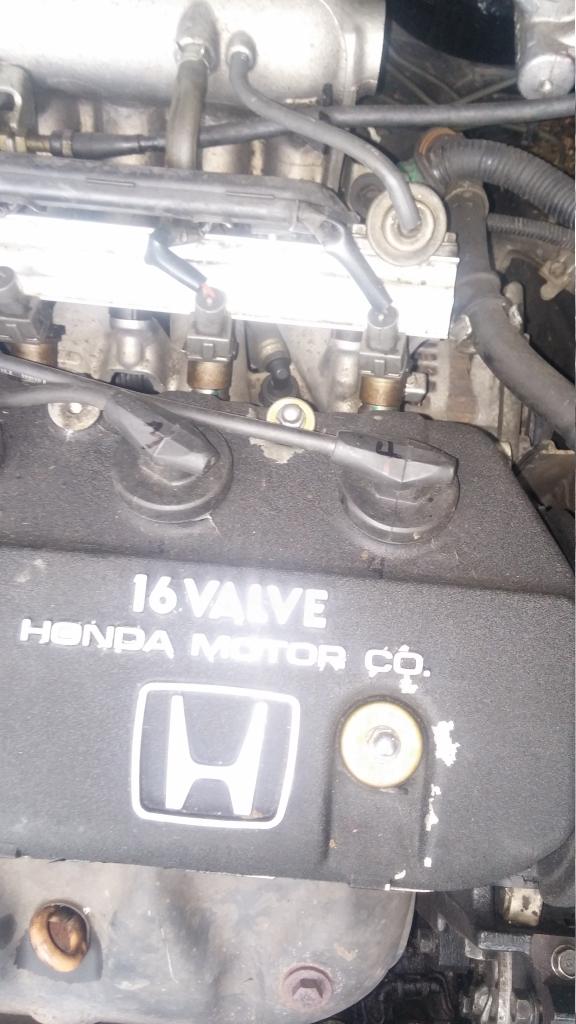
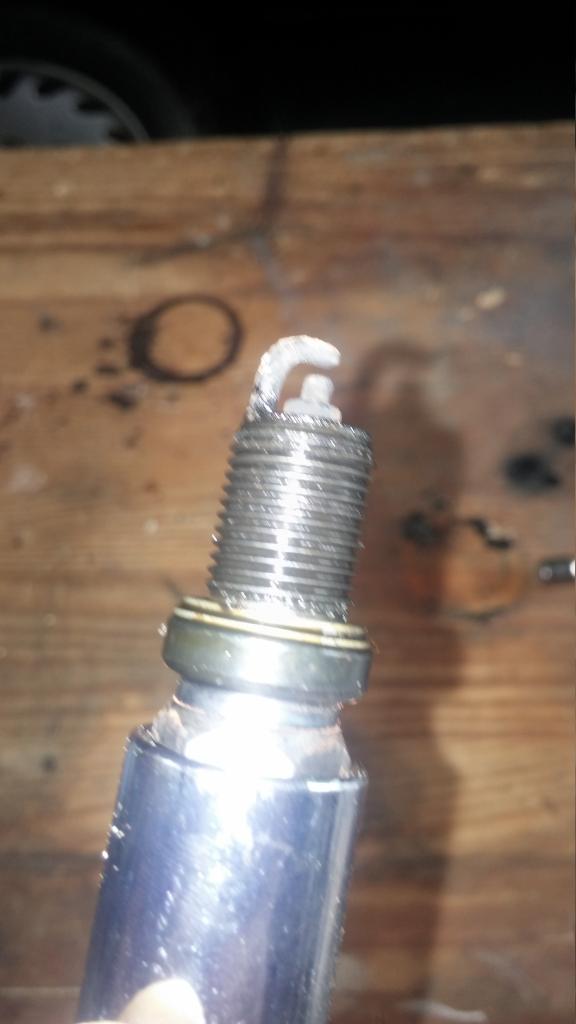
I then pulled each of the spark plugs. Yep they aren't pretty Cyl 3 and 4 being the worst.
I removed the three bolts holding the exhaust manifold heat shield then I went ahead and soaked the exhaust manifold bolts in PB blast just in case, I took a smoke break and came back 30 minutes later.

I started the procedure by pulling the fuel pump fuse, and starting the vehicle to depressurize the fuel system.
I then unhooked the battery ground cable.
I followed that up by labeling each of the spark plug wires as such this is kind of an unnecessary step you can always trace the plug wires back to the distributor, but it just eliminates unnecessary aggravation upon reassembly.

I then pulled each of the spark plugs. Yep they aren't pretty Cyl 3 and 4 being the worst.

I removed the three bolts holding the exhaust manifold heat shield then I went ahead and soaked the exhaust manifold bolts in PB blast just in case, I took a smoke break and came back 30 minutes later.

Thread Starter
|
Junior Member
Joined: Jul 2014
Posts: 11
Continued on I started stripping everything off of the intake manifold. I pulled everything, breather box and all. It probably wasn't necessary to remove the breather box, but I like having a lot of room when I work, and when dropping little nuts and bolts it is a ton easier to retrieve them.
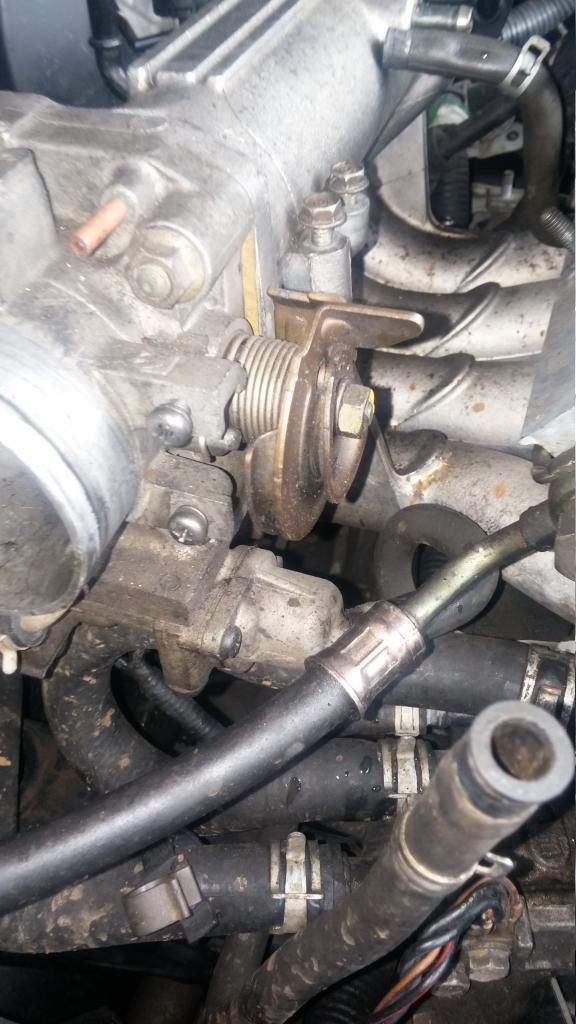
this is another view of the back. A little tip sometimes it is tough to see back there so take a camera, and point and shoot away it really doesn't hurt to have extra reference pics anyways.
don't forget the ground wires on the thermostat housing, NOW is a great time to change the thermostat, the kit and tstat both are like $20.
I didn't actually remove the throttle body from the intake, I removed the cables from the the throttle body, but this is a good reference shot for reassembly.
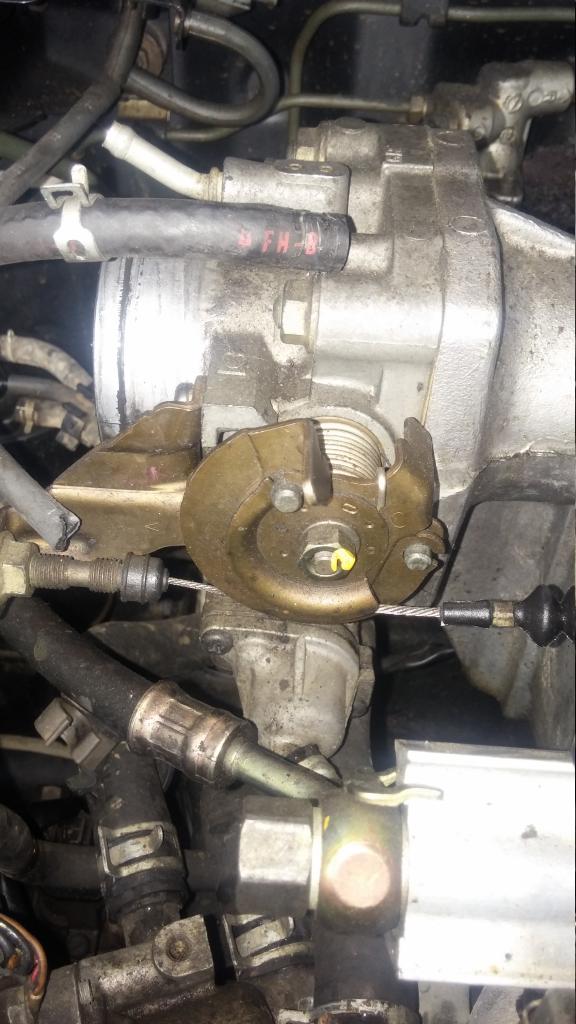

Thread Starter
|
Junior Member
Joined: Jul 2014
Posts: 11
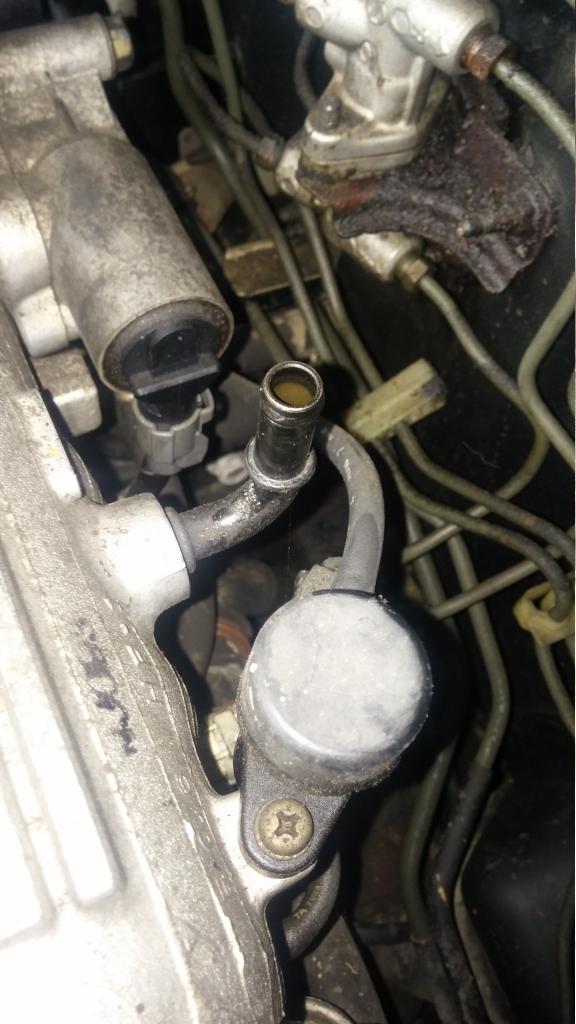
This is a great reference shot for reassembling the cooling hoses back into the head.
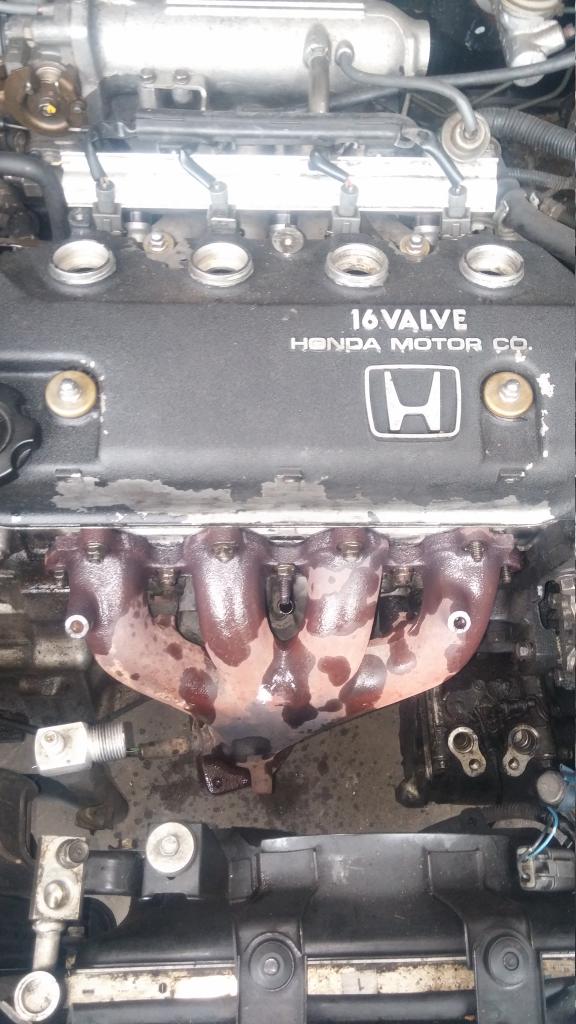
I went ahead and pulled the exhaust manifold nothing to it. Now that everything was free from the intake manifold I went ahead and removed the nuts that hold it to the head.
I went ahead and pulled the valve cover. What a nasty mess.

There really is nothing to this step just four nuts on the top.
Something I didn't show that I should have is I MARKED the distributor position before I removed it, I marked it both on the mount bracket and on the distributor shaft.
This is where the REAL fun begins and I am shorted in pics. Jack the car up and place the car safely on Jack stands. If you can't do this don't read this thread.
Place a container under the car and drain the radiator. Don't try to save the fluid it's contaminated anyways. Loosen the tensioner on the power steering pump, the alternator and remove the upper timing cover. Remove the alternator and ps pump belts.
Have a helper place a hand over Cyl 1 piston Put a 17 MM socket wrench onto the crankshaft pulley and rotate it COUNTERCLOCKWISE until the helper can feel air compressing onto their hand when they can kindly thank them. Find a LONG object to stick into Cylinder 1 and rotate the crankshaft until the object goes all the way up, when its starts to come back down rotate back just a little.
You now have cylinder 1 set to TDC (Top dead center) of the compression stroke. DO NOT I REPEAT DO NOT mess this step up, if you do upon reassembly serious and catastrophic valve/piston failure could occur.
Thread Starter
|
Junior Member
Joined: Jul 2014
Posts: 11
Anyways continuing on.
You are now ready to pull the actual head. It is simple and some here are going to chastise me for this. Follow the proper torque pattern, remove the 10 bolts that hold it into place. I popped mine free with a regular ratchet and removed the all the way with the impact gun. DO NOT I REPEAT DO NOT ever torque head bolts using an impact.
Anyways when you remove the head bolts throw them in the trash they are TTY bolts (Torque To Yield). I know some people reuse them, but I am not willing to risk all the labor on an $4 bolt.
Anyways the head popped right off on mine.
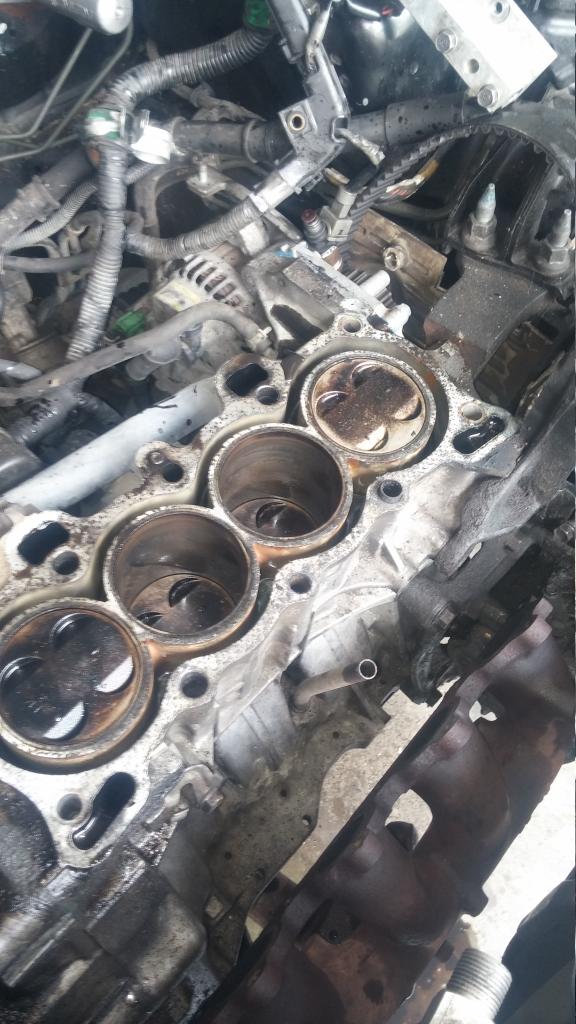
This is what the block should look like set properly at TDC
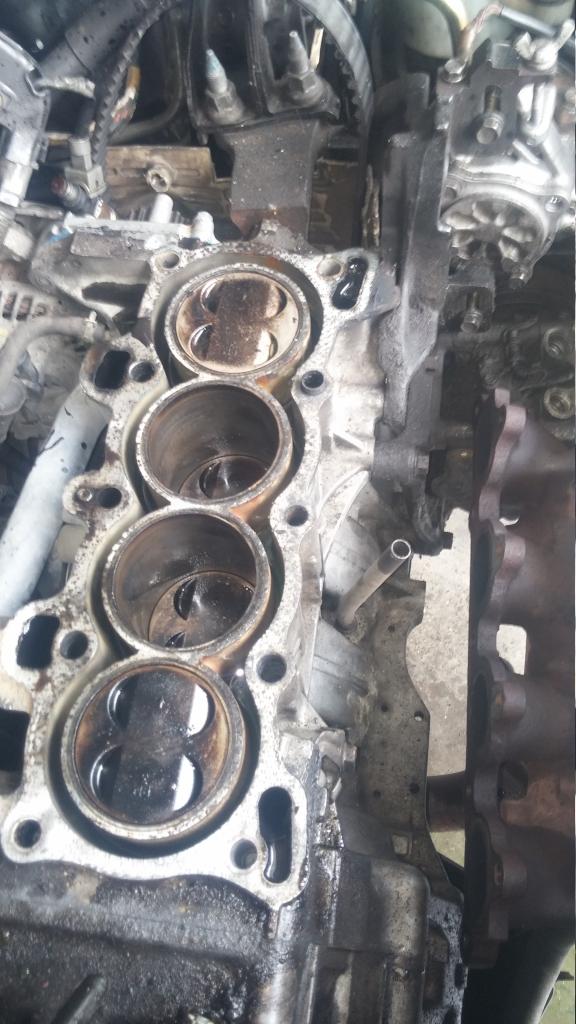
You can see the Head gasket failure on Cyl 4 notice it is cleaner than the rest and seems to have been cleaned by the water/coolant.
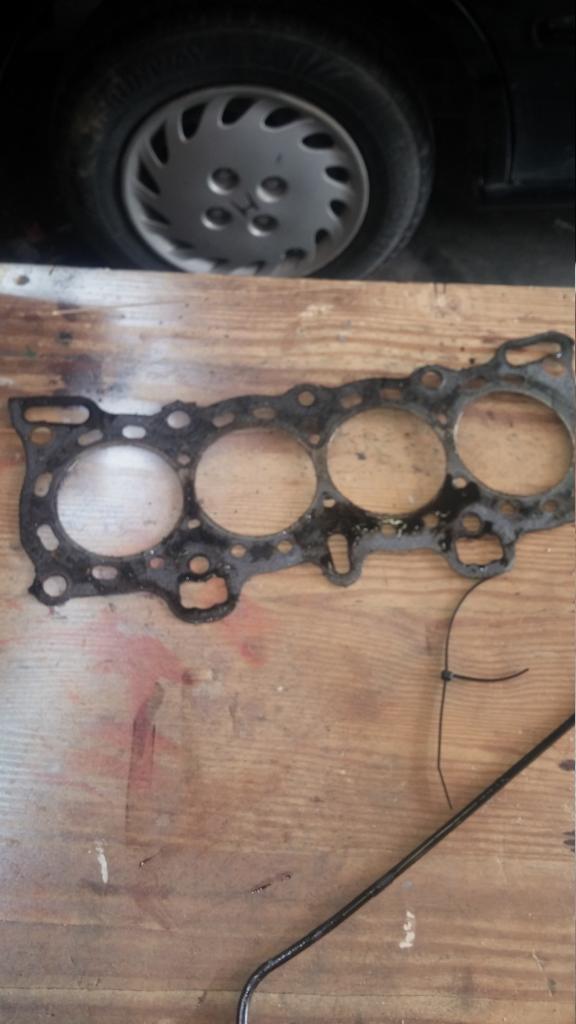
Old gasket.
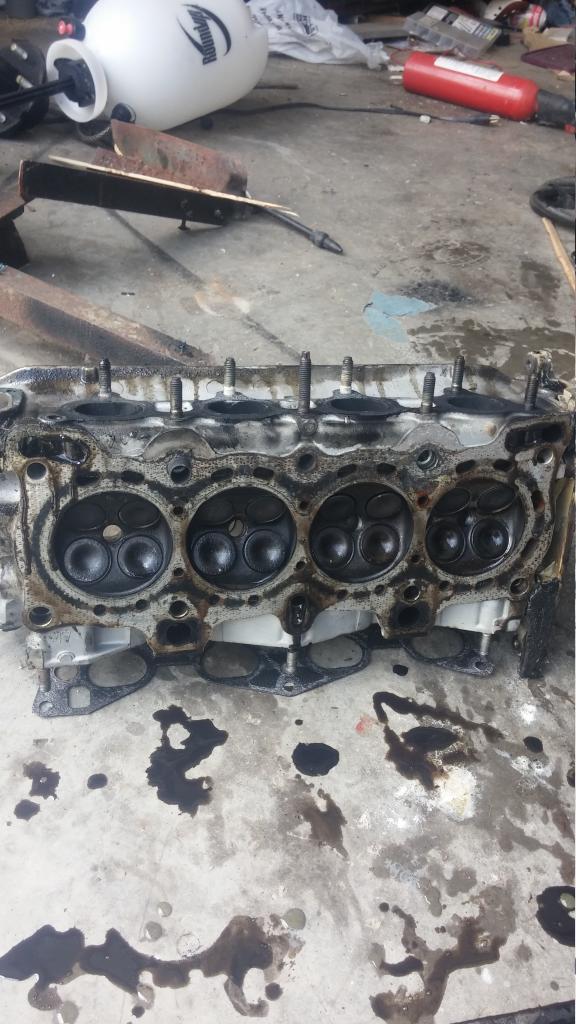
Cylinder head off
I will update the thread with reassembly as soon as the head comes back from the machine shop. They are checking and inspecting for warping, checking for cracks, and milling the head as necessary. Total cost if they have to mill the head $55 if they only need to inspect it $15.00
You are now ready to pull the actual head. It is simple and some here are going to chastise me for this. Follow the proper torque pattern, remove the 10 bolts that hold it into place. I popped mine free with a regular ratchet and removed the all the way with the impact gun. DO NOT I REPEAT DO NOT ever torque head bolts using an impact.
Anyways when you remove the head bolts throw them in the trash they are TTY bolts (Torque To Yield). I know some people reuse them, but I am not willing to risk all the labor on an $4 bolt.
Anyways the head popped right off on mine.
This is what the block should look like set properly at TDC

You can see the Head gasket failure on Cyl 4 notice it is cleaner than the rest and seems to have been cleaned by the water/coolant.

Old gasket.

Cylinder head off

I will update the thread with reassembly as soon as the head comes back from the machine shop. They are checking and inspecting for warping, checking for cracks, and milling the head as necessary. Total cost if they have to mill the head $55 if they only need to inspect it $15.00


Recognized HCF Member
Joined: Jun 2007
Posts: 10,023
Good write-up. Congratulations on owning one of the best economy cars ever made.
A few notes, I like to raise the car (ramps are ideal, since you don't need to take the wheels off for this job) as the first step as it reduces bending over. Drain the cooling system early since there is coolant passing between the head and the intake which you are about to remove. Also disconnect the battery at this time.
You don't have to take the intake stuff all apart, just remove the stud nuts and unbolt the brace on the bottom of the intake, disconnect the big intake hose from the filter box, and then push the whole manifold-- with everything still attached-- back toward the firewall until it is clear of the studs. Do the same thing with the exhaust. Pull the spark plug wires out of the head and then you can mark and remove the distributor and set it aside with all wiring including the spark wires still attached. It is good to TDC the engine like you did before removing the timing belt, at that time study the timing marks on the cam pulley so you know how to put it back in time.
Whenever you take the valve cover off, stuff rags in the oil return holes in the two front corners so that nothing gets dropped into the crankcase, as you would need to remove the oil pan to retreive it. When you take the head off, move the rags to the corresponding holes in the block. Of course you're going to change the oil just before trying to re-start the first time. Make sure to get all traces of the old head gasket off of the block and head, down to bare metal, or the new gasket won't seal.
Thread Starter
|
Junior Member
Joined: Jul 2014
Posts: 11
Thanks,
I actually do have the car up on Jack stands. EBrake pulled and the rear wheel chocked.
The machine shop is actually going to clean the head for me, well as for the block yeah I am not looking forward to that task.
As far as removing all of it. It was just easier for me as I prefer to have more room to work. I didn't fully remove the exhaust manifold just let it drop. Everything else I removed just for the sake of having room to work. None of the cylinder walls have and scoring that I can feel at all, and I am impressed with the condition of the block for having 247,000 miles on it.
The hard part for me is going back to repair all the previous "fixes" like the upper timing cover being removed in the trunk, the ac hoses removed and laying in the trunk even better that it was an R12 system and I am sure it wasn't vented properly.
I don't think I did to poorly. Especially since this is actually my first time attempting a task of this caliper.
I am a total amateur with a big freaking personal shop. My true passion is actually boat building but hey the more gas I can save by driving the civic the more money I can feed the outboards.
My thought was I got a gasket kit with new head bolts on ebay for $85 plus $15 for a tstat plus $55.00 for the machine shop, $20 in oil and $20 in antifreeze $10 in spark plugs. Total cost of the job $205.00 is not bad at all. The timing belt and water pump are new put in by the previous owner, (water pump failed and caused overheat condition) previous owner replaced the water pump, but it was to late for the head gasket.
Last edited by SigSaurP228; Jul 15, 2014 at 08:18 PM.
Thread Starter
|
Junior Member
Joined: Jul 2014
Posts: 11
CRAP
I got it all back from the machine shop they only had to mill off .005 cleaned up the top of the block and got it all put back together.
2nd twist of the key it fired right up. Has a slight miss though, and it is smoking like crazy. It idled in the driveway for an hour and a half and it never overheated.
I drove it to the gas station and back and it did fine, it idled ok while I put $20 in it and it drove fine on the way back. The temp gauge stayed just under half way the whole time. The coolant looks clean and of course the fresh oil I put in it looks clean too.
I would think if it were residual it would have burned off in an hour or so, one minute it doesn't smoke at all the next it is smoking like crazy.
Thread Starter
|
Junior Member
Joined: Jul 2014
Posts: 11
Well driving it has helped a little it still has a light white smoke coming out of the exhaust. I am wondering if it may be the plugs I didnt replace them (i will just havent done it yet) Anyways I had to find out the health of the engine. I put it on my compression gauge today all numbers fell from a bottom of 168 to a top of 178. Compression seems to be in an acceptable range with no abnormal variances (I assumed that if I had another head gasket problem one of the cylinders would show an abnormal drop in compression

Thread
Thread Starter
Forum
Replies
Last Post
95lsvtec
Private 'Wanted' Classifieds
2
Feb 14, 2006 11:46 PM
civicpimpinsc
New Member Introductions
0
Jan 7, 2006 07:58 PM