Turtlegrip 1997 Civic DX
#31
 01-31-2012, 08:09 AM


Has nothing to do with torquing them. I just used a impact gun and made them tight.
https://www.hondacivicforum.com/foru...0-civic-87718/
Review the guide I created regarding Step 3 - Pre-loading the suspension system.
https://www.hondacivicforum.com/foru...0-civic-87718/
Review the guide I created regarding Step 3 - Pre-loading the suspension system.
#32
02-02-2012, 05:51 PM

I did preload the suspension by both methods, i snugged them with method 1 and made them a little tighter once on the floor. maybe i should just stick with 1 method.
i got my computer set up for the car. all the parts came in 1 day after ordering with a few straggles aside (almost all the parts). lots of stuff...
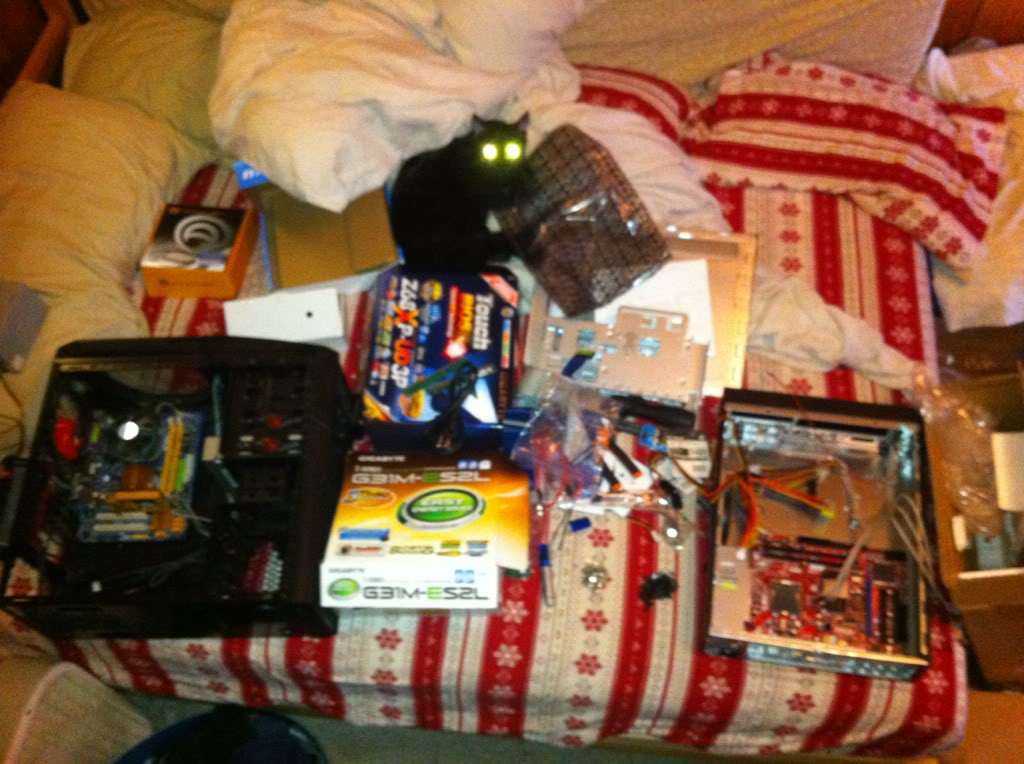
This new mother board was giving me crap, so im saving it for another project.
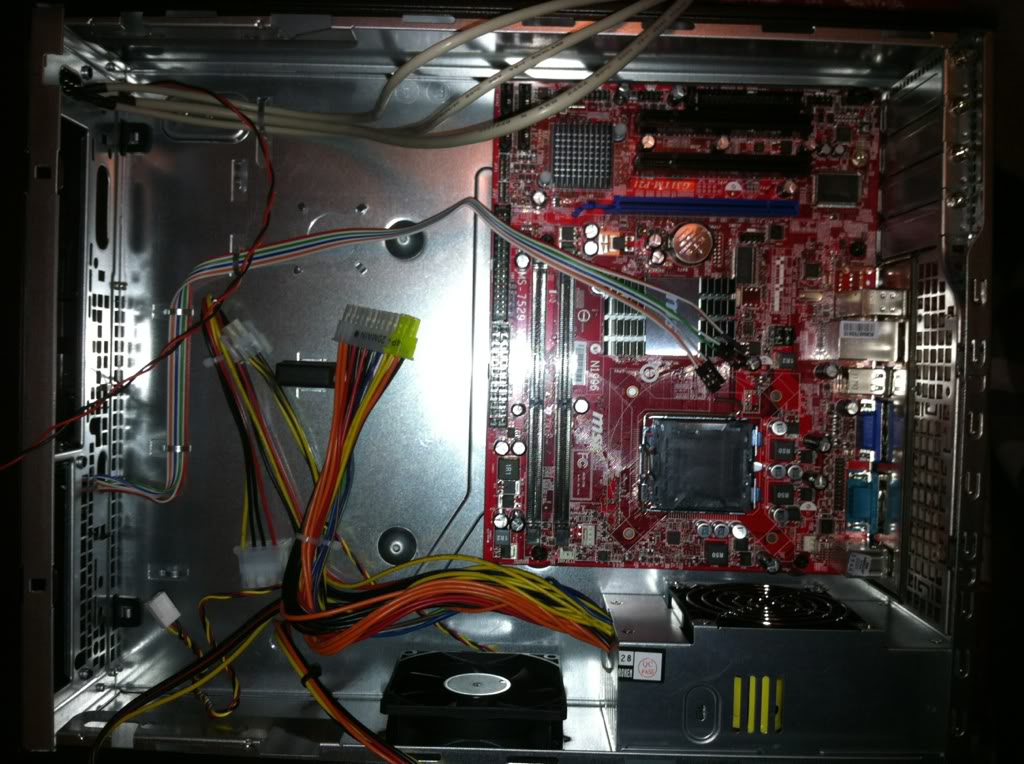
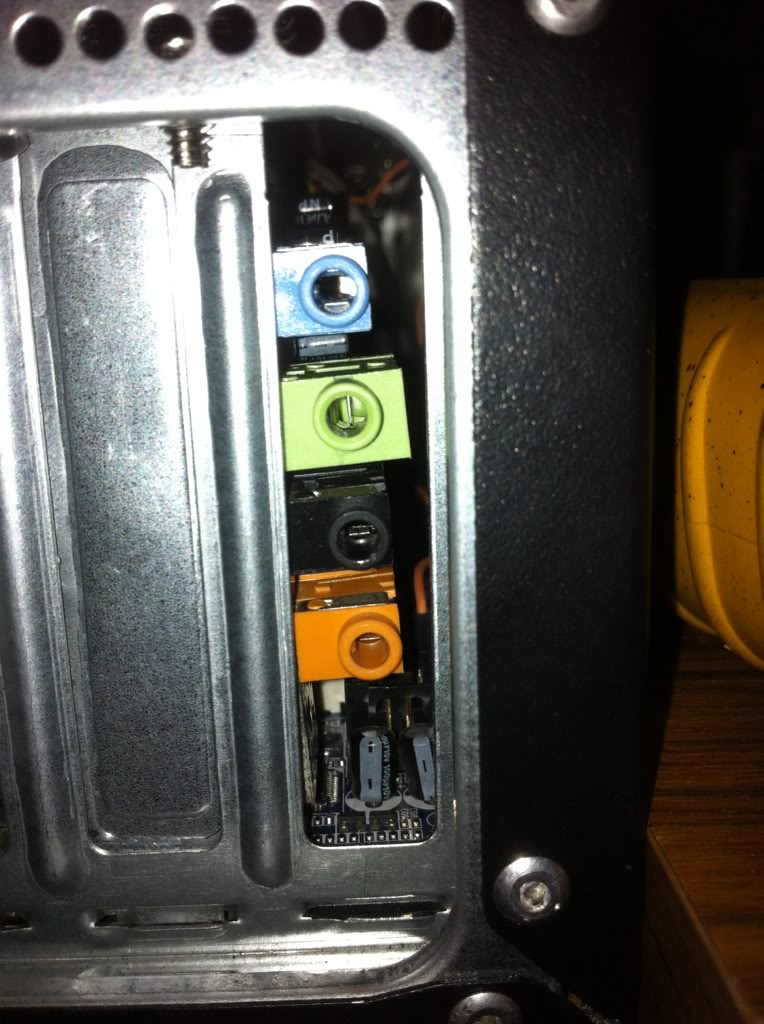
Instead i am using my trusty old gigabyte. this case has a slide out 5" and 3.5" bay, it gets kinda of in the way of the power supply, since i had to get a bigger one (all the ones in my size range suck, but everything will sit nicely.
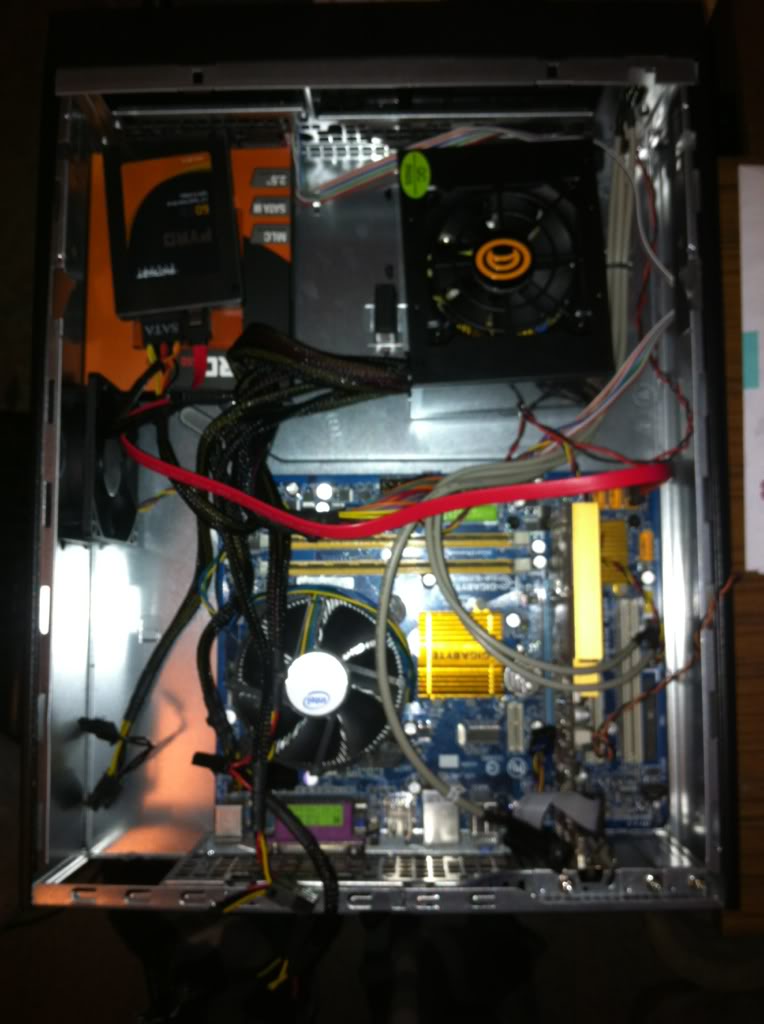
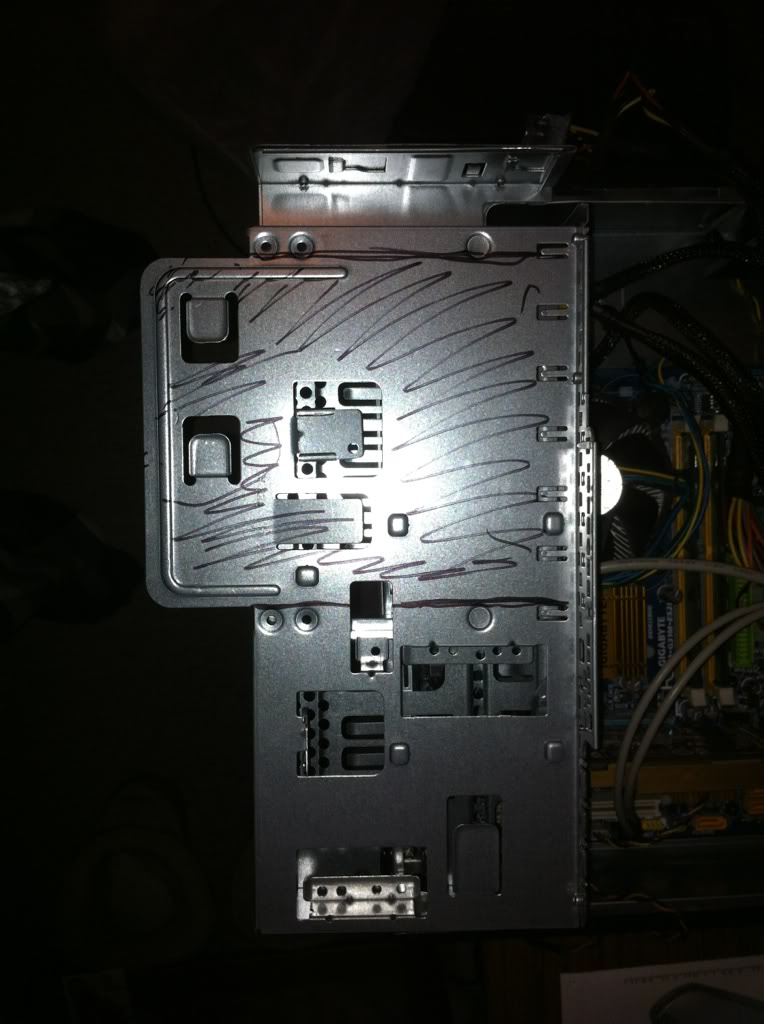
I have to cut out the 5" bay area because i will not have a cd or dvd rom, trying to avoid all moving parts and it will be in the trunk anyway, next to it is the 3.5" which i am waiting for a convertor to make is a 2.5" mount for the solid state drive.
Cut is done. Sloppy, but effective.
made a few very sloppy holes above the new power supply location, the case is very open already so heat should be okay, but cant hurt.
I drilled holes and zip tied the power supply nice and tight.
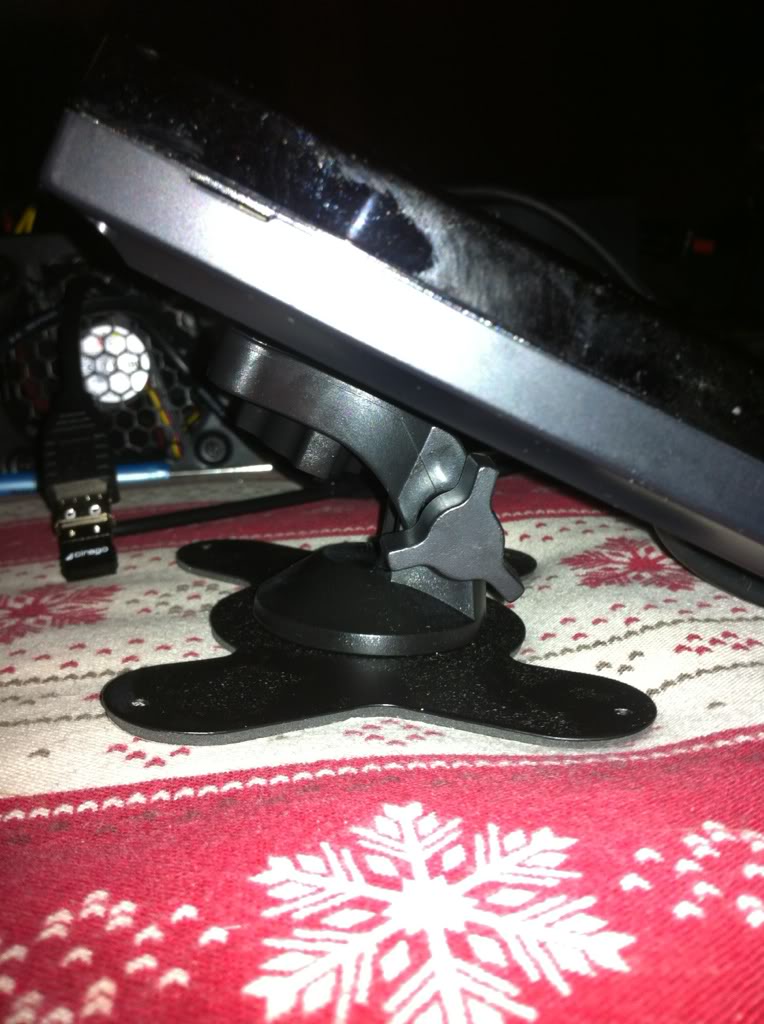
The touch screen is all set up, it is being very annoying with calibration, always about 20 pixels off, ill fix it later. but the bigger outside bezel popped right off, and it is perfect size (i hope).

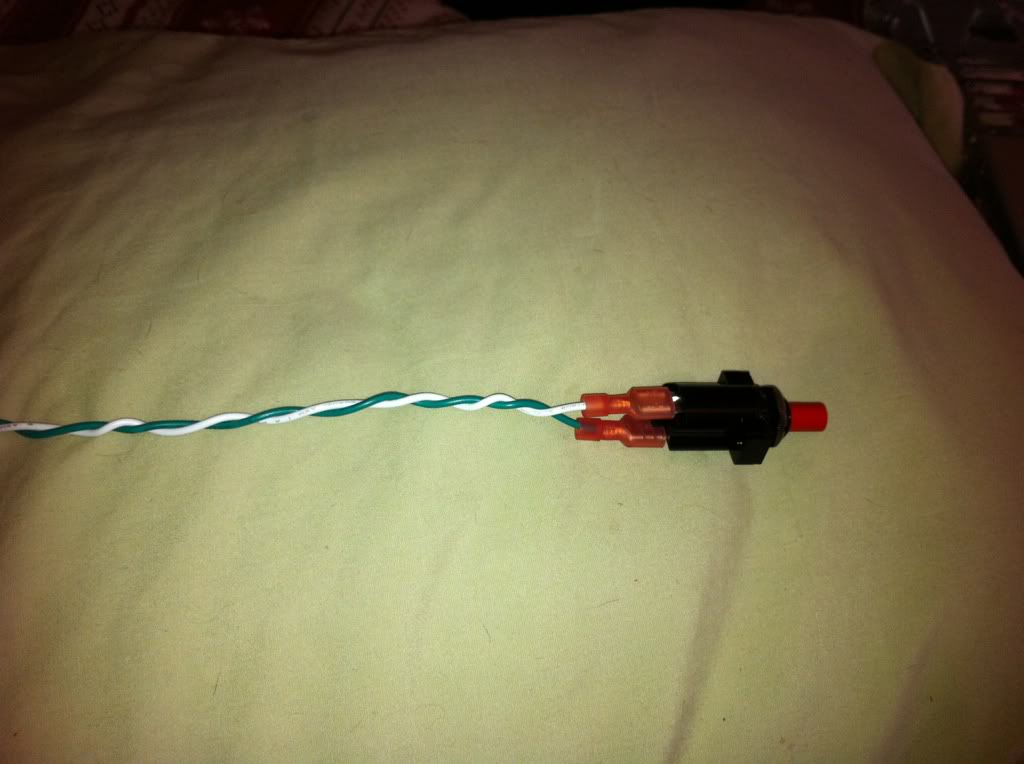
Also made a custom switch to mount next to the dash dimmer. just a clicky red switch... lol....

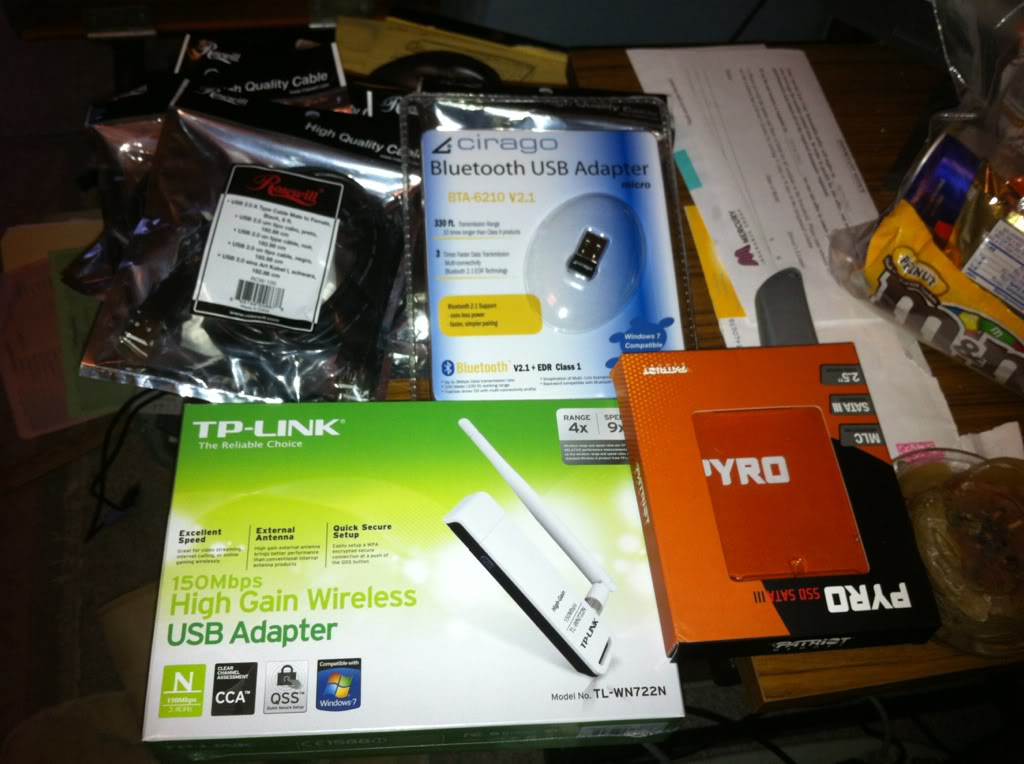
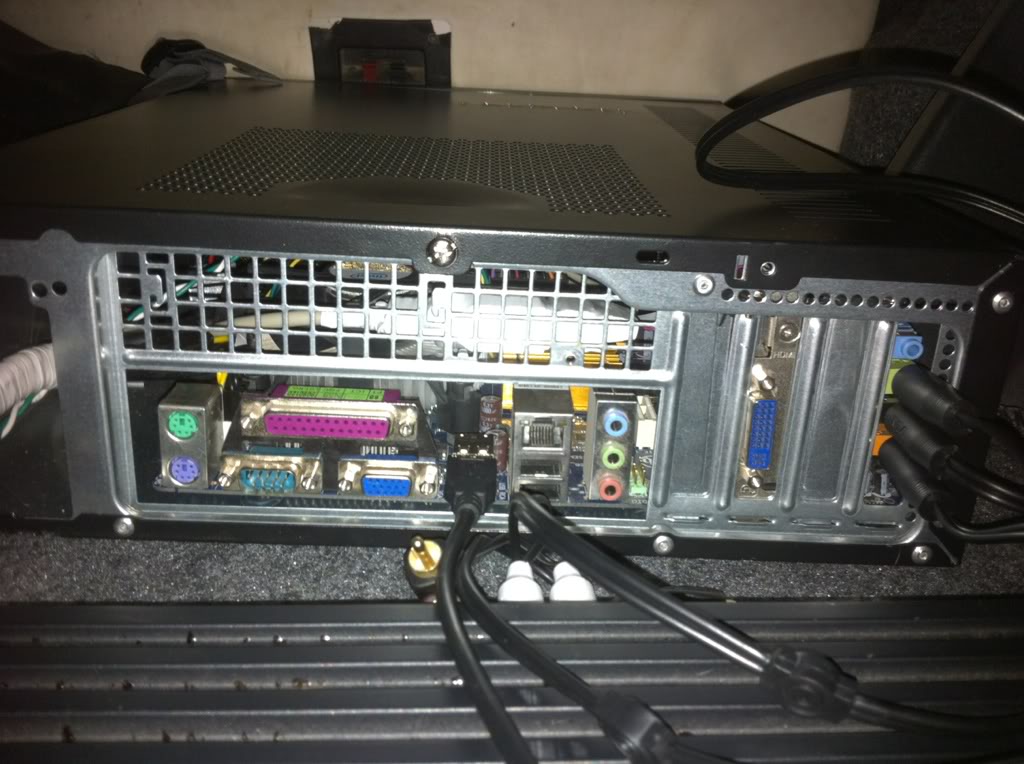
also have all the extenders, wifi, bluetooth, ssd.
Also have set up Remote HD for my iphone 4. connects via internet or LAN, lets me use the iphone as a touch pad/mouse and have keyboard abilities/remote desktop viewer/other controls/app control/ect. Pretty cool feature, so i dont have to rely on the touch screen, which i have already calibrated perfectly.
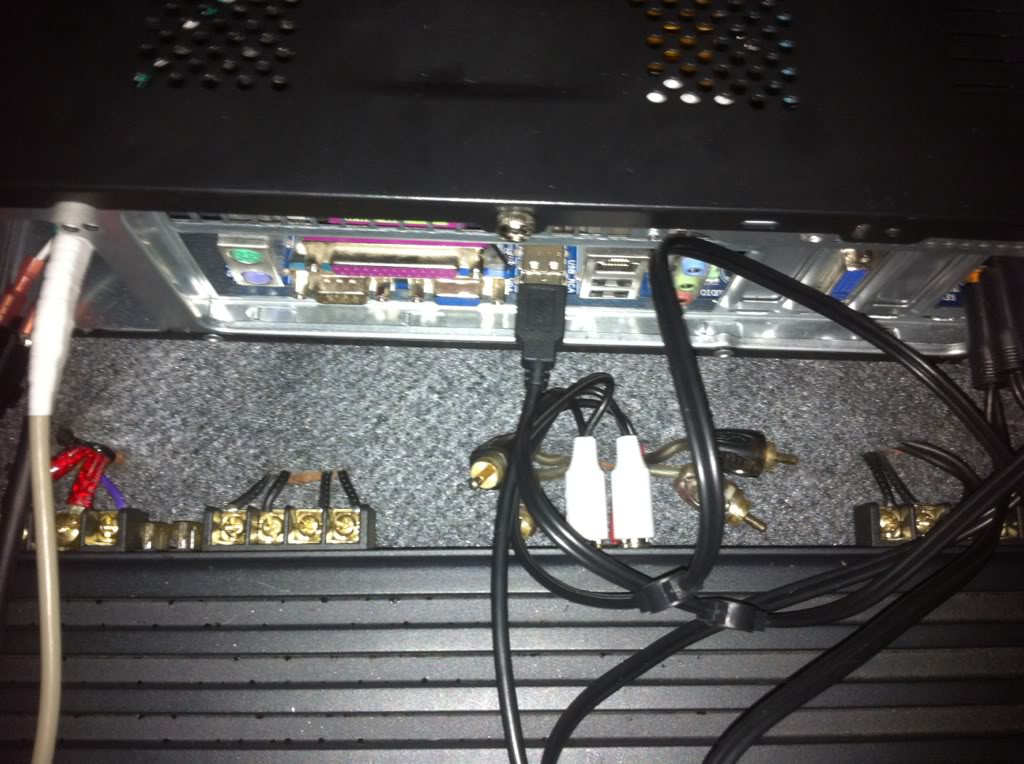
Now i am just waiting for my sound card, 7.1 channels, i will be using 5 channels, it will go from PC to amps. I will drill holes and mount it to wood that i am using to rebuild trunk, still planning that out, but i will have some sort of short carpet is back to help with bounce and what not.
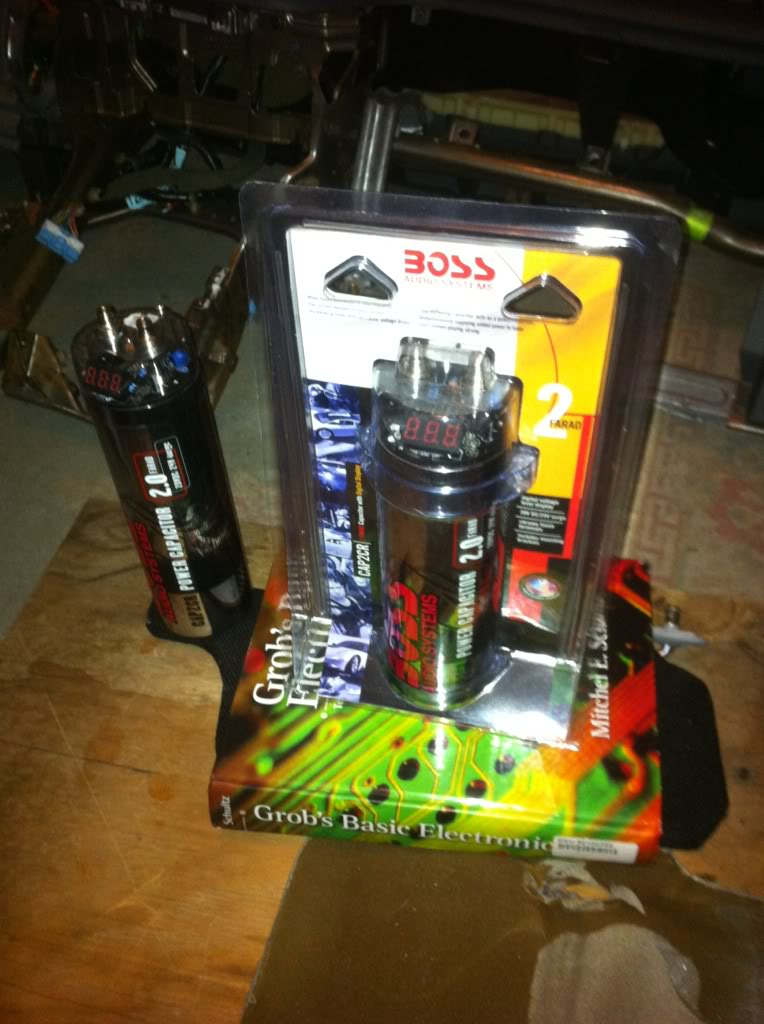
Ordered wiring, fuses, large capacitors, inverter, now i am just going to order d31m optima blue top. I hope my stock alternator will be able to handle everything, if not, ill just have to replace it then heh....
waiting on a check, that will probably come next week, then i am going to buy wood, brackets, grommets, then go to the junk yard and get a 99-00 civic console, harness, heater core, roofing is on the way and i have my paint for pillar arms...
Pretty excited to take the whole car apart heh, hopping i dont break too many clips or get stuck, get as long as i keep everything organized and take it apart 1 step at a time, nothing looks too complicated. I will take before and after pictures soon, and keep you detailed as i go through every step.
Wish me luck!
i got my computer set up for the car. all the parts came in 1 day after ordering with a few straggles aside (almost all the parts). lots of stuff...
This new mother board was giving me crap, so im saving it for another project.
Instead i am using my trusty old gigabyte. this case has a slide out 5" and 3.5" bay, it gets kinda of in the way of the power supply, since i had to get a bigger one (all the ones in my size range suck, but everything will sit nicely.
I have to cut out the 5" bay area because i will not have a cd or dvd rom, trying to avoid all moving parts and it will be in the trunk anyway, next to it is the 3.5" which i am waiting for a convertor to make is a 2.5" mount for the solid state drive.
Cut is done. Sloppy, but effective.
made a few very sloppy holes above the new power supply location, the case is very open already so heat should be okay, but cant hurt.
I drilled holes and zip tied the power supply nice and tight.
The touch screen is all set up, it is being very annoying with calibration, always about 20 pixels off, ill fix it later. but the bigger outside bezel popped right off, and it is perfect size (i hope).
Also made a custom switch to mount next to the dash dimmer. just a clicky red switch... lol....
also have all the extenders, wifi, bluetooth, ssd.
Also have set up Remote HD for my iphone 4. connects via internet or LAN, lets me use the iphone as a touch pad/mouse and have keyboard abilities/remote desktop viewer/other controls/app control/ect. Pretty cool feature, so i dont have to rely on the touch screen, which i have already calibrated perfectly.
Now i am just waiting for my sound card, 7.1 channels, i will be using 5 channels, it will go from PC to amps. I will drill holes and mount it to wood that i am using to rebuild trunk, still planning that out, but i will have some sort of short carpet is back to help with bounce and what not.
Ordered wiring, fuses, large capacitors, inverter, now i am just going to order d31m optima blue top. I hope my stock alternator will be able to handle everything, if not, ill just have to replace it then heh....
waiting on a check, that will probably come next week, then i am going to buy wood, brackets, grommets, then go to the junk yard and get a 99-00 civic console, harness, heater core, roofing is on the way and i have my paint for pillar arms...
Pretty excited to take the whole car apart heh, hopping i dont break too many clips or get stuck, get as long as i keep everything organized and take it apart 1 step at a time, nothing looks too complicated. I will take before and after pictures soon, and keep you detailed as i go through every step.
Wish me luck!
Last edited by Turtlegrip; 02-02-2012 at 06:19 PM. Reason: iphone app!
#33
02-08-2012, 02:43 PM
So, I felt like i should do a final update on products, since I am just barely shy of starting my work.
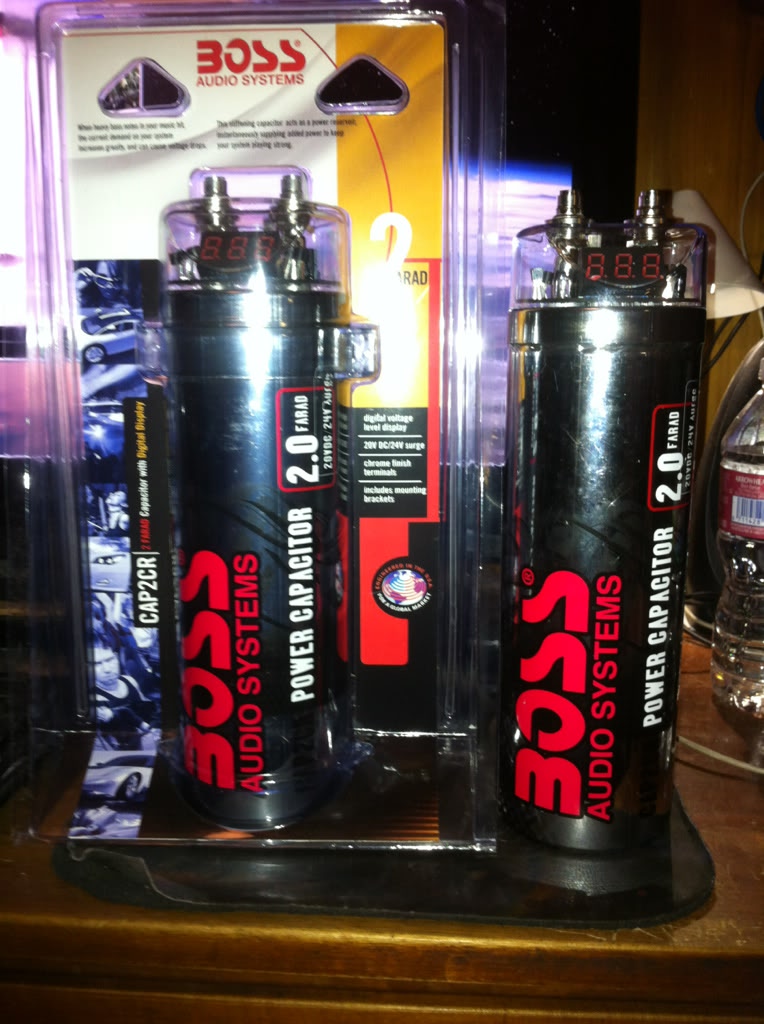
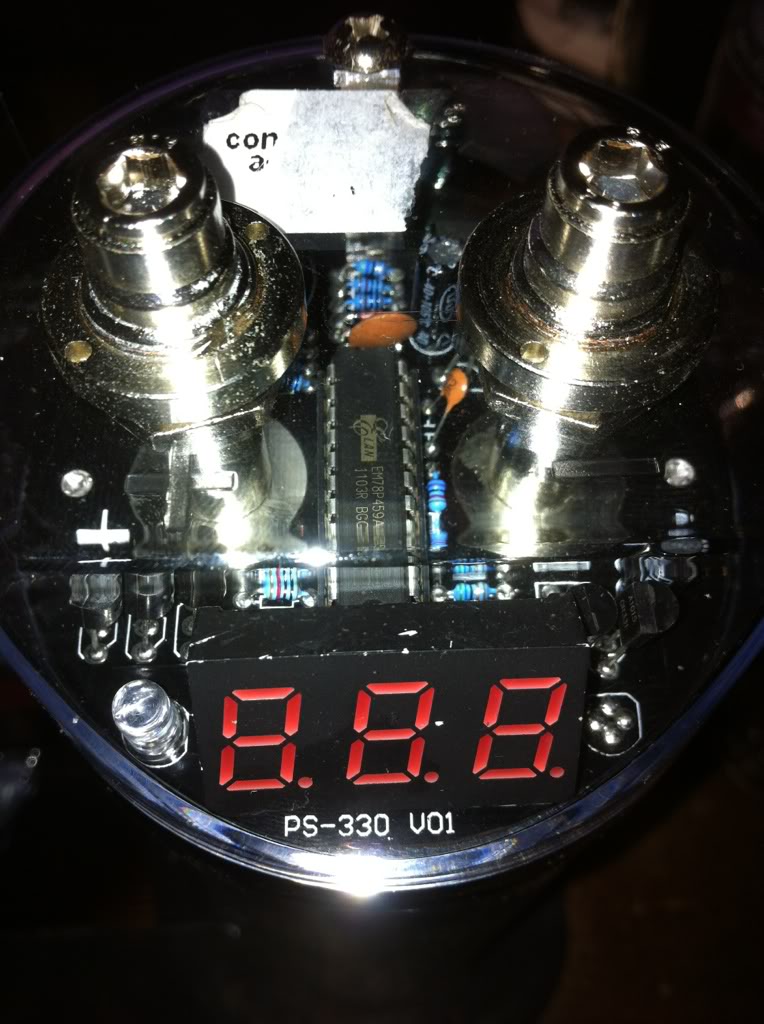
Capacitors came in, have not had a chance to test them or anything yet, i dont wanna charge them up and then have to discharge them (dont want them sitting in my room charged...):
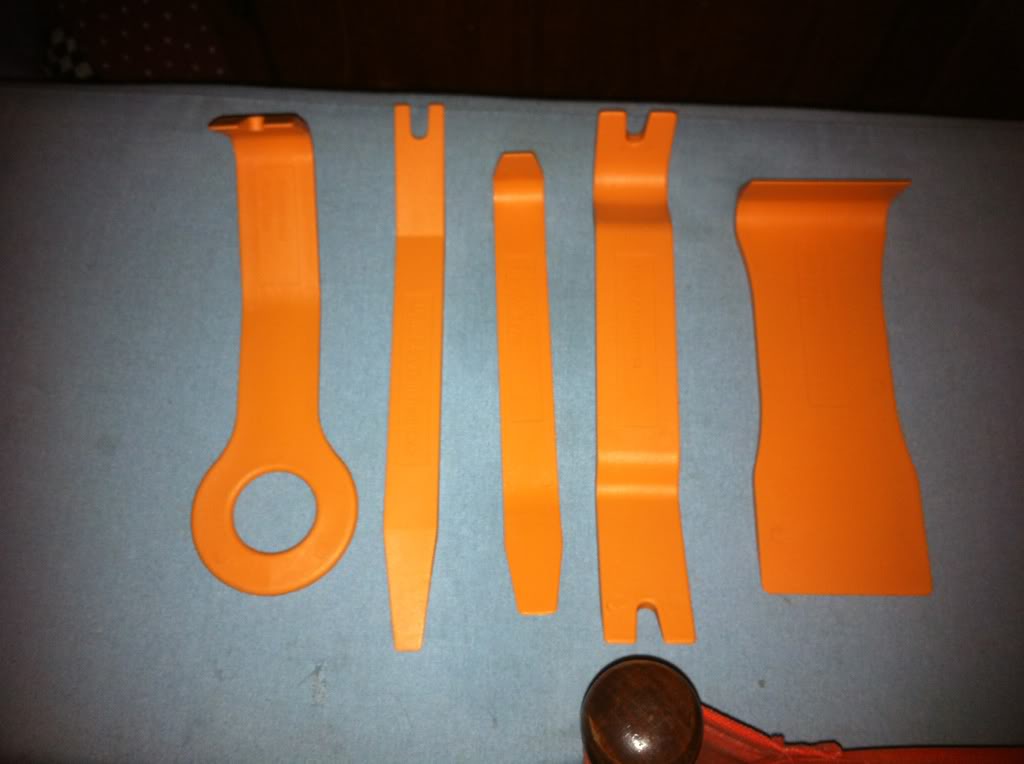
Molding removal kit came in, plastic and a little bit flimsy, but not too flimsy feeling, and im hoping the plastic will save me from scrapes and marks:
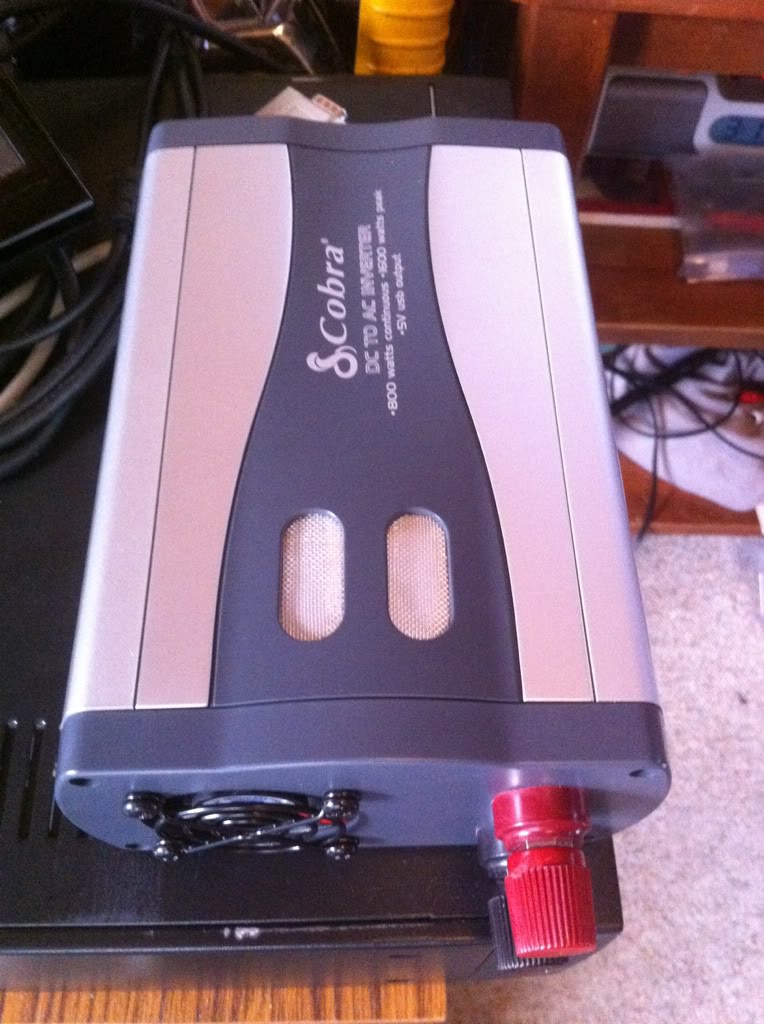
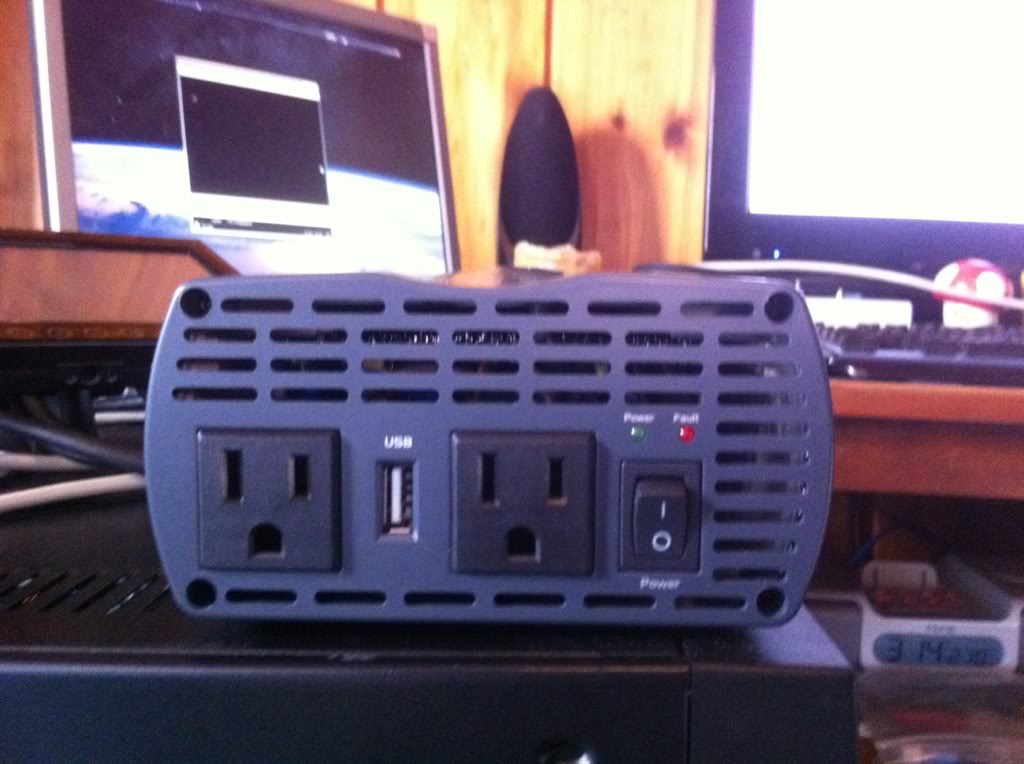
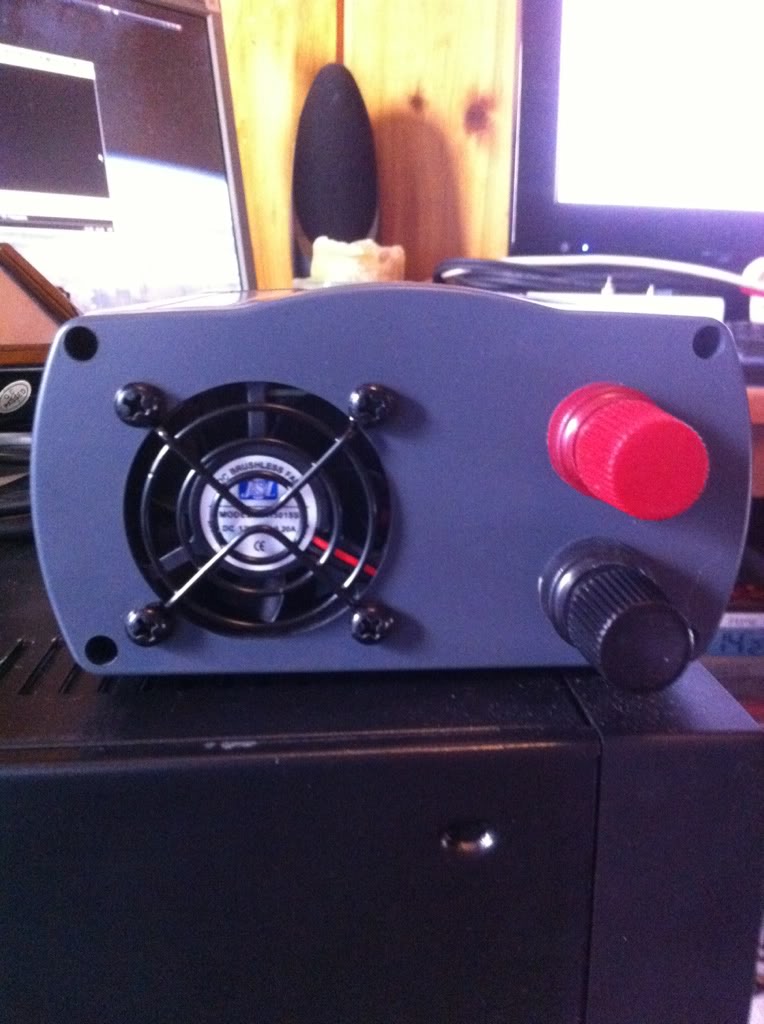
Inverter came in, plugged it onto my main battery today, (which btw charges at 14.5v and idles [engine off] at 12.5v, which i am happy about) and set up my monitor and computer just running, not mounted, and it ran great for about an hour (i started my car about 15-20 mins in) no shut downs or any other problems so far...
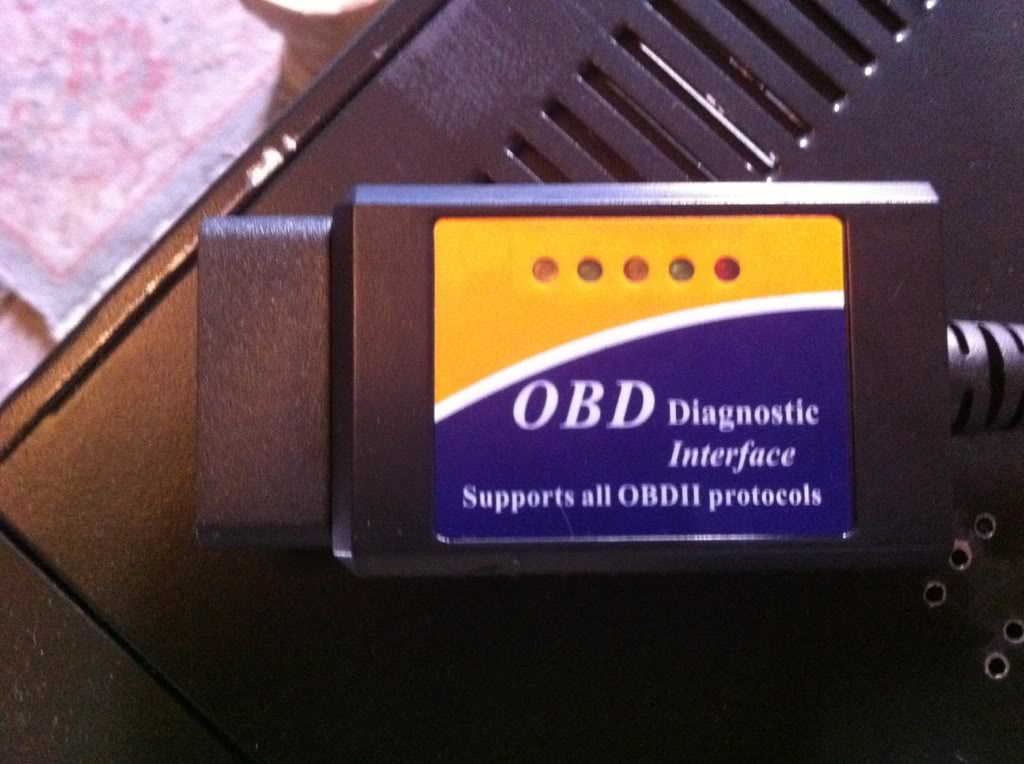
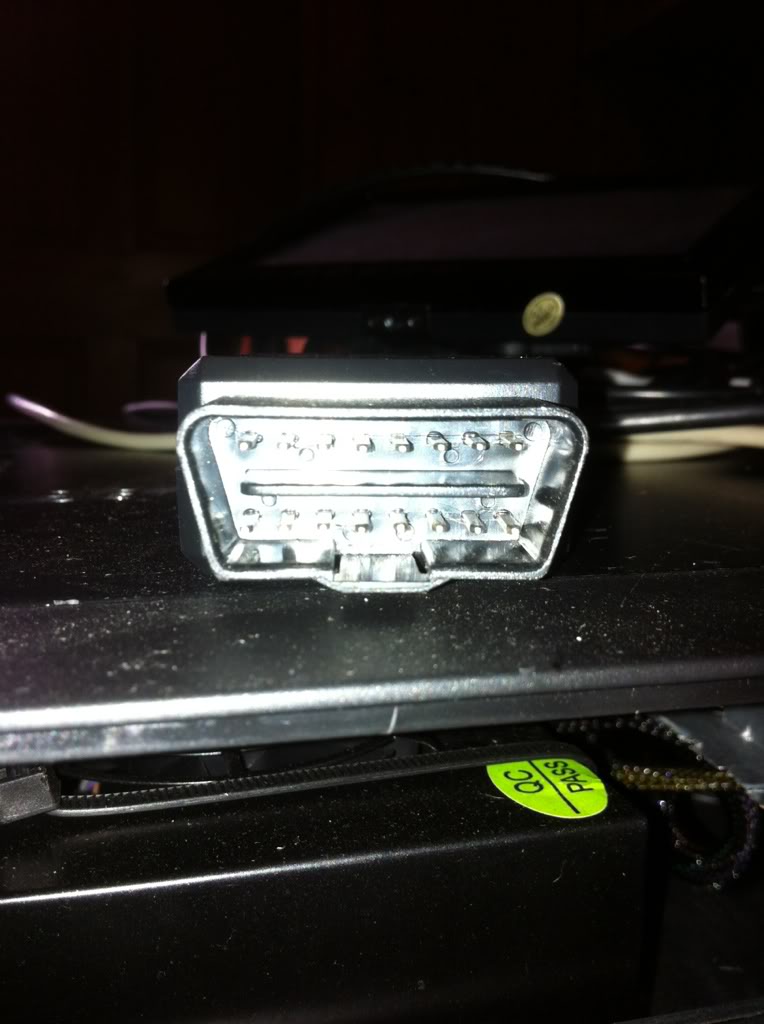
ODB-II to USB cable came, plugged it in and tested it with my inverter, worked great, got my basic read outs, now i will invest in PCMScan once everything else is set up:
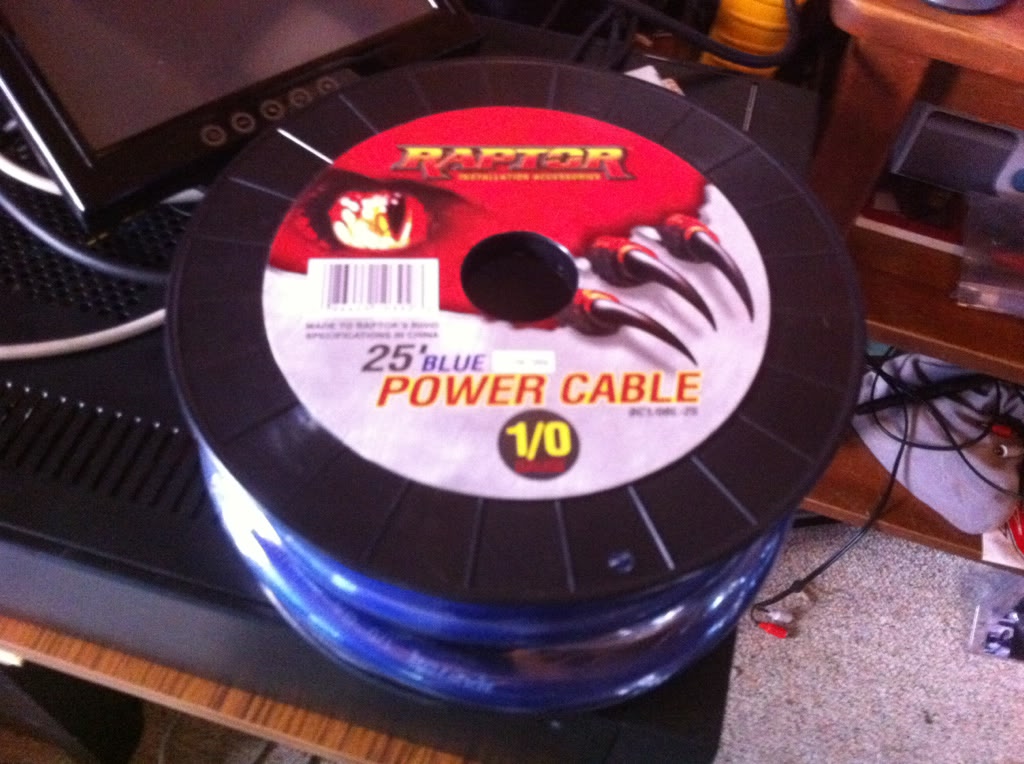
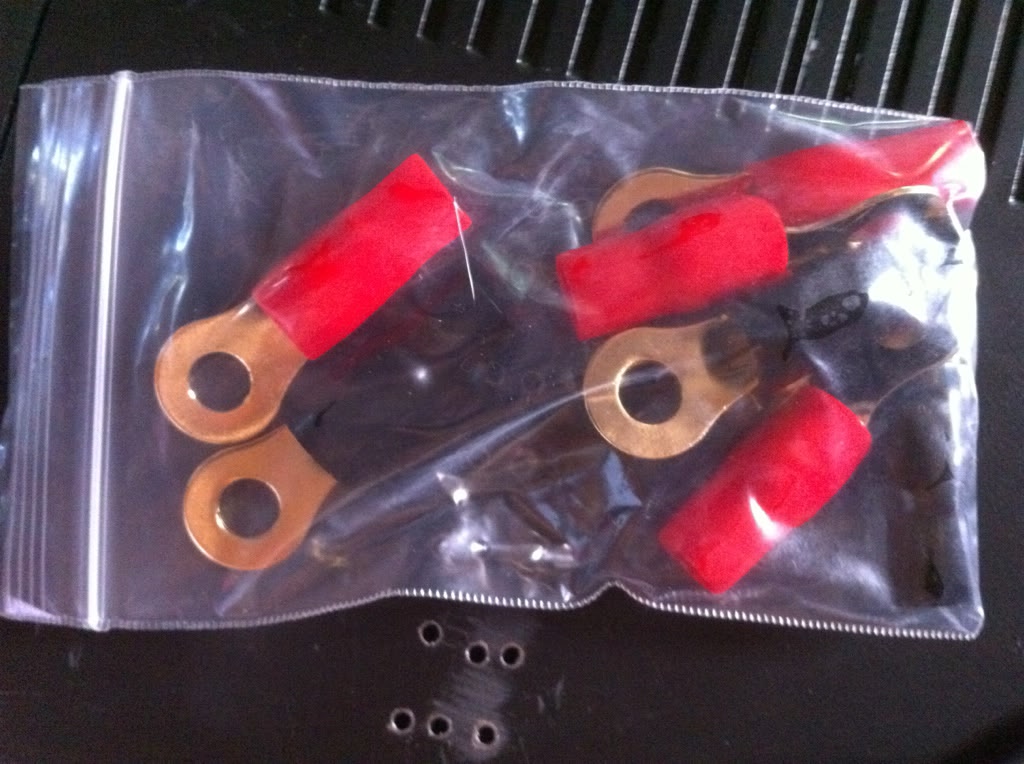
1/0 Gauge wire came, with some crimps:
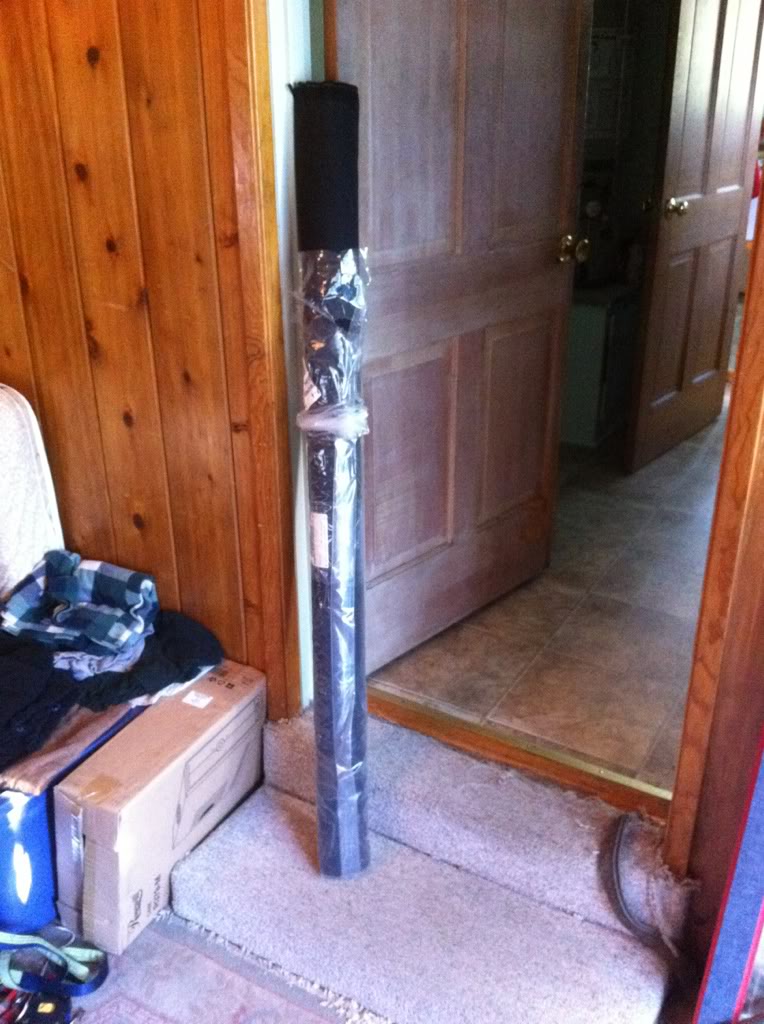
And roofing came in, sadly i meant to order the foam lined liner, but I did not, i hope my foam will be fine or maybe ill just go foamless, loss that gram of weight....
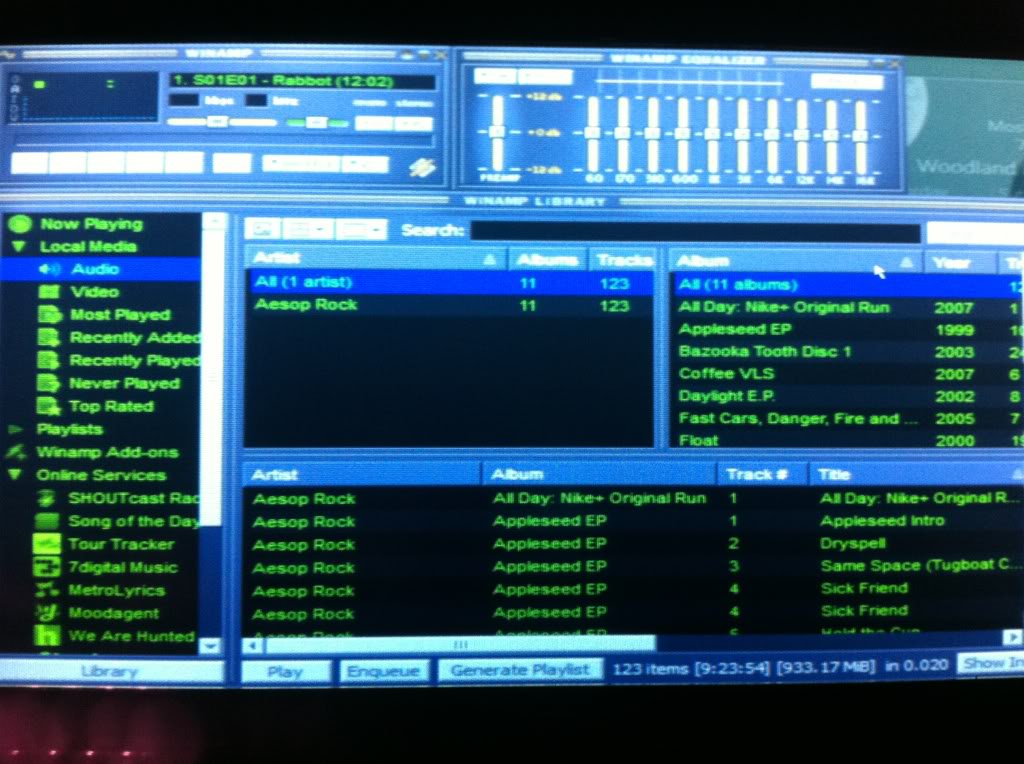
Lets not forget my sound card, Xfi sound blaster... running it on quad speakers setting and have WinAmp forcing left right audio, the front speakers are spliced at the RCA to go to subs also, i will change this to 5.1 or 7.1 and forced stereo to get all my speakers on separate RCA lines, but otherwise it still sounded great, and MUCH much louder than my car stereo, i had to turn PC to 2% volume and it was still very loud =D!
Just loosely sitting in the car...
On a side note, i got and installed an antenna cap, heh i just cut the antenna and capped it, no intention of ever using radio here in LA, but i wanted to leave the cable there (cable pull) so i can try to mount my bluetooth and wifi up there, making the models accessible and not hidden in the car somewhere.
Just waiting on some 4 gauge wire, some more crimps along with fuses and fuse holders and a distribution block. Gonna go buy Optima Blue top from a local store, or maybe order it if they will not go down in price a little, I have heard that optima moved manufacturing to mexico recently and quality has gone down, but regardless it is the only battery company i can find with a history in performance battery, so maybe ill just have to take full advantage of their warranties, eh.
Also waiting on an isolator, but i want one that clicks off whenever the alternator stops running, not one that just clicks off when the REM wire is off, ill have to look into this more.
Then im gonna run down to the junk yard and try to get a heater core, ect.
On the down low, lol, i am thinking of buying a totaled civic and then tossing money into a B16B and swapping it, throwing my current engine in the other civic and fixing it up a little to sell, but man that sounds like it could go wrong for me in so many ways.... Considered my limited budget especially...
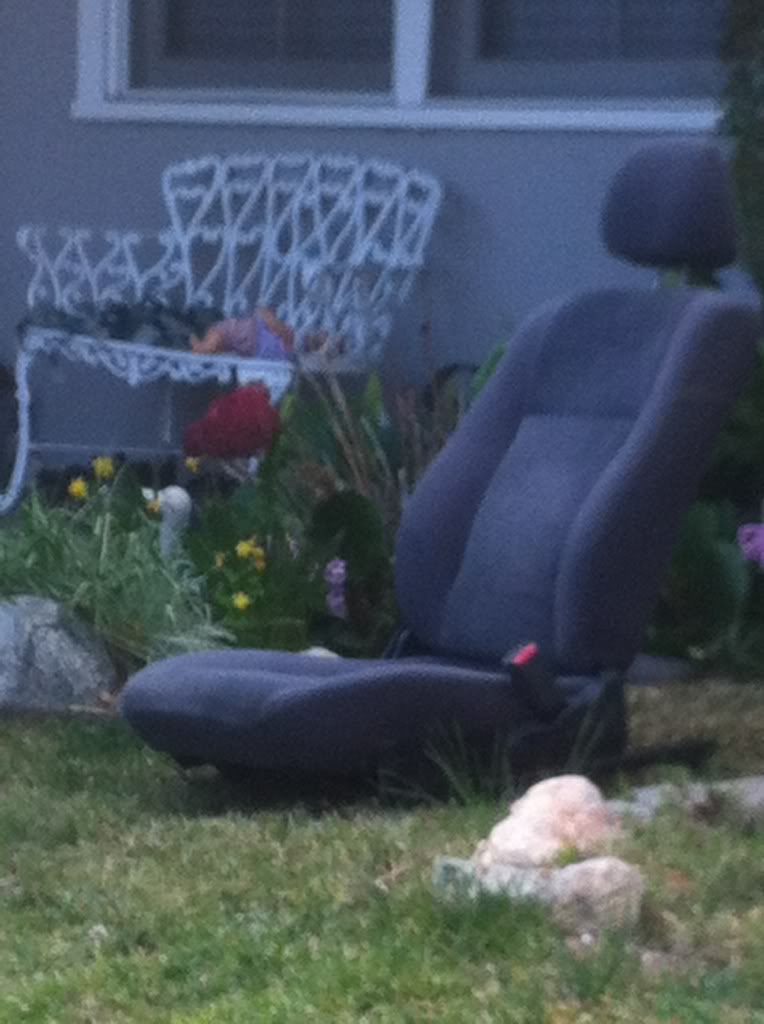
haha anyway i will update next week as i start taking my car apart, if anyone knows somewhere i can get cheap del sol seats, any info would be of great assistance, not looking to spend 800$ like they are posted for on ebay...
Capacitors came in, have not had a chance to test them or anything yet, i dont wanna charge them up and then have to discharge them (dont want them sitting in my room charged...):
Molding removal kit came in, plastic and a little bit flimsy, but not too flimsy feeling, and im hoping the plastic will save me from scrapes and marks:
Inverter came in, plugged it onto my main battery today, (which btw charges at 14.5v and idles [engine off] at 12.5v, which i am happy about) and set up my monitor and computer just running, not mounted, and it ran great for about an hour (i started my car about 15-20 mins in) no shut downs or any other problems so far...
ODB-II to USB cable came, plugged it in and tested it with my inverter, worked great, got my basic read outs, now i will invest in PCMScan once everything else is set up:
1/0 Gauge wire came, with some crimps:
And roofing came in, sadly i meant to order the foam lined liner, but I did not, i hope my foam will be fine or maybe ill just go foamless, loss that gram of weight....
Lets not forget my sound card, Xfi sound blaster... running it on quad speakers setting and have WinAmp forcing left right audio, the front speakers are spliced at the RCA to go to subs also, i will change this to 5.1 or 7.1 and forced stereo to get all my speakers on separate RCA lines, but otherwise it still sounded great, and MUCH much louder than my car stereo, i had to turn PC to 2% volume and it was still very loud =D!
Just loosely sitting in the car...
On a side note, i got and installed an antenna cap, heh i just cut the antenna and capped it, no intention of ever using radio here in LA, but i wanted to leave the cable there (cable pull) so i can try to mount my bluetooth and wifi up there, making the models accessible and not hidden in the car somewhere.
Just waiting on some 4 gauge wire, some more crimps along with fuses and fuse holders and a distribution block. Gonna go buy Optima Blue top from a local store, or maybe order it if they will not go down in price a little, I have heard that optima moved manufacturing to mexico recently and quality has gone down, but regardless it is the only battery company i can find with a history in performance battery, so maybe ill just have to take full advantage of their warranties, eh.
Also waiting on an isolator, but i want one that clicks off whenever the alternator stops running, not one that just clicks off when the REM wire is off, ill have to look into this more.
Then im gonna run down to the junk yard and try to get a heater core, ect.
On the down low, lol, i am thinking of buying a totaled civic and then tossing money into a B16B and swapping it, throwing my current engine in the other civic and fixing it up a little to sell, but man that sounds like it could go wrong for me in so many ways.... Considered my limited budget especially...
haha anyway i will update next week as i start taking my car apart, if anyone knows somewhere i can get cheap del sol seats, any info would be of great assistance, not looking to spend 800$ like they are posted for on ebay...
#34
02-09-2012, 06:38 AM
Nice progress. I wouldn't bother with another Civic which needs work unless you know for sure you can afford it and you have the time available.
For Del Sol seats, I would just keep a look out on your local craigslist.
For Del Sol seats, I would just keep a look out on your local craigslist.
#35
02-10-2012, 04:30 PM
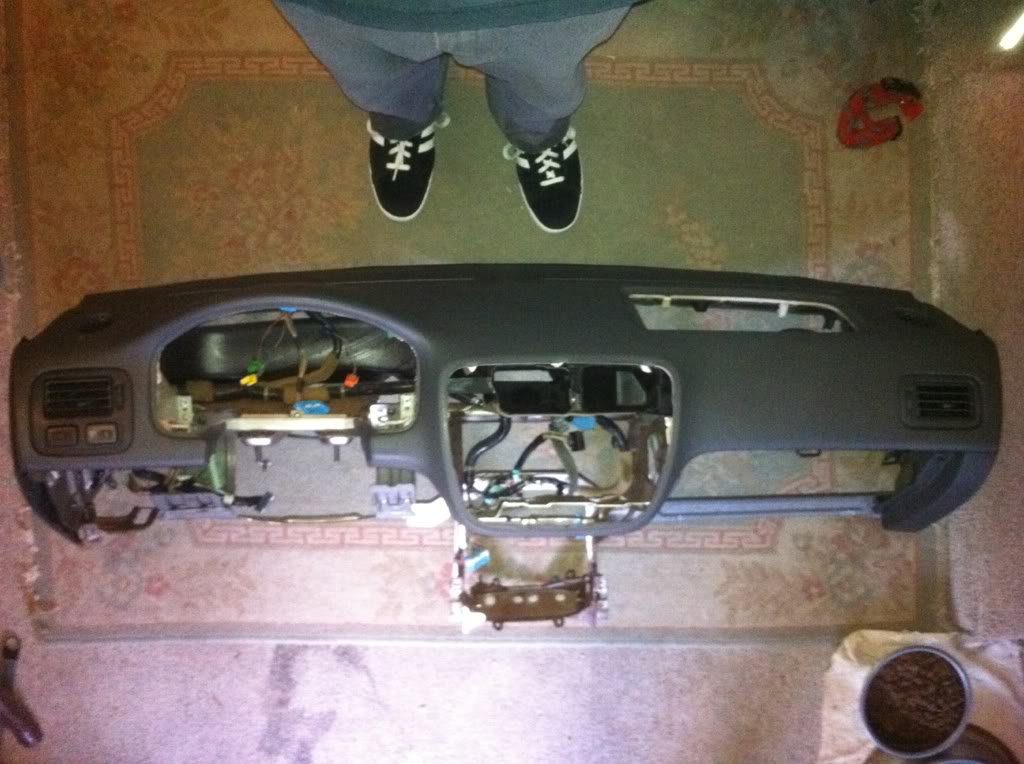
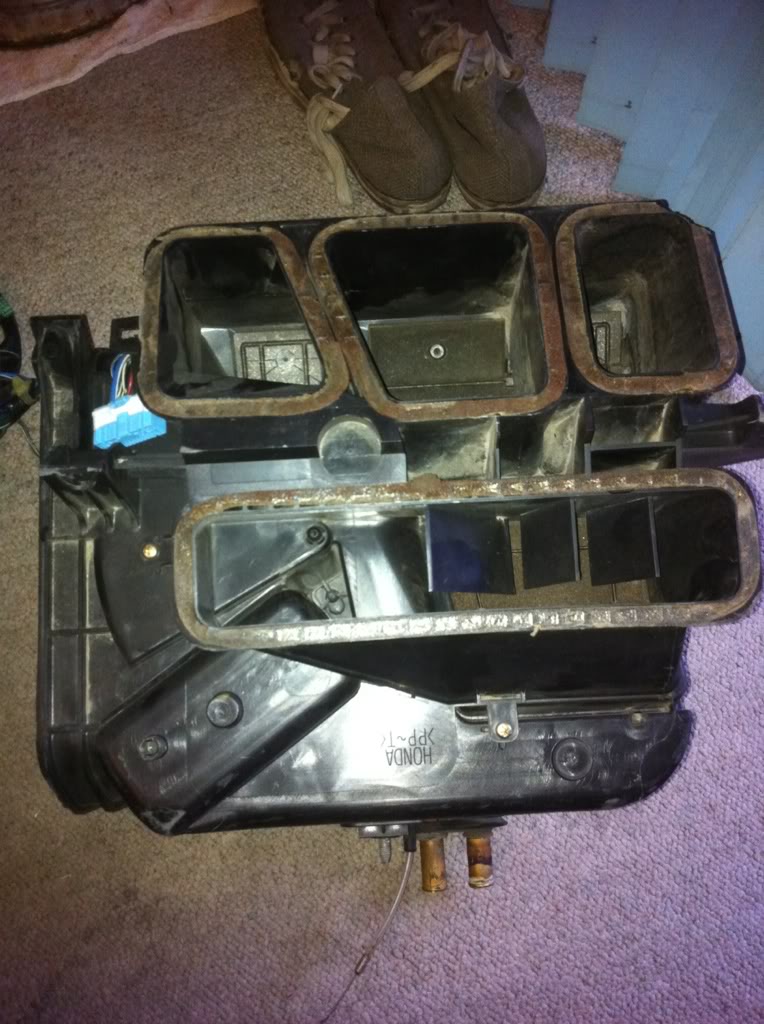
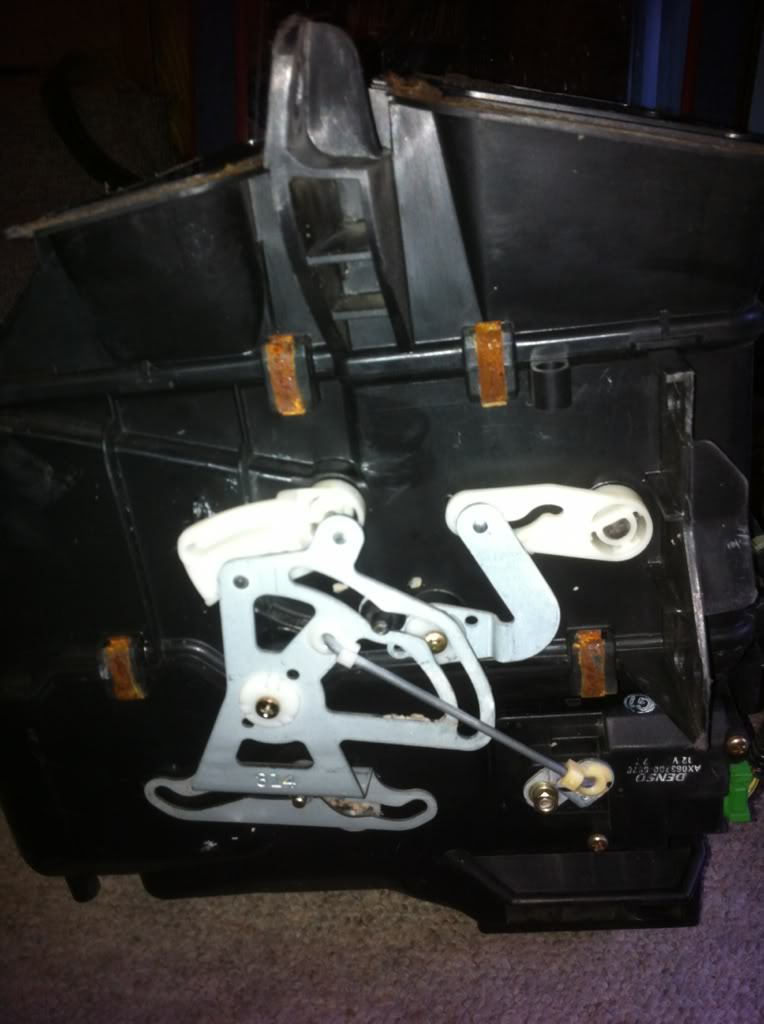
So i washed my car today... lol. also got the new dash:
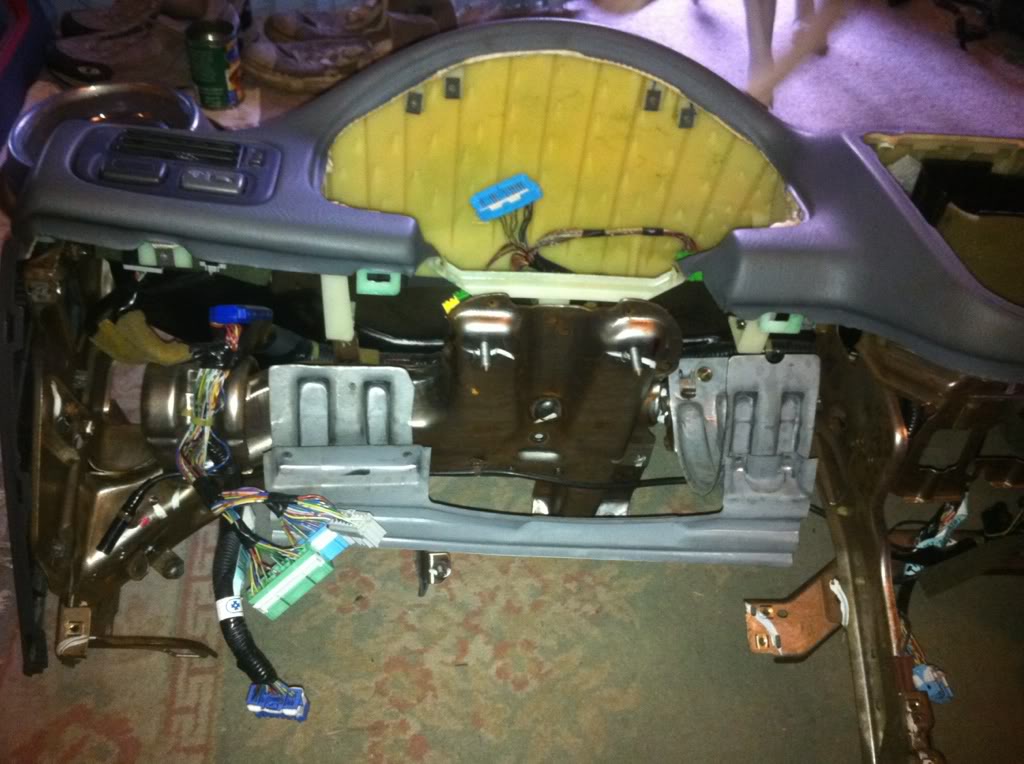
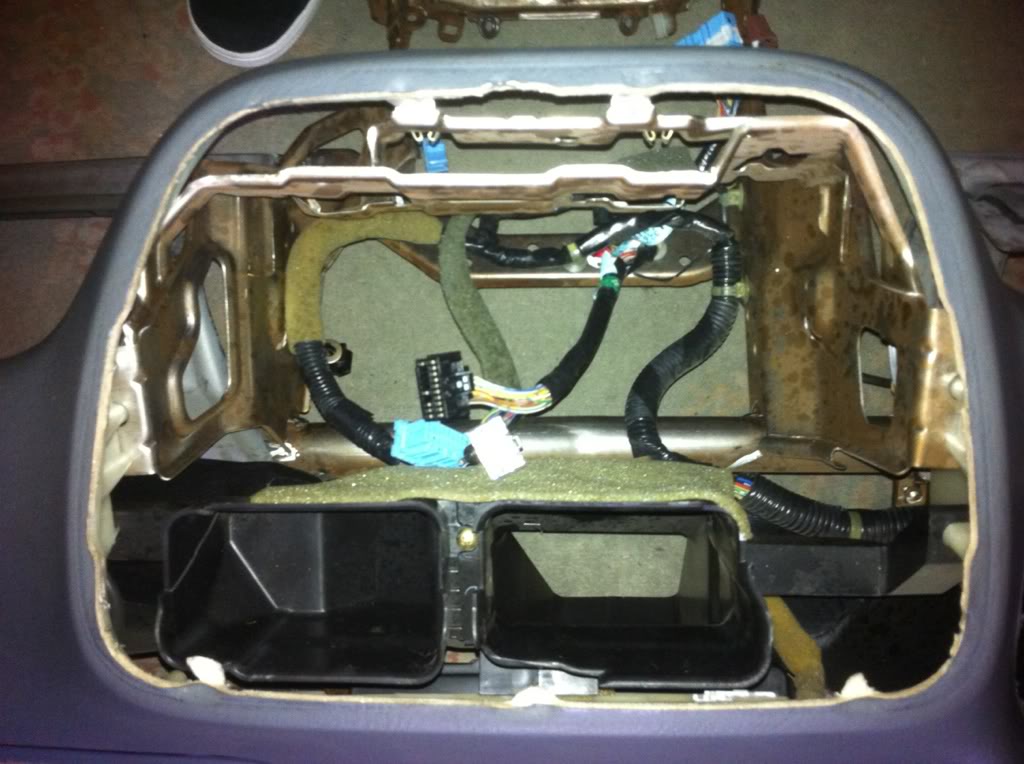
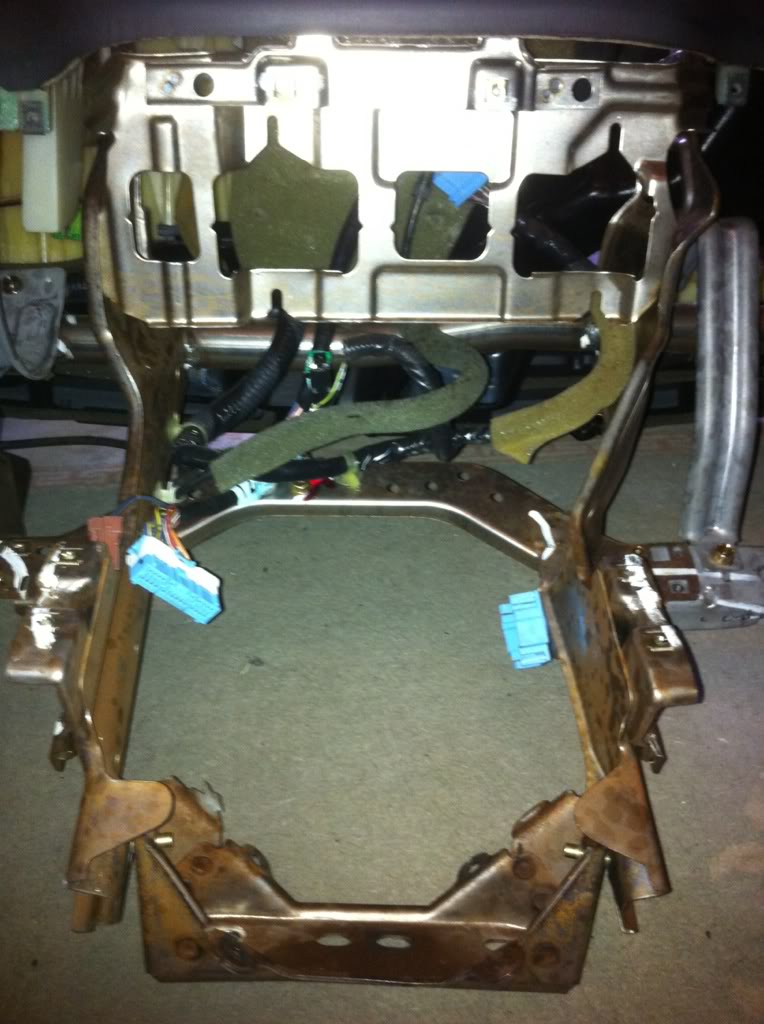
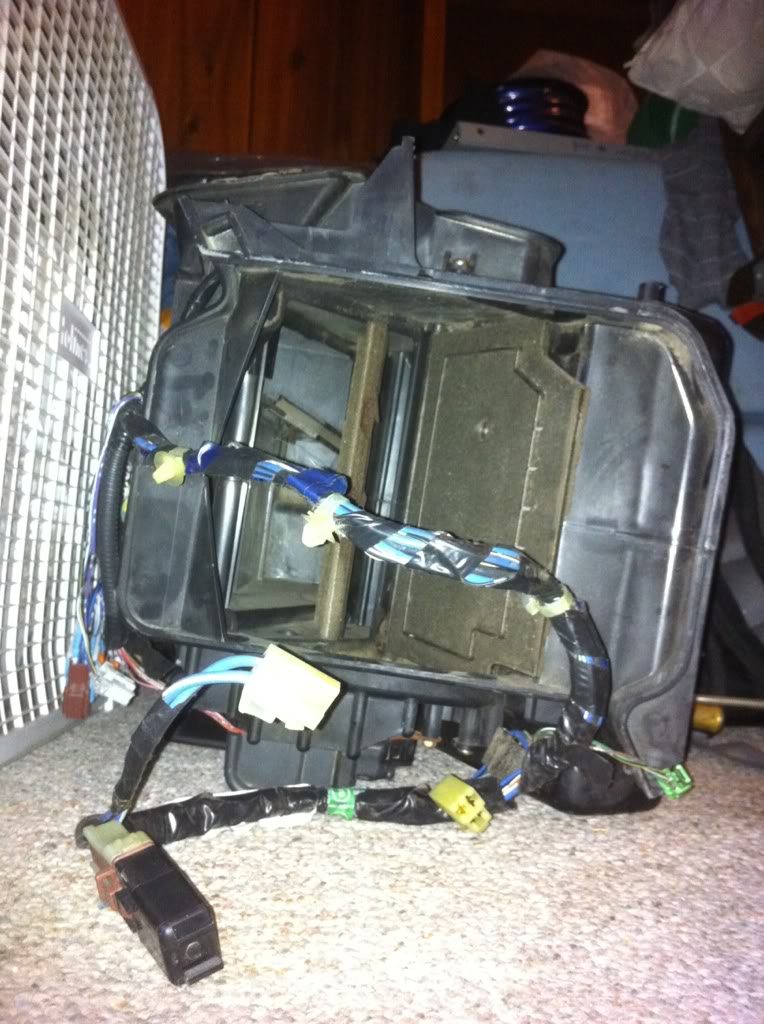
and the heater core and all:
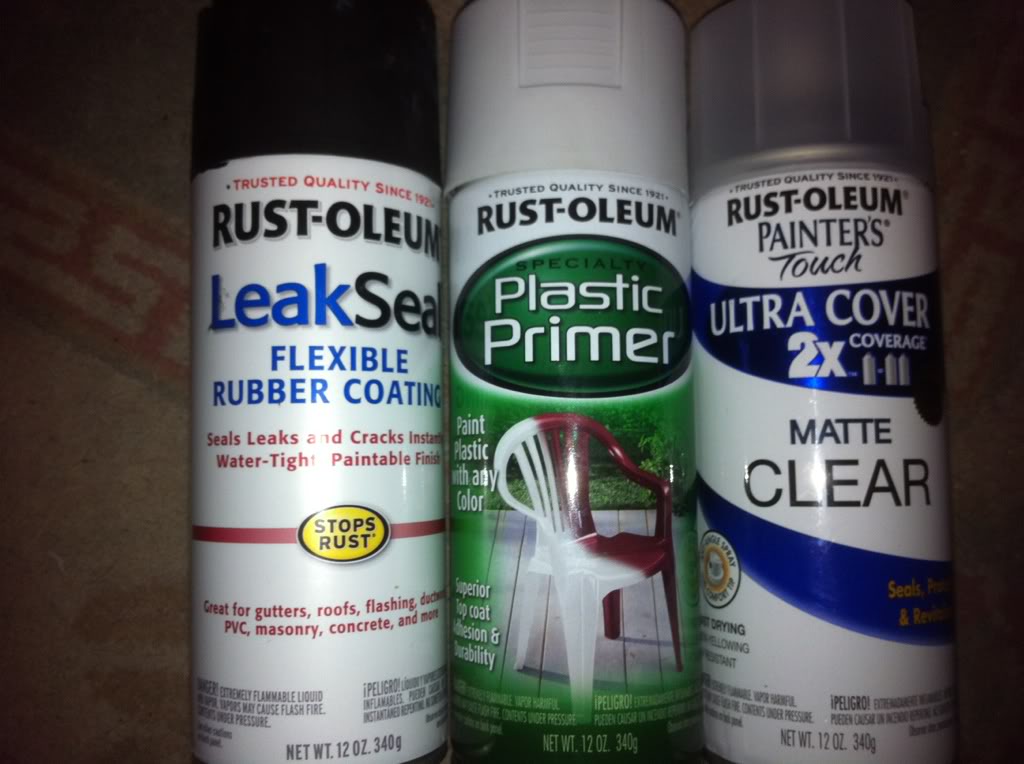
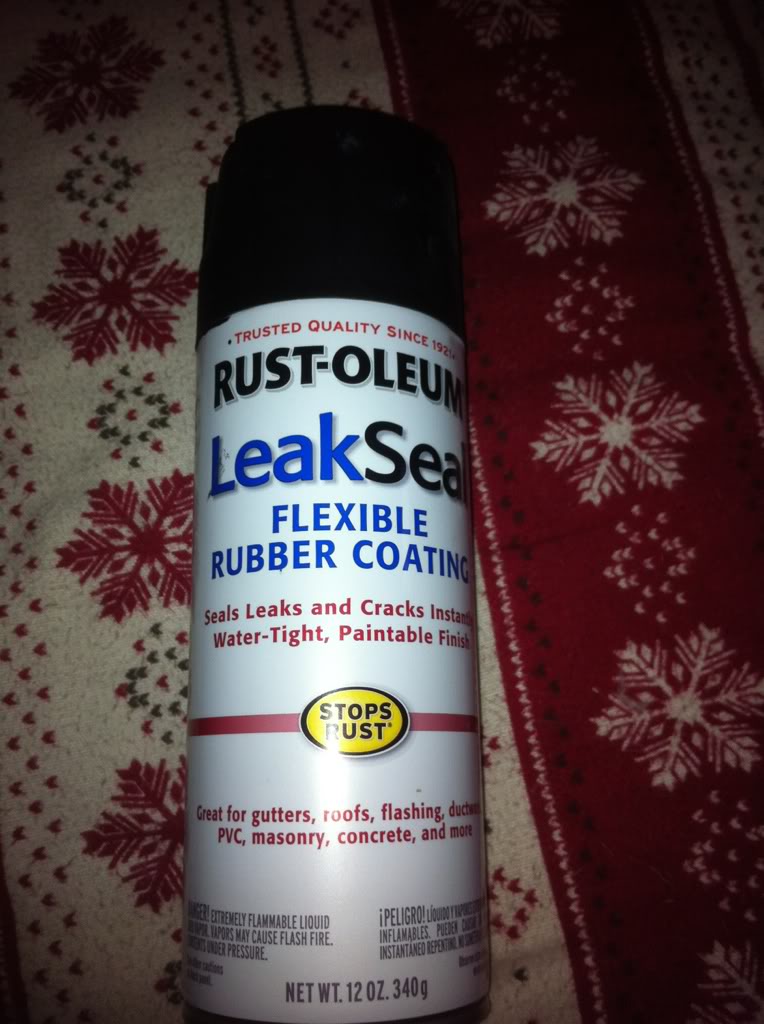
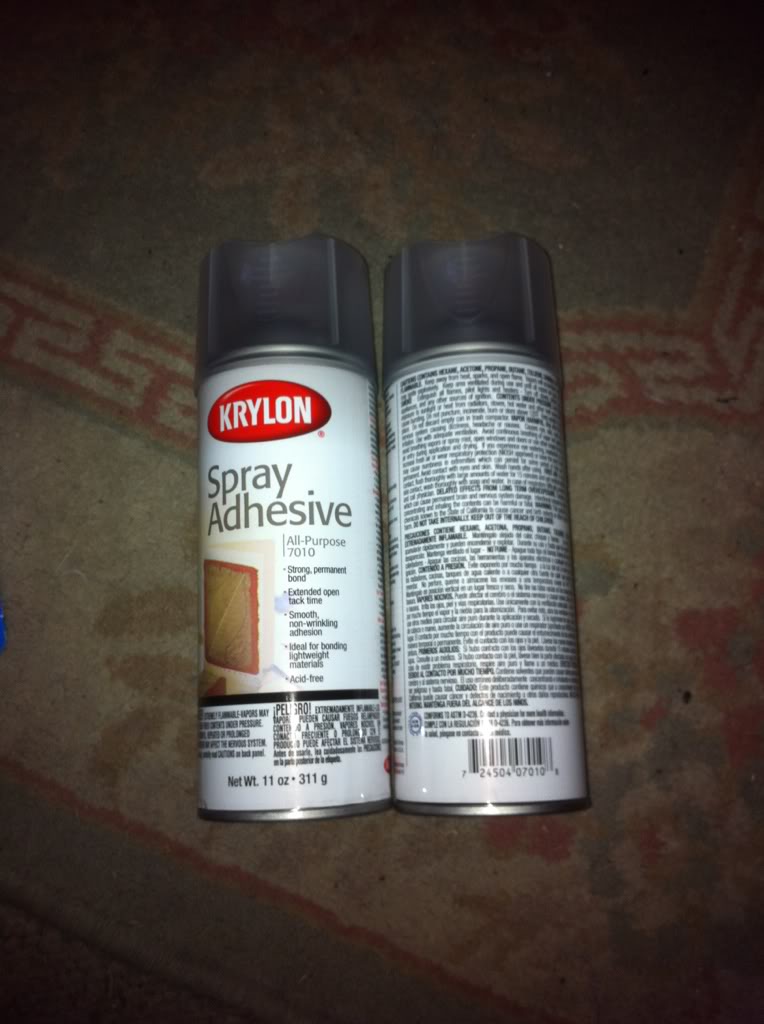
Now i have got some paints and adhesive spray, along with plastic primer, flex rubber coating spray, and matte clear protective finish. Plan on painting the interior with the primer, rubber, clear coat, all the hard plastic anyway; i am gonna sand the new(er) dash and start paining tonight, if it looks really bad ( i actually think it should look good) then ill just be forced to use the old dash and some zip ties...
I am gonna try to also do the sun visor re-fabricating tonight too, ill try to show step by step photos too, just gotta get my hands on a glue gun... Ill also start up some pics for the sanding painting process.
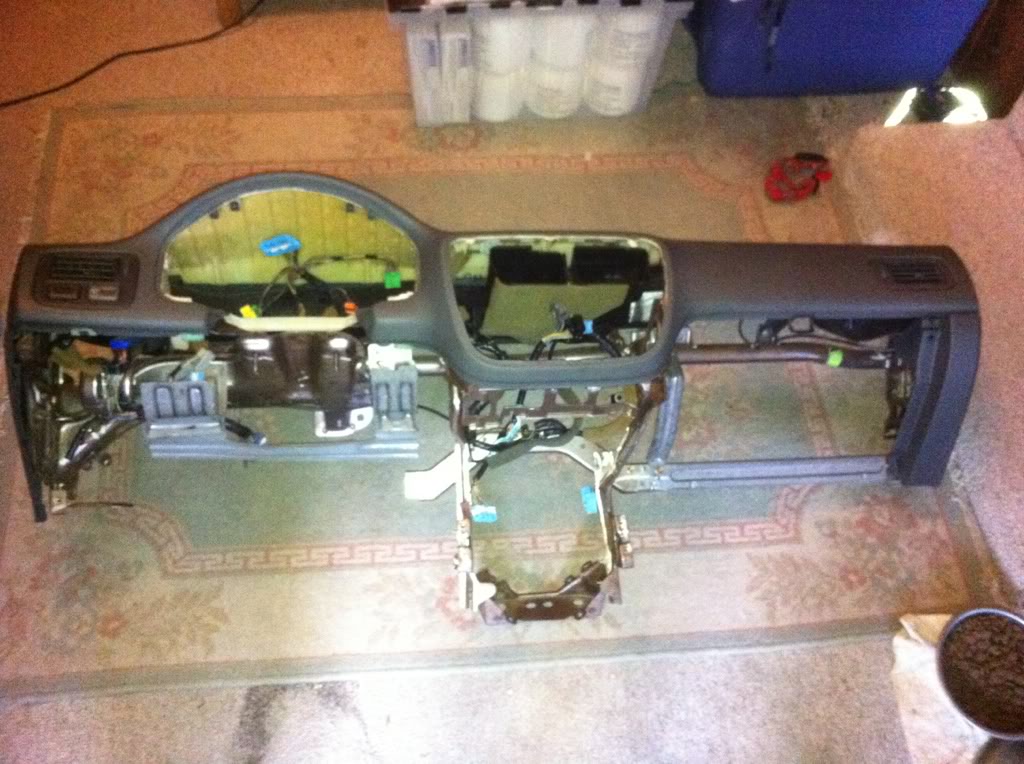
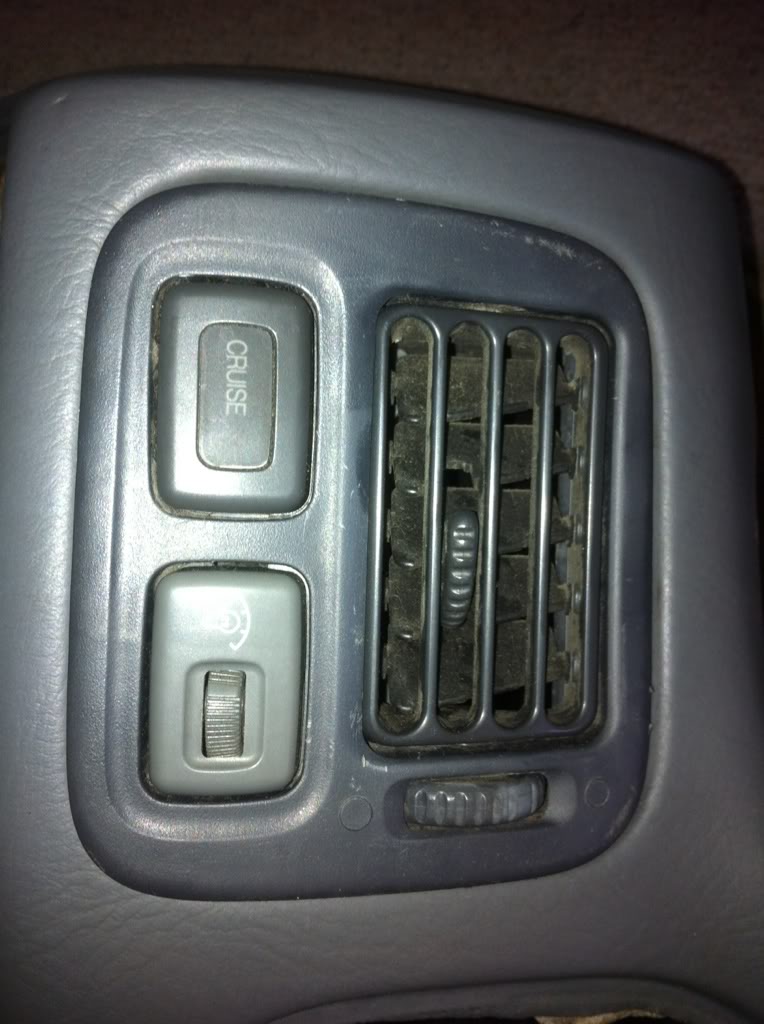
Here is another dimmer switch on the new(er) dash, along with a cruise control button/light, im gonna try to line the roof with LEDs and get a dimmer to them (white) insead of having a dome light, we will have to see about all that though... [the plan is to put a thin strip of clear fiberglass along the rim on the interior trim and the roofing, and have a super thin led strip across it, to create interior ambient light, but i might save that for another time.]
and the heater core and all:
Now i have got some paints and adhesive spray, along with plastic primer, flex rubber coating spray, and matte clear protective finish. Plan on painting the interior with the primer, rubber, clear coat, all the hard plastic anyway; i am gonna sand the new(er) dash and start paining tonight, if it looks really bad ( i actually think it should look good) then ill just be forced to use the old dash and some zip ties...
I am gonna try to also do the sun visor re-fabricating tonight too, ill try to show step by step photos too, just gotta get my hands on a glue gun... Ill also start up some pics for the sanding painting process.
Here is another dimmer switch on the new(er) dash, along with a cruise control button/light, im gonna try to line the roof with LEDs and get a dimmer to them (white) insead of having a dome light, we will have to see about all that though... [the plan is to put a thin strip of clear fiberglass along the rim on the interior trim and the roofing, and have a super thin led strip across it, to create interior ambient light, but i might save that for another time.]

#37
02-10-2012, 07:53 PM
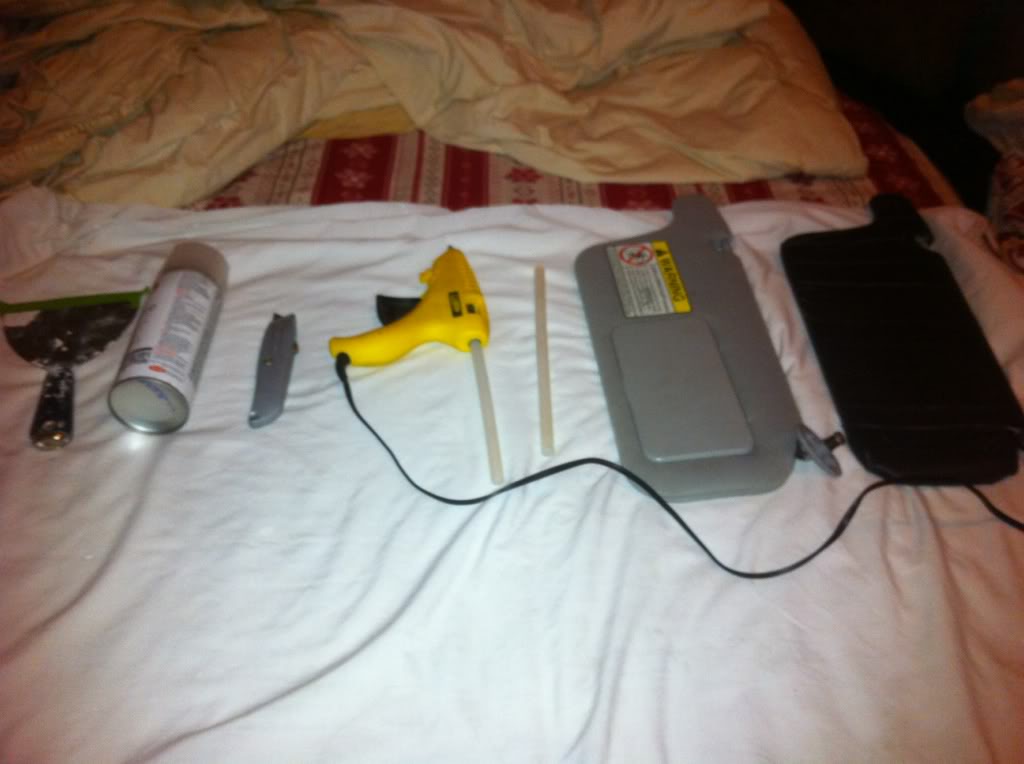
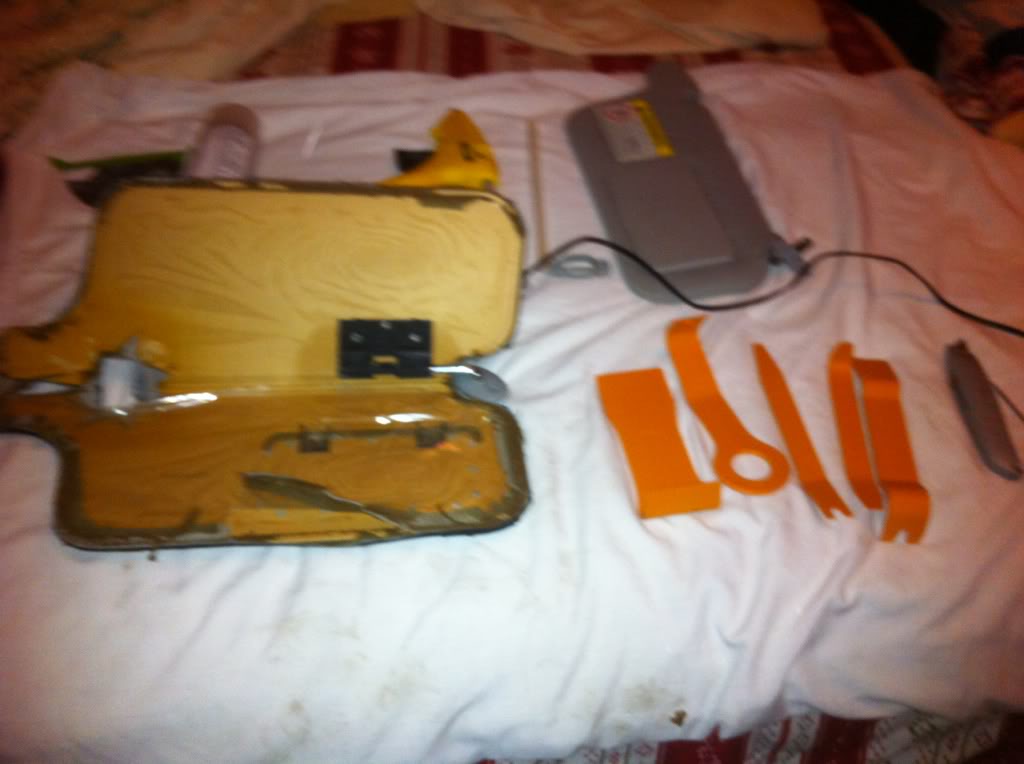
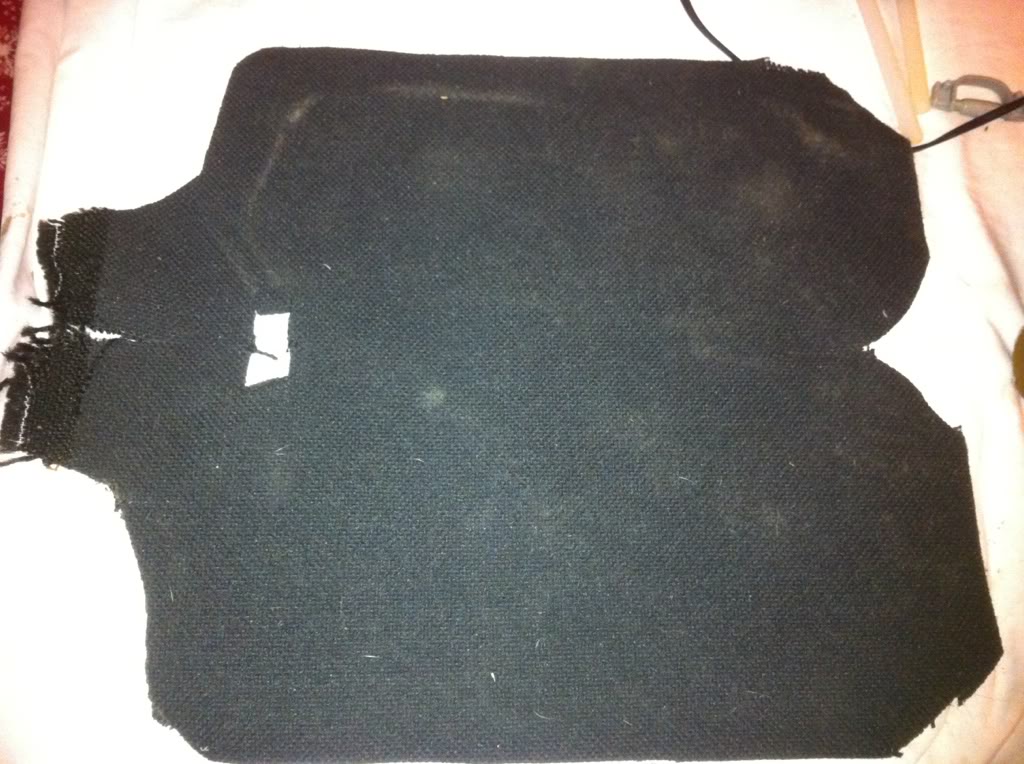
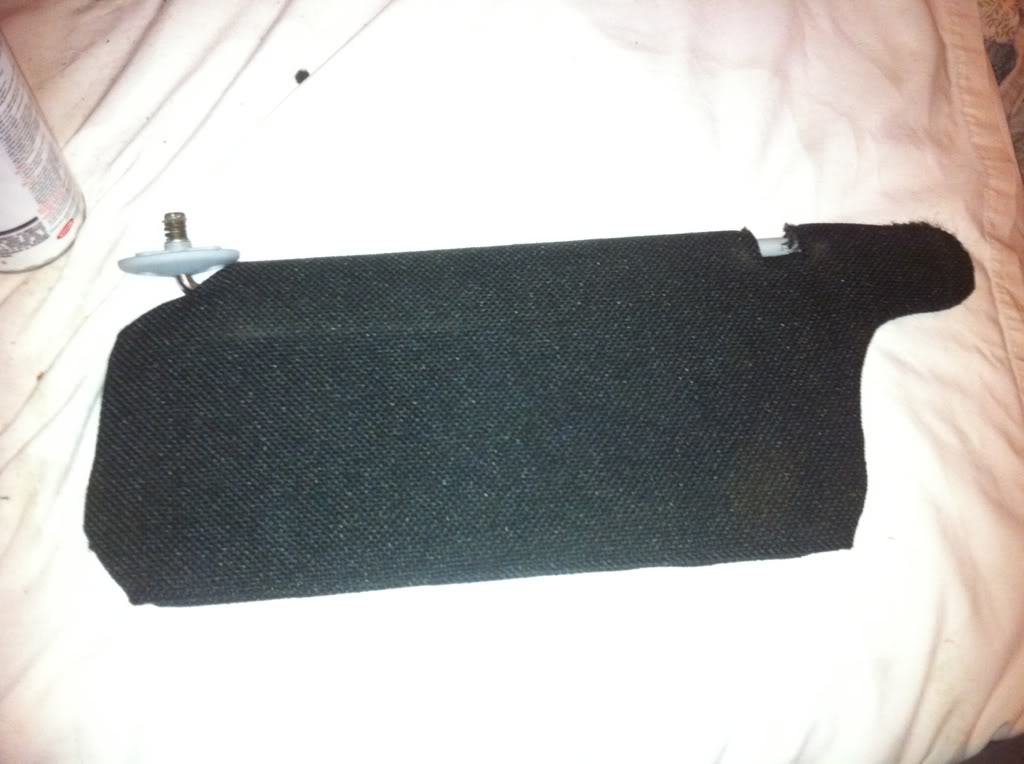
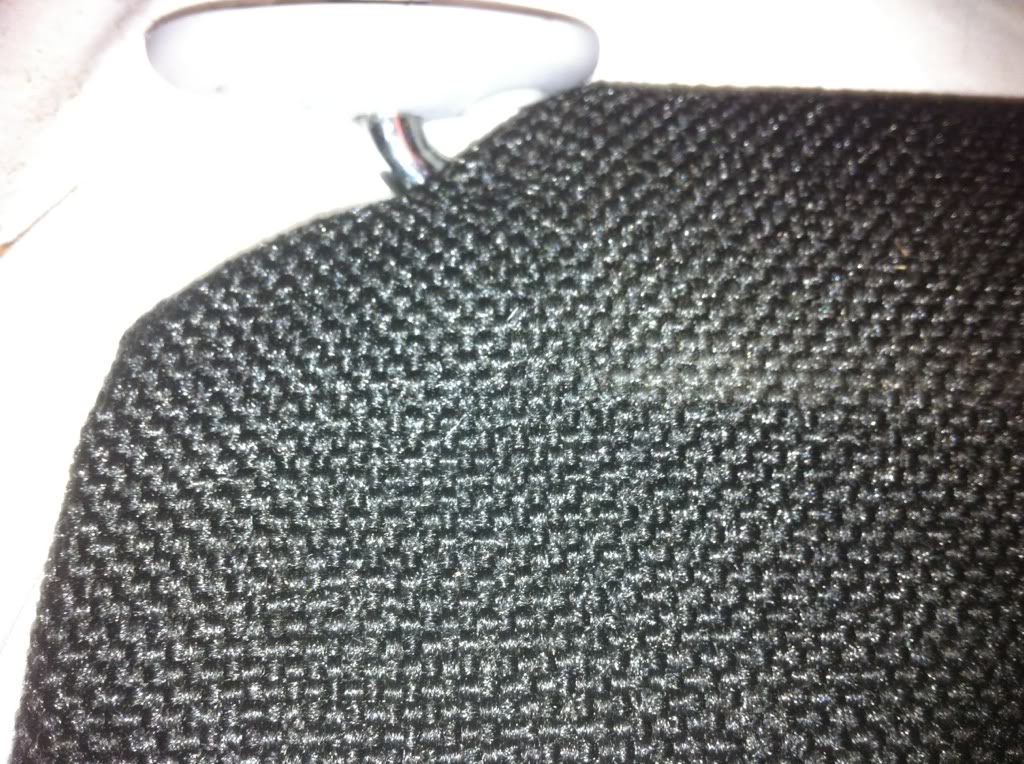
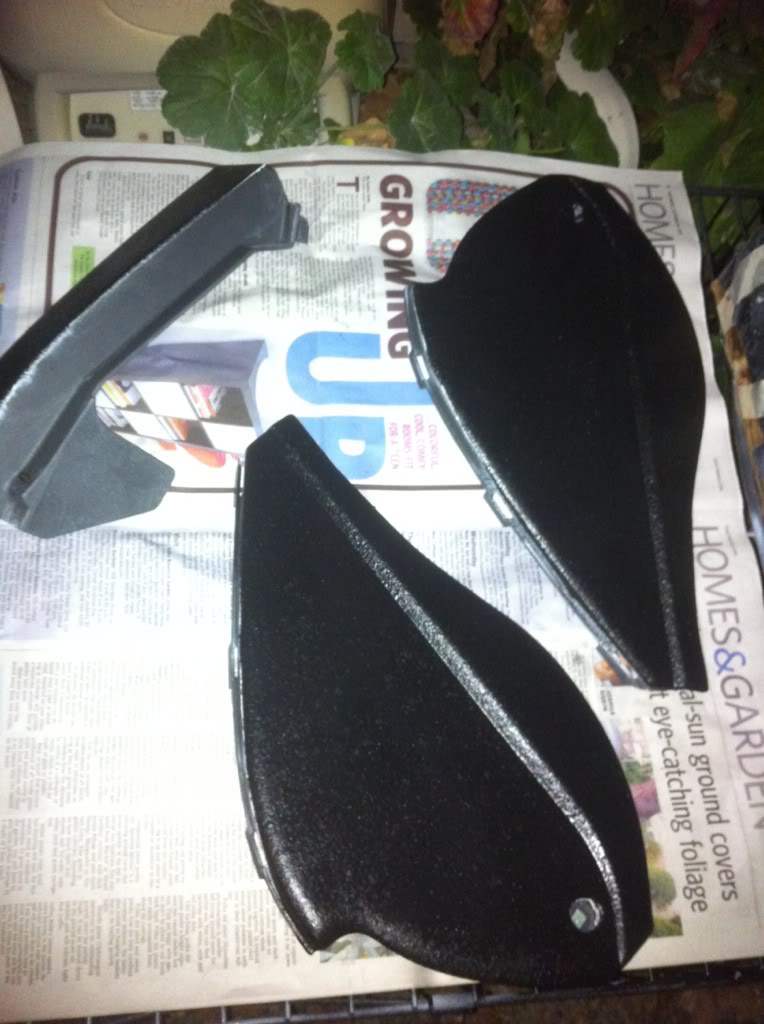
So, i got my hands on a glue gun, and got my visors done tonight:
Razor Blade
Glue Gun (and Glue)
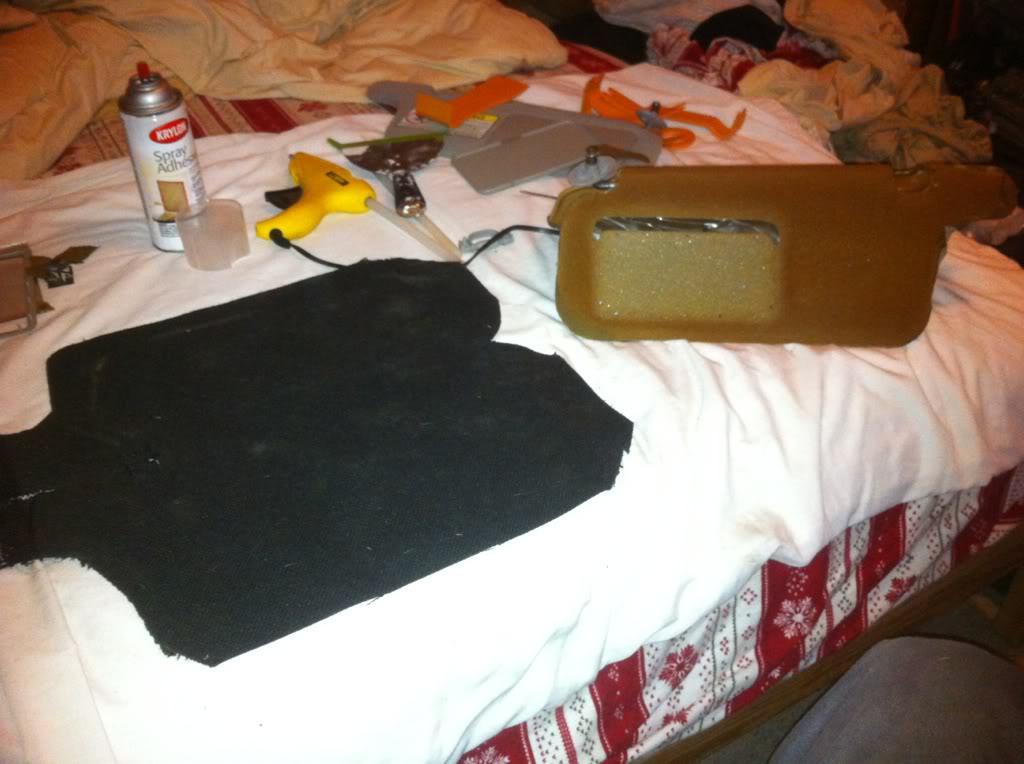
Adhesive spray
Visors (and New Fabric)
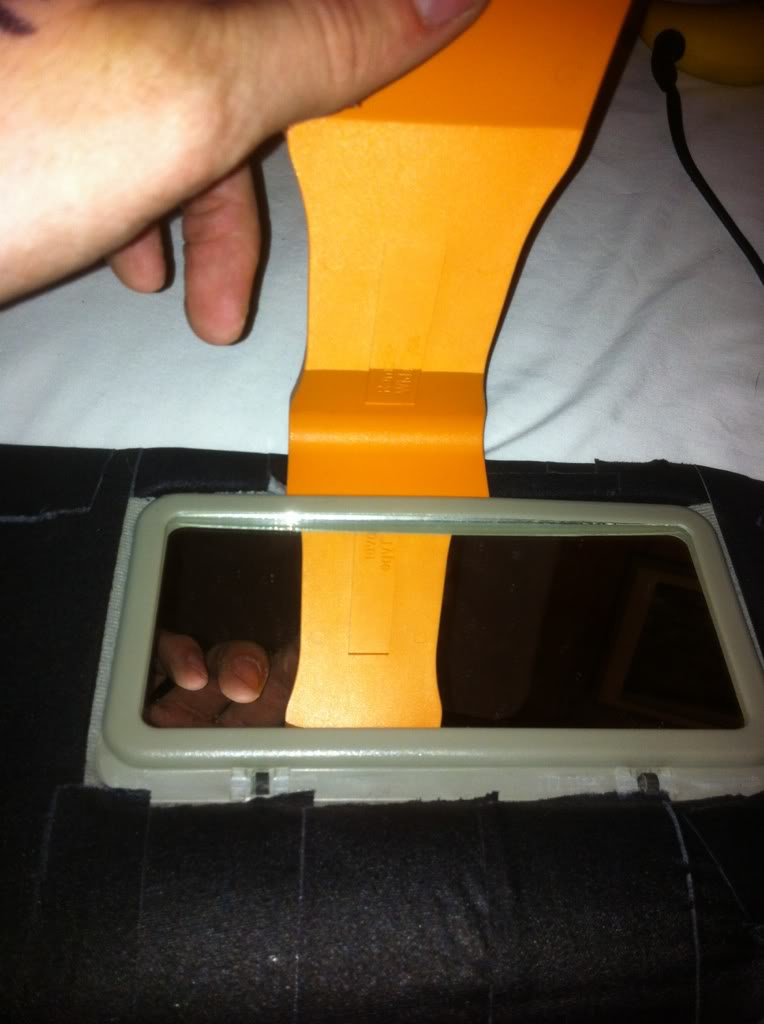
Body Removal Tools
The removal tool made it really easy to pop off the mirror, first one came off perfect, but then i decided i did not want to keep the mirrors, so i rushed the second one off and broke it, but to no fault of the tools!
Then the rest of the removal process, very easy modification:
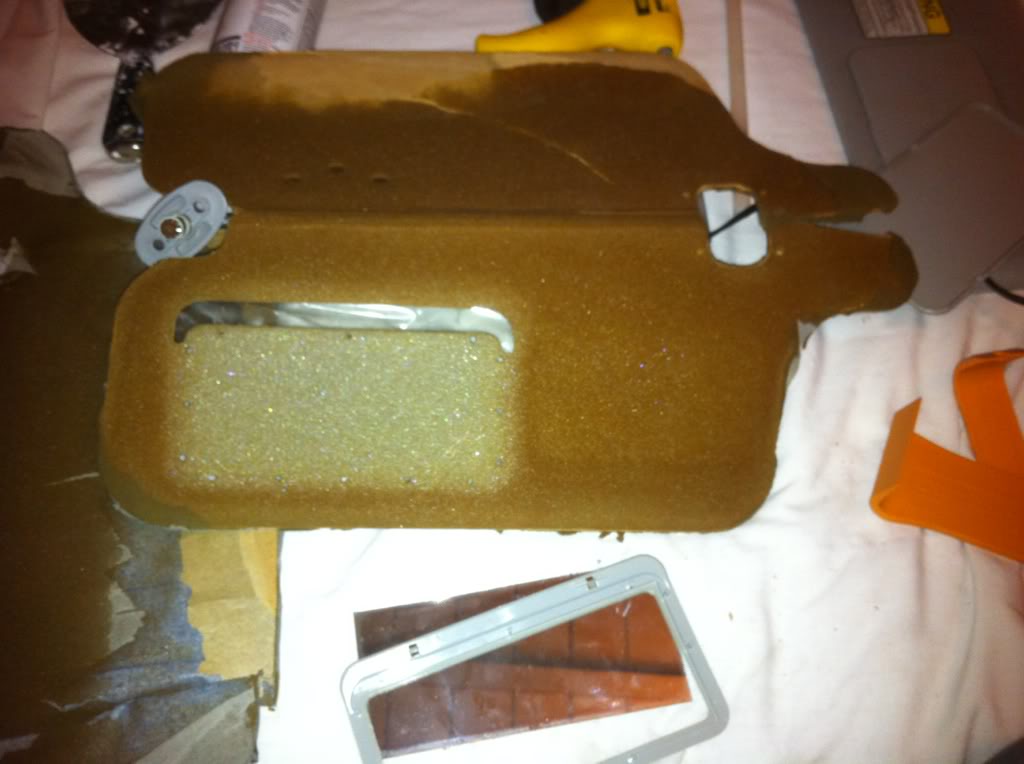
New Fabric:
Glue drying, heavy stuff:
BAM!:
Now, i did run into a few problems, for starters i have way less foam, i meant to order the foam lined fabric, but oh well, i like it fine anyway, no difference to me. But the final seal to hold the visor together did not exactly work out how i wanted, the pics make it look worse than it was, but you can see the crack and the glue, although it held together very nicely. (my first time since a kid working with a glue gun):
Anyway, this was not going in my car like this.... So i had an idea, i will cut strips of fabric and cover these spots up!


Then i took a razor the the excess (wasnt much) and the glue, to get a bit cleaner, and last i used a lighter to melt up the ends and frills, giving (in my opinion) a very clean end look (pics dont do much justice, youll just have to take my word ;P):

All in all i learned a bit about glue guns (and how much worse hot liquid glue is than hot water) also that the roof lining job should be a piece of cake. Not gonna but them back in the car yet since ill just be popping them back out really soon. Didnt get to the sanding at all so far, ill probably do some tonight and finish it up/primer tomorrow morning. anyway cant think of anything else right now, a little worried about mounting the monitor in the climate control bezel, which i had to order online since the junk yard said they are insanely rare....
Will probably update tomorrow the on the dash paint project. Then I will start working on emptying and rebuilding a new trunk, until i get the climate control and battery so that i can start the real project, probably on Thursday morning so that it will not affect my ability to get to and from school, and just hope that the project time doesnt bleed into the next week too much [knock on wood].
Razor Blade
Glue Gun (and Glue)
Adhesive spray
Visors (and New Fabric)
Body Removal Tools
The removal tool made it really easy to pop off the mirror, first one came off perfect, but then i decided i did not want to keep the mirrors, so i rushed the second one off and broke it, but to no fault of the tools!
Then the rest of the removal process, very easy modification:
New Fabric:
Glue drying, heavy stuff:
BAM!:
Now, i did run into a few problems, for starters i have way less foam, i meant to order the foam lined fabric, but oh well, i like it fine anyway, no difference to me. But the final seal to hold the visor together did not exactly work out how i wanted, the pics make it look worse than it was, but you can see the crack and the glue, although it held together very nicely. (my first time since a kid working with a glue gun):
Anyway, this was not going in my car like this.... So i had an idea, i will cut strips of fabric and cover these spots up!
Then i took a razor the the excess (wasnt much) and the glue, to get a bit cleaner, and last i used a lighter to melt up the ends and frills, giving (in my opinion) a very clean end look (pics dont do much justice, youll just have to take my word ;P):
All in all i learned a bit about glue guns (and how much worse hot liquid glue is than hot water) also that the roof lining job should be a piece of cake. Not gonna but them back in the car yet since ill just be popping them back out really soon. Didnt get to the sanding at all so far, ill probably do some tonight and finish it up/primer tomorrow morning. anyway cant think of anything else right now, a little worried about mounting the monitor in the climate control bezel, which i had to order online since the junk yard said they are insanely rare....
Will probably update tomorrow the on the dash paint project. Then I will start working on emptying and rebuilding a new trunk, until i get the climate control and battery so that i can start the real project, probably on Thursday morning so that it will not affect my ability to get to and from school, and just hope that the project time doesnt bleed into the next week too much [knock on wood].
Last edited by Turtlegrip; 02-10-2012 at 07:59 PM.
#38
02-11-2012, 07:56 PM
I hope this finally goes to a new page... haha. Well last night after the visor i started messing with the dash.
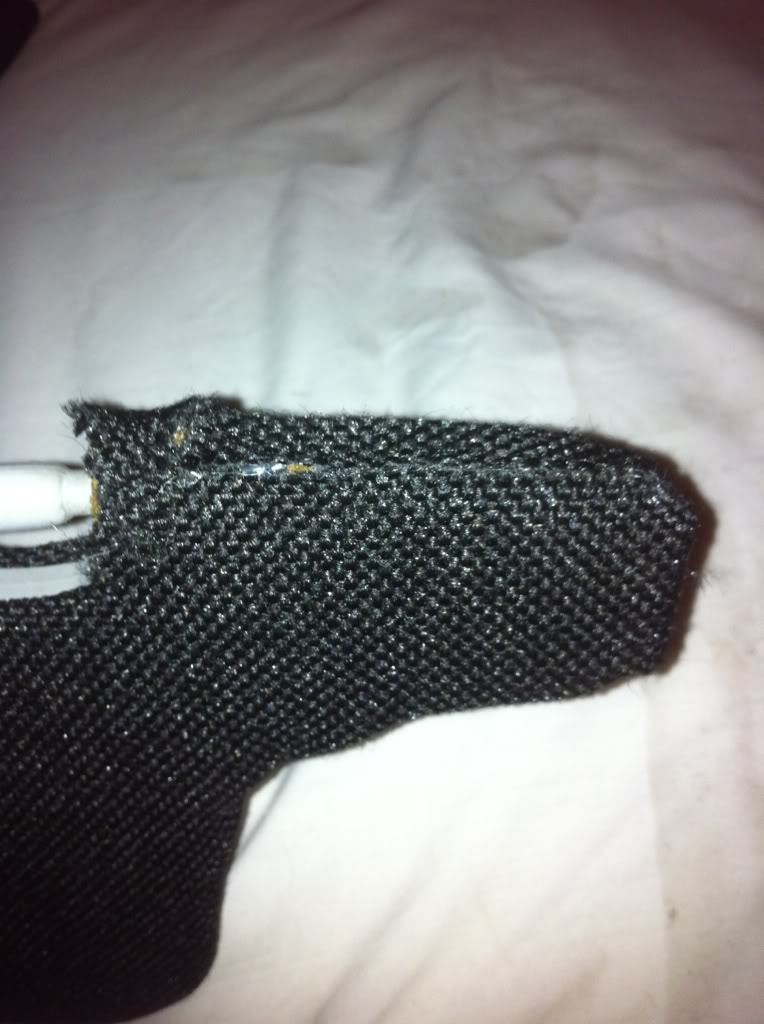
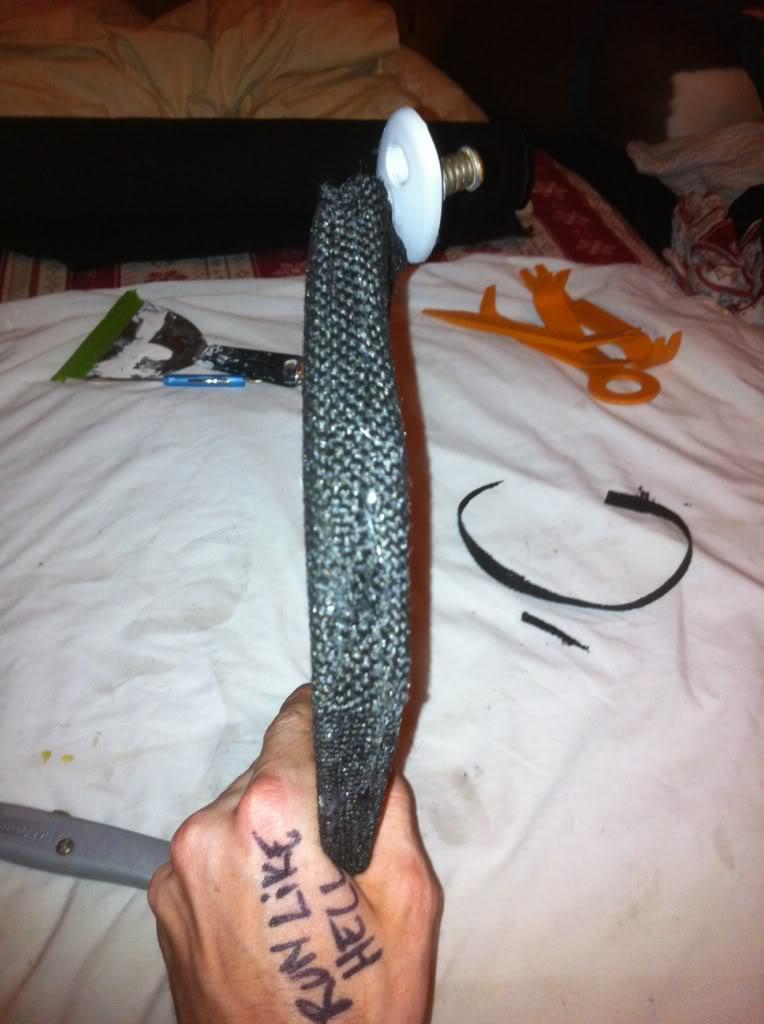
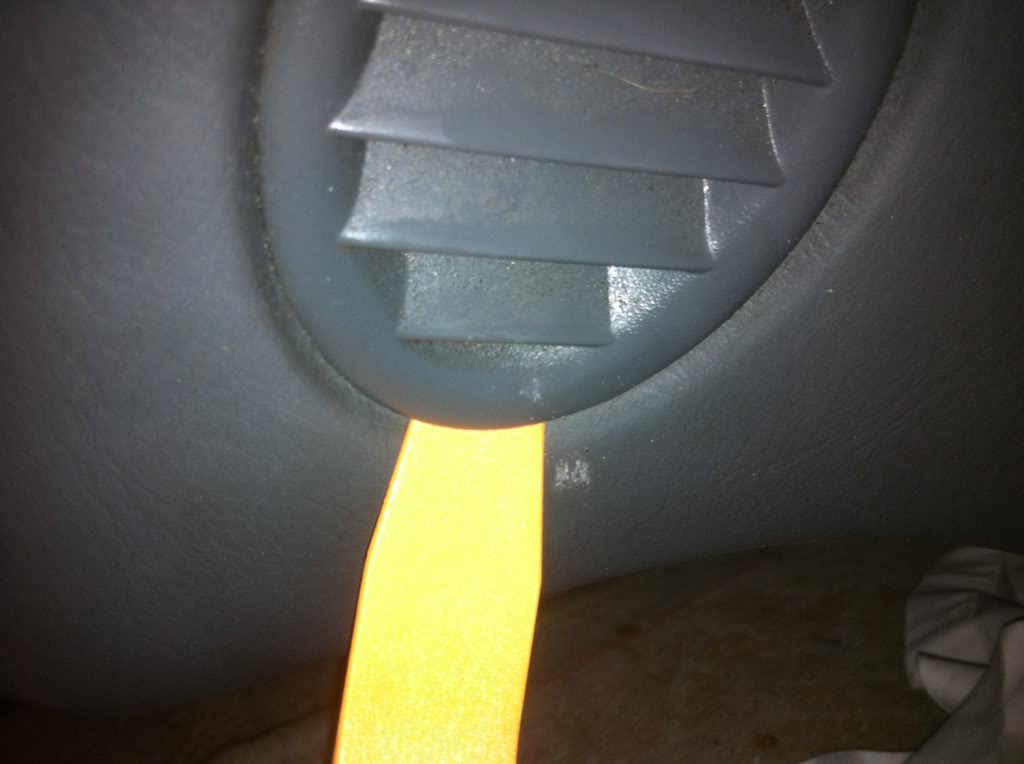
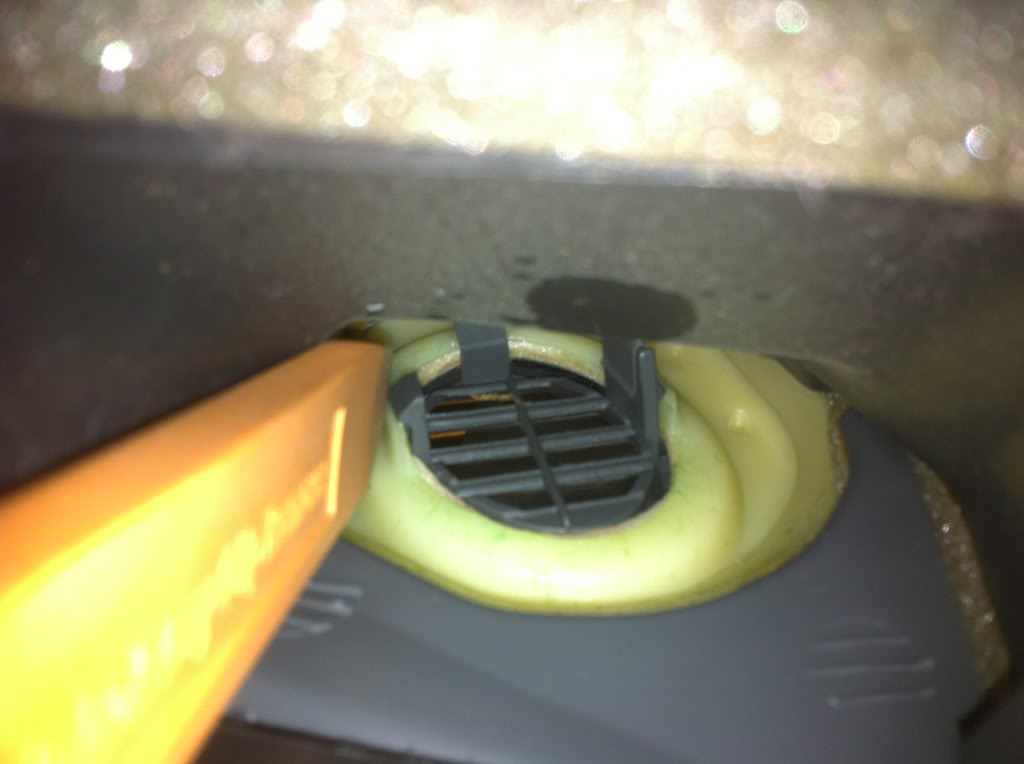
Pulling out the vents:
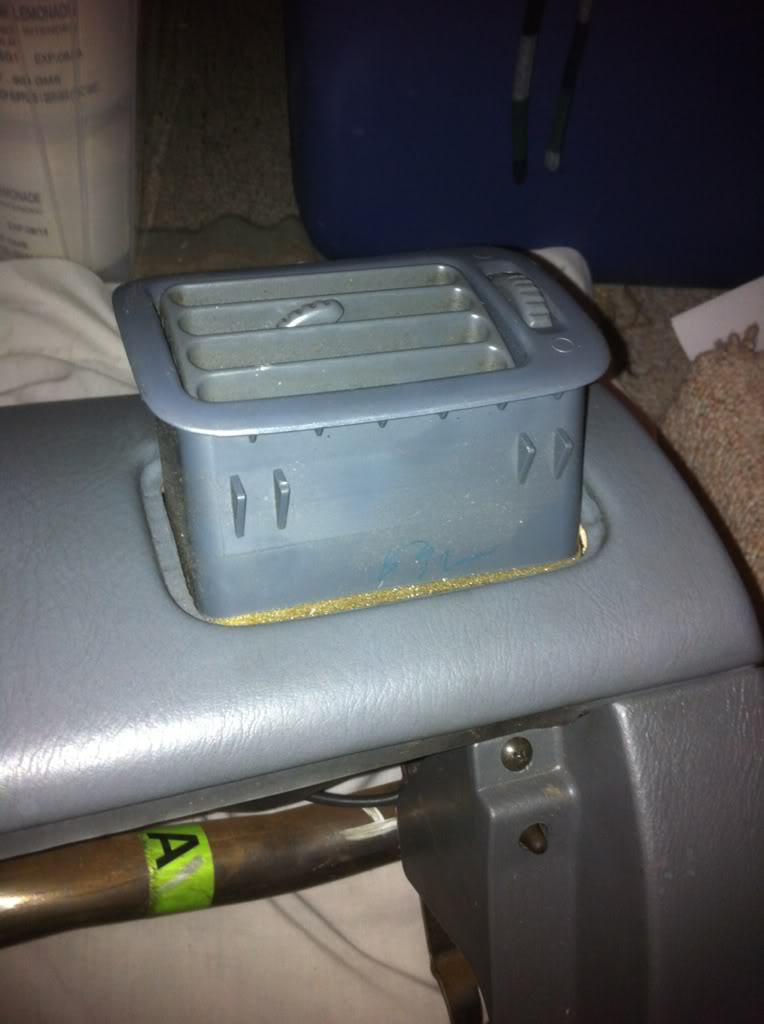
The small ones are a little bit tricky to pop out:
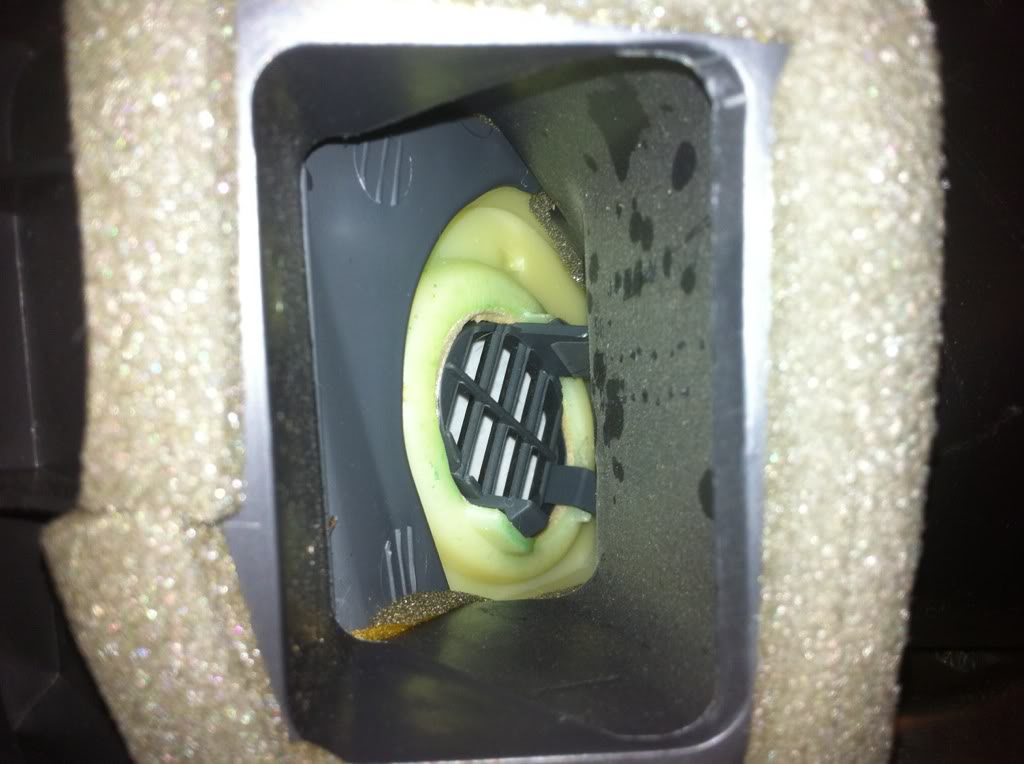
Just used one tool to create outside tension then wedged against the inner clips and it popped right out:
Now i took apart the few parts that pop off, and started sanding to some rambo 2... lol:
Started priming right away:
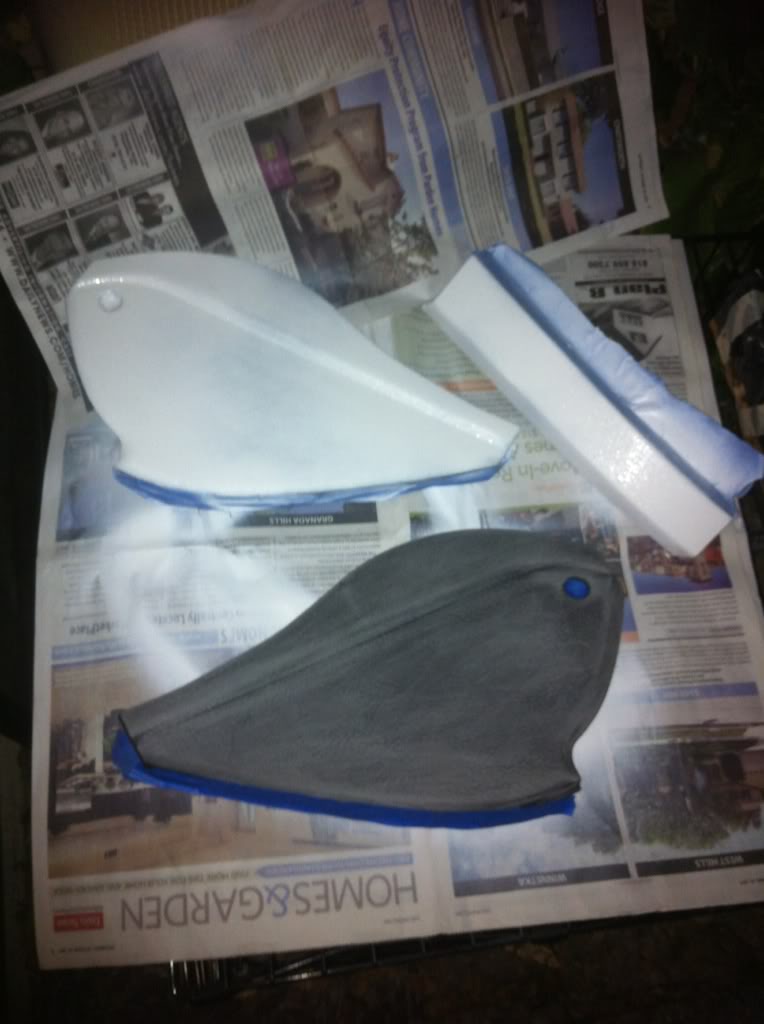
Did a light and a second light coat of the primer and by morning it was dry, so i set up in the garage (parking on the street for a night with a stirpped car -_-) and started painting the smaller parts:
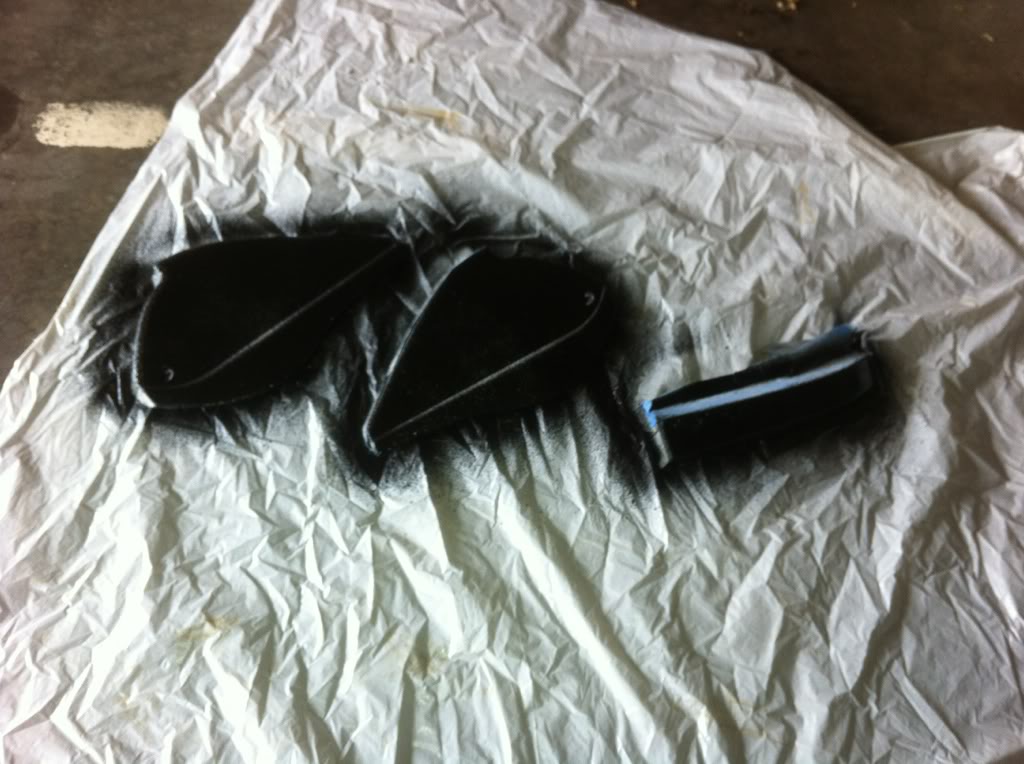
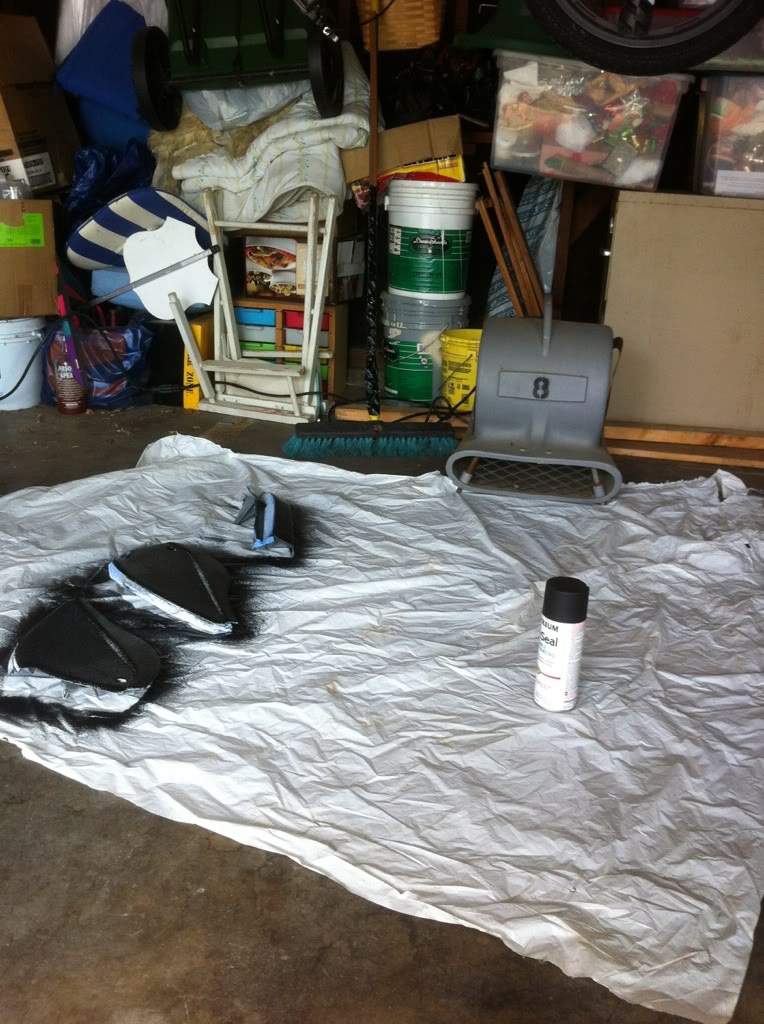
Just got home tonight and did a first coat of matte protective paint, plan on using 3 coats of that stuff to keep everything strong i hope, stuff smells, im assuming after a few days of sitting out it will stop smelling so strong heh.
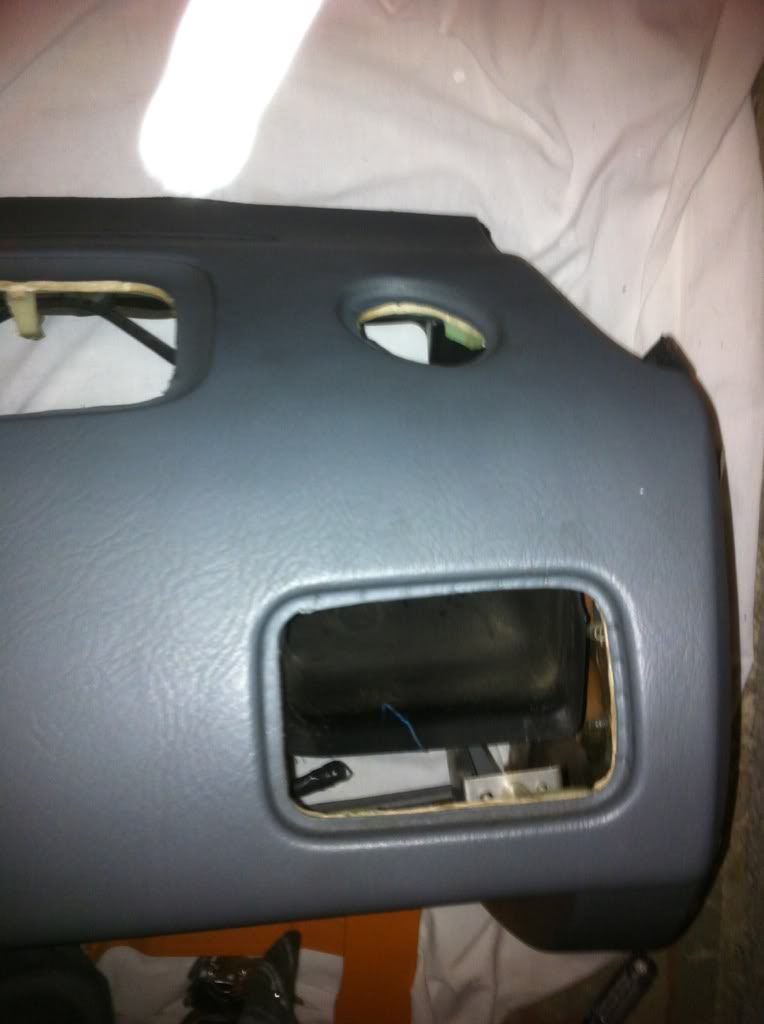
Here is the main dash, havent started that yet, biggest part, and i decided against an electric sander since this dash is the kinda soft plastic, my current dash is all hard plastic, ill have to decide what to do later, but ill probably just light sand the softer plastic dash and paint/use that one.
So I woke up this morning, went over to a house with a much better selection of tools than available at my own home, and started taking crap apart!:
Trunk
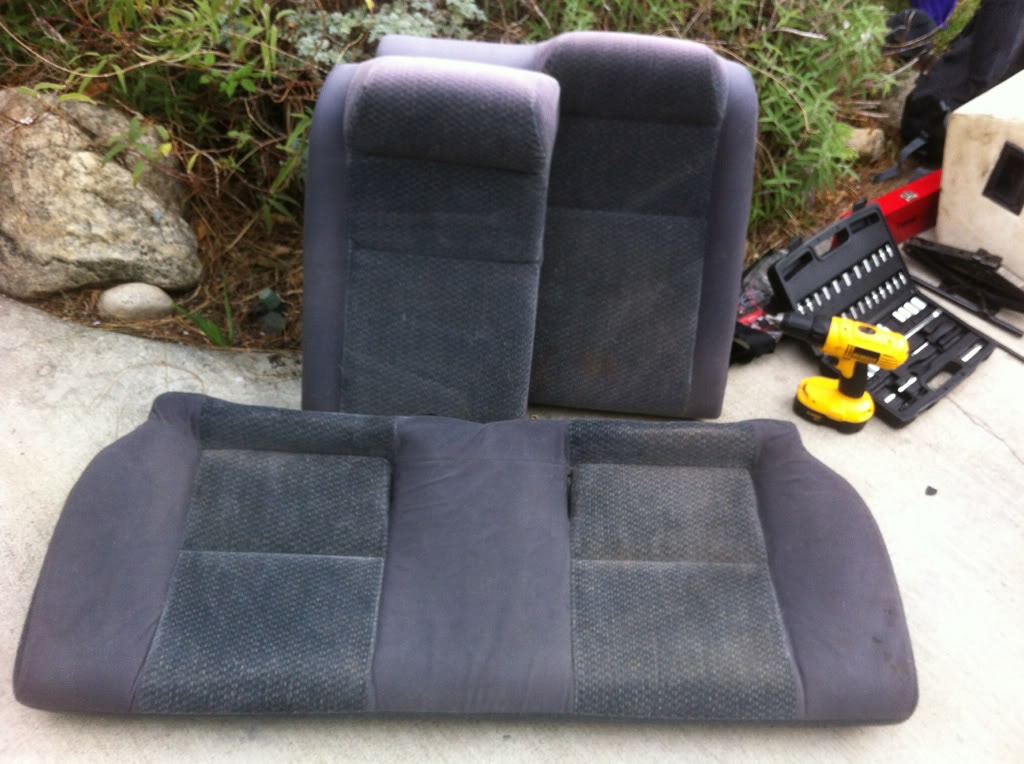
Rear seats, fold down and the three 2 bolt holsters are visible and easy to take apart:
One side bolt on the bigger section, once you take the smaller section off:
And no more back seats:
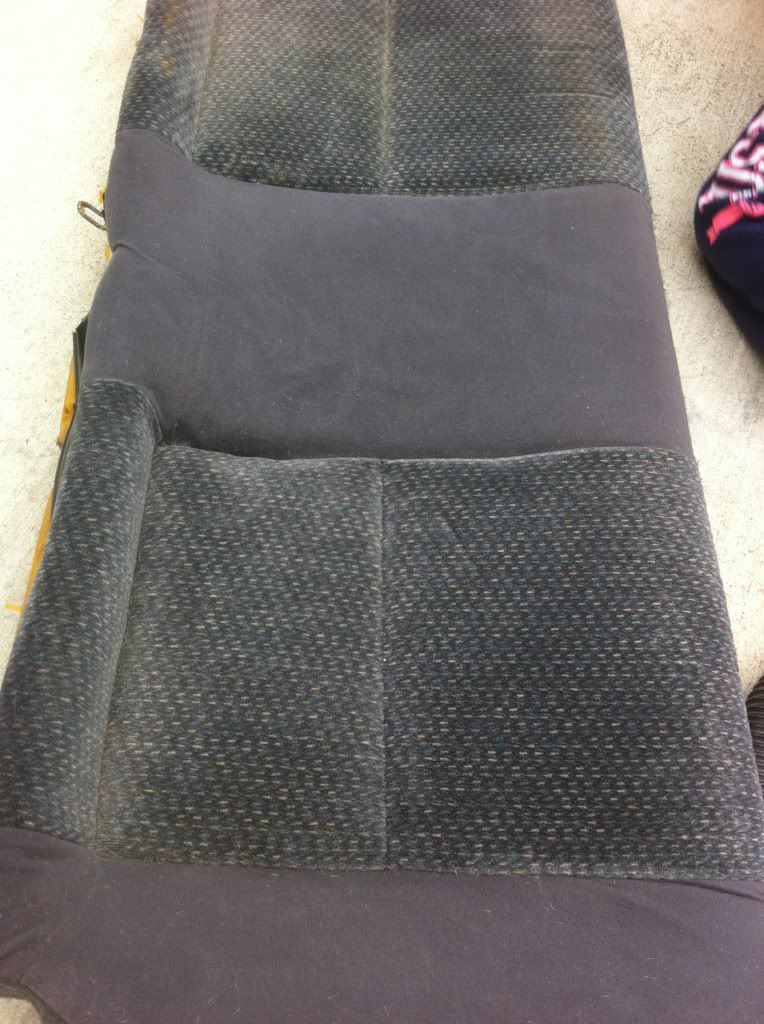
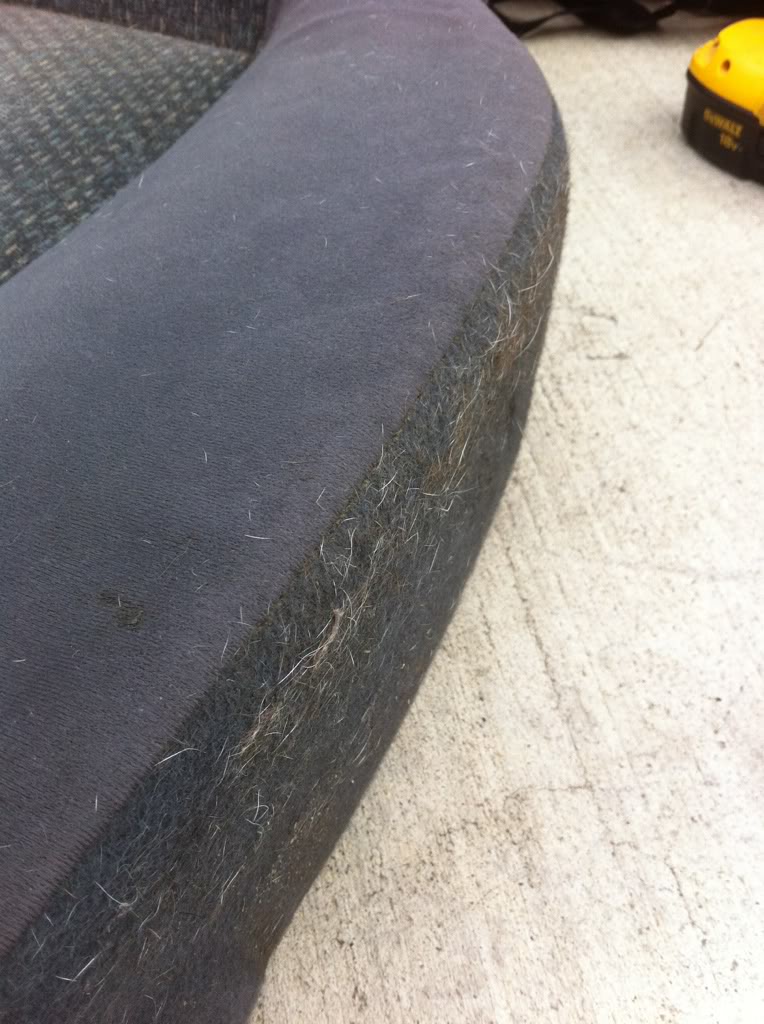
Took them out and started cleaning them, smacking it with a stick and a vacuum at hand, lots of dust, then recruited my little sister to start getting all the dog hair off, heh, came out much nicer and cleaner than the start, i think i will be making loose custom covers for the back seats (black) and i am currently in the market for a pair of del sol seats!:
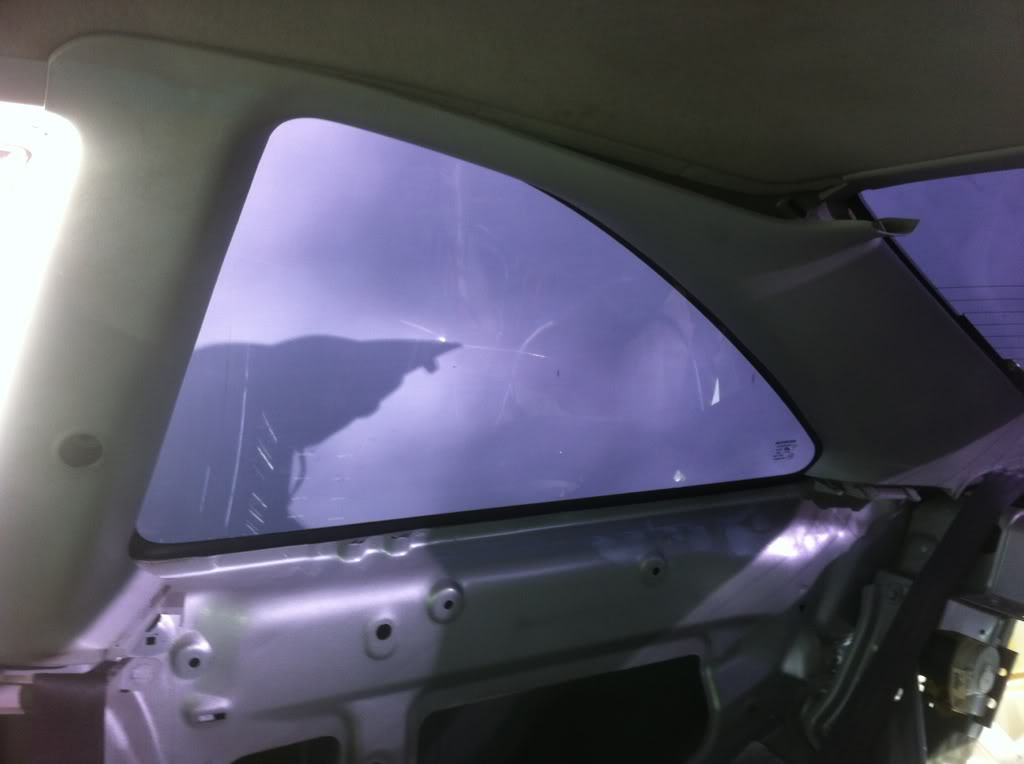
Now, most of the side panels were really easy to pop off:
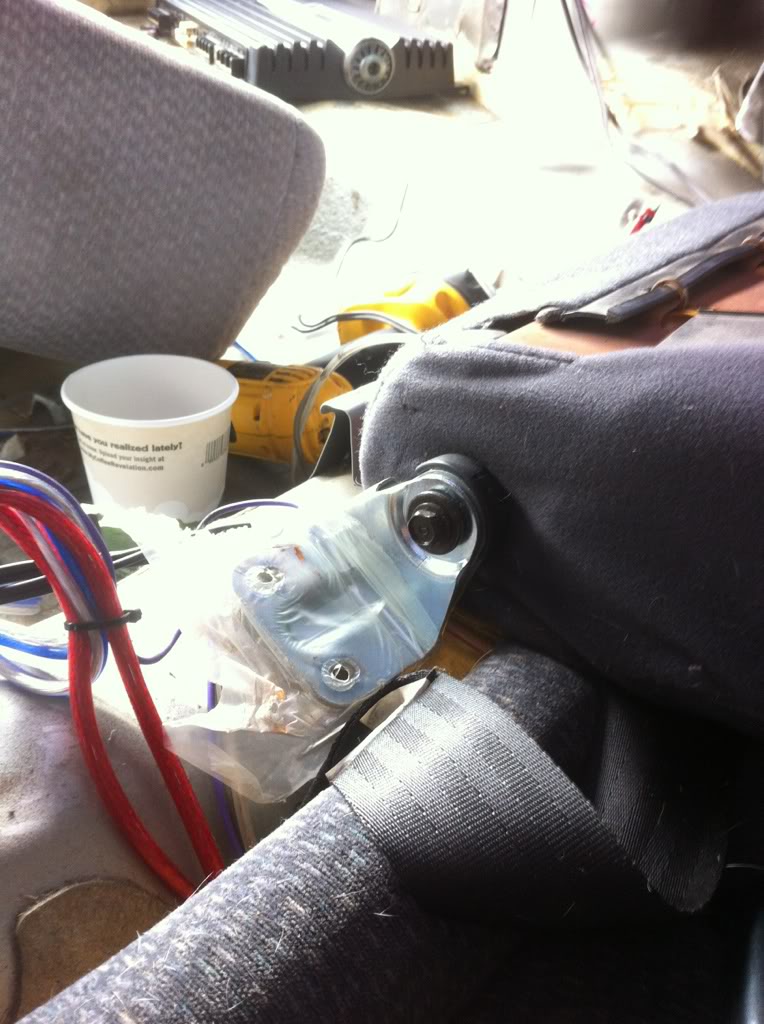
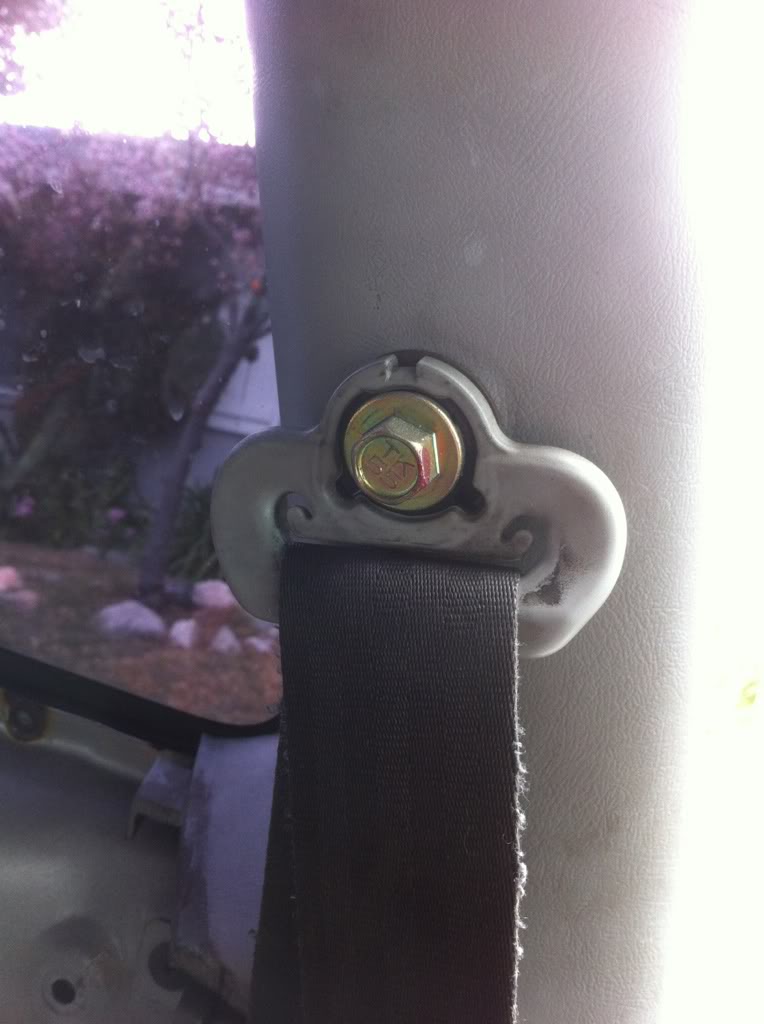
Seat belt had to unbolt to get the rear pillars off:
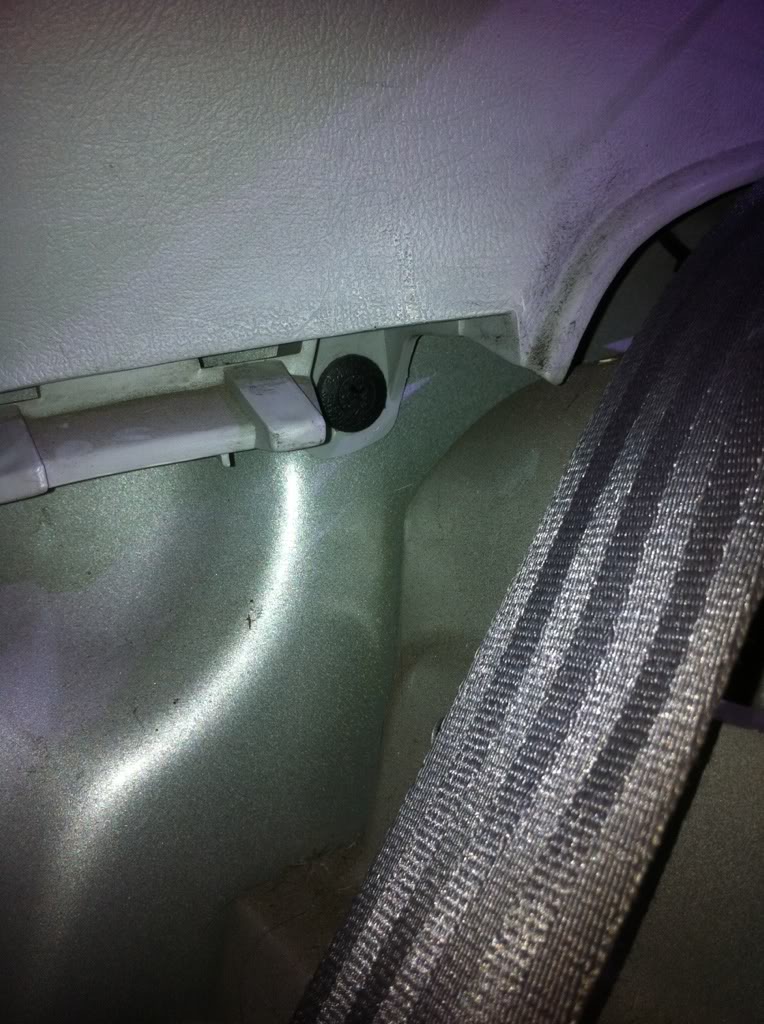
Then just a couple of screws further back, this one was a little hard to see and so i snapped the first one, or it was already snapped, i noticed almost all of my clips were already snapped off, thats what i get for letting other people work on my car... Gonna have to order a few clips, or pick them up at local pep boys!:
and then it just pops off:
All the back of the car is out, will do as much sanding as i am willing to do tonight...:
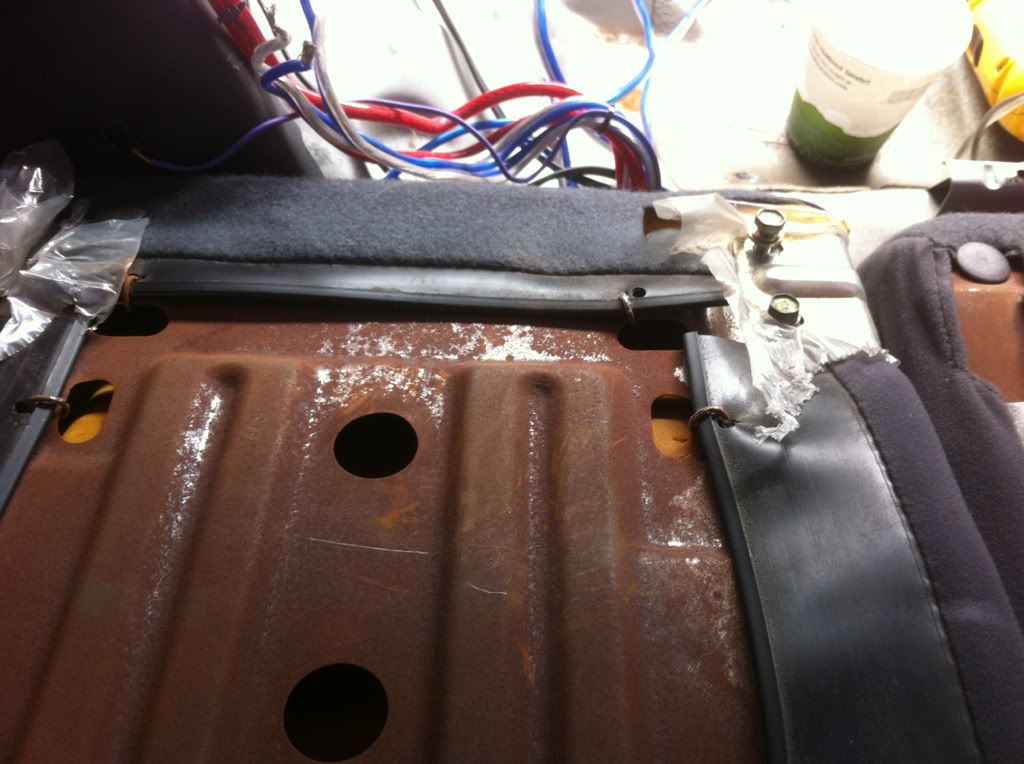
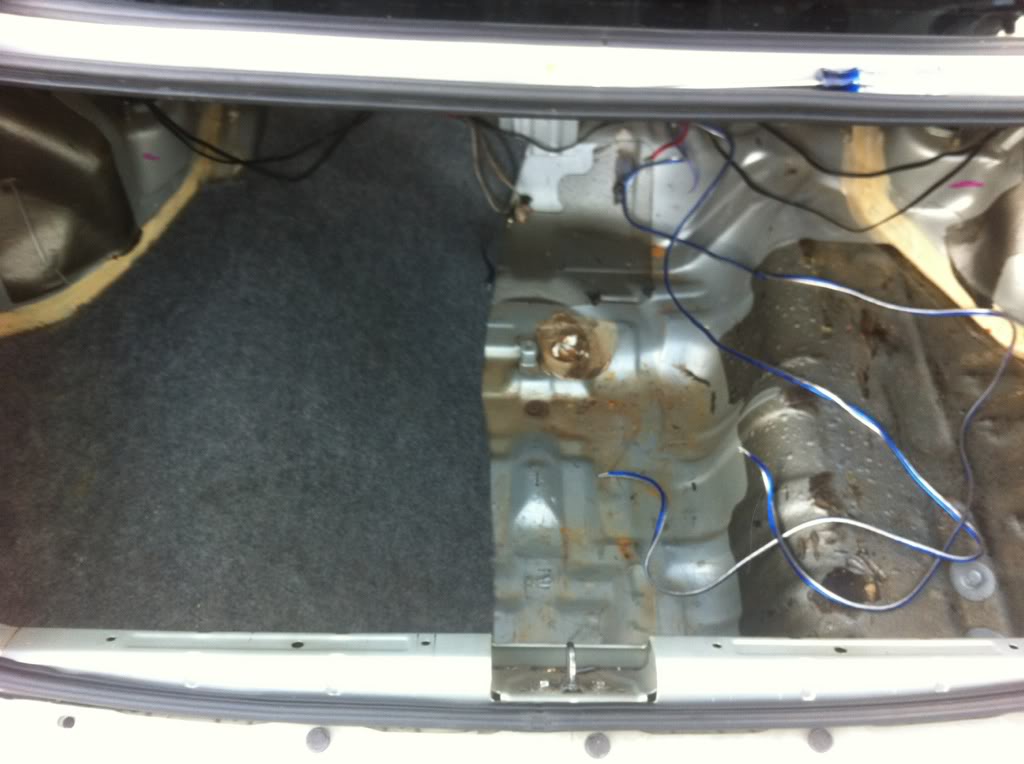
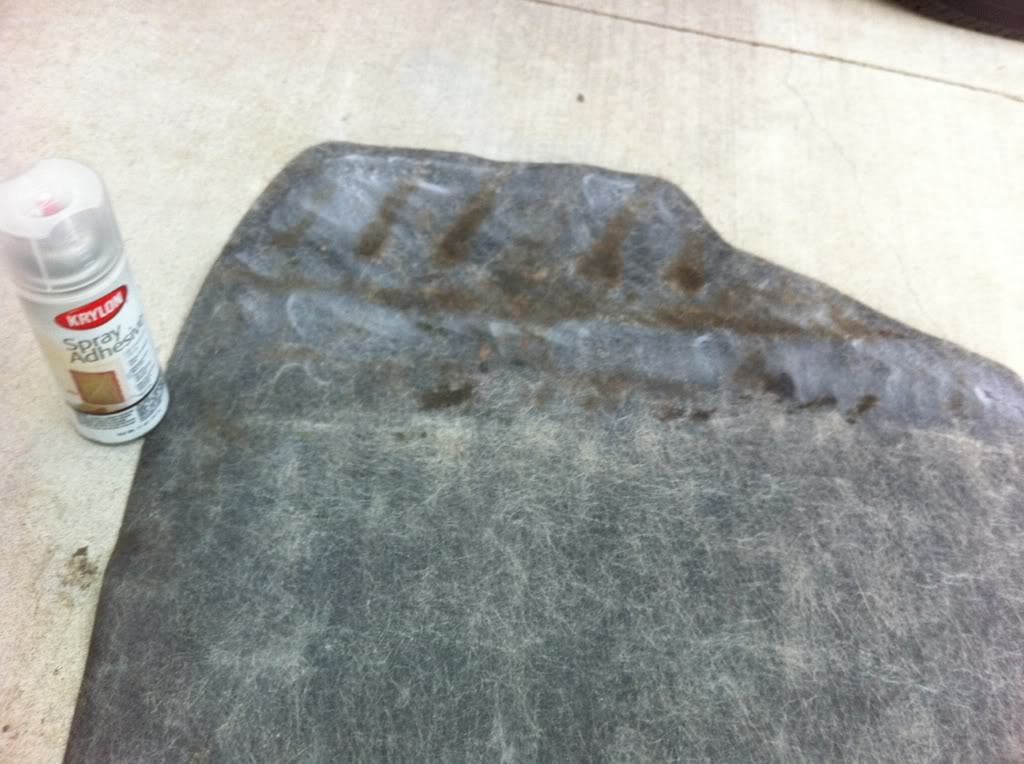
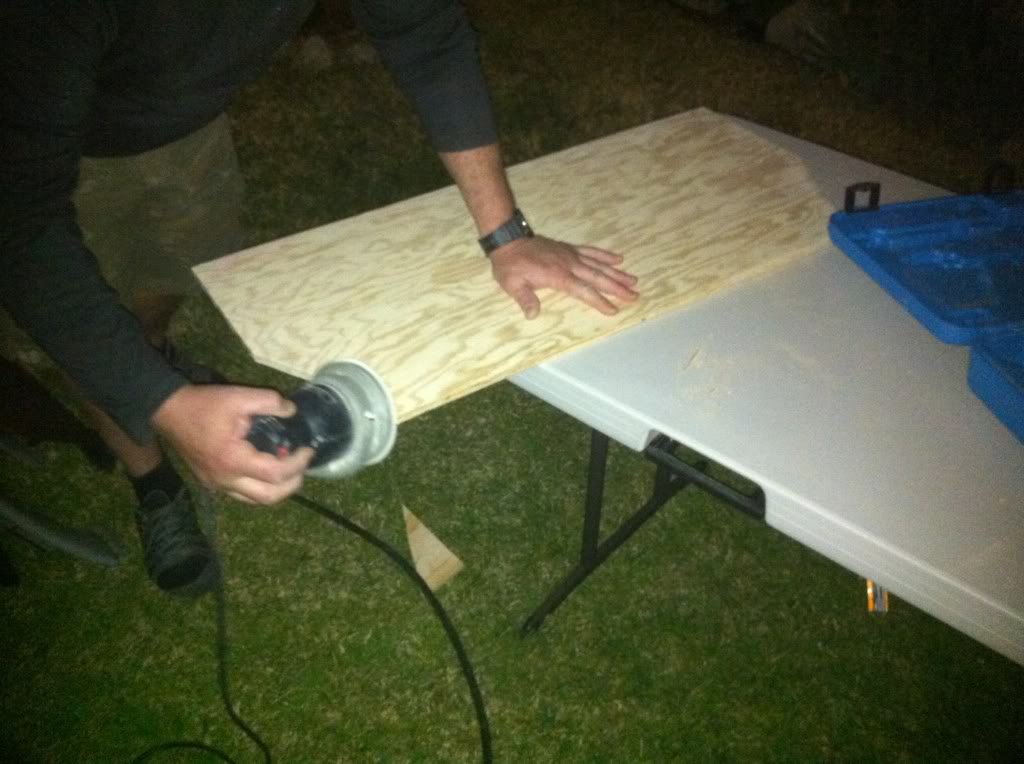
So I started the trunk, ripped out the stock 'carpet' and cut it in half and glued it down to the frame:
Cut a new wood floor, 3'x3' with some notches, left the sides alone since i will be mounting the battery/ect on the sides, still really not sure how i am gonna mount the computer, but I will figure it out at some point, making a smaller sub casing, same as mine but about 85-90% the size, since it just barely doesnt fit all the way in back of the trunk right now...:
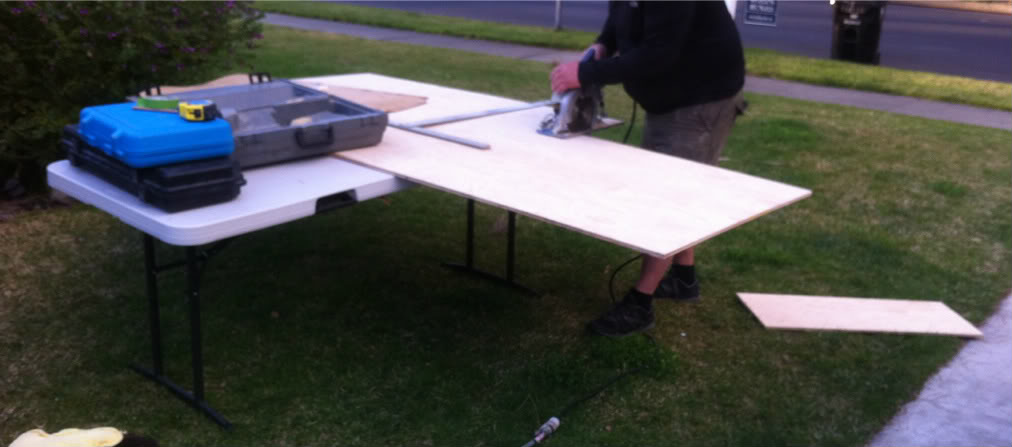
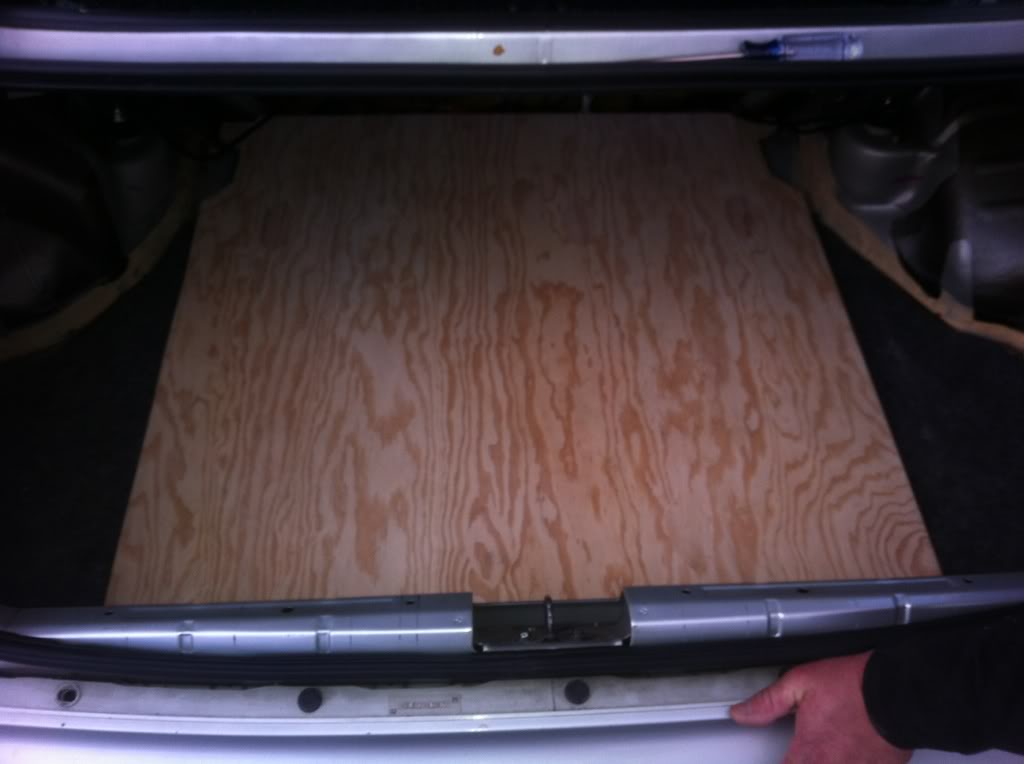
It fits amazing, i dont even have to bolt it down or anything, but i will be putting 2 screws for extra security, but still easy to get off if i need the spare, which i am keeping along with essential tools in that bottom area, i feel naked driving around without at least a couple spare parts and tools...:
anyway started painting the new trunk right away, same black rubber, itll be my cars theme, black and grey trim:
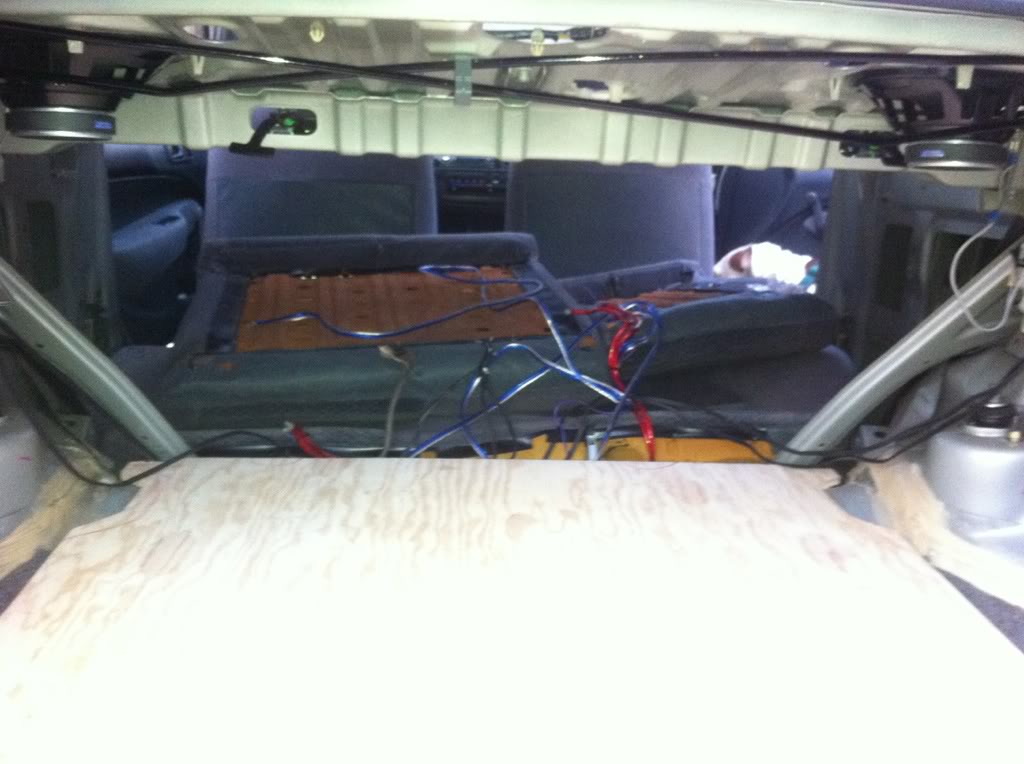
Back of rear seats plank, they will be mounted together and function as one seat now...:
Got a lot done today, the trunk pieces are drying, the sanding/painting will be worked on, and tomorrow i will make new sub case, finish trunk painting and other painting i have available right now, figure out how and possibly set up PC mounting, look for a battery (only part i am missing, after a lot of research i have decided to get an optima blue top d31m, from a local store so i can return it easily if i have problems) and probably tear out all the old wiring i was gonna save the old 8gauge in there for the amps, too bad it was a ripped up cable with screw holes all over it, no wonder my car shocks me so damn much.
BTW i unhooked my rear set key latch, and the driver trunk latch, only way to open the trunk now is from the rear key, which i will switch to an after market key.
Now I shall do a little homework and get some sanding and painting done.
Pulling out the vents:
The small ones are a little bit tricky to pop out:
Just used one tool to create outside tension then wedged against the inner clips and it popped right out:
Now i took apart the few parts that pop off, and started sanding to some rambo 2... lol:
Started priming right away:
Did a light and a second light coat of the primer and by morning it was dry, so i set up in the garage (parking on the street for a night with a stirpped car -_-) and started painting the smaller parts:
Just got home tonight and did a first coat of matte protective paint, plan on using 3 coats of that stuff to keep everything strong i hope, stuff smells, im assuming after a few days of sitting out it will stop smelling so strong heh.
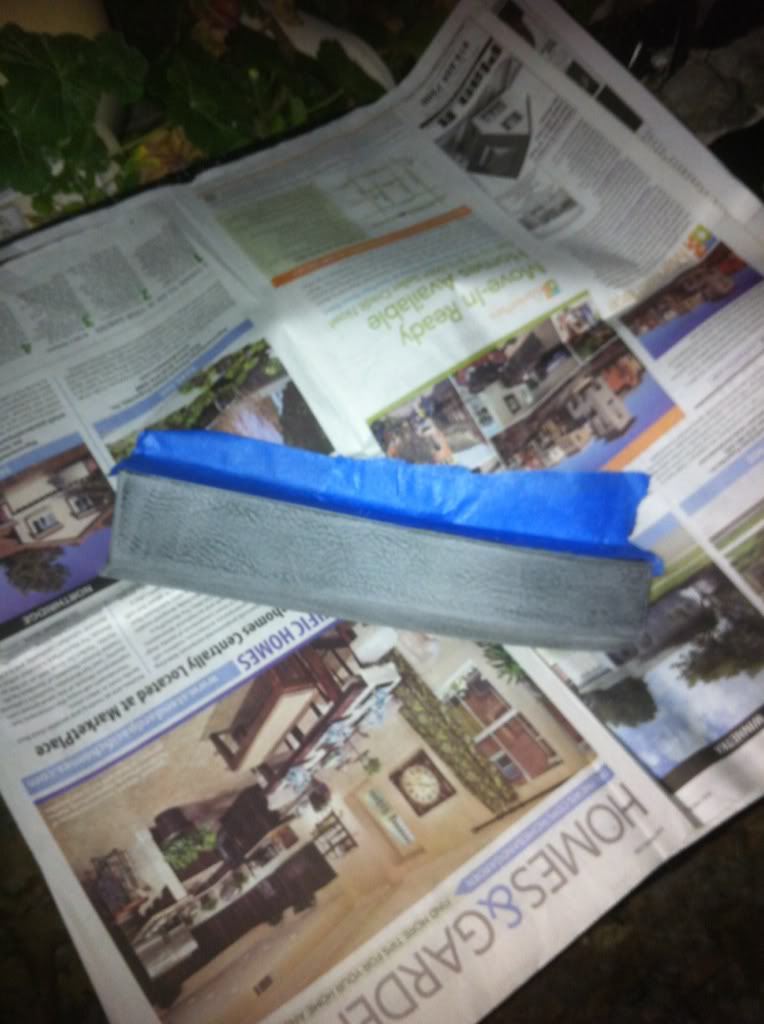
Here is the main dash, havent started that yet, biggest part, and i decided against an electric sander since this dash is the kinda soft plastic, my current dash is all hard plastic, ill have to decide what to do later, but ill probably just light sand the softer plastic dash and paint/use that one.
So I woke up this morning, went over to a house with a much better selection of tools than available at my own home, and started taking crap apart!:
Trunk
Rear seats, fold down and the three 2 bolt holsters are visible and easy to take apart:
One side bolt on the bigger section, once you take the smaller section off:
And no more back seats:
Took them out and started cleaning them, smacking it with a stick and a vacuum at hand, lots of dust, then recruited my little sister to start getting all the dog hair off, heh, came out much nicer and cleaner than the start, i think i will be making loose custom covers for the back seats (black) and i am currently in the market for a pair of del sol seats!:
Now, most of the side panels were really easy to pop off:
Seat belt had to unbolt to get the rear pillars off:
Then just a couple of screws further back, this one was a little hard to see and so i snapped the first one, or it was already snapped, i noticed almost all of my clips were already snapped off, thats what i get for letting other people work on my car... Gonna have to order a few clips, or pick them up at local pep boys!:
and then it just pops off:
All the back of the car is out, will do as much sanding as i am willing to do tonight...:
So I started the trunk, ripped out the stock 'carpet' and cut it in half and glued it down to the frame:
Cut a new wood floor, 3'x3' with some notches, left the sides alone since i will be mounting the battery/ect on the sides, still really not sure how i am gonna mount the computer, but I will figure it out at some point, making a smaller sub casing, same as mine but about 85-90% the size, since it just barely doesnt fit all the way in back of the trunk right now...:
It fits amazing, i dont even have to bolt it down or anything, but i will be putting 2 screws for extra security, but still easy to get off if i need the spare, which i am keeping along with essential tools in that bottom area, i feel naked driving around without at least a couple spare parts and tools...:
anyway started painting the new trunk right away, same black rubber, itll be my cars theme, black and grey trim:
Back of rear seats plank, they will be mounted together and function as one seat now...:
Got a lot done today, the trunk pieces are drying, the sanding/painting will be worked on, and tomorrow i will make new sub case, finish trunk painting and other painting i have available right now, figure out how and possibly set up PC mounting, look for a battery (only part i am missing, after a lot of research i have decided to get an optima blue top d31m, from a local store so i can return it easily if i have problems) and probably tear out all the old wiring i was gonna save the old 8gauge in there for the amps, too bad it was a ripped up cable with screw holes all over it, no wonder my car shocks me so damn much.
BTW i unhooked my rear set key latch, and the driver trunk latch, only way to open the trunk now is from the rear key, which i will switch to an after market key.
Now I shall do a little homework and get some sanding and painting done.
#39
02-12-2012, 07:14 PM
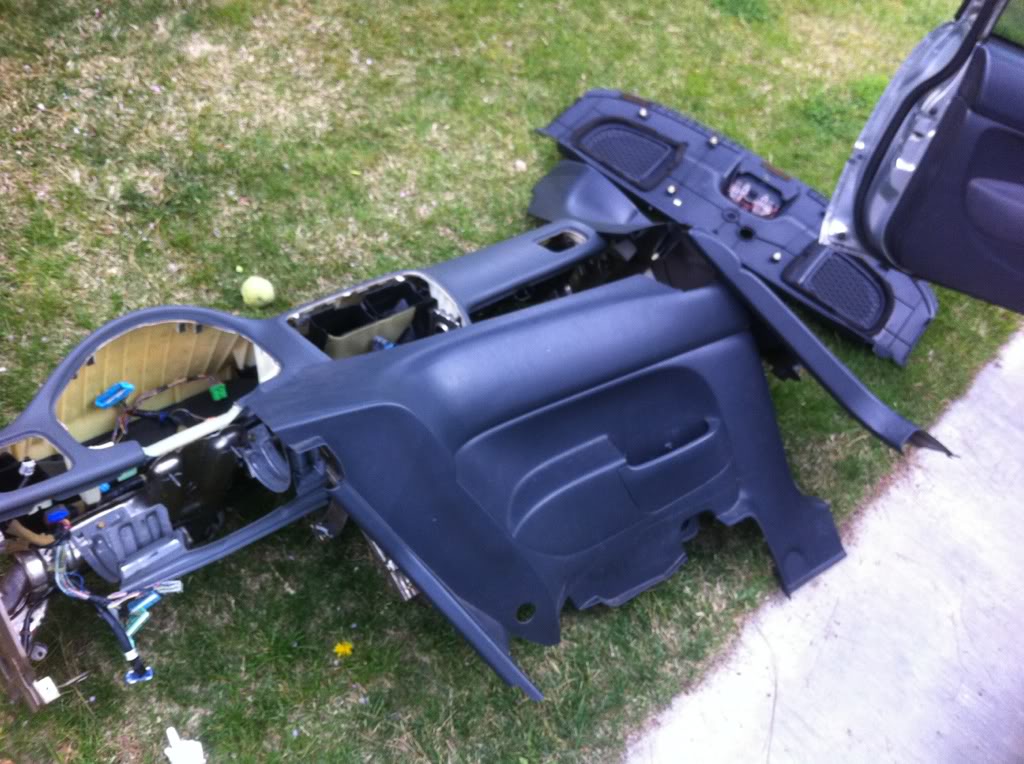
I hope I am not doing too many updates, but I figure if I did something I might as well update. Another great day. Got right back to work today taking apart the front of the car:
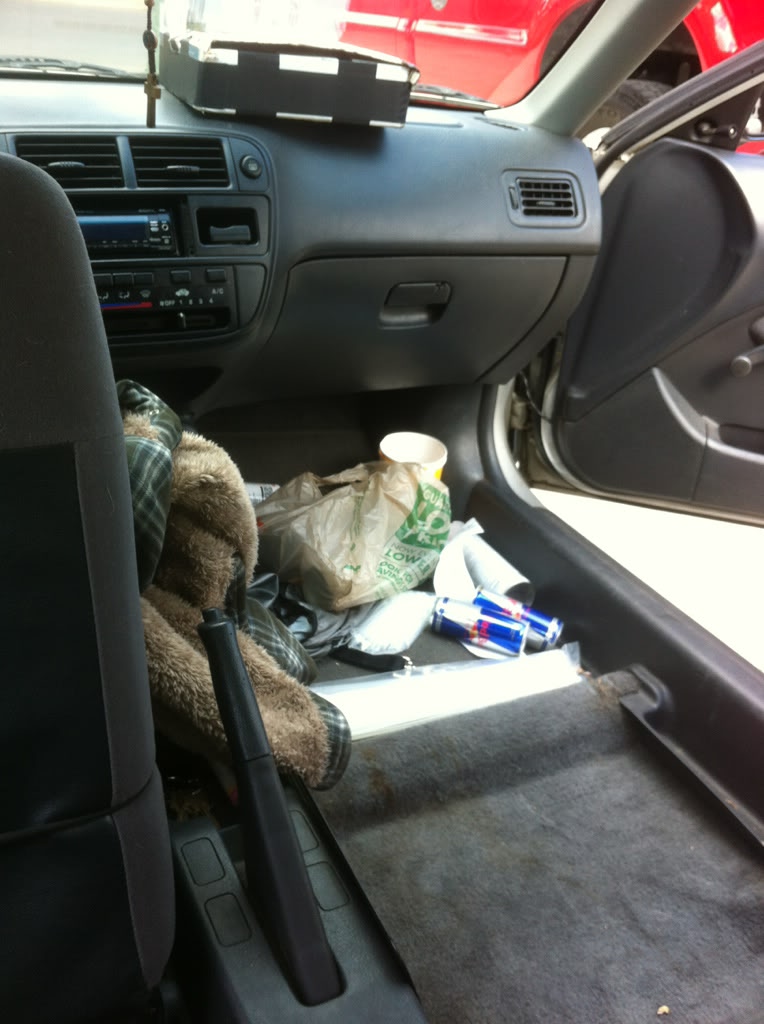
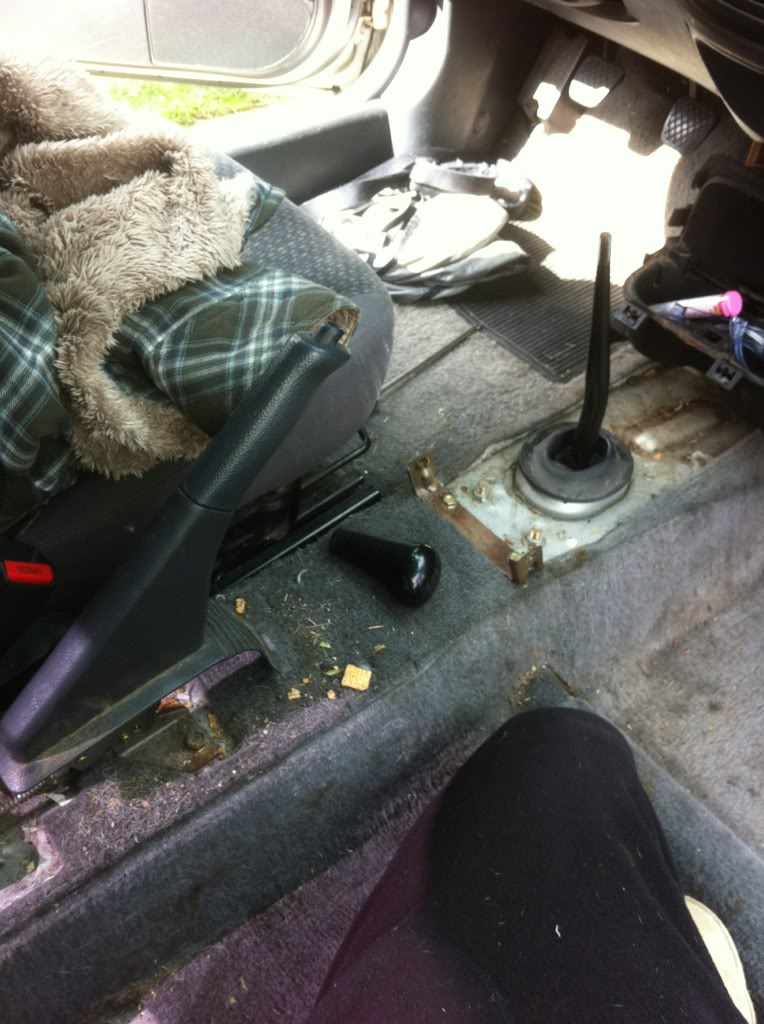
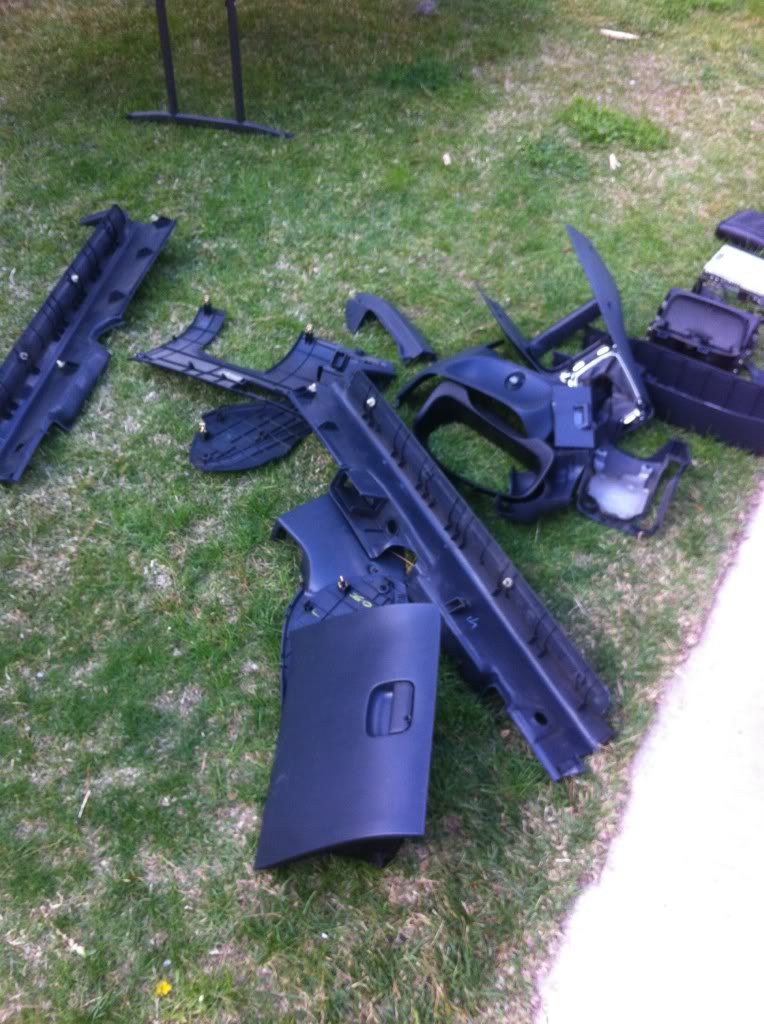
Parts coming out left and right!:
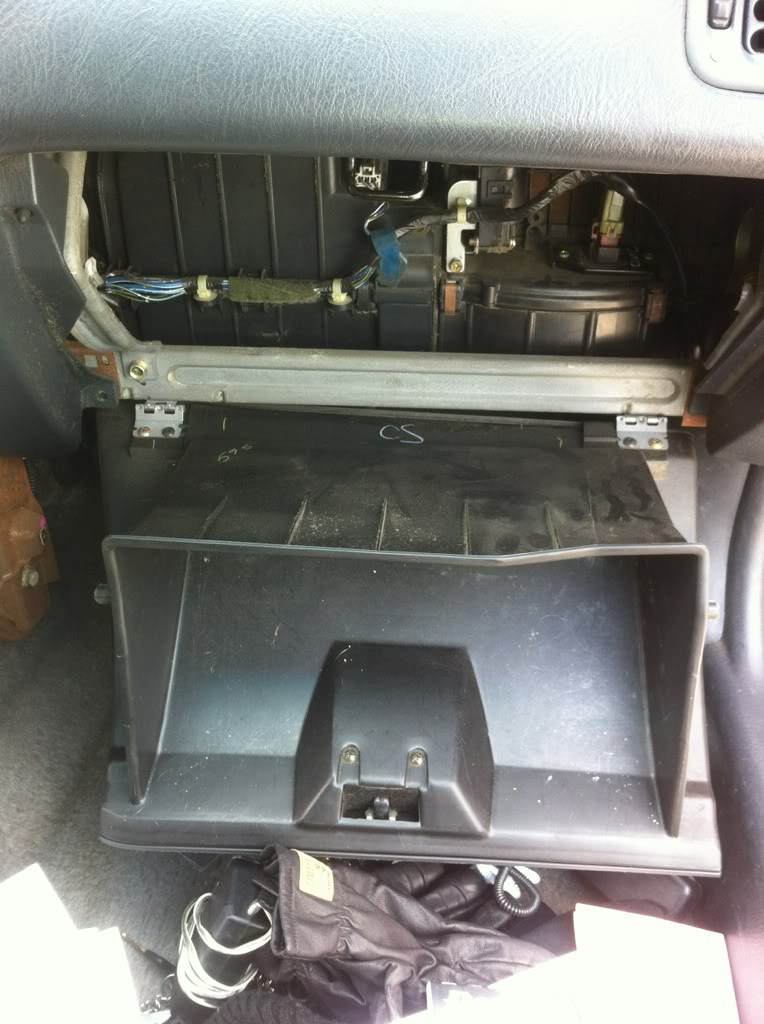
Glove box screws are a little tricky to get out, gotta bend the box down and they were really tight, but still no real problem...:
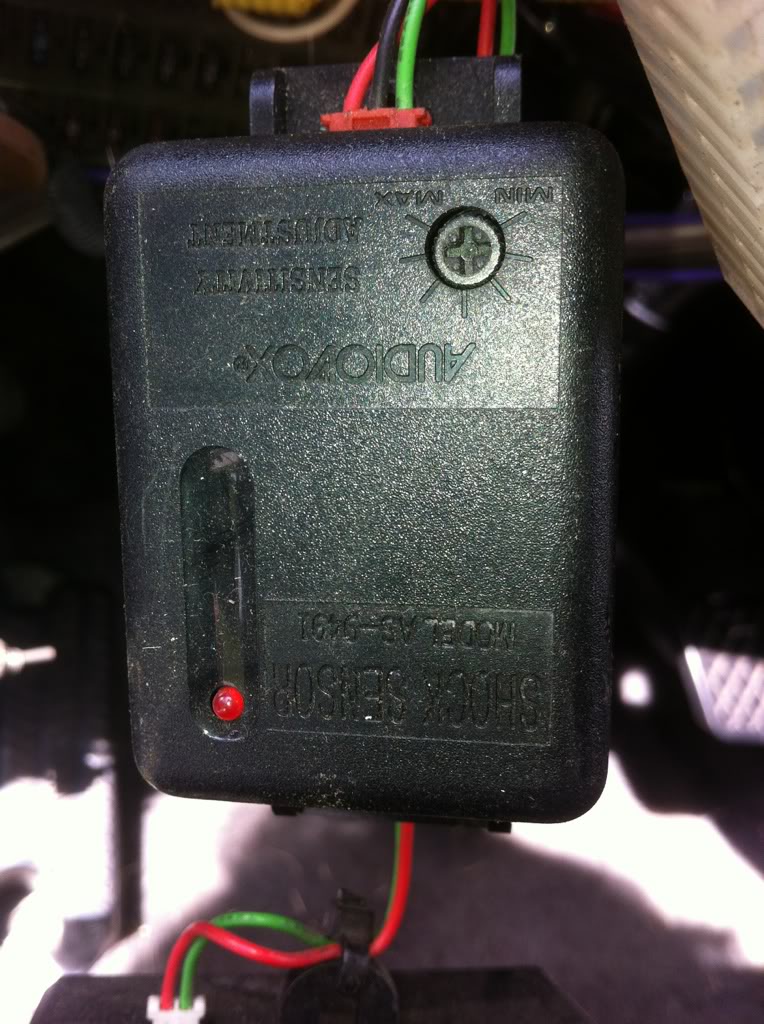
I found an alarm in my car, with a shock sensor. Im assuming it is after market, but I think I will look into hooking it back up if it is easy enough, but I will be putting 2 different isolated kill switches in the car, so not too worried, if anything ill just get a relay off a REM wire to make a blinking LED when the car is off.
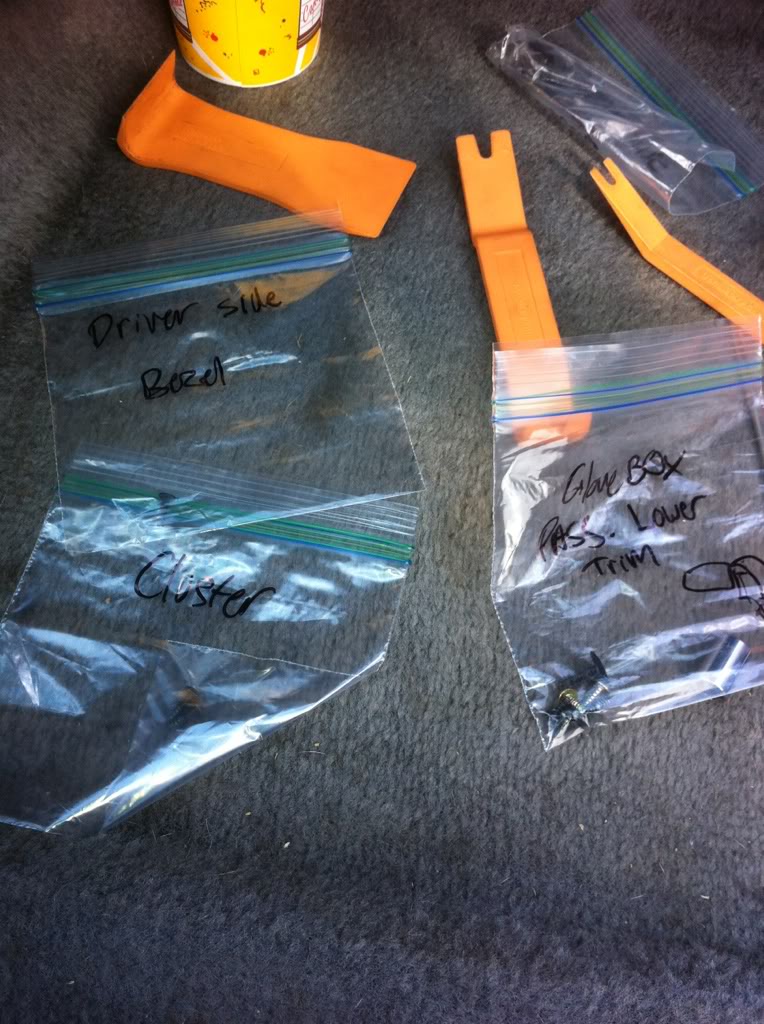
Keeping every section of screws seperated and labels in a zip lock backs, even little drawings for weird parts haha, should making putting everything back a snap, although I will be needing some new bezel clips...:
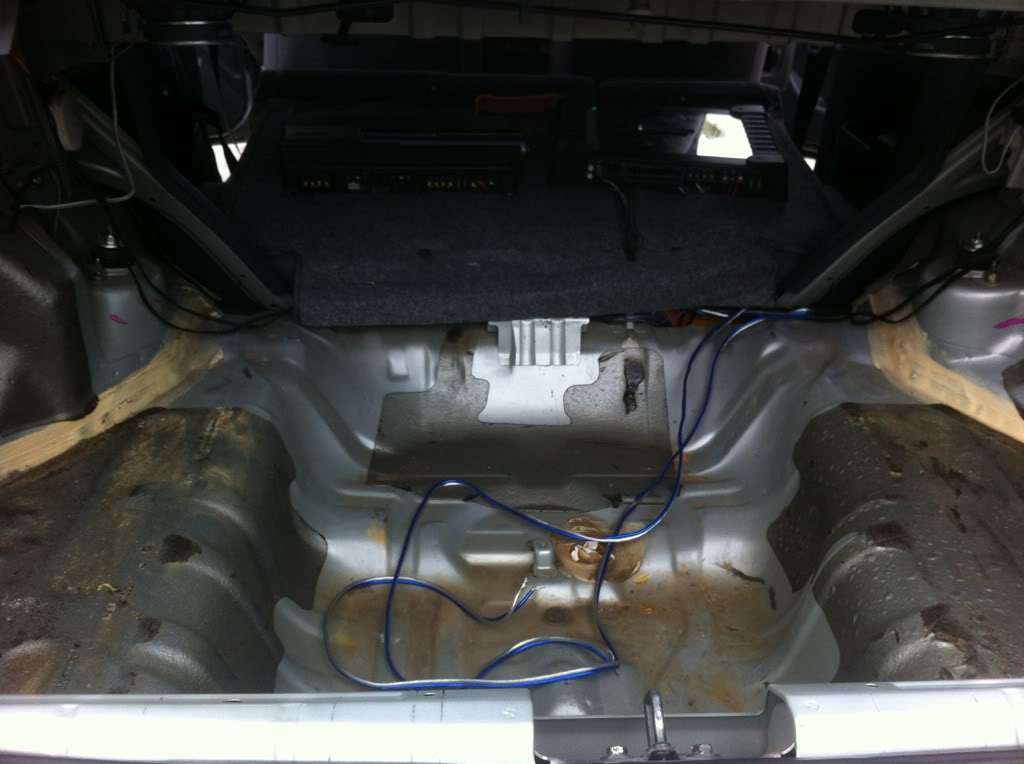
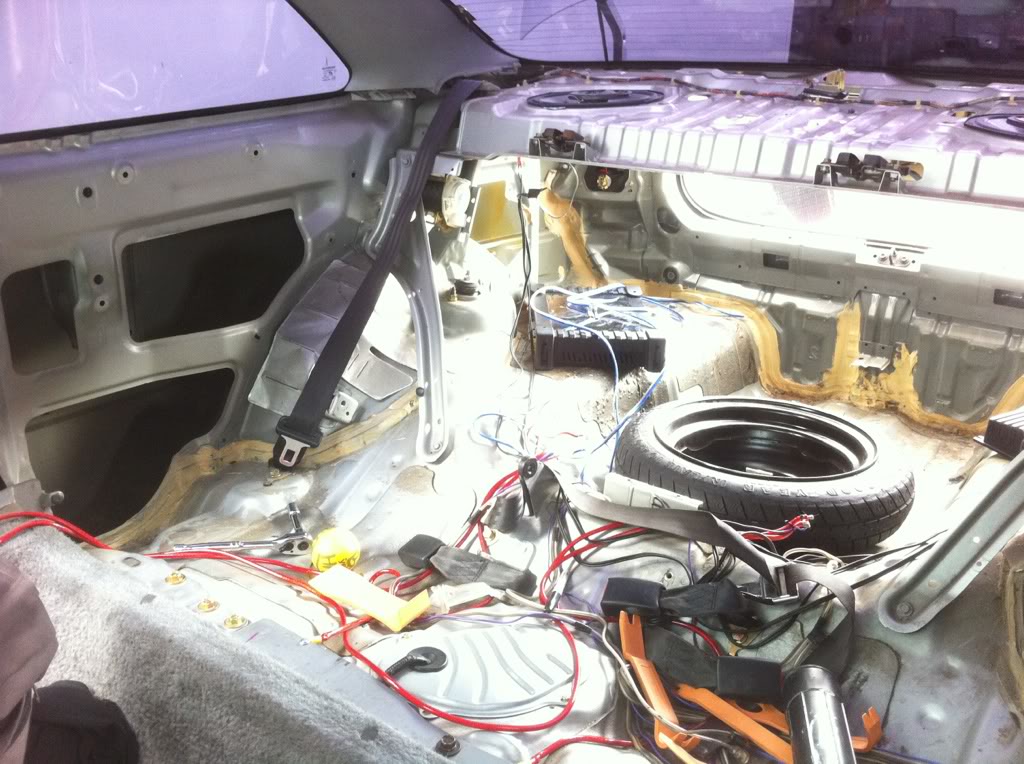
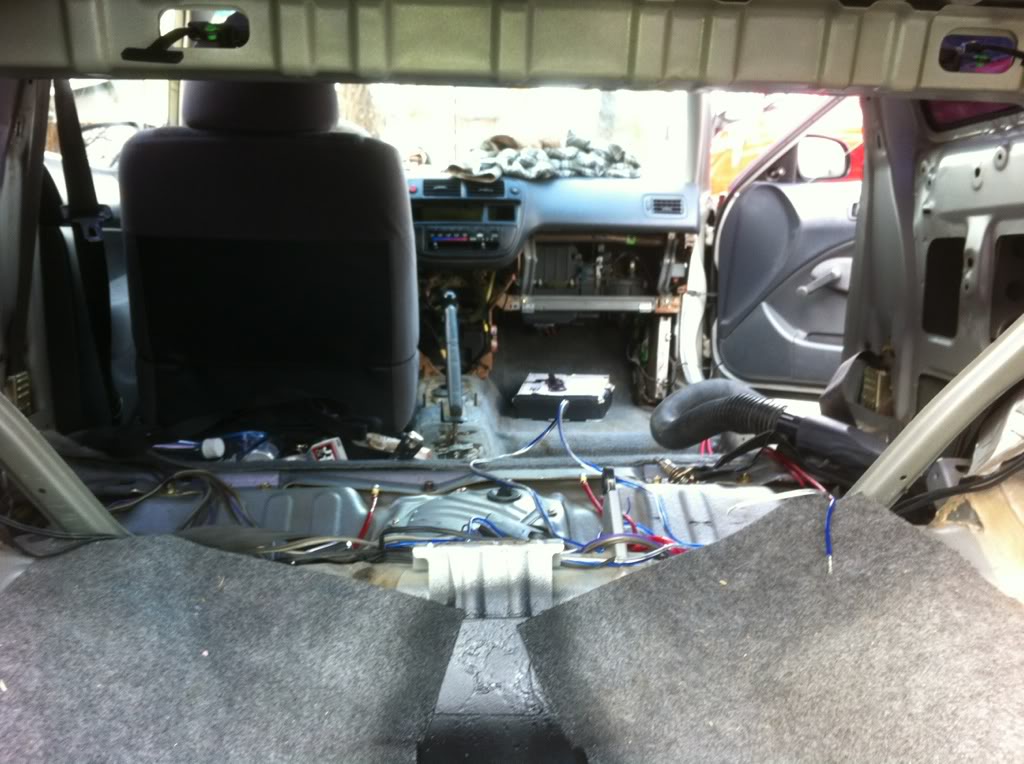
Car is nice and empty, I definatly feel the difference from the weight now!:
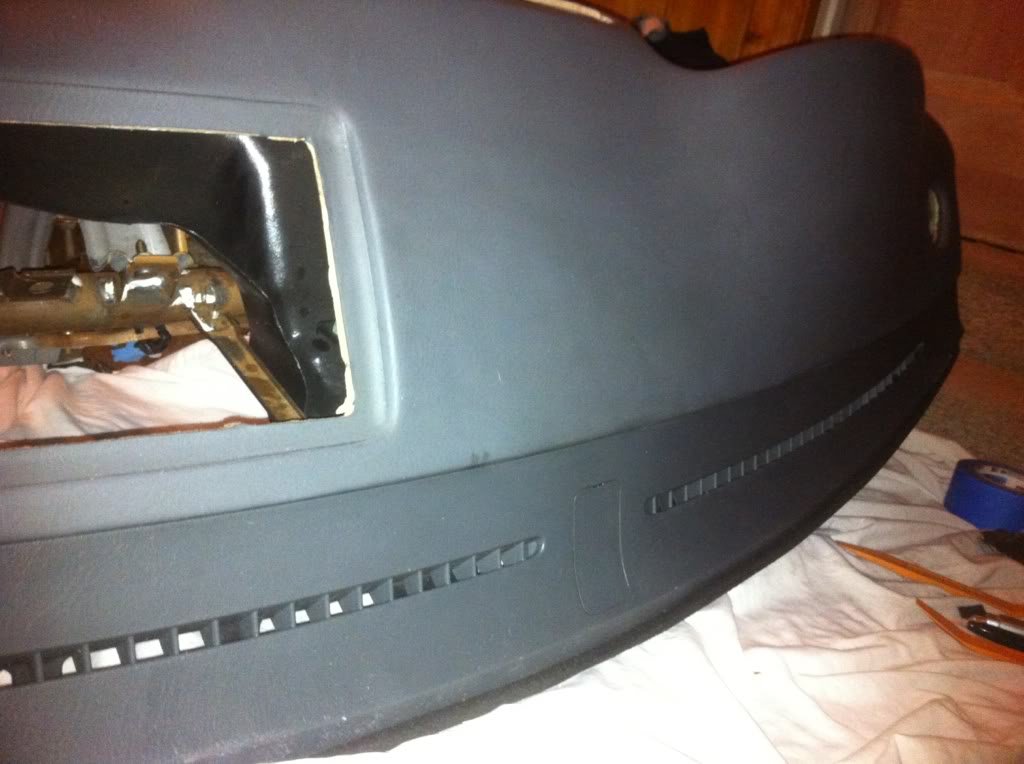
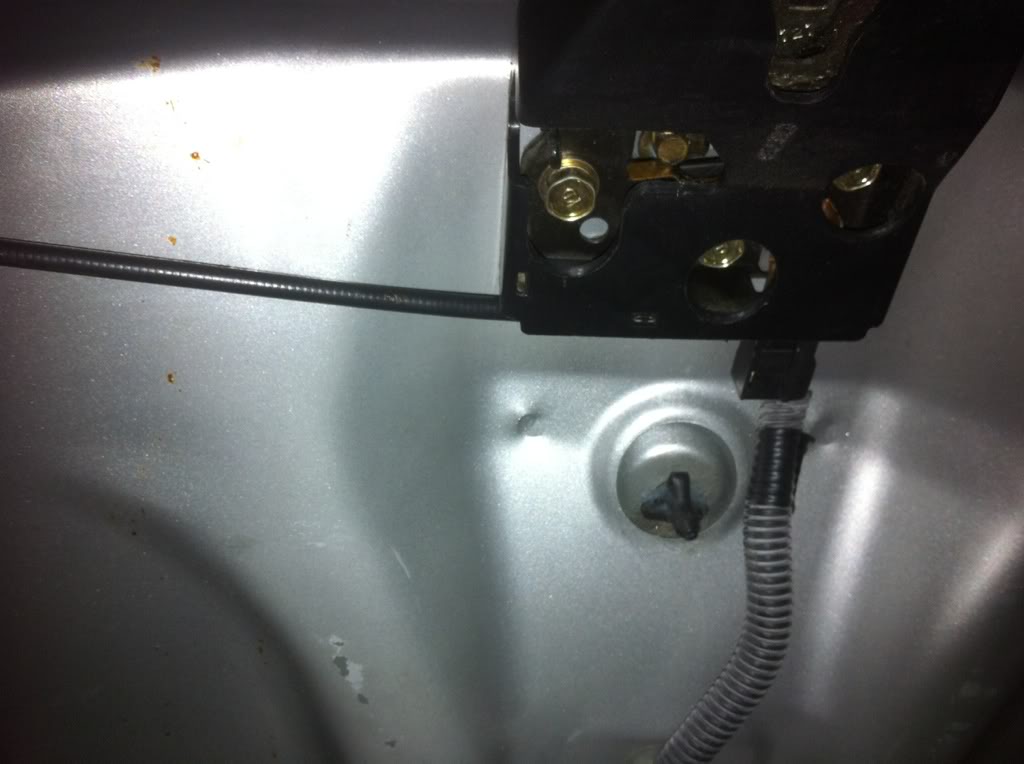
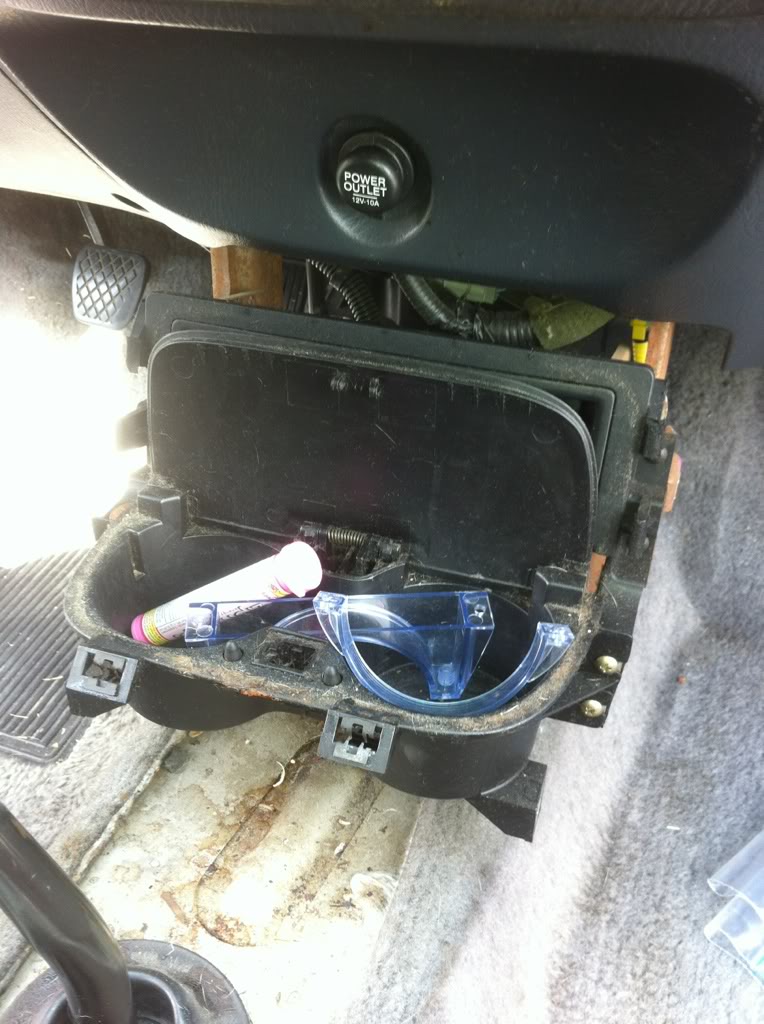
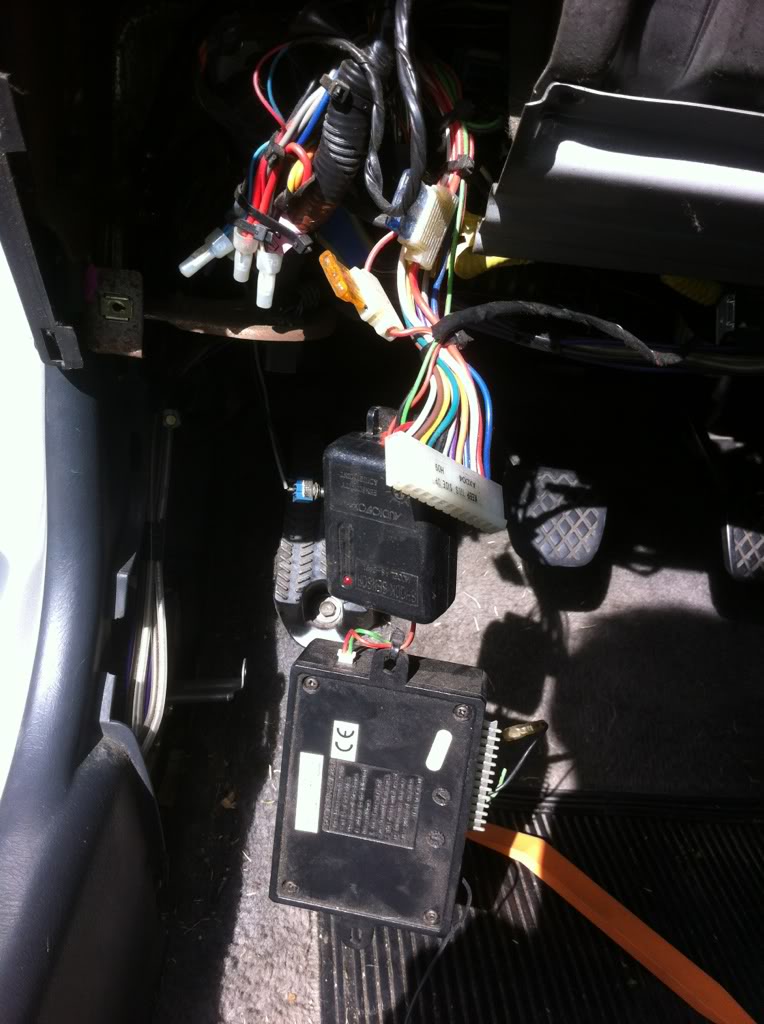
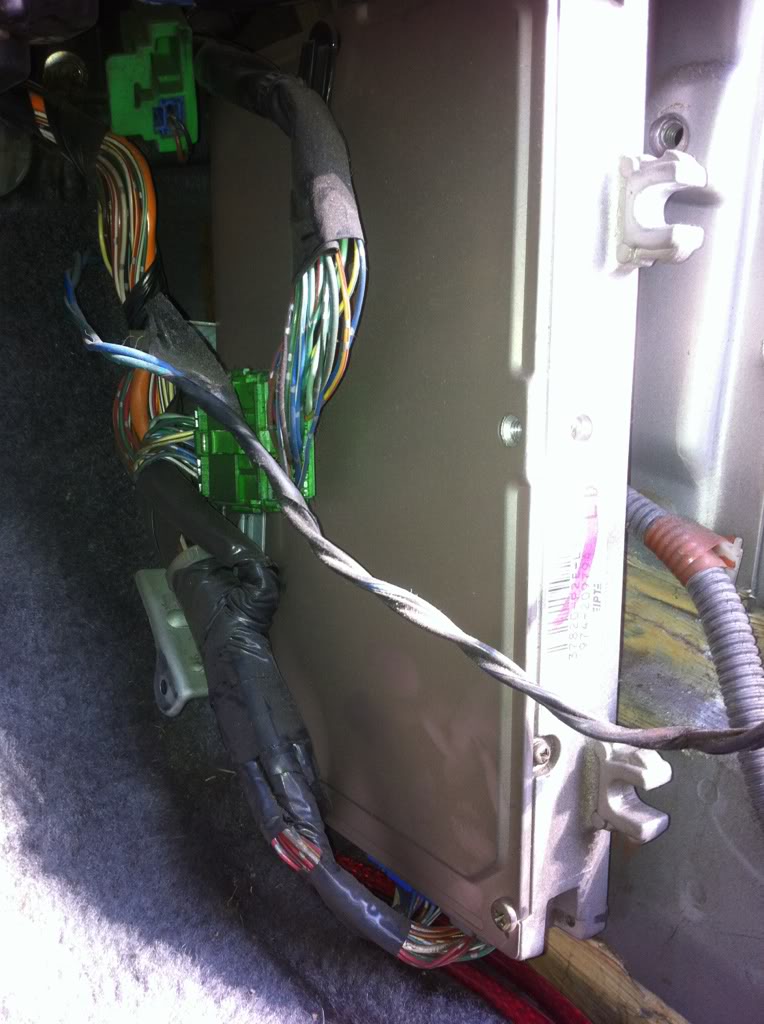
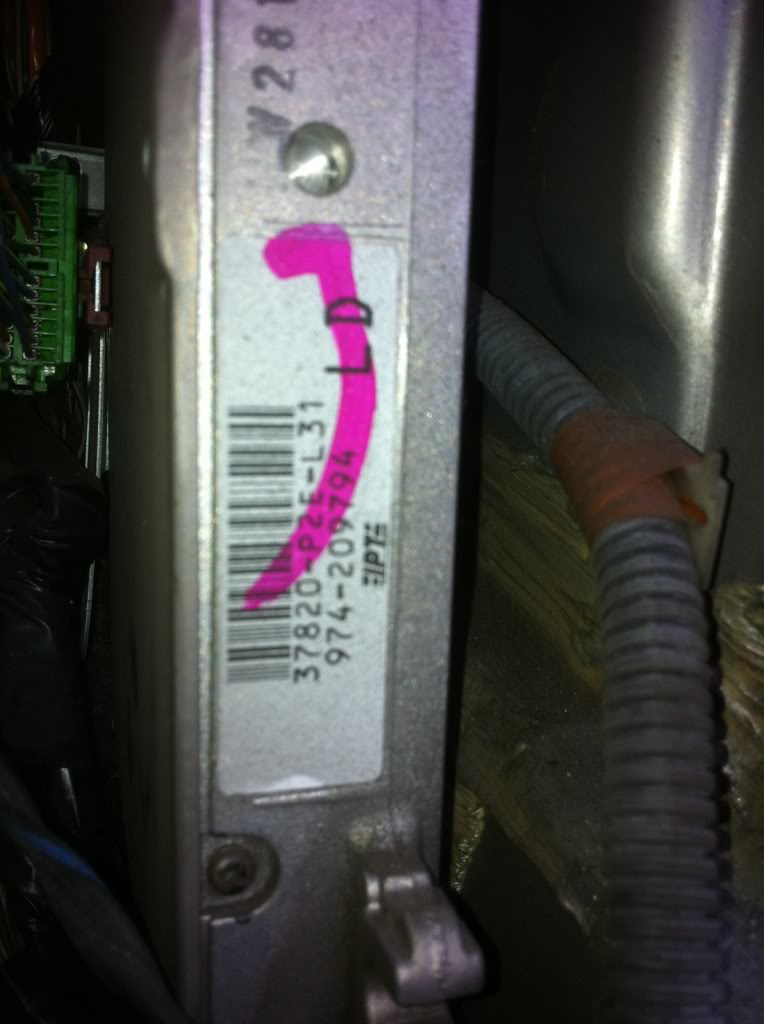
This is on the passenger far side on the floor, is this the ECU? haha noob question -_- :
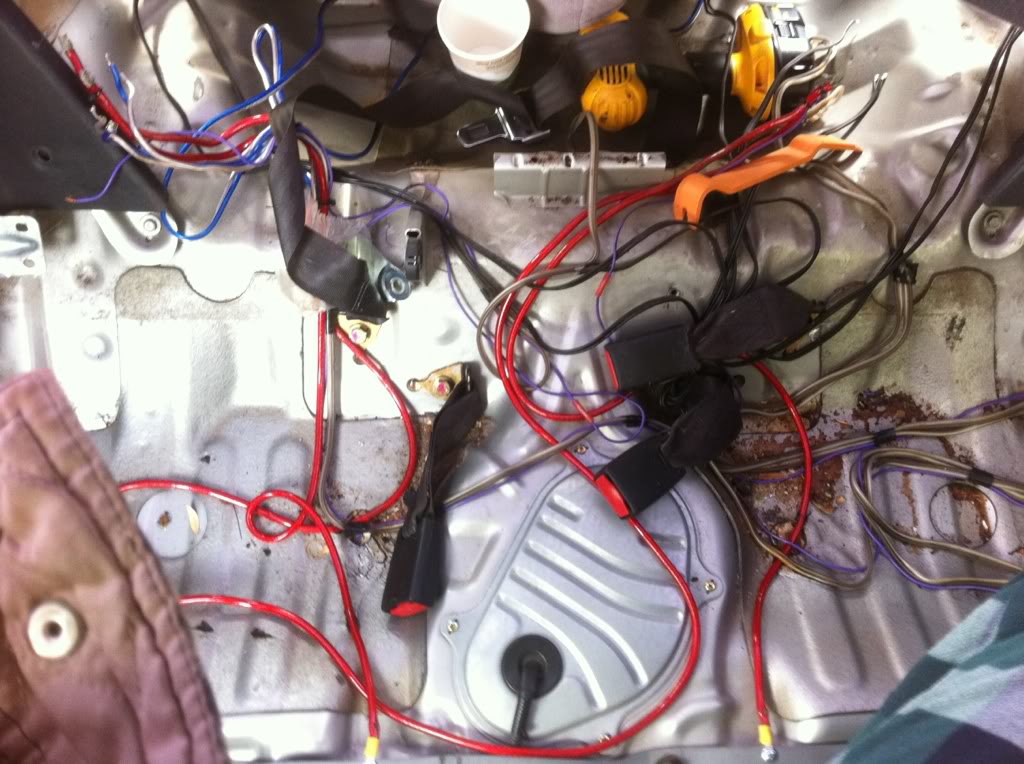
Made my way to the engine bay finally, ditched the resonator box and pulled out the old crap amp wires first...:
Then I moved my eyes over to the alternator wires!:
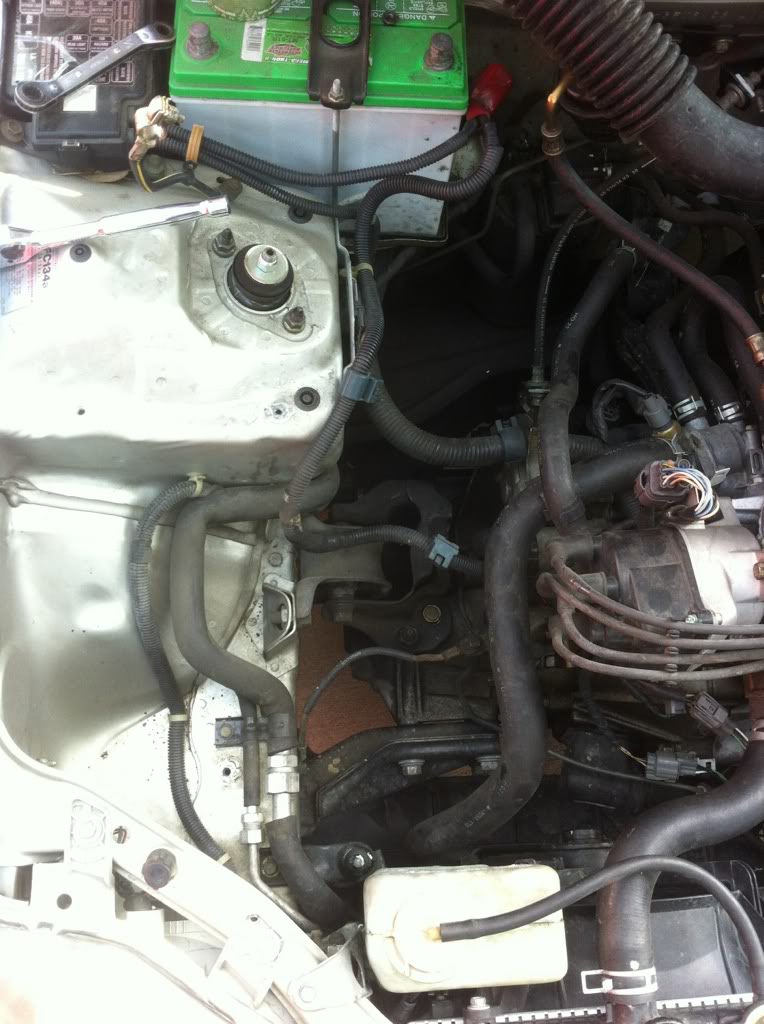
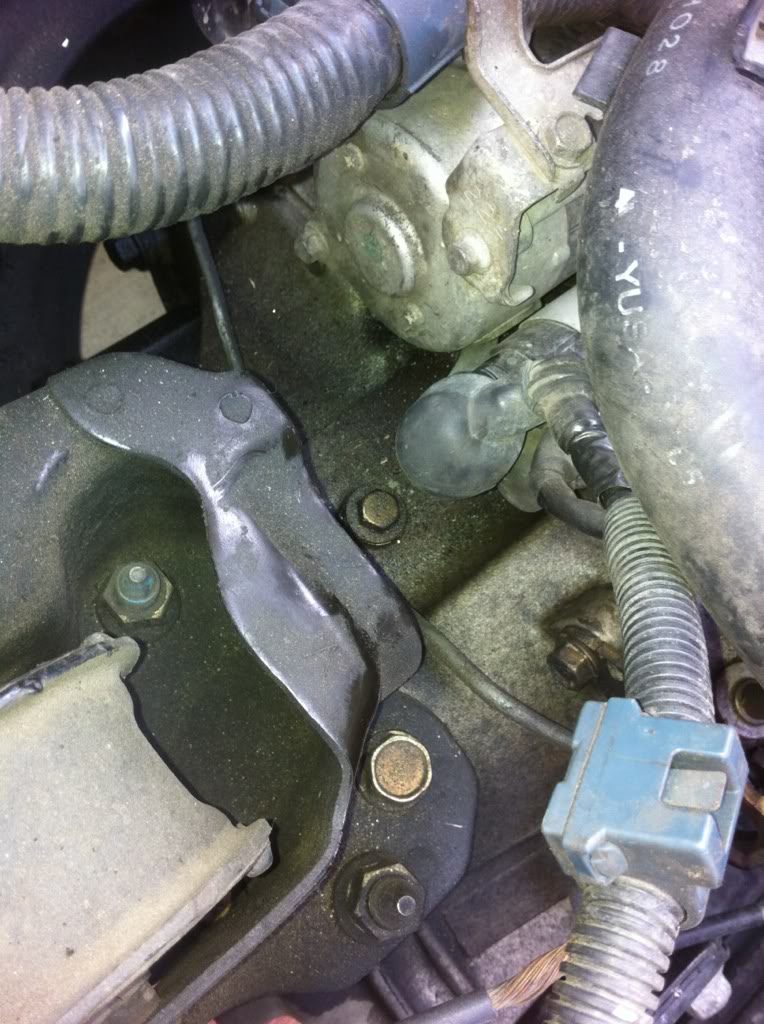
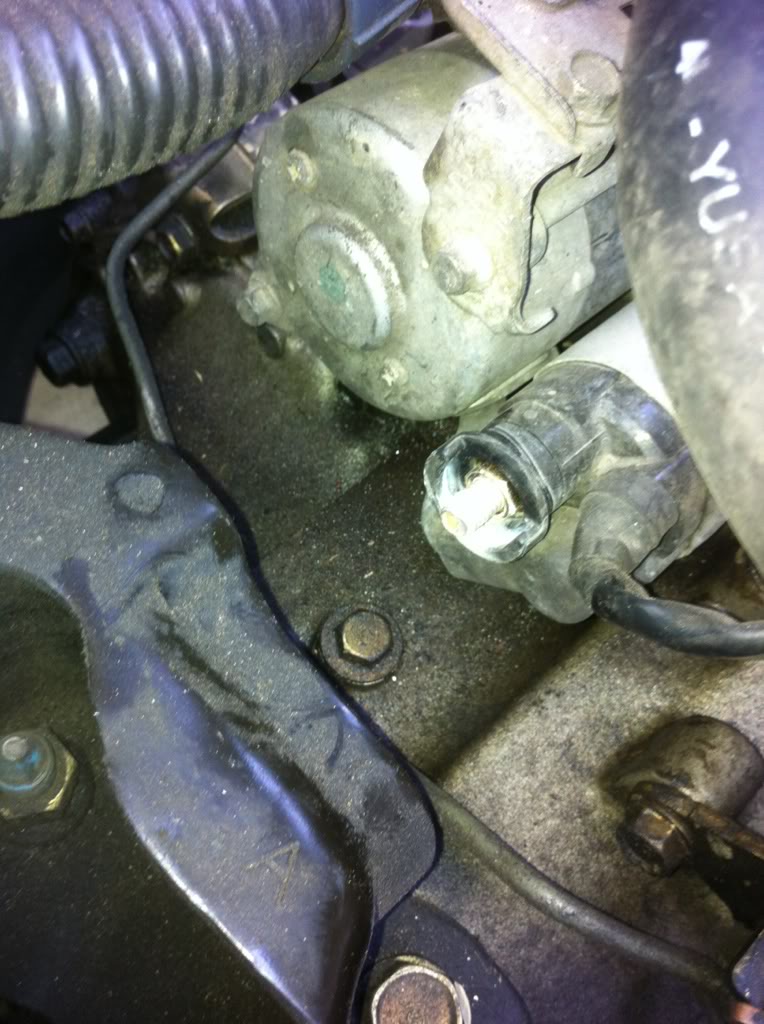
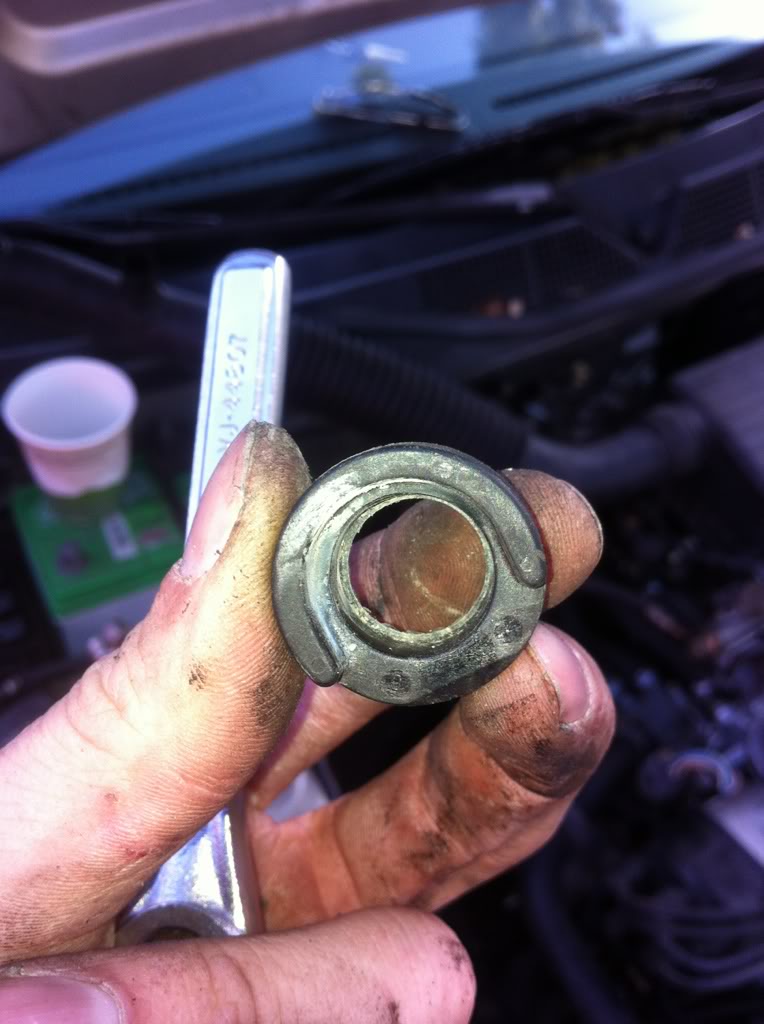
So I did the big 3, kinda... This alternator had some weird plastic thing in the way, took that off no problem to make room...:
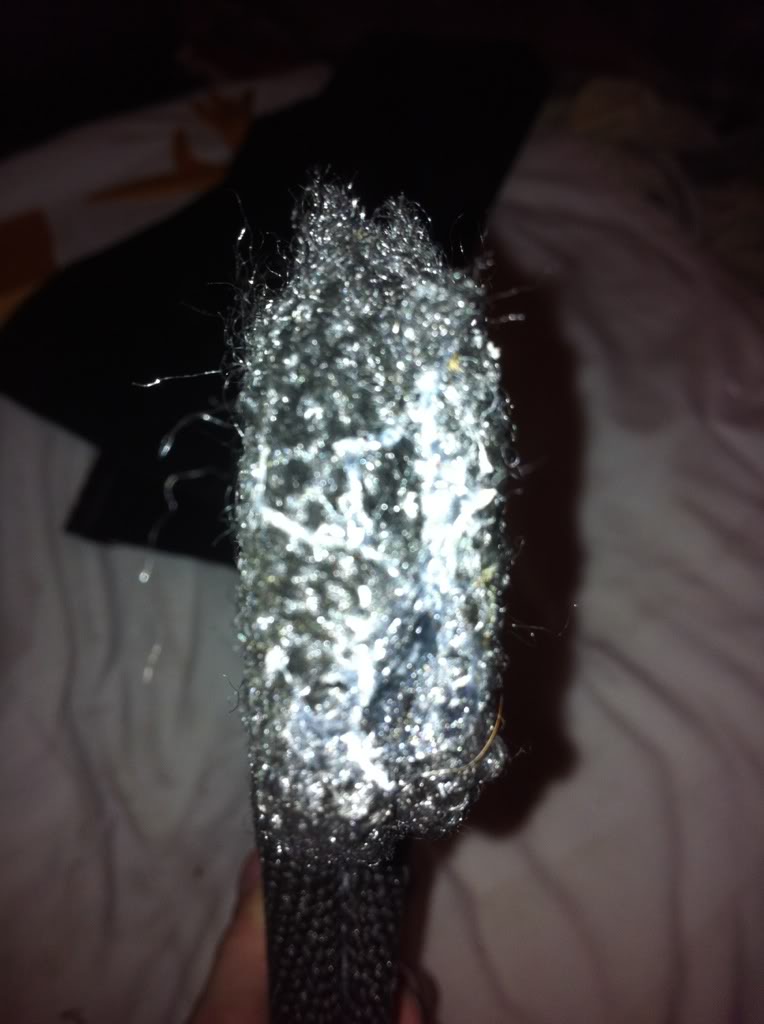
Did a little bit of soldering for the new crimps and 1/0 gauge wires...:
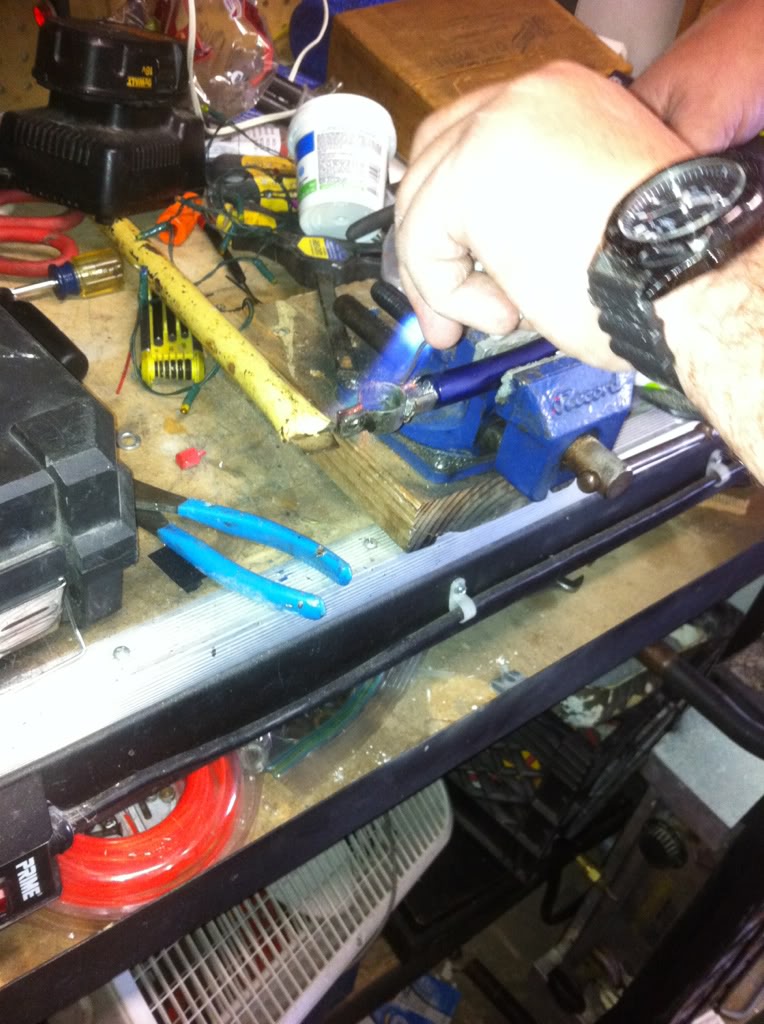
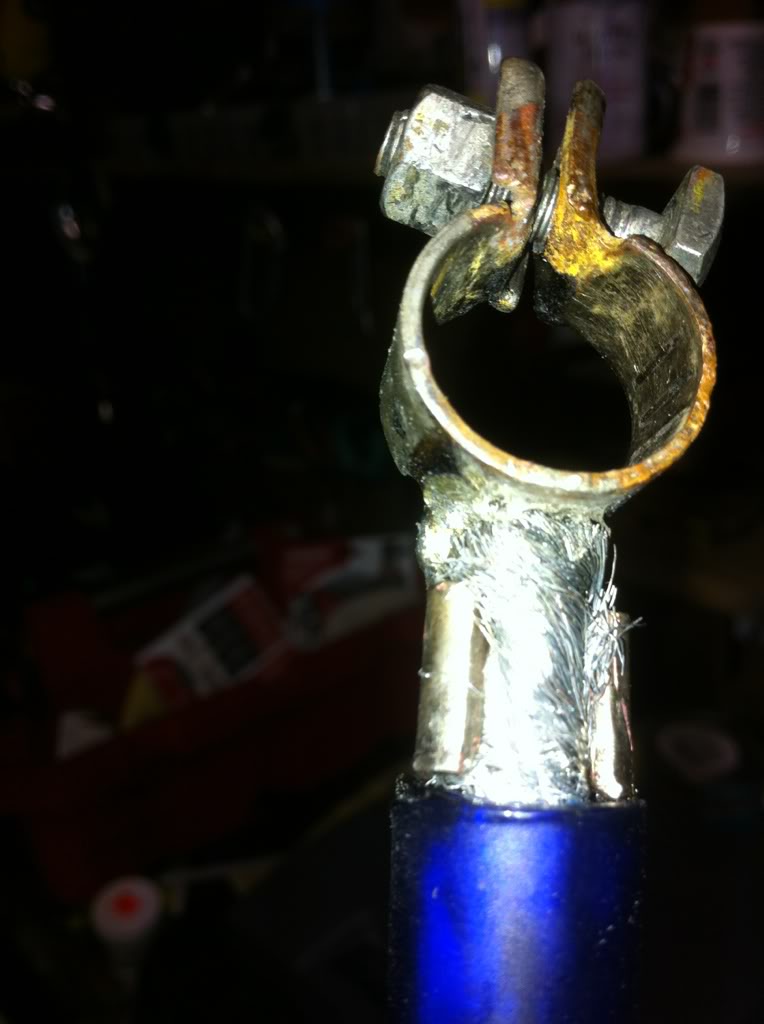
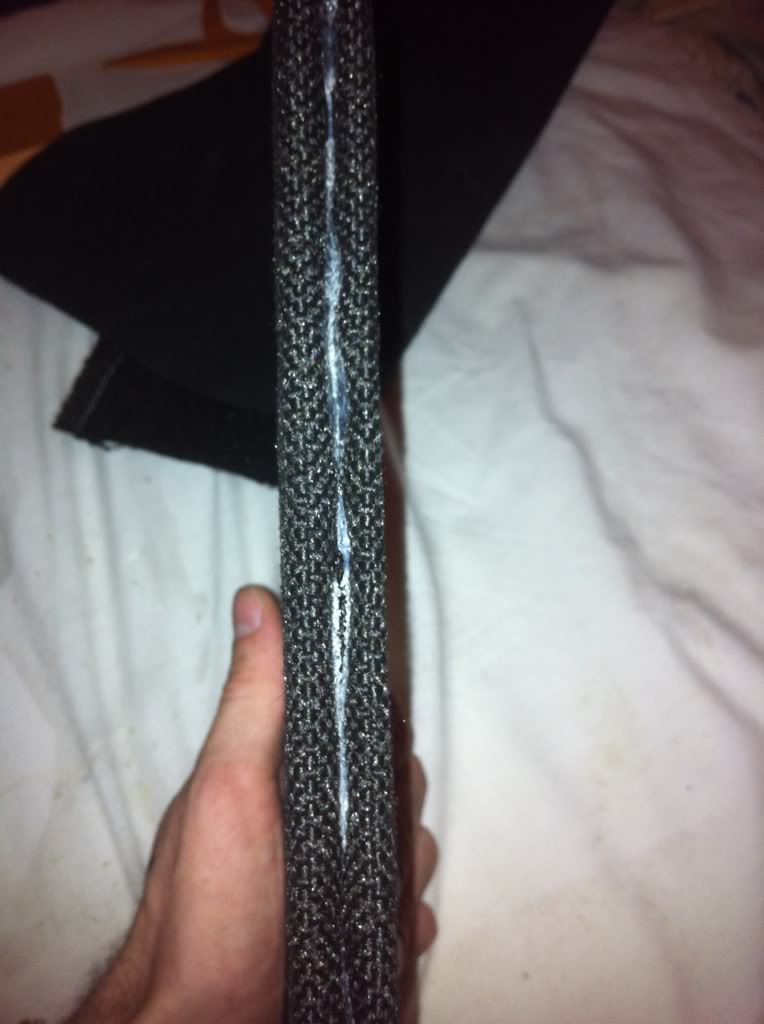
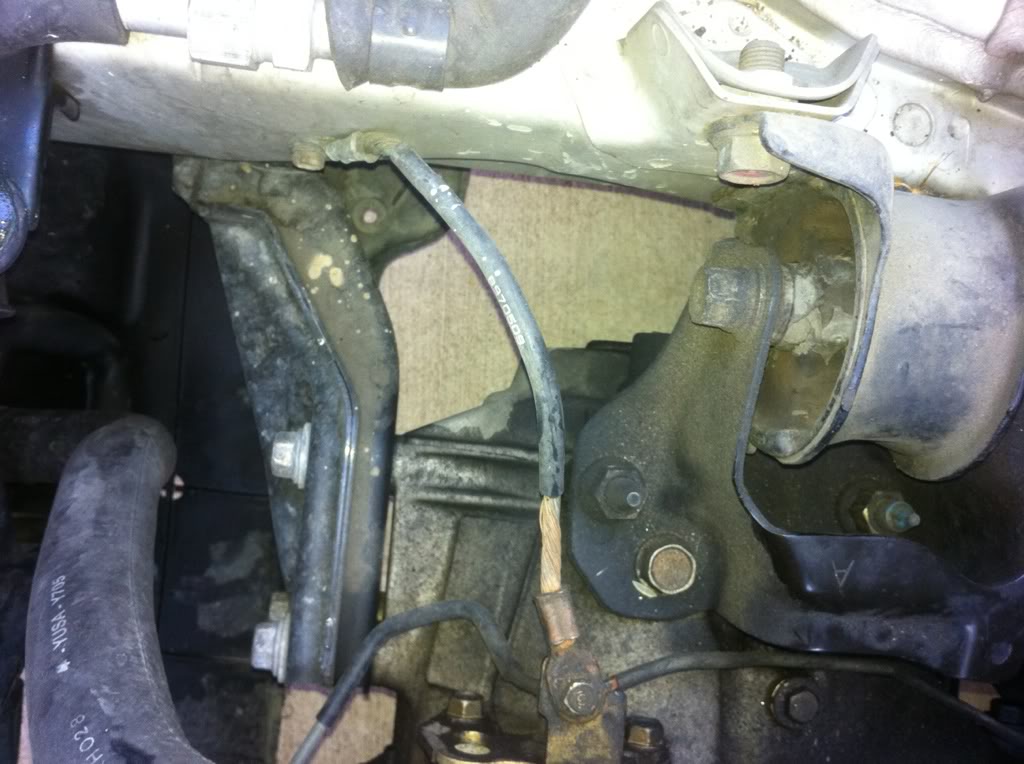
Then moved over to the ground wires, i have 3 (tranny, engine, battery) started to handle that, but i messed one crimp out and had to drill one for a bigger hole, and ended up running 1 short so I will finish the engine ground to 1/0 gauge wire tomorrow, it is just the stock one still, but here are some pics.....:
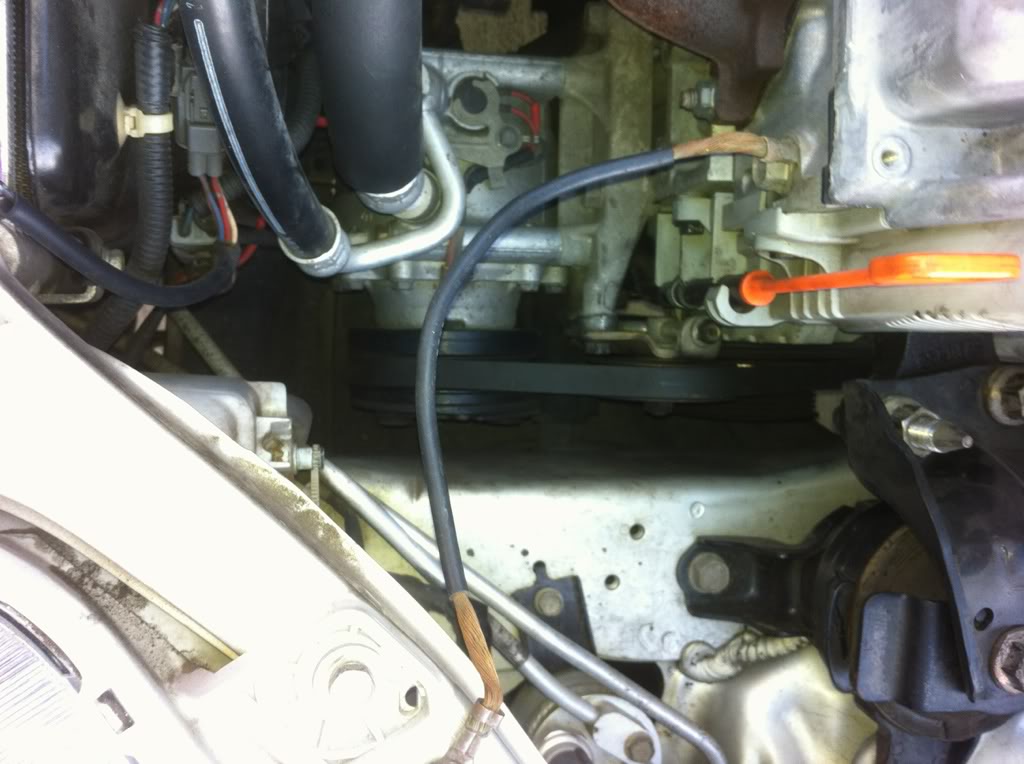
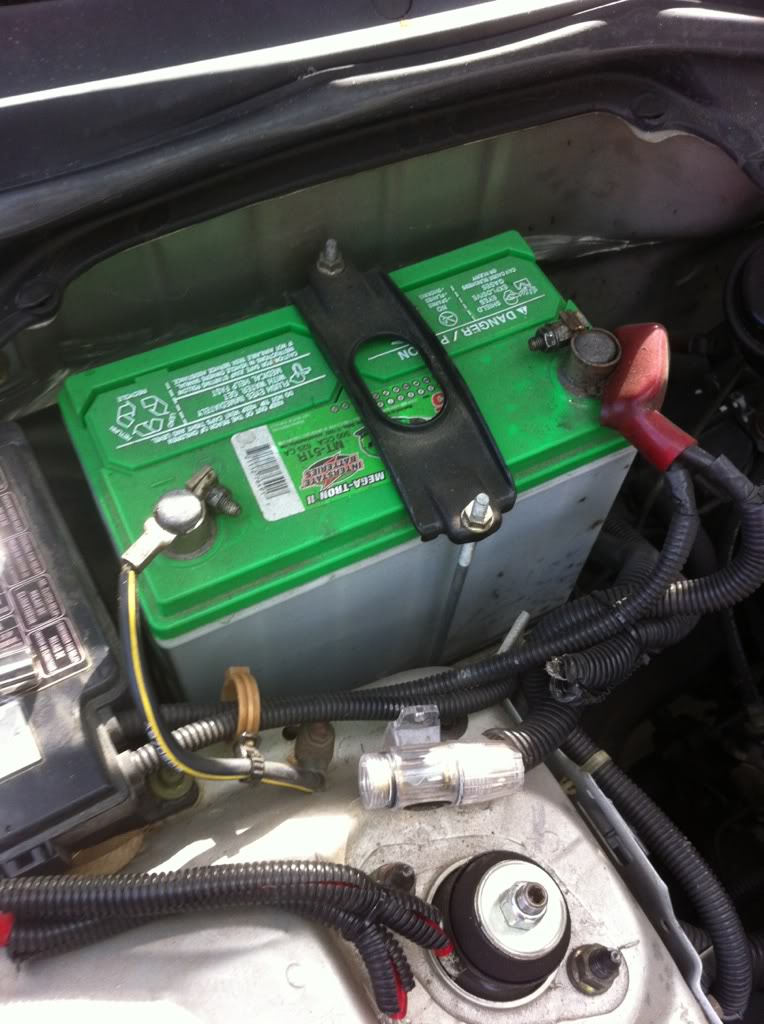
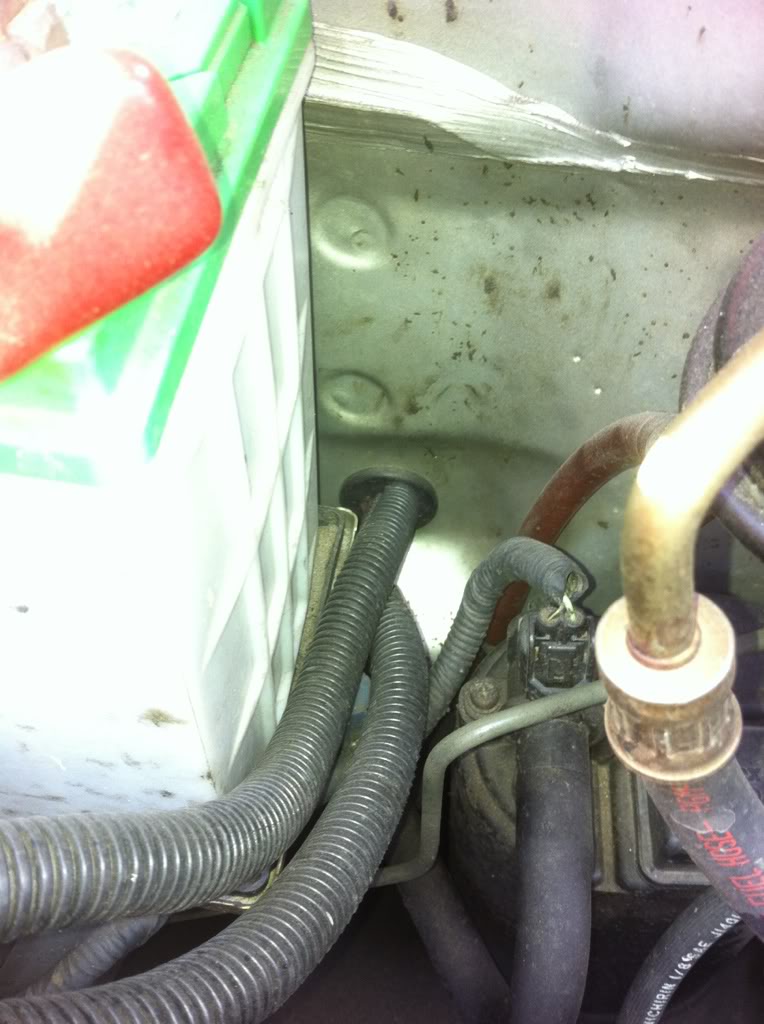
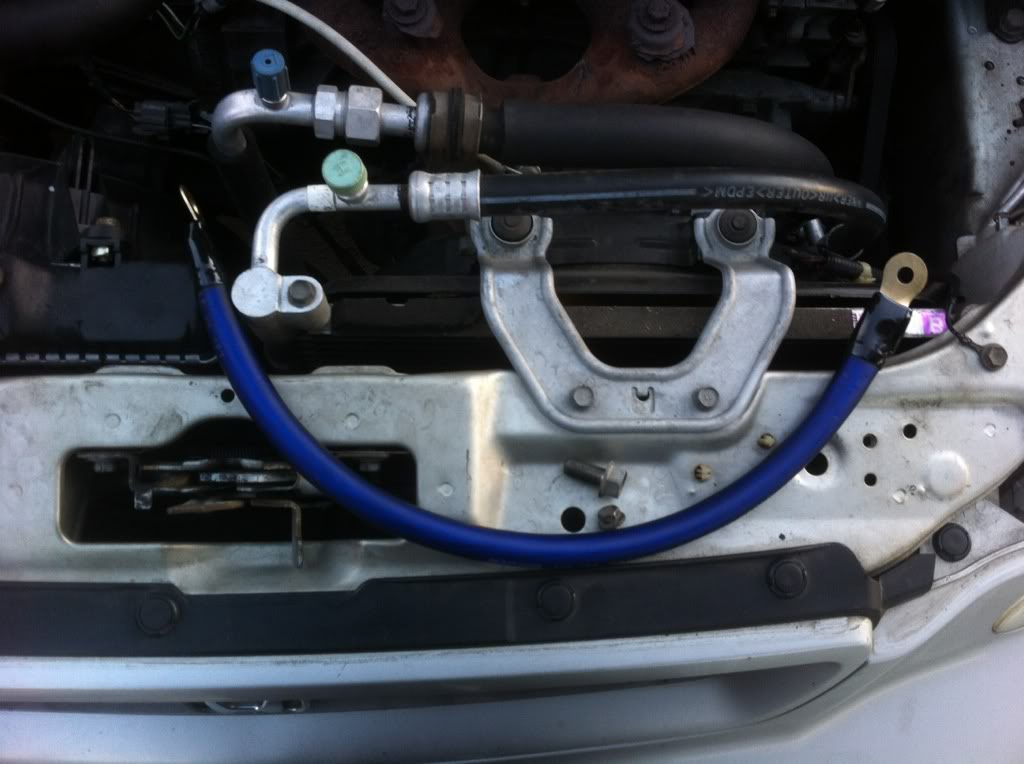
Kinda ghetto rigged the wire from the battery to the main fuse box, and the car always had low idle problems, but now i REALLY notice it, not sure if this is the problem, but i will make it a 4 gauge wire and see if that helps, no fuses that i know of are blown, but maybe i need to do a full check..... battery to fuse box wire:
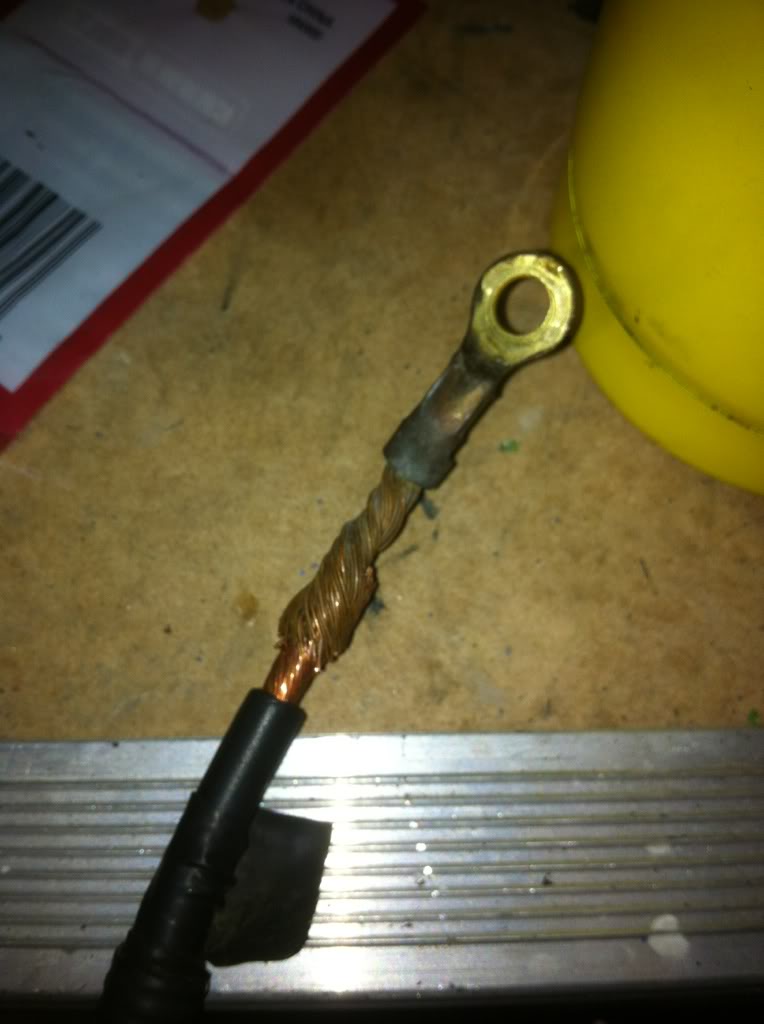
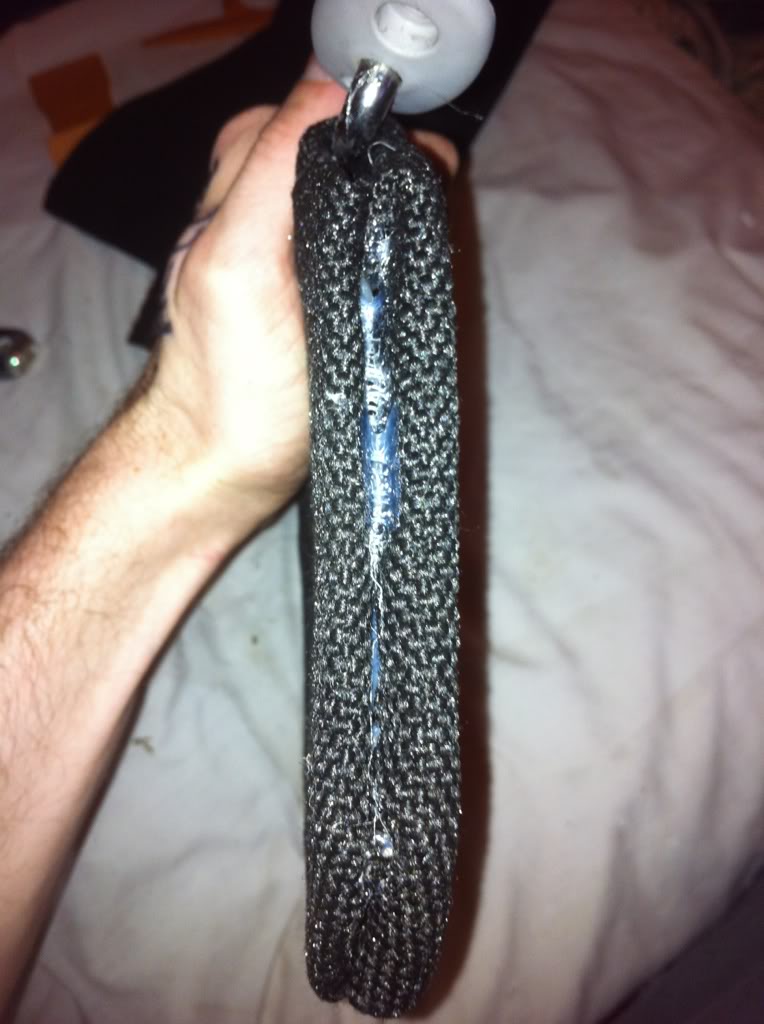
New tranny ground:
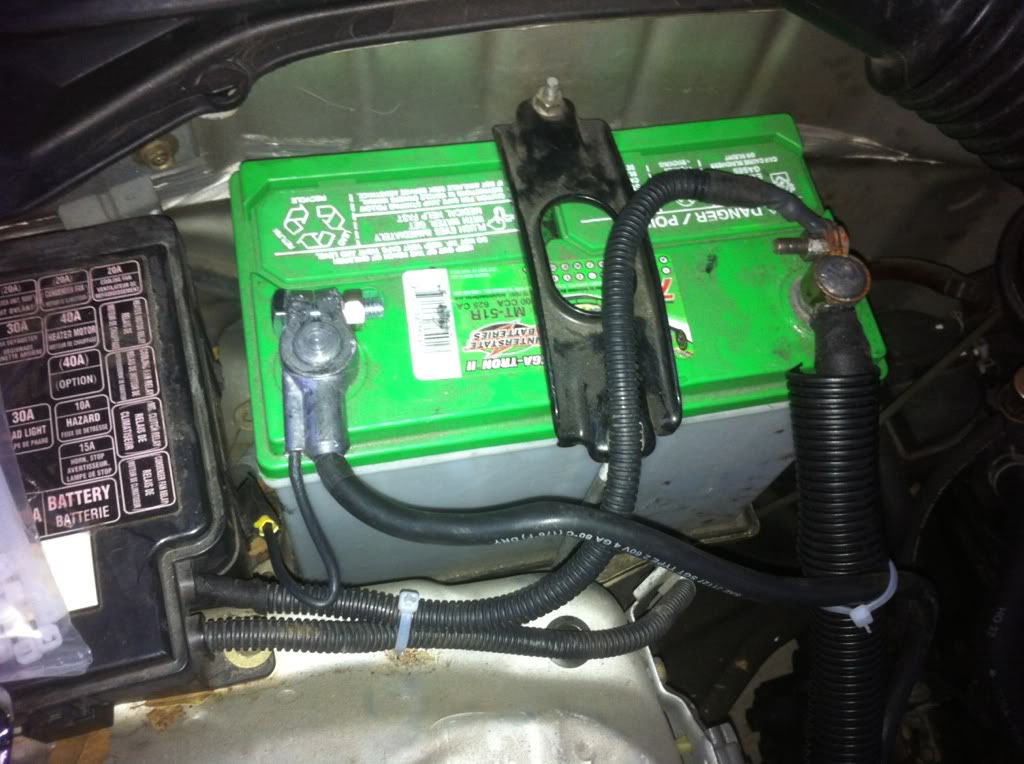
Battery all done, 4 gauge ground, tomorrow I will try to find a new battery terminal, ones that take dual 1/0 gauge, and I guess ill end up rewiring a lot, but everything has lots of slack so I can!:
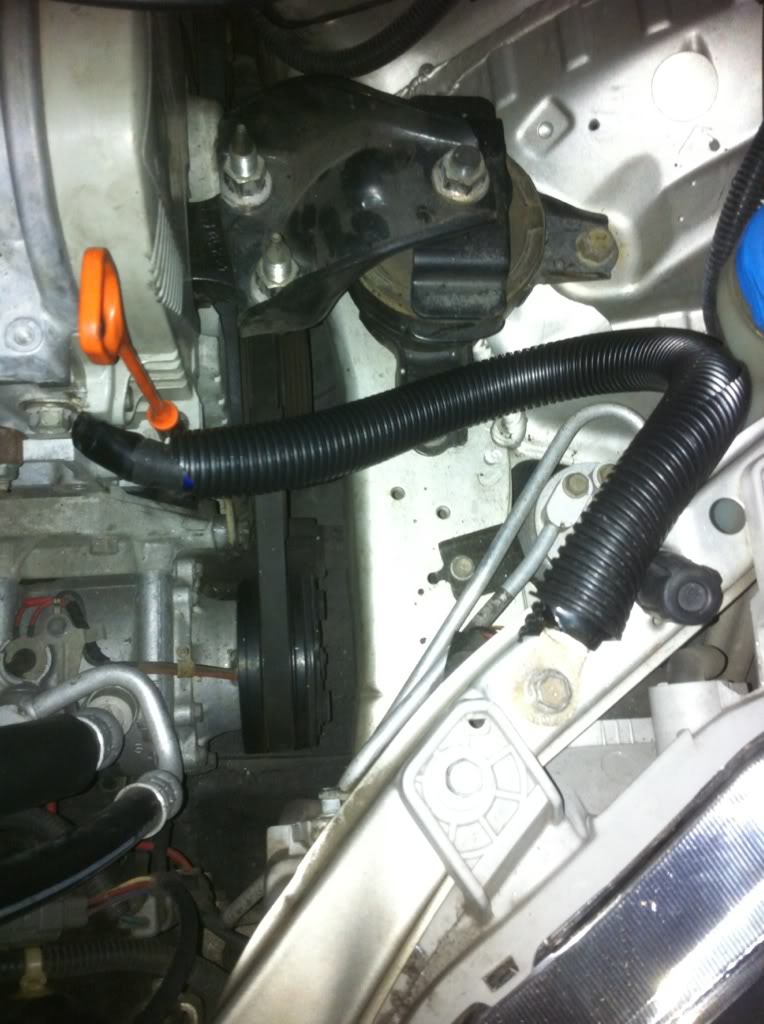
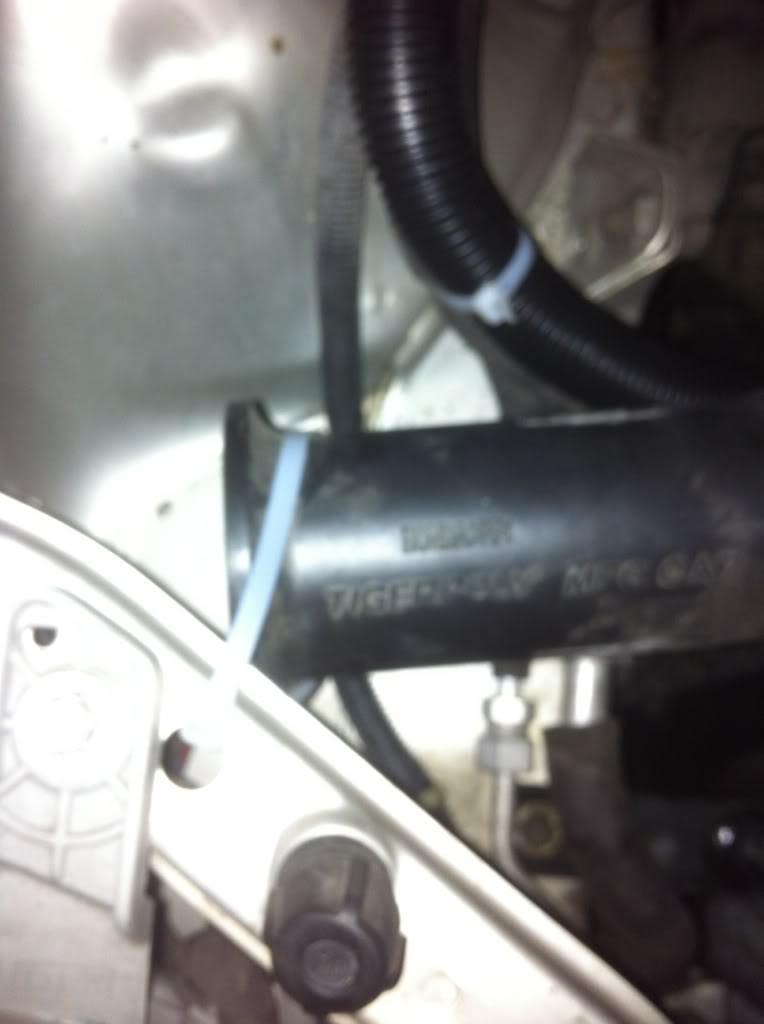
Zip Tied the intake until i get a CAI...:
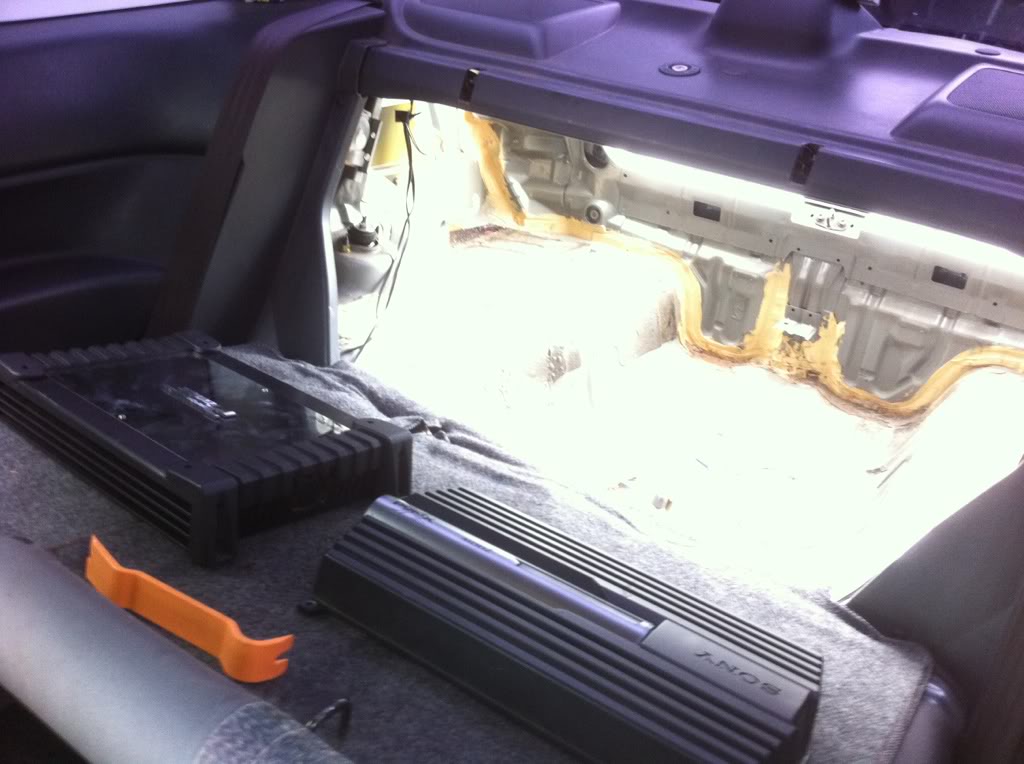
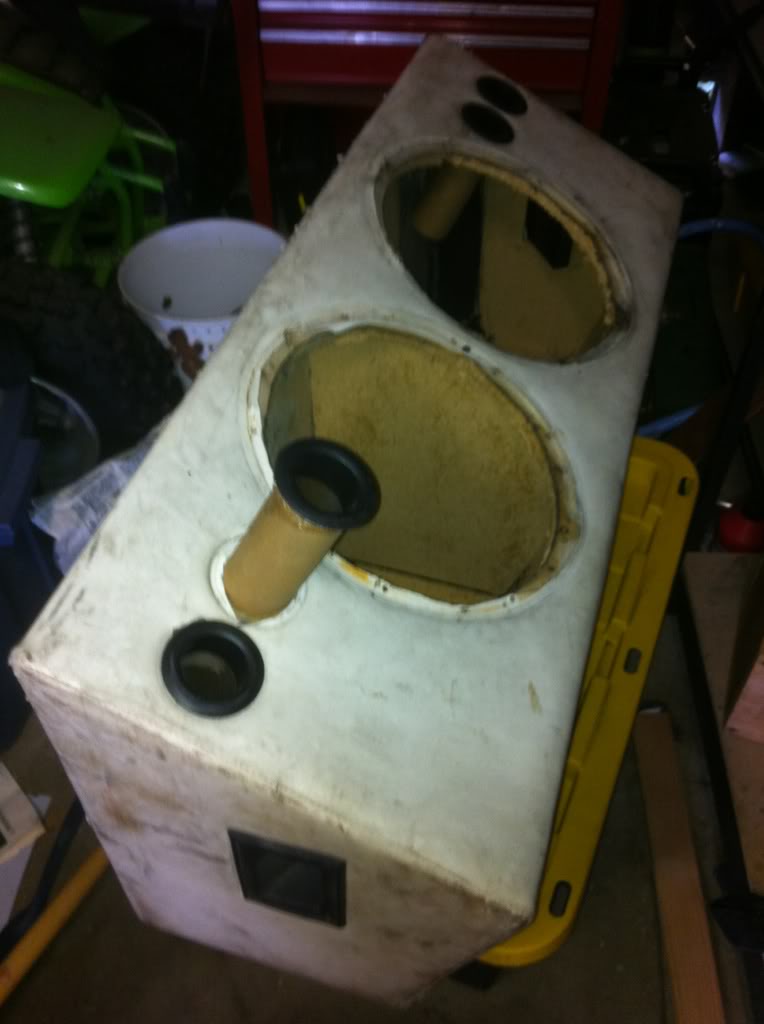
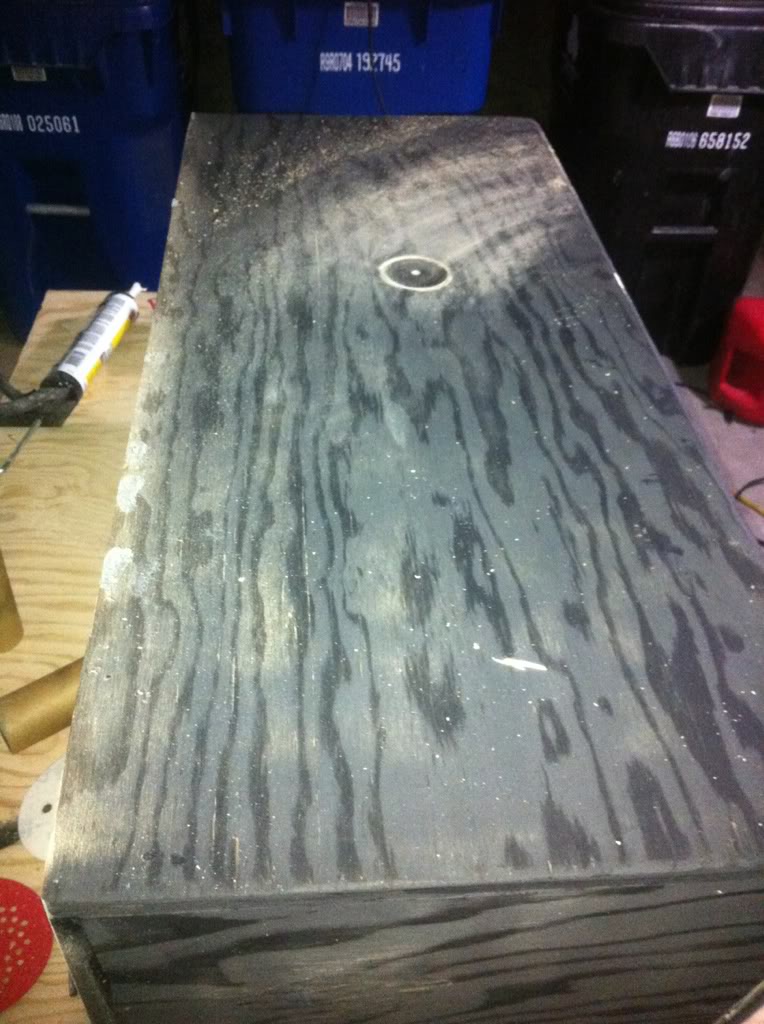
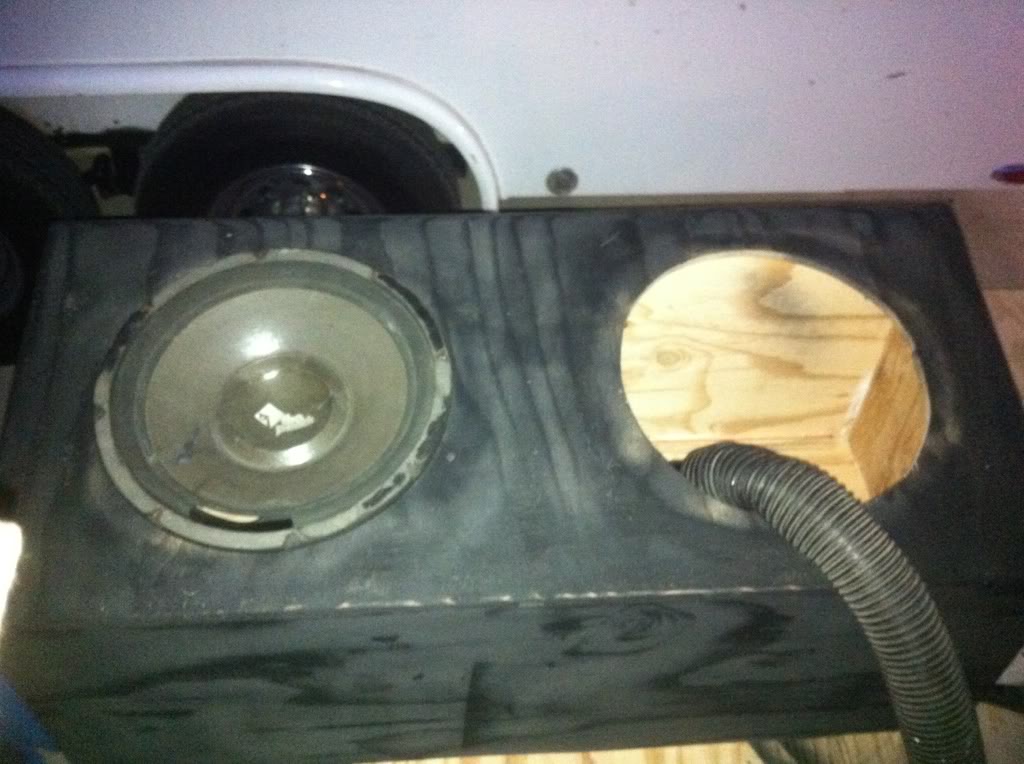
Decided to get back to the battery wiring tomorrow, when i have more parts for the wiring... and made my way to the sub box... Old one!:
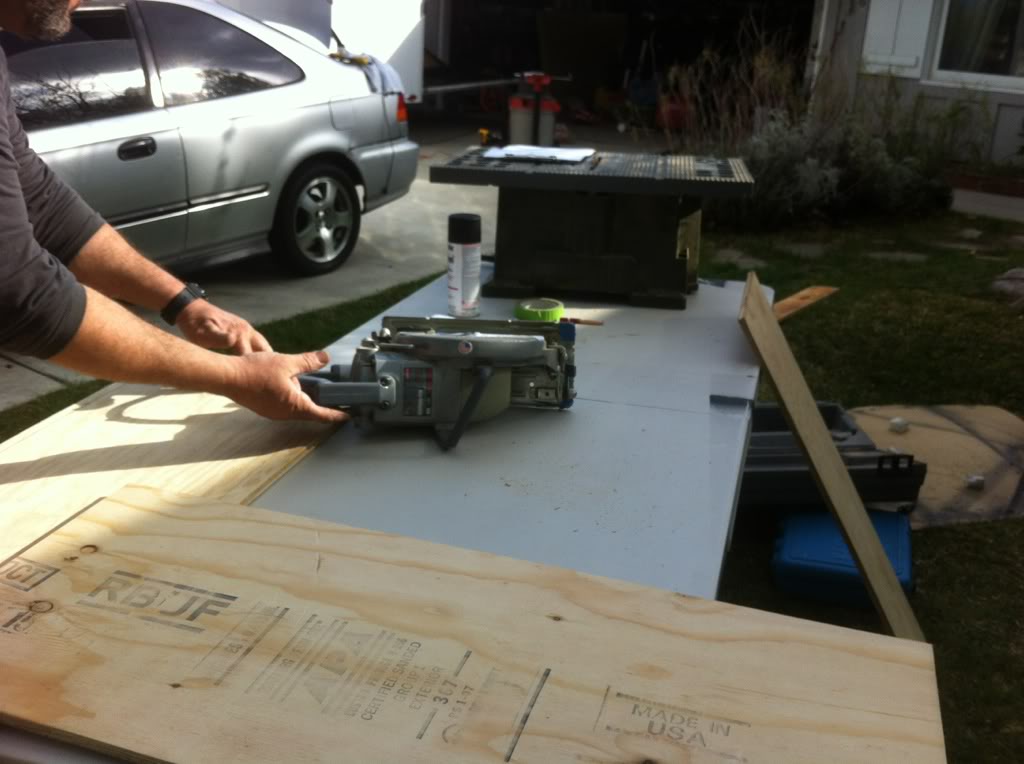
Measuring out new one!:
Gonna do the same rubber paint on it i guess, i really like the look, the first few pieces are drying finally... I could fabricate the box, so I will just be waiting till tomorrow for now, gonna do 1 coat of the rubber on the box regardless though...:
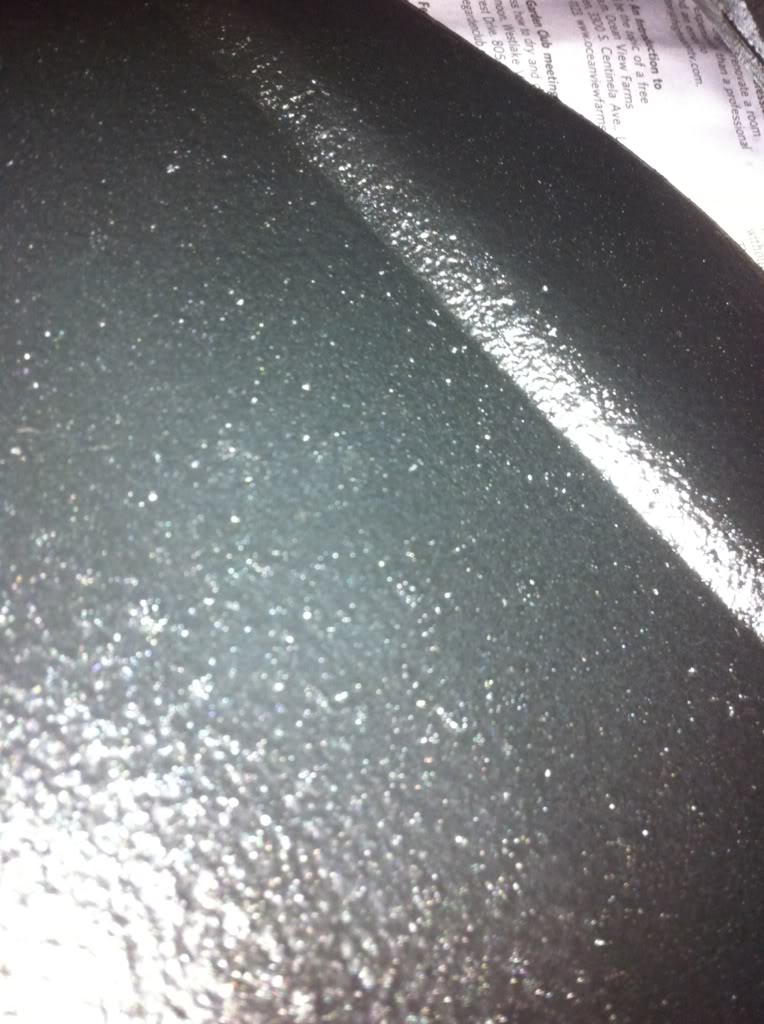
Here are the painted interior parts, a little more shinny than i wanted, but i can deal. Hopefully as it continues to sit out itll lose a little more shine as it has been doing....:
I am really happy with the progress so far. Tomorrow will finish engine bay and trunk wood/subcase. Gonna try to start looking for mounting places for fuses/isolator/battery/capacitors/inverter/PC. Then the rest of the week will probably be sanding and painting, trying to mount screen nicely and lots of school work. Then Thursday i will fully rip car apart and should be ready to soundproof the floors, then throw in new dash/heater core, make sure all that works, and then move to wiring, then put everything back together, assuming the paint is fully dry (48 hours longer than when i wanna say its dry)
Parts coming out left and right!:
Glove box screws are a little tricky to get out, gotta bend the box down and they were really tight, but still no real problem...:
I found an alarm in my car, with a shock sensor. Im assuming it is after market, but I think I will look into hooking it back up if it is easy enough, but I will be putting 2 different isolated kill switches in the car, so not too worried, if anything ill just get a relay off a REM wire to make a blinking LED when the car is off.
Keeping every section of screws seperated and labels in a zip lock backs, even little drawings for weird parts haha, should making putting everything back a snap, although I will be needing some new bezel clips...:
Car is nice and empty, I definatly feel the difference from the weight now!:
This is on the passenger far side on the floor, is this the ECU? haha noob question -_- :
Made my way to the engine bay finally, ditched the resonator box and pulled out the old crap amp wires first...:
Then I moved my eyes over to the alternator wires!:
So I did the big 3, kinda... This alternator had some weird plastic thing in the way, took that off no problem to make room...:
Did a little bit of soldering for the new crimps and 1/0 gauge wires...:
Then moved over to the ground wires, i have 3 (tranny, engine, battery) started to handle that, but i messed one crimp out and had to drill one for a bigger hole, and ended up running 1 short so I will finish the engine ground to 1/0 gauge wire tomorrow, it is just the stock one still, but here are some pics.....:
Kinda ghetto rigged the wire from the battery to the main fuse box, and the car always had low idle problems, but now i REALLY notice it, not sure if this is the problem, but i will make it a 4 gauge wire and see if that helps, no fuses that i know of are blown, but maybe i need to do a full check..... battery to fuse box wire:
New tranny ground:
Battery all done, 4 gauge ground, tomorrow I will try to find a new battery terminal, ones that take dual 1/0 gauge, and I guess ill end up rewiring a lot, but everything has lots of slack so I can!:
Zip Tied the intake until i get a CAI...:
Decided to get back to the battery wiring tomorrow, when i have more parts for the wiring... and made my way to the sub box... Old one!:
Measuring out new one!:
Gonna do the same rubber paint on it i guess, i really like the look, the first few pieces are drying finally... I could fabricate the box, so I will just be waiting till tomorrow for now, gonna do 1 coat of the rubber on the box regardless though...:
Here are the painted interior parts, a little more shinny than i wanted, but i can deal. Hopefully as it continues to sit out itll lose a little more shine as it has been doing....:
I am really happy with the progress so far. Tomorrow will finish engine bay and trunk wood/subcase. Gonna try to start looking for mounting places for fuses/isolator/battery/capacitors/inverter/PC. Then the rest of the week will probably be sanding and painting, trying to mount screen nicely and lots of school work. Then Thursday i will fully rip car apart and should be ready to soundproof the floors, then throw in new dash/heater core, make sure all that works, and then move to wiring, then put everything back together, assuming the paint is fully dry (48 hours longer than when i wanna say its dry)
Last edited by Turtlegrip; 02-12-2012 at 11:28 PM.