
9 volt USB charger DIY


Thread Starter
|
HCF Member
Joined: Oct 2005
Posts: 4,509
From:
O.K. I tried to get this posted in the DIY section, but since it is not car related I have to post it here. Enjoy:
__________________________________________________ __________________________________________________ __________________________________________________ ________________________________________
First off. I accept no responsibility for you try to make this. If you mess up something It is not my fault. Just to be clear. Now that all that crap is out of the way. LOL We can get started.
O.k. Guys and girls. Let start off with out parts list.
1 each of the following:
7805 Voltage Regulator (276-1770)
100 uF Capacitor (272-1016)
0.1 uF Capacitor (272-1053)
9 Volt Battery Connector (270-324)
9 volt battery
Any small switch (just something small)
Multimeter (do no skip this item!!!!)
Heat-shrink Tubing (278-1627B)
Oznium 12 volt Pre-wired LED
Altoids Can
Female USB connector
Small piece of plastic (large enough to mount the finished circuit to)
Soldering Iron
Soldering wire
Flux Paste
(A breadboard is nice but not needed)
Dremel or other cutting tool with cutting bits
Hand drill and assorted bits
*Numbers in () are RadioShack Part Numbers. Just to help you pick up the right parts.
To start. Double check your parts list. Make sure all the numbers match up. You don’t want to use a larger or smaller part. Now Unpack everything and lay it out. Try to place everything as it will sit in the final circuit. Now heat up the soldering iron.
The circuit is will be laid out as follows:

The little green dot in where the LED should be.
__________________________________________________ ___________________________________
{NOTE}
The Voltage regulator is upside down in this picture. The little tab at the top should be at the top. You will see what I mean when you are holding it. You will want to lay it flat but it needs to be upside down. You can also refer to digram on the back of the regulators box.
Like this:
__________________________________________________ ___________________________________
So by now you soldering iron should be hot. First remember to “tin the tip“. Now start soldering the parts together starting from the battery connector and finishing at the USB connector. ((Now is you are using a USB cable to for the female end you need to solder the red wire to the positive output on the voltage regulator, and the black wire to the ground.))
Just go slow and make all of your soldered joints strong and nice looking. Don’t be afraid to bend the wires on the part to make them fit in place or to make the circuit smaller. Just make sure that they don’t touch where they shouldn’t!!!!!
Once you have everything soldered, double and triple check your connections. Once you are sure that you didn’t hook anything up wrong proceed to next step.
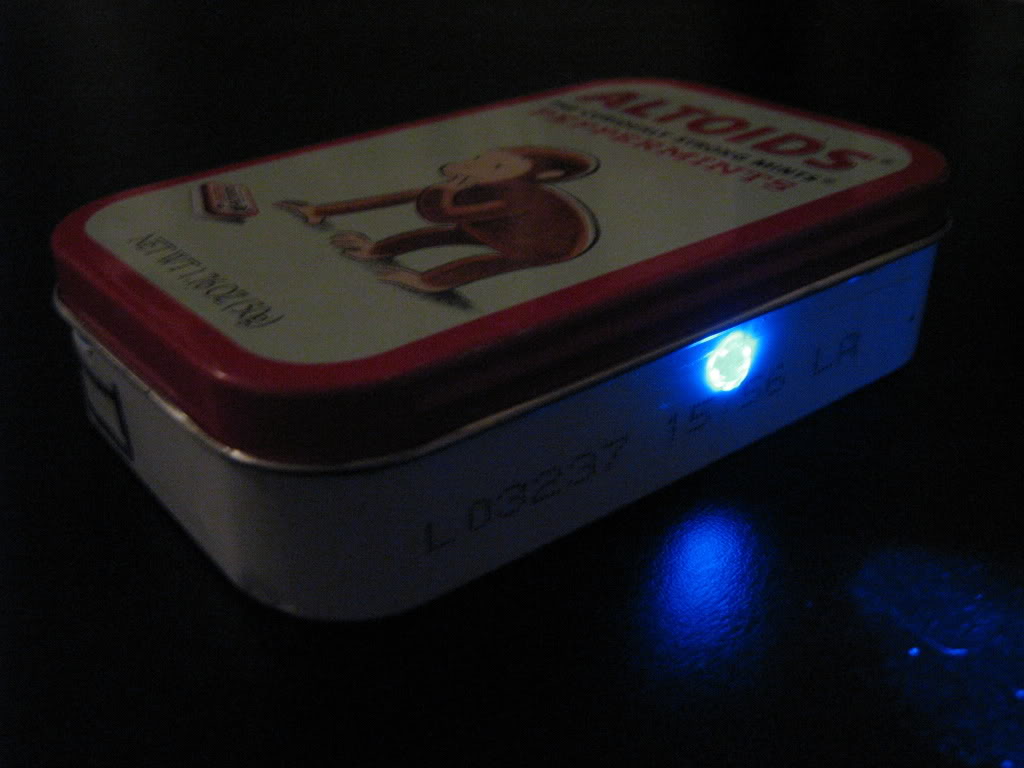
Hook up the 9 volt Battery and flip the switch on. Watch for any sign that it is going to fry itself. If no smoke pours out you can hook the multi meter up the positive and negative connections on the USB connector. You should see 4.94 volts on the Multimeter. If you see 8.9 or something like that, you hooked it up wrong and need to recheck everything. If you used an LED and see around 6 volts you didn’t hook up the LED in the right place. Again recheck everything and make sure you have it right.
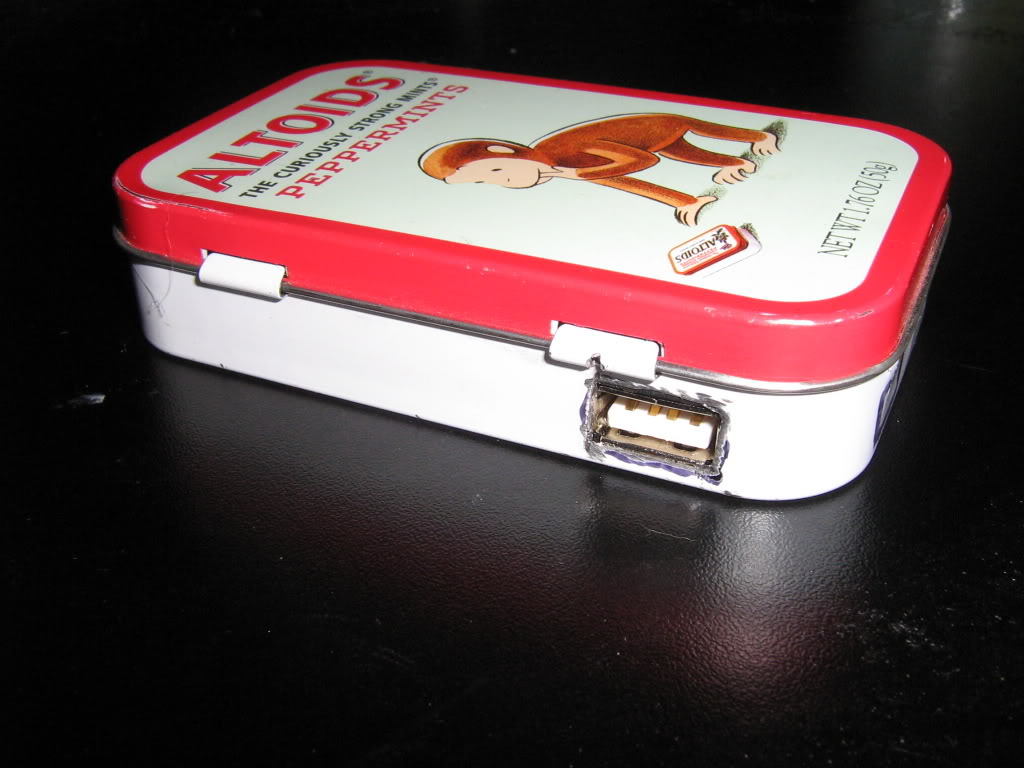
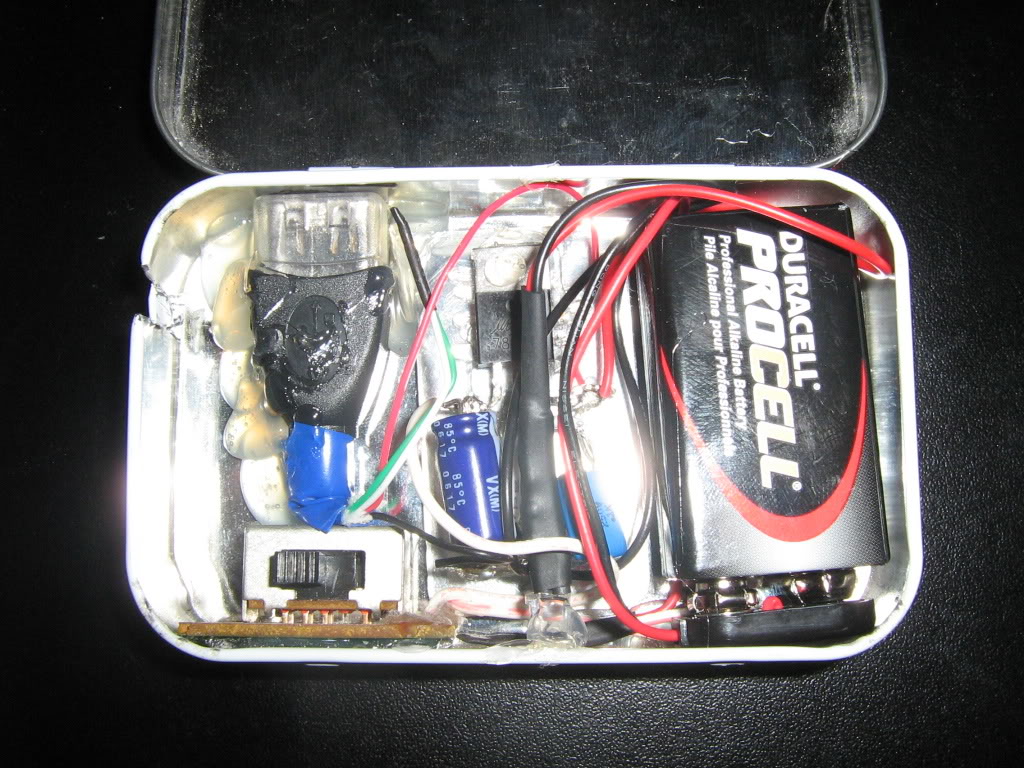
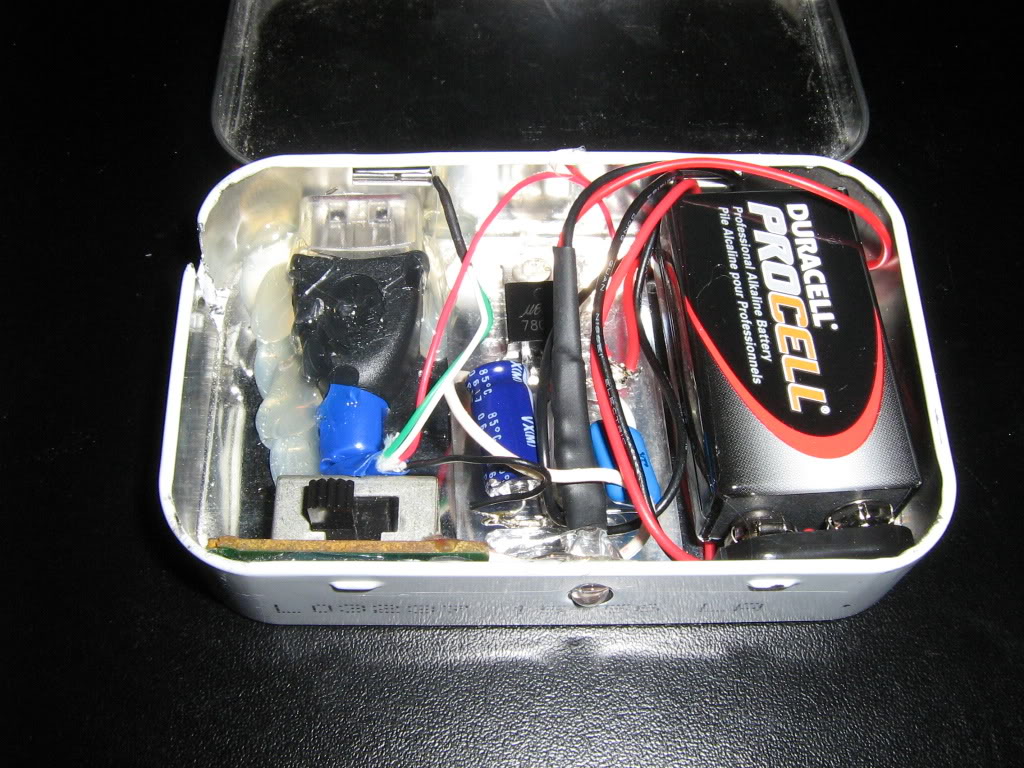
Now unhook the battery. It is time to make the case. Here is where you can get really creative. Anything can be used. Just find something that it will fit into. I used an Altoids can. Look at the following pics and you will get an idea of how to put it all in. Good luck. I think you can figure it out from here.
If you have any questions, just PM me and I will be glad to help you through it.
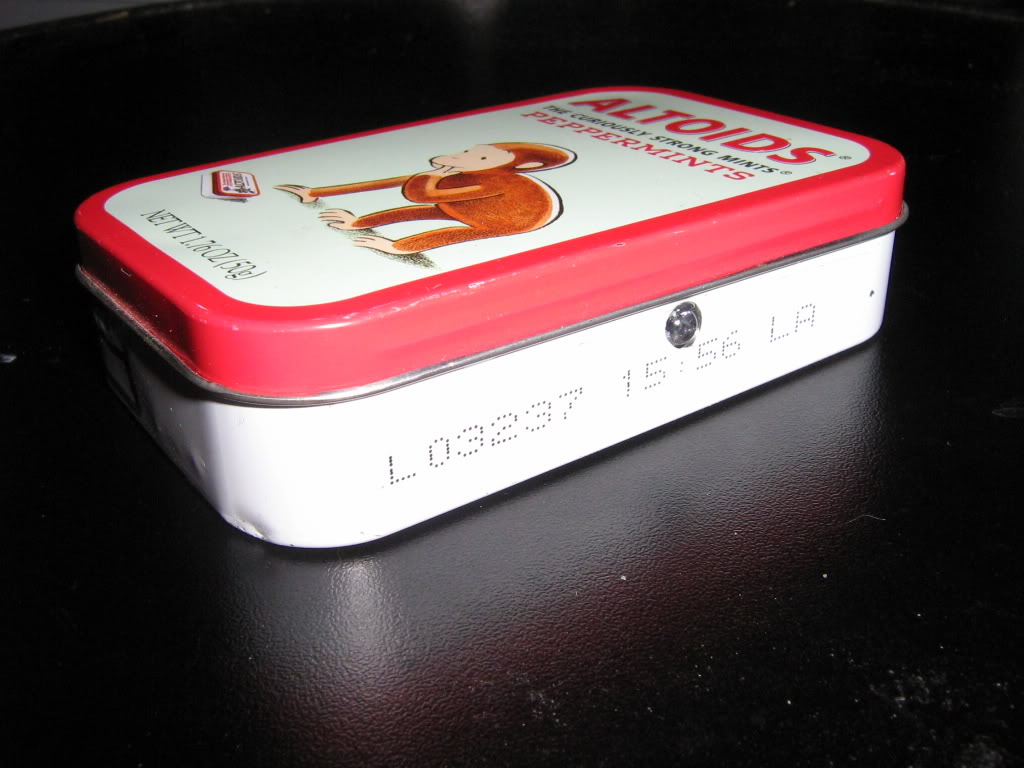
Here are some pics of the one I made to give you an idea of what it should look kinda like:
__________________________________________________ __________________________________________________ __________________________________________________ ________________________________________
First off. I accept no responsibility for you try to make this. If you mess up something It is not my fault. Just to be clear. Now that all that crap is out of the way. LOL We can get started.
O.k. Guys and girls. Let start off with out parts list.
1 each of the following:
7805 Voltage Regulator (276-1770)
100 uF Capacitor (272-1016)
0.1 uF Capacitor (272-1053)
9 Volt Battery Connector (270-324)
9 volt battery
Any small switch (just something small)
Multimeter (do no skip this item!!!!)
Heat-shrink Tubing (278-1627B)
Oznium 12 volt Pre-wired LED
Altoids Can
Female USB connector
Small piece of plastic (large enough to mount the finished circuit to)
Soldering Iron
Soldering wire
Flux Paste
(A breadboard is nice but not needed)
Dremel or other cutting tool with cutting bits
Hand drill and assorted bits
*Numbers in () are RadioShack Part Numbers. Just to help you pick up the right parts.
To start. Double check your parts list. Make sure all the numbers match up. You don’t want to use a larger or smaller part. Now Unpack everything and lay it out. Try to place everything as it will sit in the final circuit. Now heat up the soldering iron.
The circuit is will be laid out as follows:
The little green dot in where the LED should be.
__________________________________________________ ___________________________________
{NOTE}
The Voltage regulator is upside down in this picture. The little tab at the top should be at the top. You will see what I mean when you are holding it. You will want to lay it flat but it needs to be upside down. You can also refer to digram on the back of the regulators box.
Like this:
__________________________________________________ ___________________________________
So by now you soldering iron should be hot. First remember to “tin the tip“. Now start soldering the parts together starting from the battery connector and finishing at the USB connector. ((Now is you are using a USB cable to for the female end you need to solder the red wire to the positive output on the voltage regulator, and the black wire to the ground.))
Just go slow and make all of your soldered joints strong and nice looking. Don’t be afraid to bend the wires on the part to make them fit in place or to make the circuit smaller. Just make sure that they don’t touch where they shouldn’t!!!!!
Once you have everything soldered, double and triple check your connections. Once you are sure that you didn’t hook anything up wrong proceed to next step.
Hook up the 9 volt Battery and flip the switch on. Watch for any sign that it is going to fry itself. If no smoke pours out you can hook the multi meter up the positive and negative connections on the USB connector. You should see 4.94 volts on the Multimeter. If you see 8.9 or something like that, you hooked it up wrong and need to recheck everything. If you used an LED and see around 6 volts you didn’t hook up the LED in the right place. Again recheck everything and make sure you have it right.
Now unhook the battery. It is time to make the case. Here is where you can get really creative. Anything can be used. Just find something that it will fit into. I used an Altoids can. Look at the following pics and you will get an idea of how to put it all in. Good luck. I think you can figure it out from here.
If you have any questions, just PM me and I will be glad to help you through it.
Here are some pics of the one I made to give you an idea of what it should look kinda like:

Thread
Thread Starter
Forum
Replies
Last Post