
Engine tuck and Engine bay shave


Thread Starter
|
HCF Member
Joined: Sep 2009
Posts: 58
From: South Haven, MI
I bought an '89 hatch last year and have been modifying the interior and stereo but since my tranny has blown I've decided to take the engine bay to a new level. I've been doing a lot of research and pick up on things very quickly but this is still new territory for me. I'm new to engine work but not to custom fabricating of all kinds. Any input during this project is welcome and wanted.
Day one:
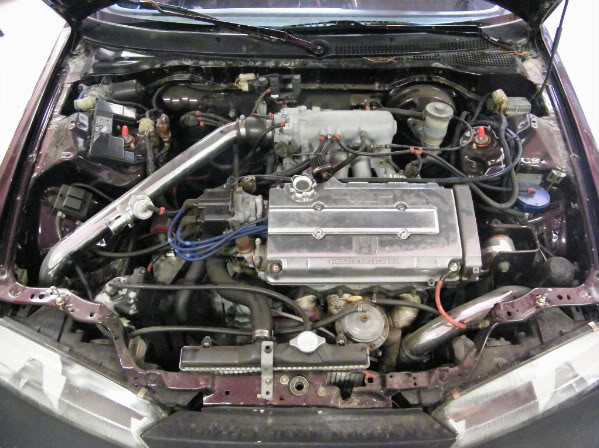
Started with this cluttered bay and finished a little cleaner and hopefully labeled well enough.


Day two:
Engine out, tranny off, on the stand, and found the reason the tranny died.


Day three:
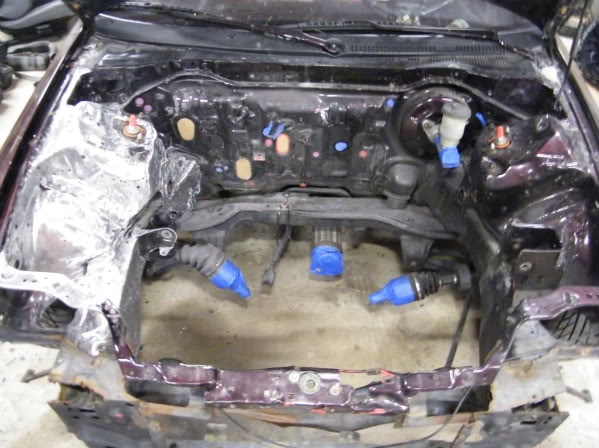
I got ALL the wiring out of the engine bay, removed the charcoal filter, fuse box, headlights, and other odds and ends
It went from this......
...to this

I also removed all the HVAC equiptment from inside to make room for tucking and all the wire is now inside. Looks crazy but I will only be using about half of the wiring and everything I need is labeled well.

Day four:
Removed the cables and brake lines and started shaving the fender and removed the mounts from the firewall. I will be tucking the pressure assist also but haven't taken it out yet.
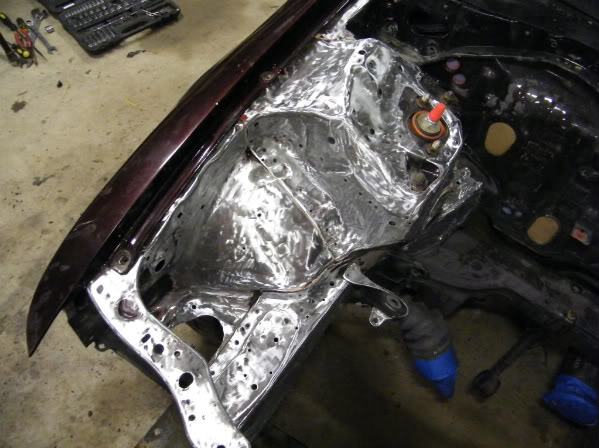

Started welding the holes in the framerail and fender


That's all so far but there is plenty of work left. Once again, any input is welcome.
Day one:
Started with this cluttered bay and finished a little cleaner and hopefully labeled well enough.
Day two:
Engine out, tranny off, on the stand, and found the reason the tranny died.
Day three:
I got ALL the wiring out of the engine bay, removed the charcoal filter, fuse box, headlights, and other odds and ends
It went from this......
...to this
I also removed all the HVAC equiptment from inside to make room for tucking and all the wire is now inside. Looks crazy but I will only be using about half of the wiring and everything I need is labeled well.
Day four:
Removed the cables and brake lines and started shaving the fender and removed the mounts from the firewall. I will be tucking the pressure assist also but haven't taken it out yet.
Started welding the holes in the framerail and fender
That's all so far but there is plenty of work left. Once again, any input is welcome.
Last edited by fabmaster; Apr 6, 2010 at 07:44 PM.

Thread Starter
|
HCF Member
Joined: Sep 2009
Posts: 58
From: South Haven, MI
I started welding in the filler plates on the firewall. I'm having trouble not blowing holes in the stock metal and it's pissing me off. A screw hole ends up a 1 inch weld. Can't get this flux-core mig toned down. I might have to do the gas conversion.


I'm also starting to polish my valve cover. Lots of work left on it. I'm planning on polishing my intake, block, and tranny as well.

I'm also starting to polish my valve cover. Lots of work left on it. I'm planning on polishing my intake, block, and tranny as well.

Thread Starter
|
HCF Member
Joined: Sep 2009
Posts: 58
From: South Haven, MI
That you did. I was able to finish the last show season and a couple Car Club cruises before the pin let loose again. I couldn't complain for 40 bucks at the time though.


Thread Starter
|
HCF Member
Joined: Sep 2009
Posts: 58
From: South Haven, MI
I traded my plastic valve cover to a guy for his billet one. He wanted the lighter weight and I wanted the show. It was pretty rough to start wth and had lots of deep scratches. After 2.5 hours of resurfacing and buffing, it's almost done. A couple more rounds of rubbing compound and the light swirls should be gone.


wow dude its lookin good keep up the good work and it will pay off. If you were to go to tig it would help alot but idk if you have one available to you. they are much cleaner and can work on alot thinner metal