
Window Regulator Removal/Inspection/Maintenance


Thread Starter
|
Laced with Sarcasm
Joined: Mar 2005
Posts: 15,280
This DIY is going to show you how to access your Power Window Regulator, Motor, and other components. Honda's are well known for having window issues. Whether it be sliding off the track, not rolling up all the way to the seal, or just dying in general.
Alright, last fall I had an issue with my driver's side window, which stopped me from being able to roll the window up all the way, this is what it was doing...
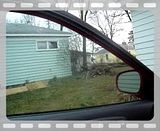
Notice it goes up, then starts bouncing. Basically, it wouldn't seal and I was getting a lot of wind noise on the highway, and obviously leakage when it rained. Even if this isn't your specific issue, the process below can definitely help you. Moving on..
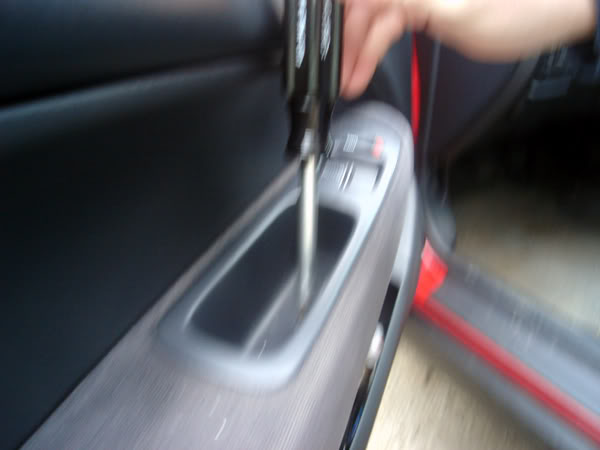
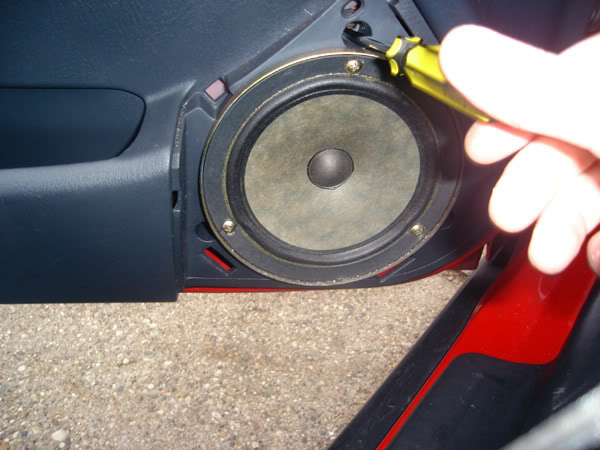
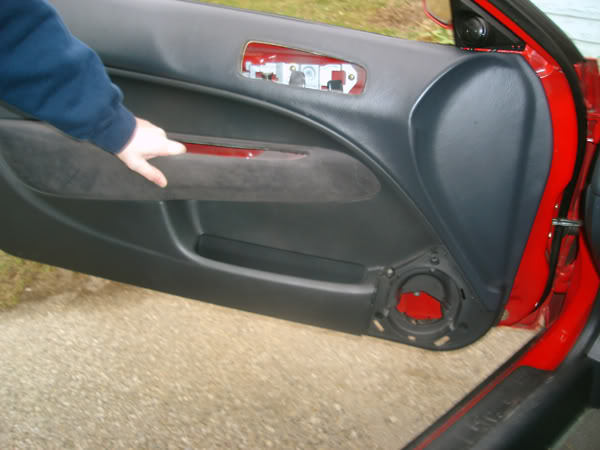
1 - Pull the speaker out, then remove the door panel. There are 5 screws, and a bunch of stupid clips.
-Screw #1 is in the armrest
-Screw #2 is in door handle
-The other three surround the speaker

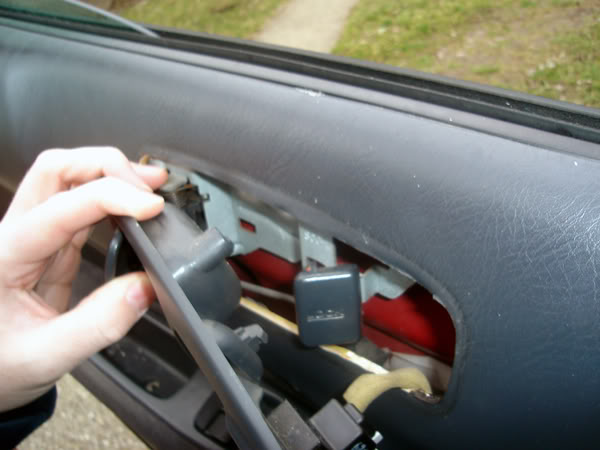
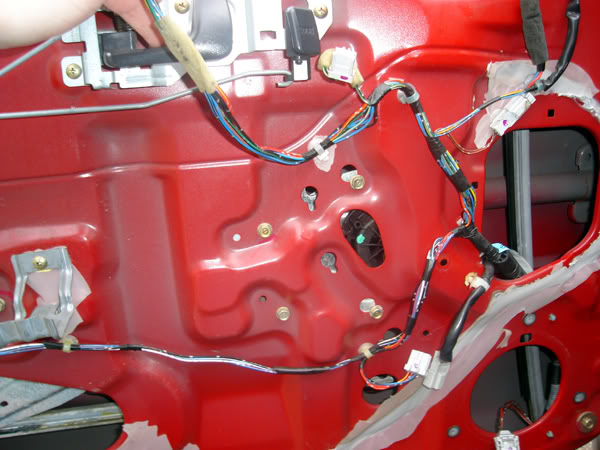
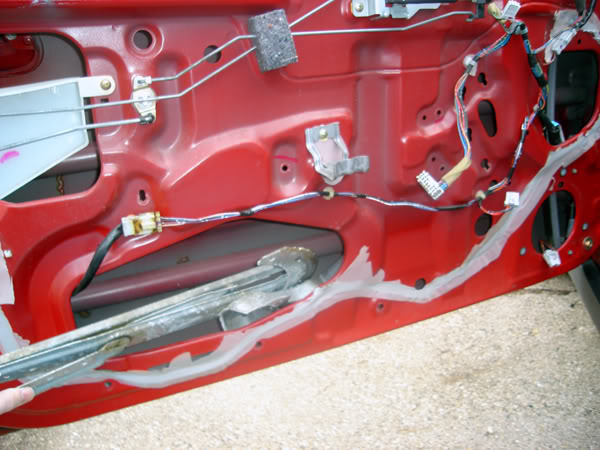
2 - Once you've pulled all the screws, the next step is to pull the handle and armrest housings out. BEFORE you disconnect the window buttons, get the window into a position where you can easily access the bolts holding the window to the regulator, shown below..
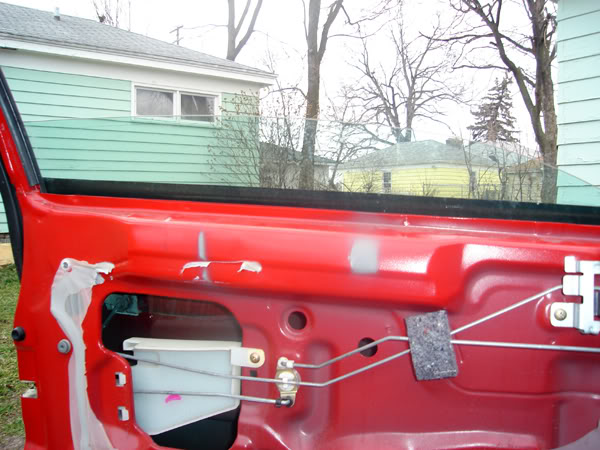
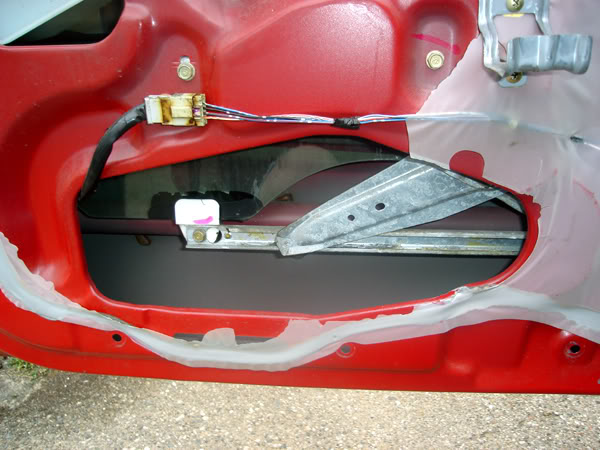
Straight to the right of this big opening in the door, will be a circle opening, get the window to where the bolt behind that circle is easily accessible through the hole.
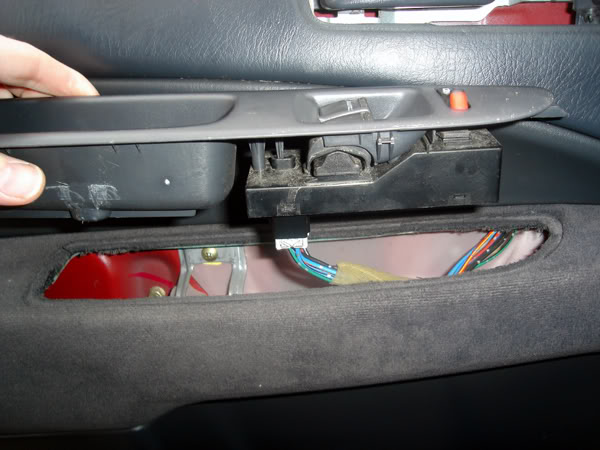
3 - Remove housings. It's pretty basic, just pull them out carefully as to not damage the wires behind. Unclip the connectors, and set the housings aside.
3 - Next, remove the door panel. You'll have to give the door a bit of a tug to pop it loose. Don't be surprised if you break a clip or two, it happens.. I've been told you can buy them at Lowes, but you don't need all of them, so no biggie.
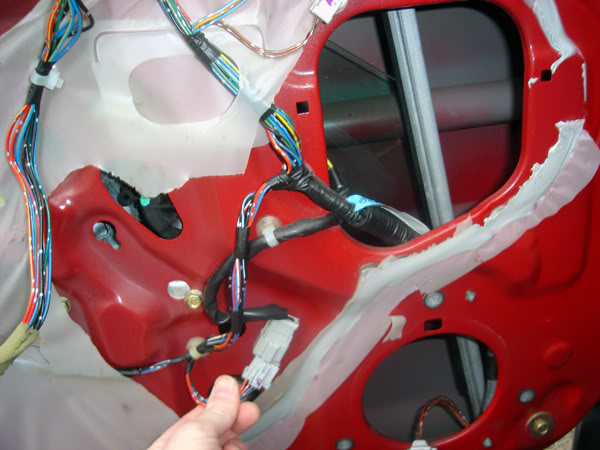
4 - Disconnect the electrical connection that feeds the window motor. You need to be able to pull the wire connected to the window motor through, and out the door. (It'll make sense when you get there)
5 - Remove the Glass. Some say you need two people for this, however I've done it three times now, by myself each time, and have not had a problem yet. Undo the two 12mm bolts holding the bottom of the glass do the regulator.
Heres that little circle opening we talked about earlier.
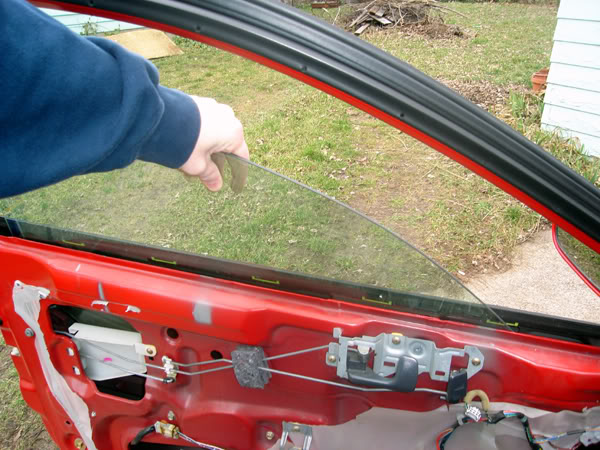
6 - Remove the glass by carefully picking it up at an angle, so that the back side comes out of the track first, then slide it out the rest of the way. Don't drop it
7 - Now, onto removing the regulator.. There are 6 bolts holding it in, all 12mm IIRC.
-Pull these two first
-Then remove the four bolts in the middle of this next picture. BE CAREFUL, once you take the last one out, the whole assembly is likely to fall. Not a huge deal, but if you're regulator is in fact okay, it might not be after the fall.
8 - You can fold the regulator up while its inside the door, and carefully slide it out the big opening. You'll have to maneuver around a bit to get the motor out.
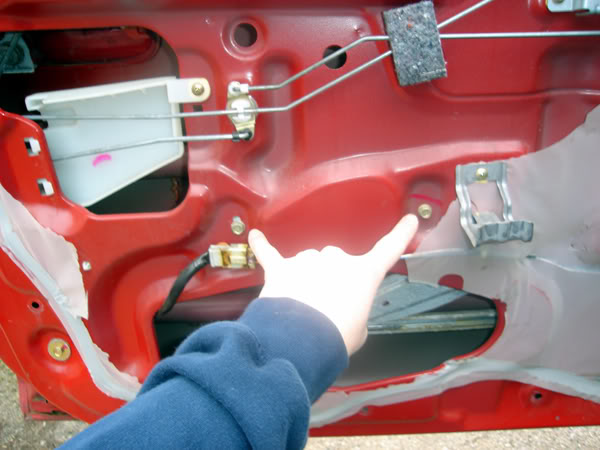
Okay, from here, the process is problem specific. As you can see below, I've highlighted in yellow what the problem was for me. Its a little pivot joint, that should allow the regulator to move in a scissors type fashion. Mine however, was allowing way too much side to side movement, and making the gear in the motor skip off the gear in the regulator.
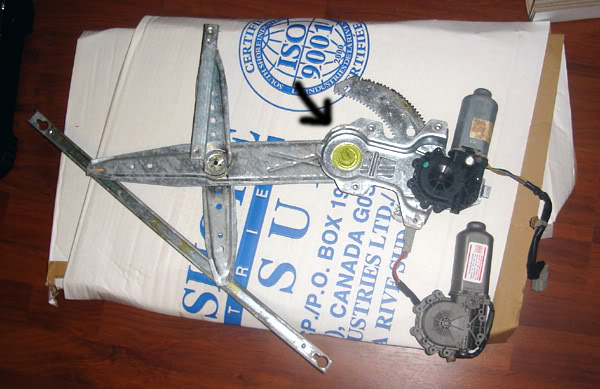
I thought it was the gear inside the motor, that's why you see a brand new one sitting there. Since it wasn't the problem, I returned it and picked up a new regulator from the stealership for about 70 bucks.
If your problem IS the motor, then replace it with a new or refurbished one. It's pretty straight forward, the only issue is that you'll need the proper tool for the motor to regulator bolts. It looks like this..
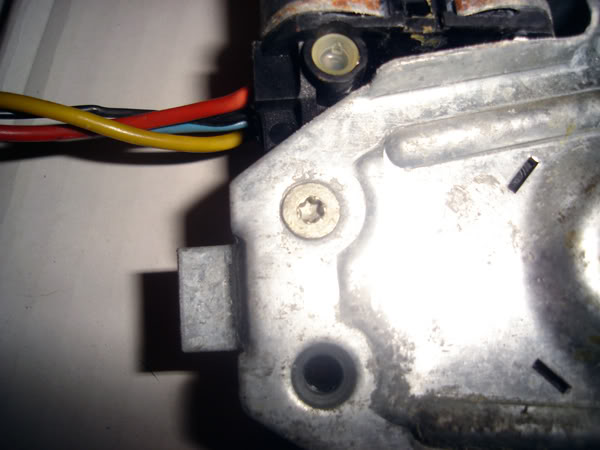
9 - There should be three or four of them holding the regulator and motor together. Pull the motor off, attach the new motor (or in my case, put the old motor onto the new regulator), and work backwards for re-installation.
That's it, enjoy your fully functional window!
Alright, last fall I had an issue with my driver's side window, which stopped me from being able to roll the window up all the way, this is what it was doing...
Notice it goes up, then starts bouncing. Basically, it wouldn't seal and I was getting a lot of wind noise on the highway, and obviously leakage when it rained. Even if this isn't your specific issue, the process below can definitely help you. Moving on..
1 - Pull the speaker out, then remove the door panel. There are 5 screws, and a bunch of stupid clips.
-Screw #1 is in the armrest
-Screw #2 is in door handle
-The other three surround the speaker
2 - Once you've pulled all the screws, the next step is to pull the handle and armrest housings out. BEFORE you disconnect the window buttons, get the window into a position where you can easily access the bolts holding the window to the regulator, shown below..
Straight to the right of this big opening in the door, will be a circle opening, get the window to where the bolt behind that circle is easily accessible through the hole.
3 - Remove housings. It's pretty basic, just pull them out carefully as to not damage the wires behind. Unclip the connectors, and set the housings aside.
3 - Next, remove the door panel. You'll have to give the door a bit of a tug to pop it loose. Don't be surprised if you break a clip or two, it happens.. I've been told you can buy them at Lowes, but you don't need all of them, so no biggie.
4 - Disconnect the electrical connection that feeds the window motor. You need to be able to pull the wire connected to the window motor through, and out the door. (It'll make sense when you get there)
5 - Remove the Glass. Some say you need two people for this, however I've done it three times now, by myself each time, and have not had a problem yet. Undo the two 12mm bolts holding the bottom of the glass do the regulator.
Heres that little circle opening we talked about earlier.
6 - Remove the glass by carefully picking it up at an angle, so that the back side comes out of the track first, then slide it out the rest of the way. Don't drop it
7 - Now, onto removing the regulator.. There are 6 bolts holding it in, all 12mm IIRC.
-Pull these two first
-Then remove the four bolts in the middle of this next picture. BE CAREFUL, once you take the last one out, the whole assembly is likely to fall. Not a huge deal, but if you're regulator is in fact okay, it might not be after the fall.
8 - You can fold the regulator up while its inside the door, and carefully slide it out the big opening. You'll have to maneuver around a bit to get the motor out.
Okay, from here, the process is problem specific. As you can see below, I've highlighted in yellow what the problem was for me. Its a little pivot joint, that should allow the regulator to move in a scissors type fashion. Mine however, was allowing way too much side to side movement, and making the gear in the motor skip off the gear in the regulator.
I thought it was the gear inside the motor, that's why you see a brand new one sitting there. Since it wasn't the problem, I returned it and picked up a new regulator from the stealership for about 70 bucks.
If your problem IS the motor, then replace it with a new or refurbished one. It's pretty straight forward, the only issue is that you'll need the proper tool for the motor to regulator bolts. It looks like this..
9 - There should be three or four of them holding the regulator and motor together. Pull the motor off, attach the new motor (or in my case, put the old motor onto the new regulator), and work backwards for re-installation.
That's it, enjoy your fully functional window!

Thread
Thread Starter
Forum
Replies
Last Post
97Ej8
Inside and Out
2
Apr 24, 2012 04:56 PM
Rattlin_Steele
Mechanical Problems & Technical Chat
3
Jun 6, 2011 10:45 AM
Impulse2k1
PRIVATE For Sale / Trade Classifieds
7
Sep 28, 2006 09:06 AM
magiconthetire
Private 'Wanted' Classifieds
1
Apr 6, 2006 10:46 AM