When you click on links to various merchants on this site and make a purchase, this can result in this site earning a commission. Affiliate programs and affiliations include, but are not limited to, the eBay Partner Network.
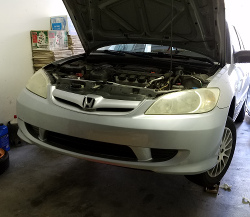
I've been meaning to tackle that annoying main relay issue that I've known about for the longest time. Finally got around to it and thought others might appreciate a DIY on it While it's not a difficult task, it's always nice visually seeing how others have done it. It always helps me.
1. Disconnect the negative terminal on the battery. I didn't do this step and it has been fine but I think it's better to do this.
2. Remove the fuse panel and lower driver-side dash panel. Use the philips screwdriver for this.
(No picture - sorry but it should be obvious)
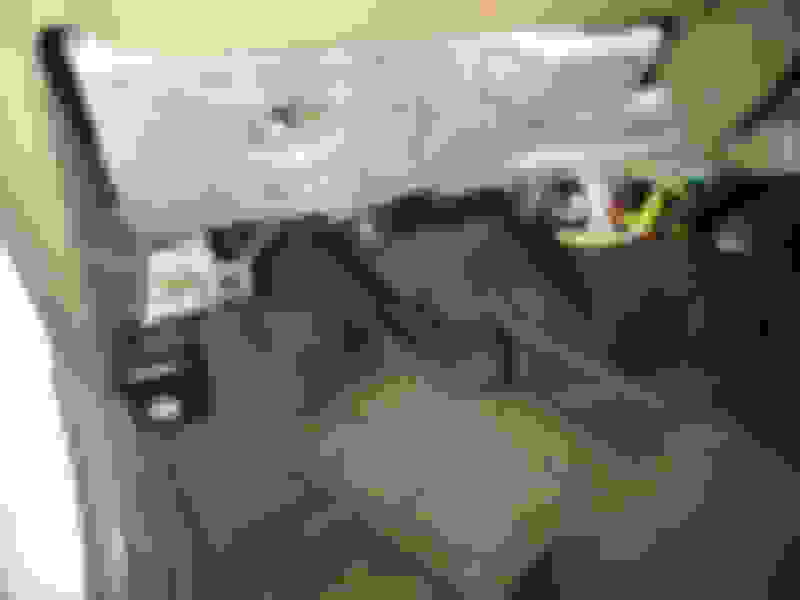
3. You should be looking at something similar to this
4. Look right behind the hood release. There is a grey plastic box. That's the main relay.
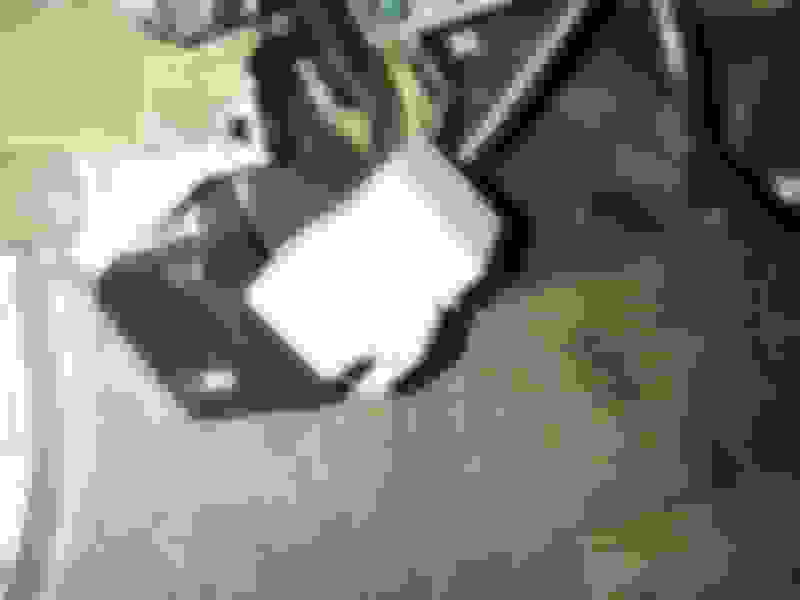
5. The main relay is held by a bracket which is held on by a 10mm bolt. Use your box-head wrench to take this off. Be very careful. I had the bolt fall "somewhere" and I lost it. Good thing it's not a crucial part but still sucks.
6. Unclip the wire harness that is attached. I used a flat-head to pry it off. It's pretty stuck on and hard to do it by hand.
7. There it is!
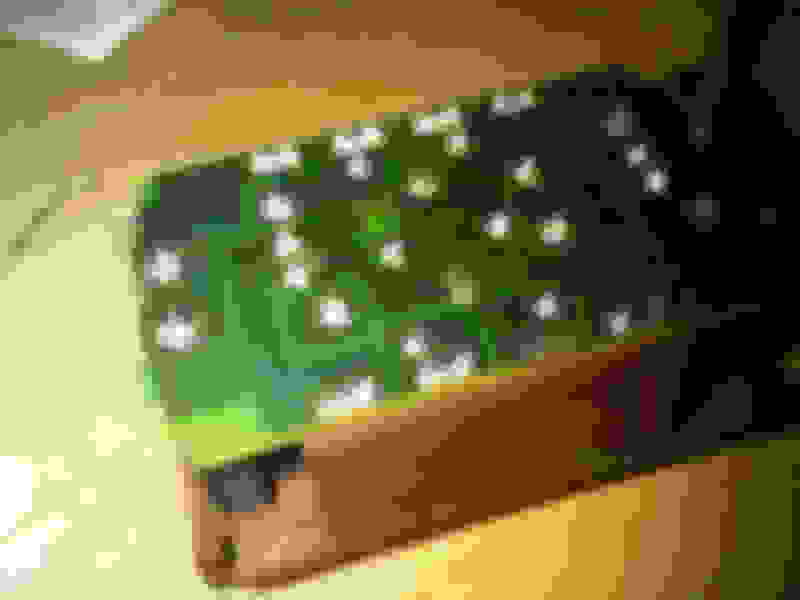
8. Getting the main relay cover off is a bit tricky. You have to pry the ends out enough for the board to come out.
8. You can see that the solder has cracked around the metal post here. The same crack exists on the opposite end.
9. My soldering job isn't the prettiest but it did the job.
If you've never soldered before, this youtube video is really good.