


Splats V6 Civic project


Thread Starter
|
HCF Member
Joined: Oct 2006
Posts: 1,996
From: New York/Up state

But from what iv seen and driven, dont get this set up.
Iv never been in somthing this stiff, i thought at one point i lost 2 fillings.


HCF Member
Joined: Aug 2007
Posts: 260
From:
Man this is an awesome project it must have cost alot but its going to be fast, ive got a stock honda pilot and that thing is really quick for an suv i cant imagine what its going to be like in that light weight civic
Thread Starter
|
HCF Member
Joined: Oct 2006
Posts: 1,996
From: New York/Up state


June 2010 ROTM
Joined: Oct 2006
Posts: 3,284
From: Milwaukee, WI
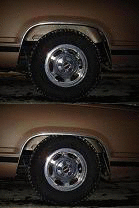
I'm not sure if makes a difference but I think you may have your rear camber kit installed upside-down. I think it's supposed to be installed looking like this:
http://www.skunk2.com/mm5/merchant.m...de=516-05-0500
Regardless, lookin' awesome!
http://www.skunk2.com/mm5/merchant.m...de=516-05-0500
Regardless, lookin' awesome!
Recognized HCF Member
Joined: Jun 2006
Posts: 11,203
From: Brownsburg, IN 46112
^ if so i had mine the same way i figured if the upper part of the arm was lower it would clear the wheels easier. i never had a issue with them that way at least... alighment was golden.... so i dont think it really matters.
i figured if the upper part of the arm was lower it would clear the wheels easier. i never had a issue with them that way at least... alighment was golden.... so i dont think it really matters.
Thread Starter
|
HCF Member
Joined: Oct 2006
Posts: 1,996
From: New York/Up state
I'm not sure if makes a difference but I think you may have your rear camber kit installed upside-down. I think it's supposed to be installed looking like this:
http://www.skunk2.com/mm5/merchant.m...de=516-05-0500
Regardless, lookin' awesome!
http://www.skunk2.com/mm5/merchant.m...de=516-05-0500
Regardless, lookin' awesome!
Thread Starter
|
HCF Member
Joined: Oct 2006
Posts: 1,996
From: New York/Up state
Some things were done yesterday.
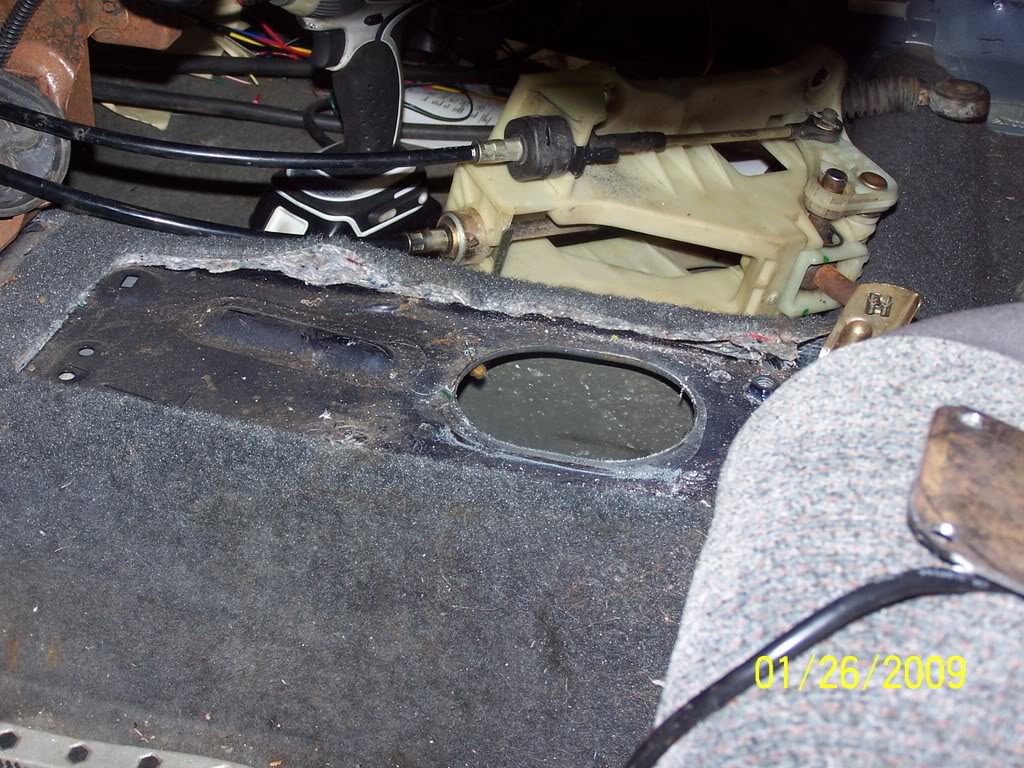
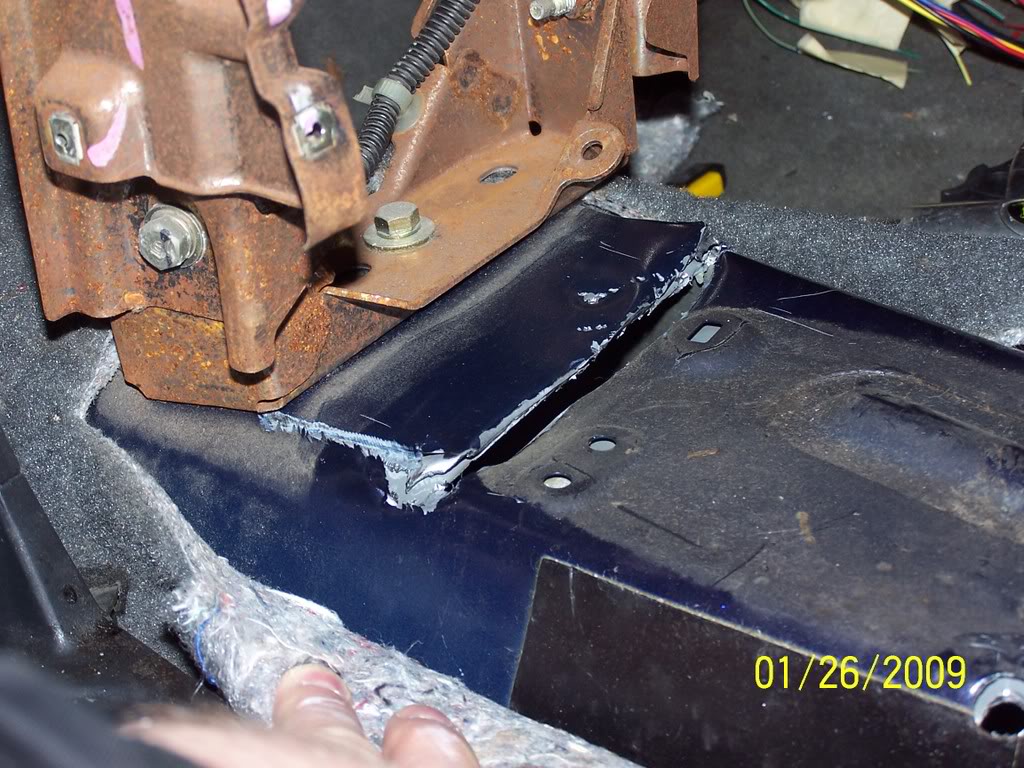
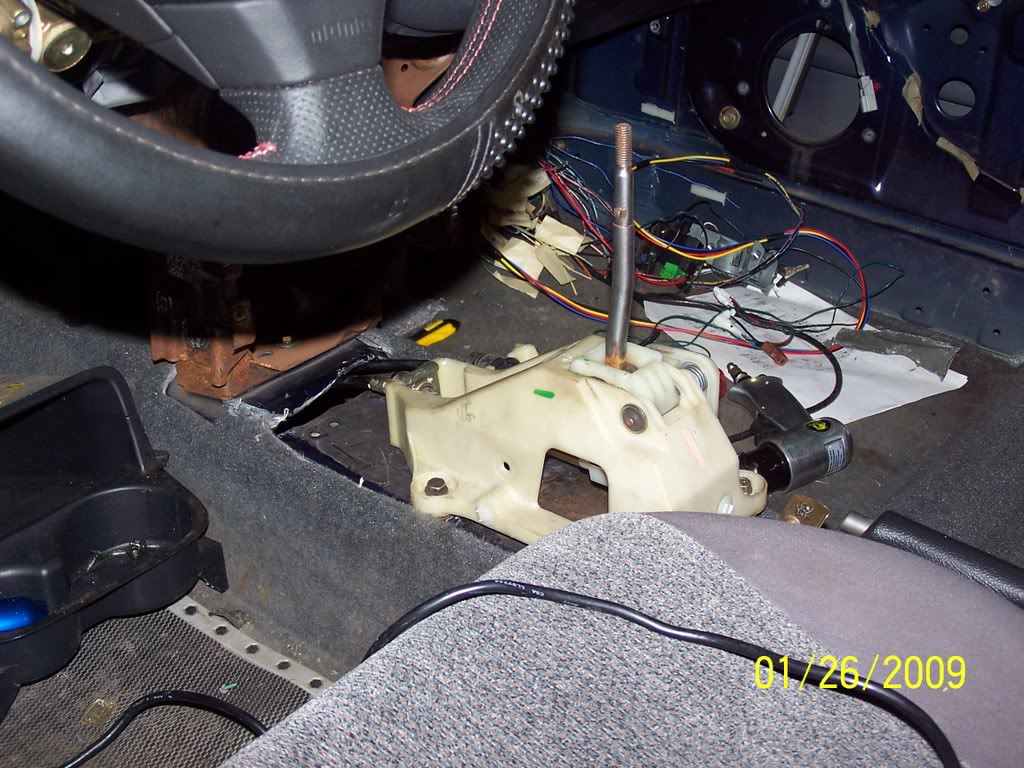
We went ahead and did the shifter,first we sliced off the lip where the stock shifter poped out of, just to see where we had to cut the floor.
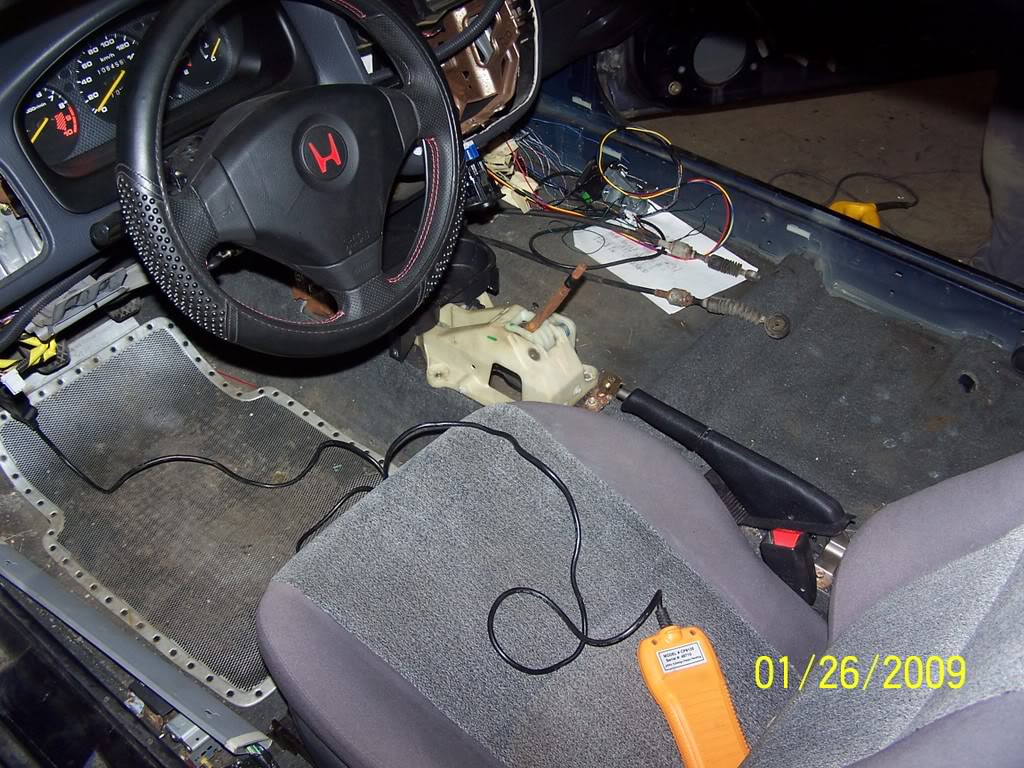
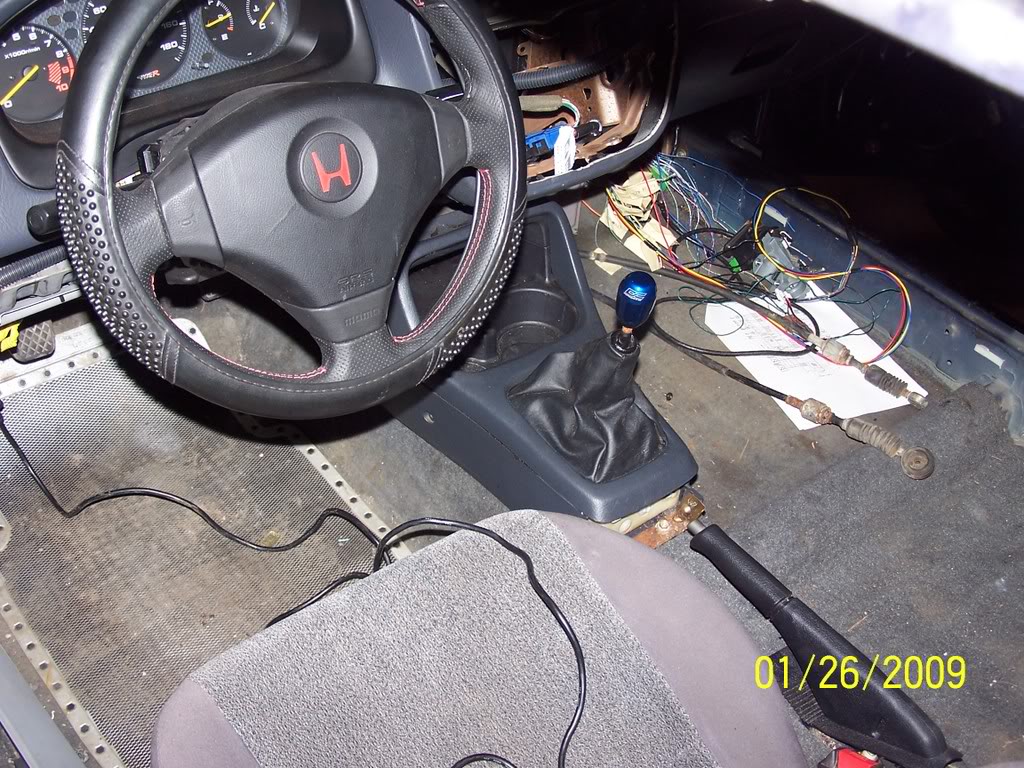
We thought we were going to have to cut a hole in the floor like what they do for a K swap, but the shifter fits like a H22, nice and very little room under the center console.
Test fit with 99 civic cup holders
Test fit with cover and boot.
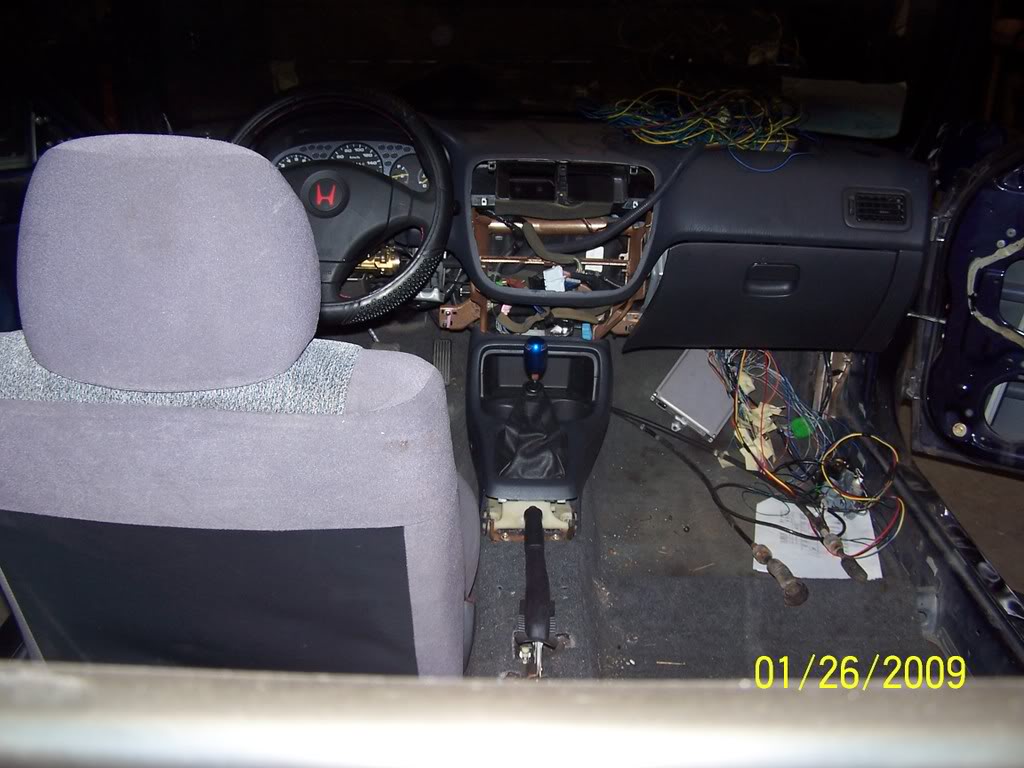
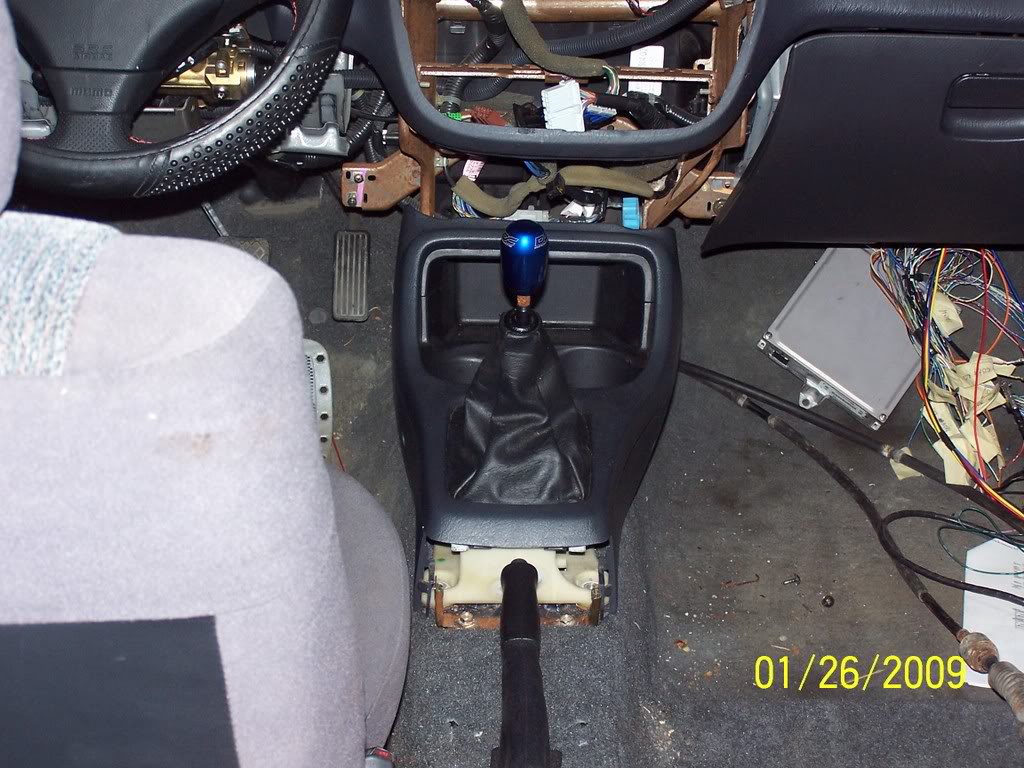
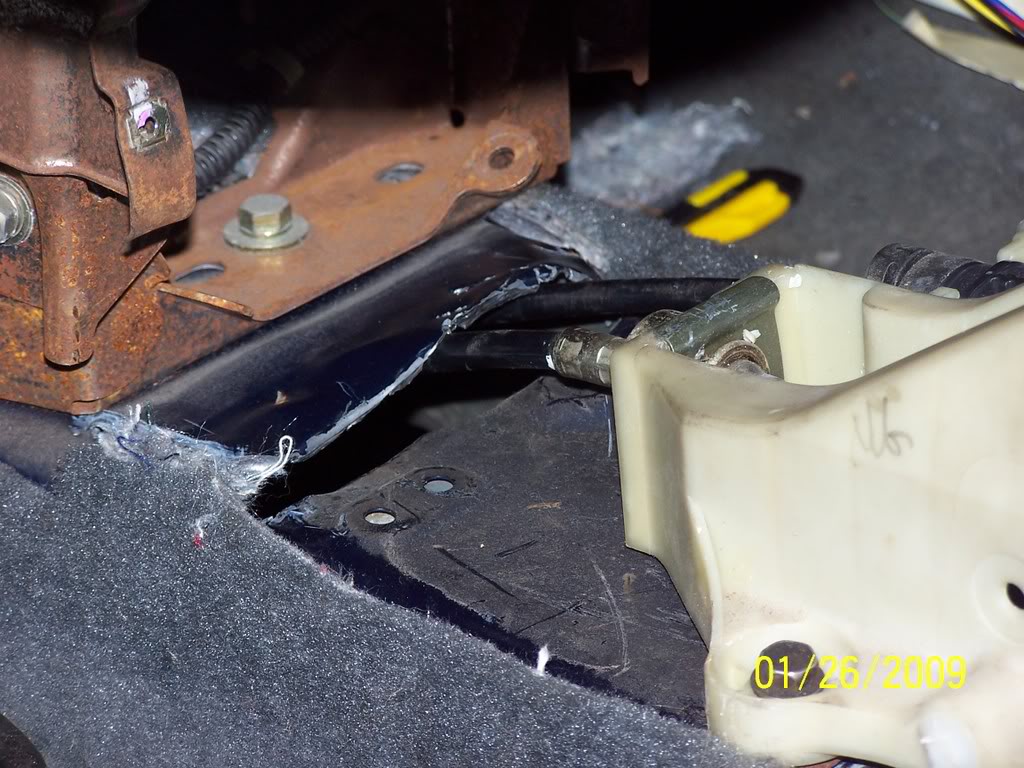
So then we cut another hole to feed the cables through the floor to the trans.....i almost cryed.
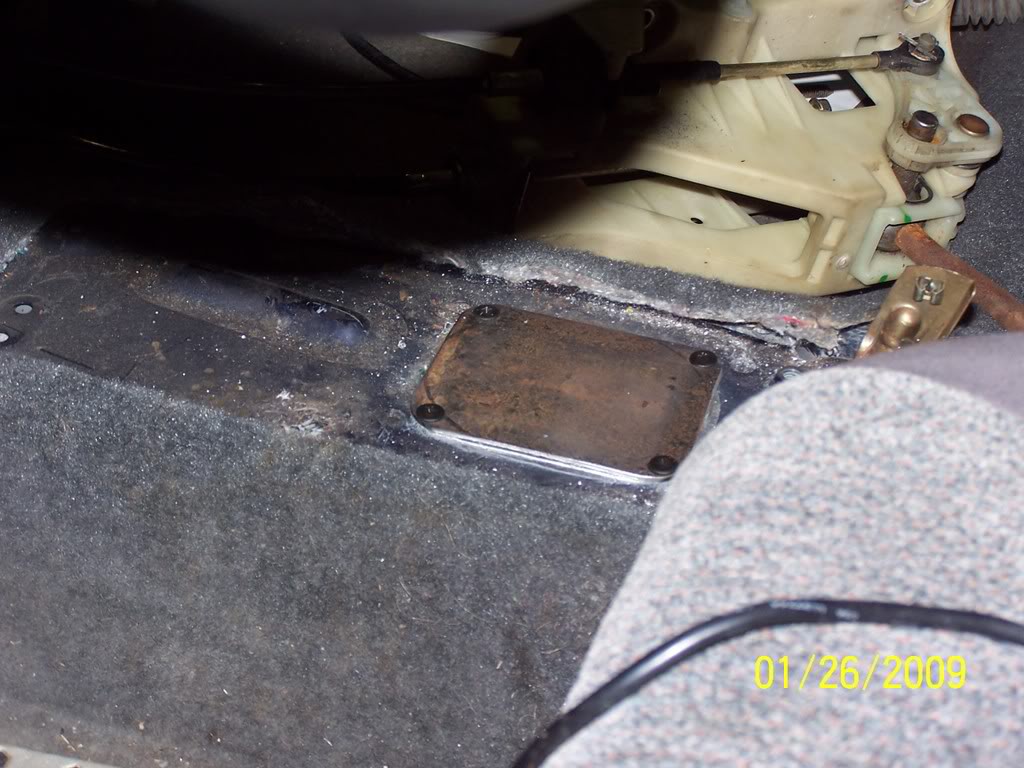
Befor we put the shifter down we also made a plate to cover the hole where the stock shifter came from.
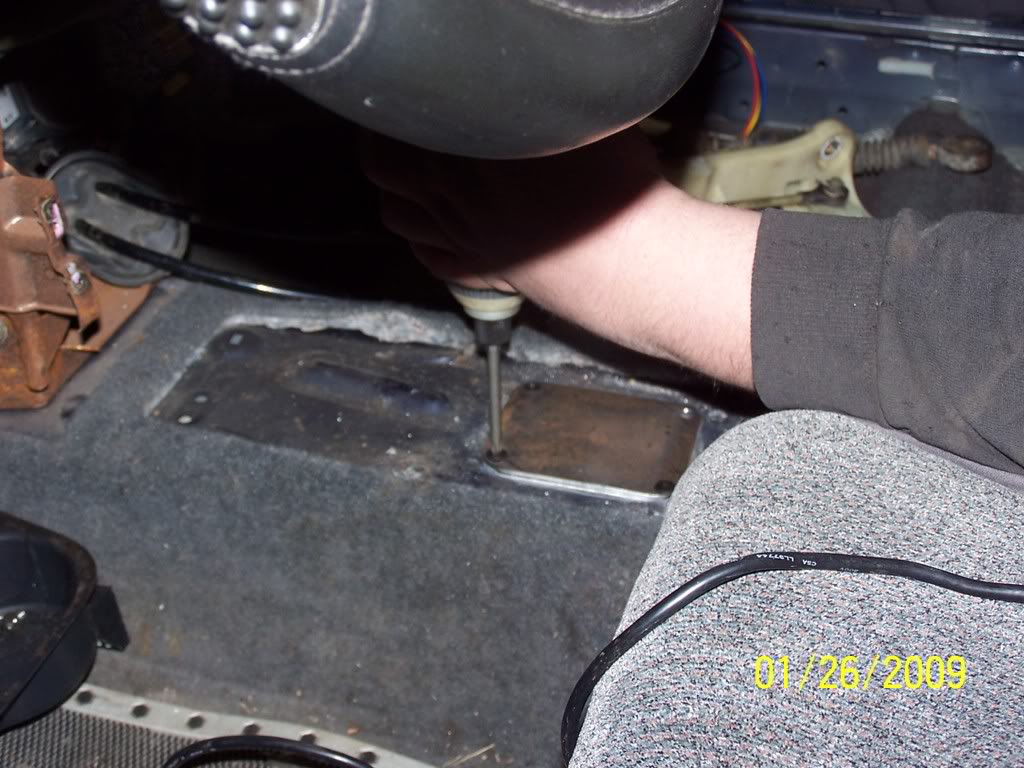
Shofter goes back on and bolted down, and cables feed through.
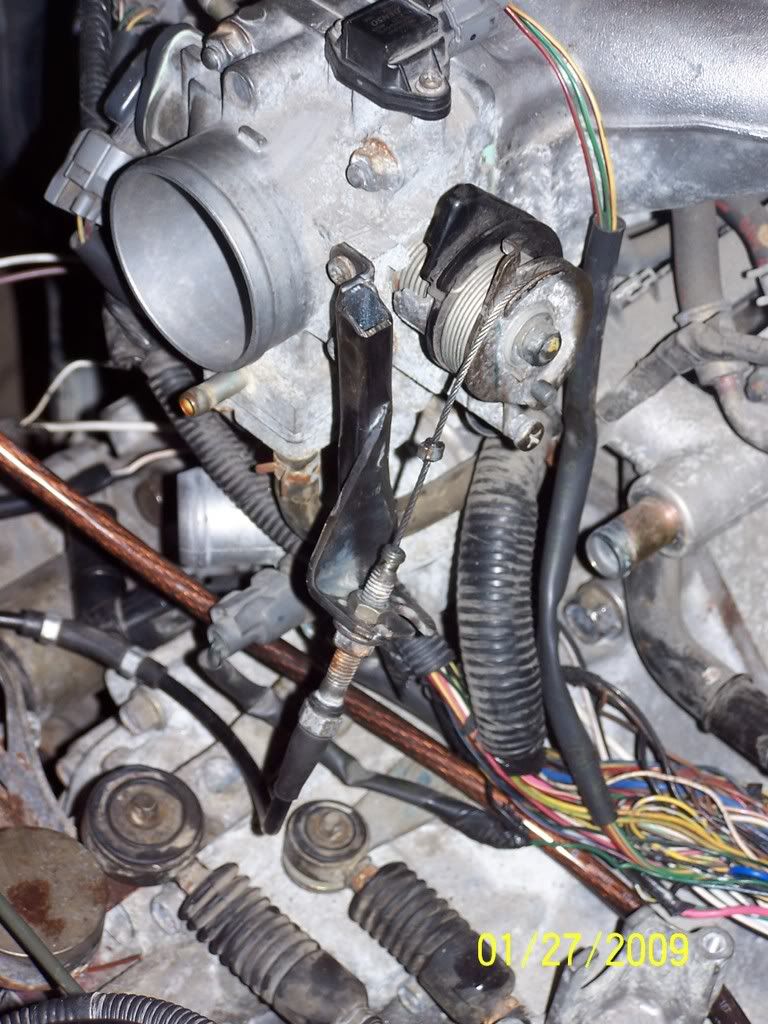
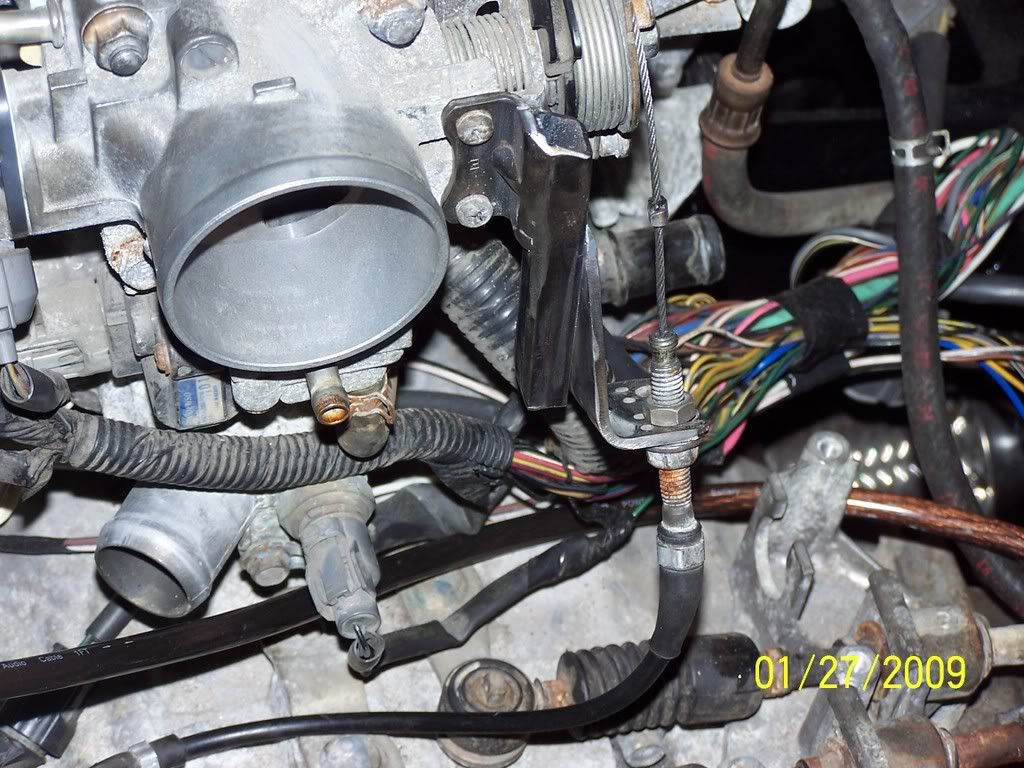
After we hooked up the cables to the tran's we went ahead to hook up the cable to the throttle body............but the cable was way way to long, so we had to custom make our bracket =)
If you can see in this pic of the befor then the after.
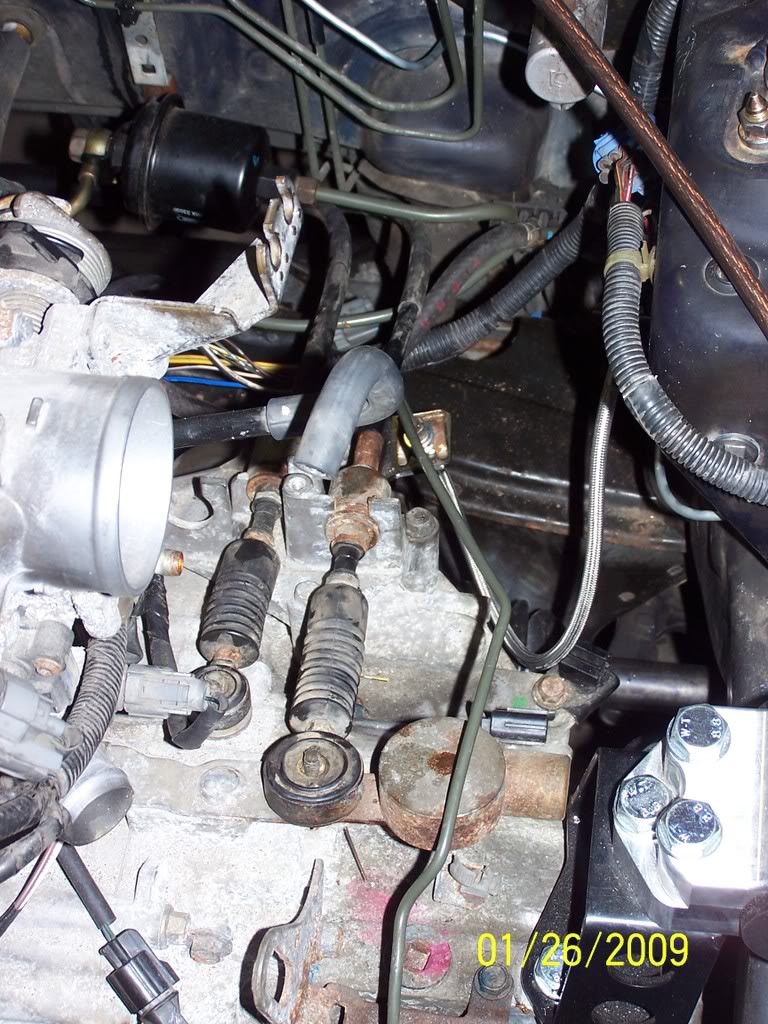
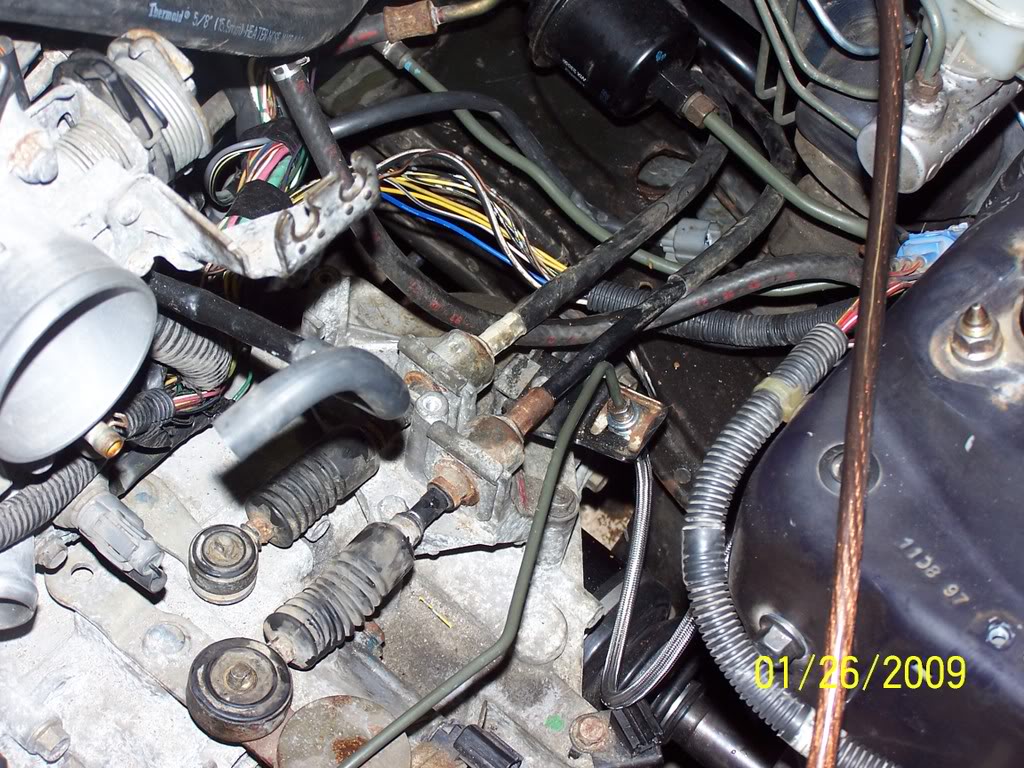
The befor
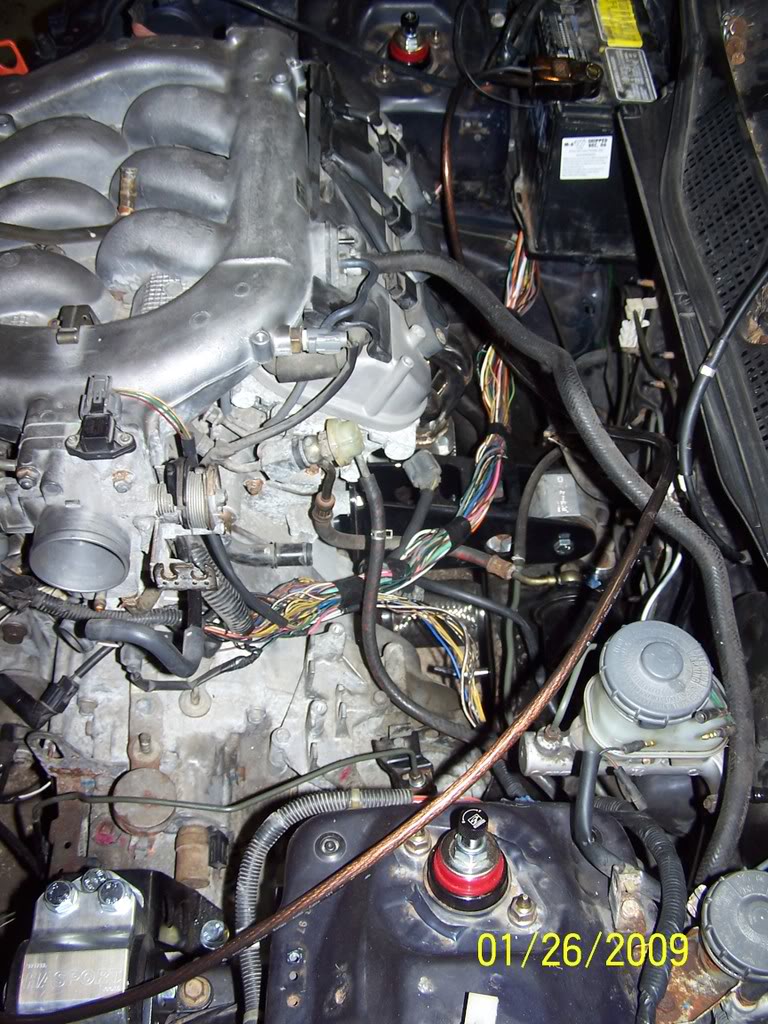
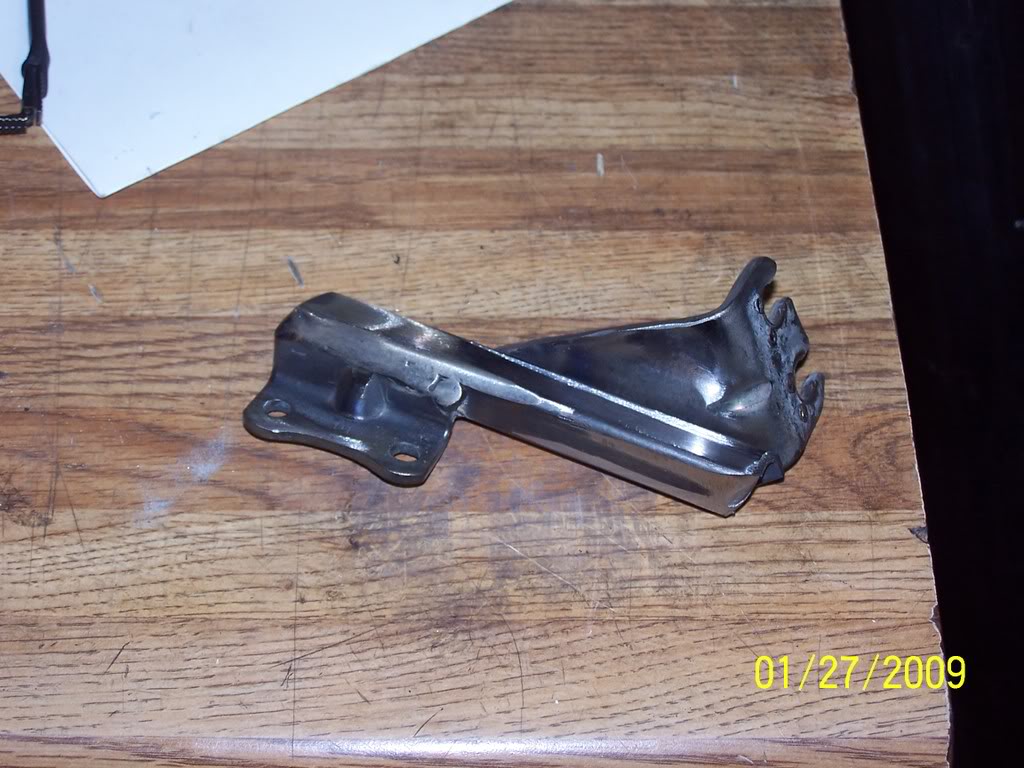
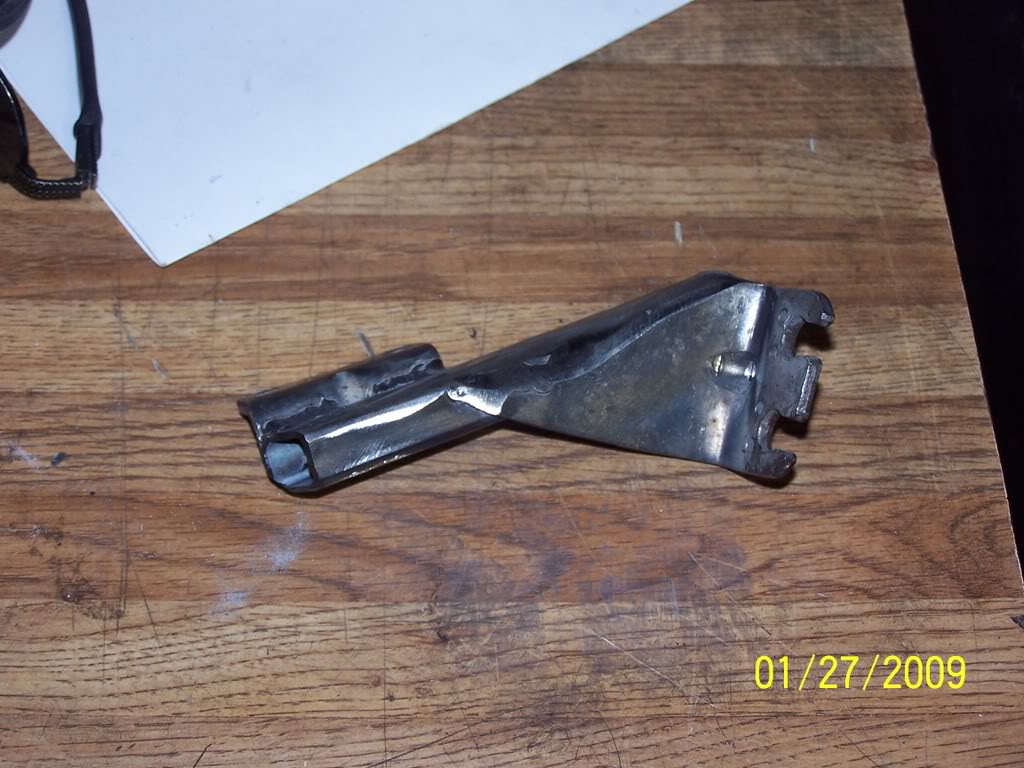
The after
Yes, now she can move on her own, but i still have one code to get rid of, so shes not done yet, just a small step.
After that we tested fited the Apexi N1.
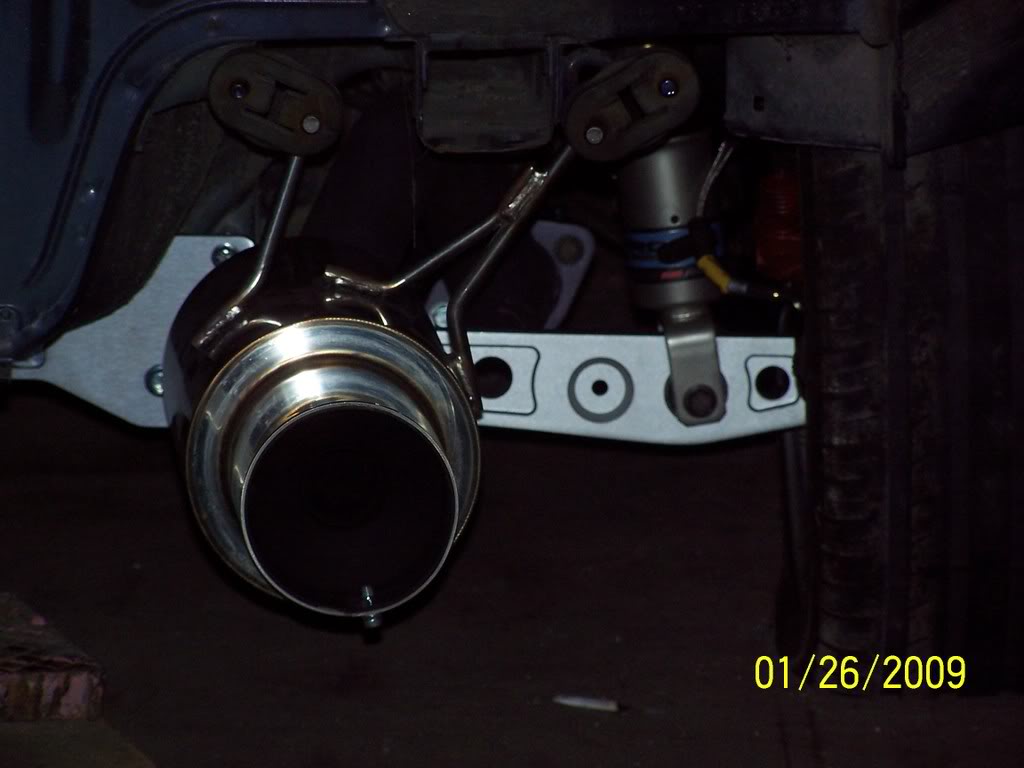
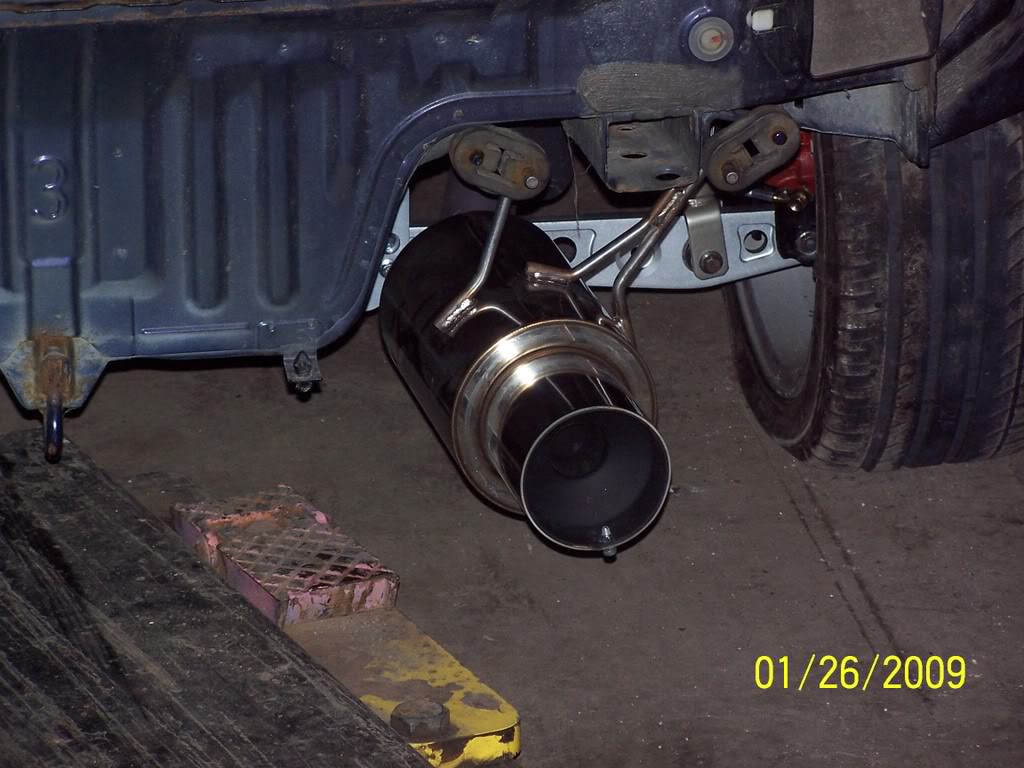
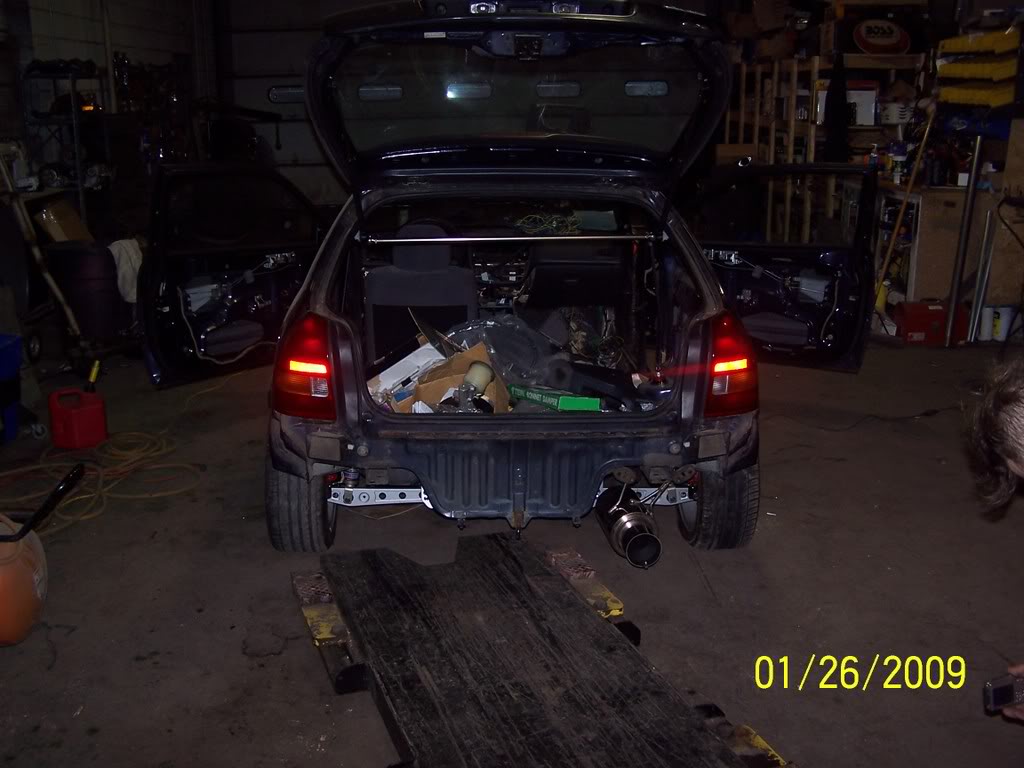
Shes not hooked up yet, i have a used S2000 cat that we will use, so a little more moding will have to be done.
We went ahead and did the shifter,first we sliced off the lip where the stock shifter poped out of, just to see where we had to cut the floor.
We thought we were going to have to cut a hole in the floor like what they do for a K swap, but the shifter fits like a H22, nice and very little room under the center console.
Test fit with 99 civic cup holders
Test fit with cover and boot.
So then we cut another hole to feed the cables through the floor to the trans.....i almost cryed.
Befor we put the shifter down we also made a plate to cover the hole where the stock shifter came from.
Shofter goes back on and bolted down, and cables feed through.
After we hooked up the cables to the tran's we went ahead to hook up the cable to the throttle body............but the cable was way way to long, so we had to custom make our bracket =)
If you can see in this pic of the befor then the after.
The befor
The after
Yes, now she can move on her own, but i still have one code to get rid of, so shes not done yet, just a small step.
After that we tested fited the Apexi N1.
Shes not hooked up yet, i have a used S2000 cat that we will use, so a little more moding will have to be done.
Last edited by SPLAT; Feb 6, 2010 at 07:08 PM.