


My Civic vs a deer ***Getting fixed*** Pics!


Thread Starter
Joined: Mar 2006
Posts: 18
From:
 RE: My Civic vs a deer
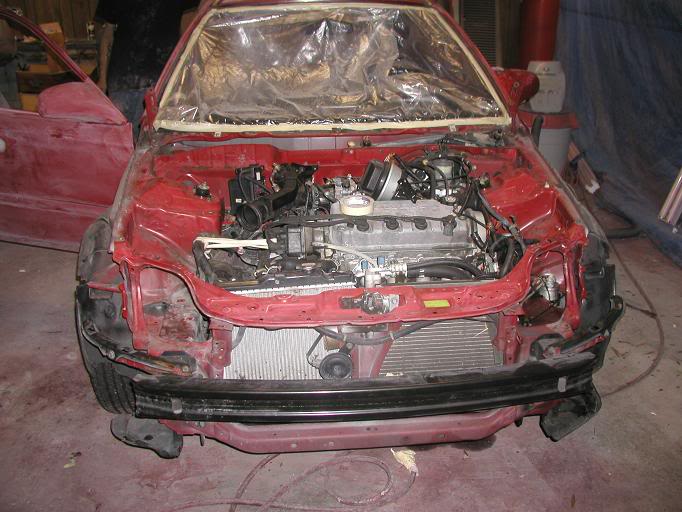
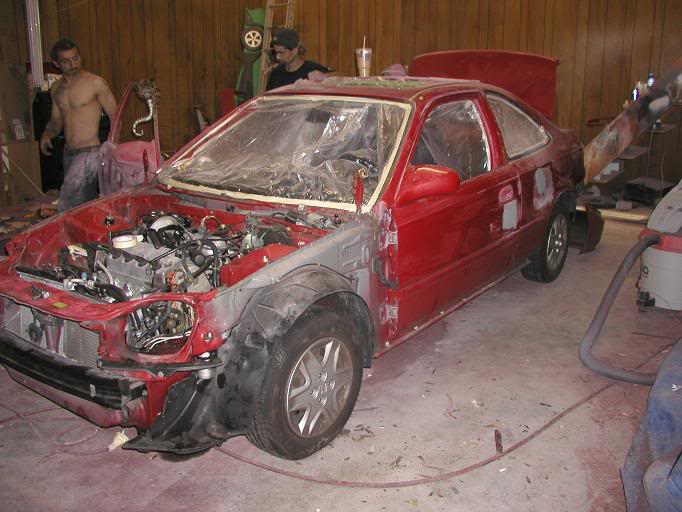
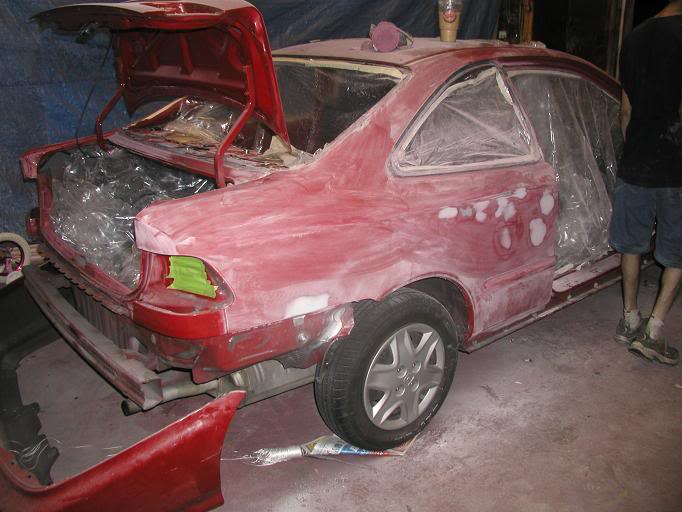
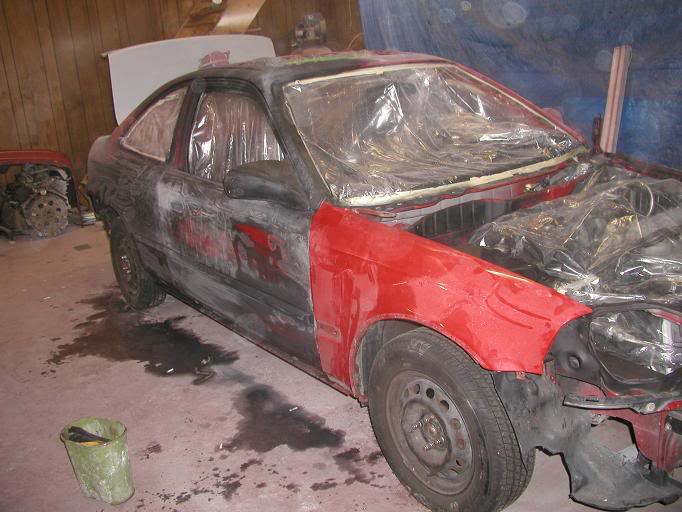
Originally they were only going to pull the back glass to fix the rust. But then the glass guy showed up and started throwing out good prices. So the front glass is getting replaced, it had two chips/cracks in it and some scratches. Then my guy just wanted to pull the side glass so he could paint it better, he isn't charging me for that. So yeah, it is stripped down a lot more than originally planned, but this way the paint job will come out that much better and I get all new window seals to replace the worn out ones that were on the car.
Yes, I am doing a color change. We got the Electron Blue Pearl (SI color) for a really good price, so that is what we went with. Don't worry, I am not going to slap SI badges on my car and try to impersonate. I just liked the color.
Yeah that guy was probably a little upset because his Civic is still in primer and he is working on mine instead.
Yes, I am doing a color change. We got the Electron Blue Pearl (SI color) for a really good price, so that is what we went with. Don't worry, I am not going to slap SI badges on my car and try to impersonate. I just liked the color.
Yeah that guy was probably a little upset because his Civic is still in primer and he is working on mine instead.

Thread Starter
Joined: Mar 2006
Posts: 18
From:
RE: My Civic vs a deer
Well a guy I work with is also an auto broker. So I told him what I wanted and he got it from the auction. If the car is under $5k then he charges you $500 on top of what he payed. If it is over $5k then you pay 10% of what he payed. It works out really well and you get a really good deal. 

Thread Starter
Joined: Mar 2006
Posts: 18
From:
RE: My Civic vs a deer
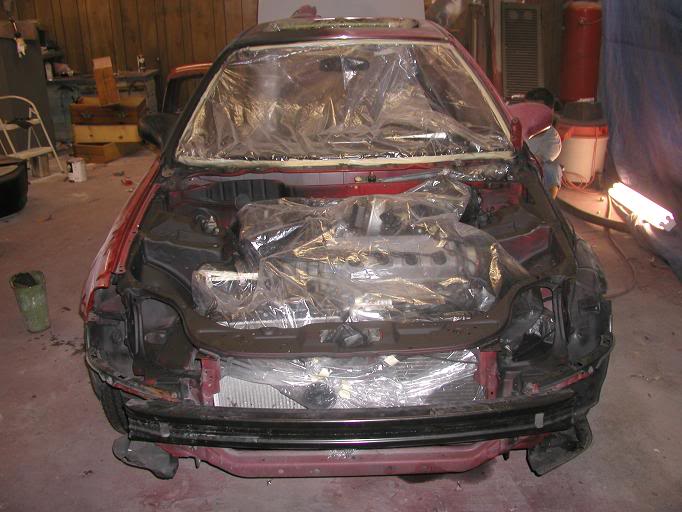
Actually all the framing that sits behind the headlight was bent too, so they had to straighten that out. I put a new headlight in right after the accident and the bolt holes didn't line up so I had to use zip ties. The bumper was also cracked. The car needed a new paint job anyways; all the clear was coming off of the rear drivers side quarter and the trunk. If they would have blended the front to the back it wouldn't of looked right. Once we got it apart we realized how dirty it was and we discovered some other repaired damage on the frame behind the passenger's side headlight. So over all I am glad that we decided to re-do everything. It is going to come out much nicer than I anticipated.
Prepping the engine
Quality assurance inspector
Engine ready to be sanded and cleaned

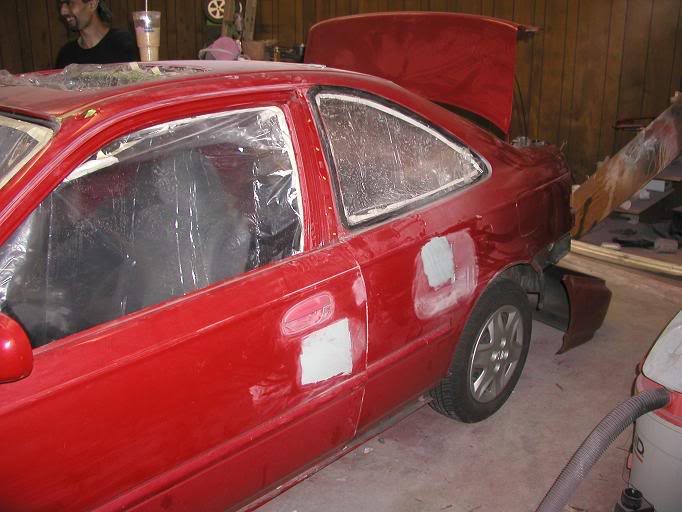
No more emblems!
Prepping the engine
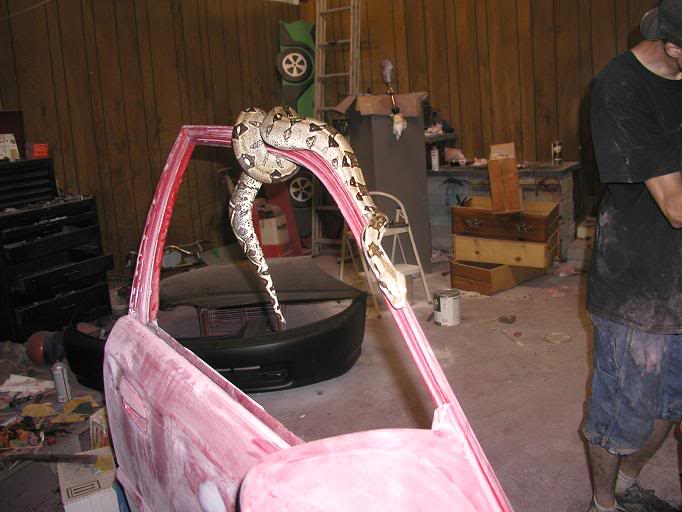
Quality assurance inspector
Engine ready to be sanded and cleaned
No more emblems!
Thread Starter
Joined: Mar 2006
Posts: 18
From:
RE: My Civic vs a deer
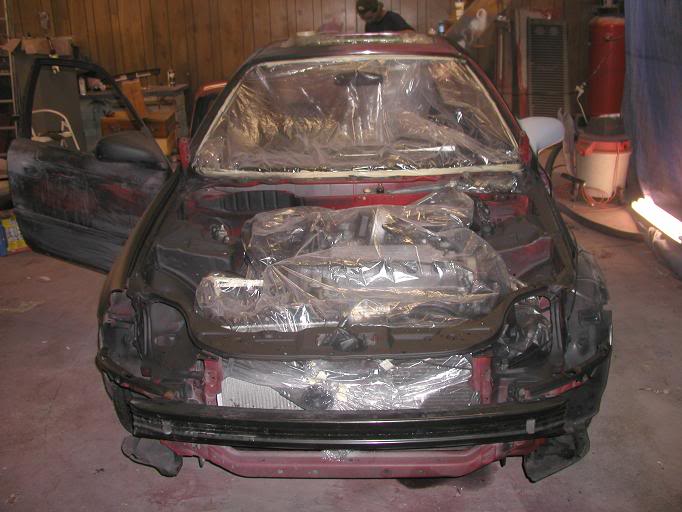
Engine bay getting primed
Wet sanding
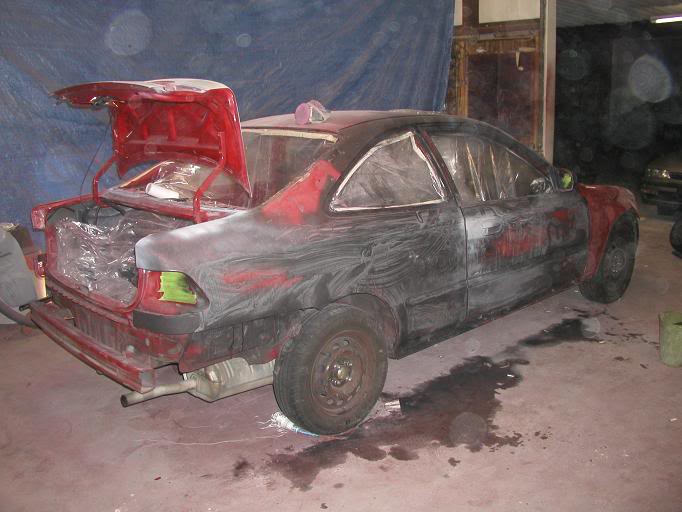
More wet sanding
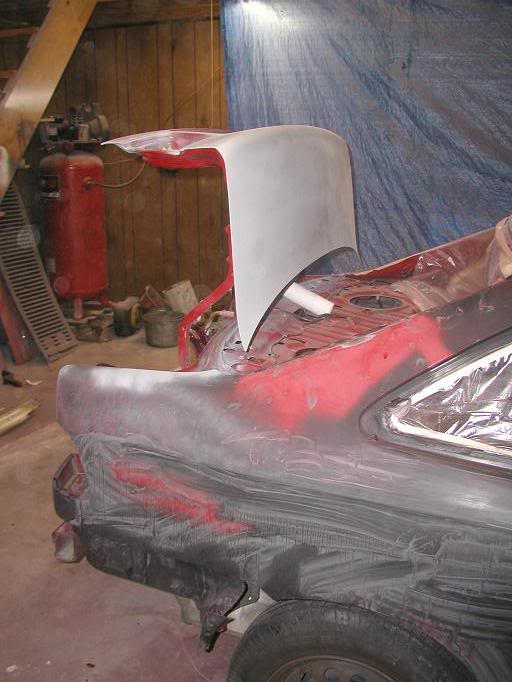
Trunk primed with high fill primer after taking all the clear off
You can see where the car was painted before and the cheap paint job is coming off.
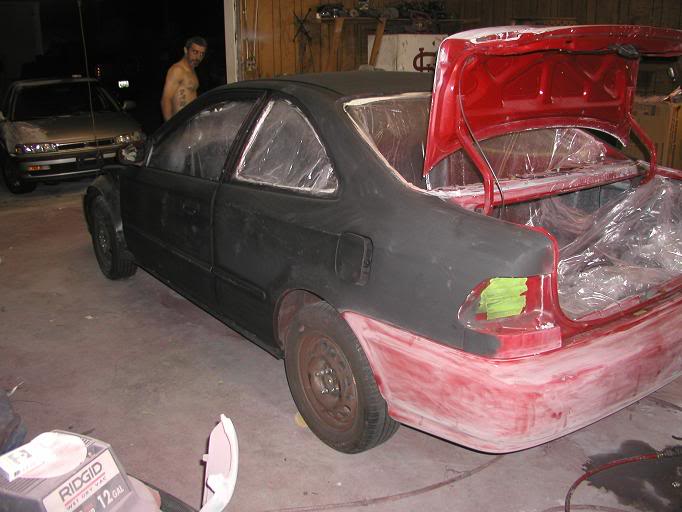
Smoothing the emblem holes

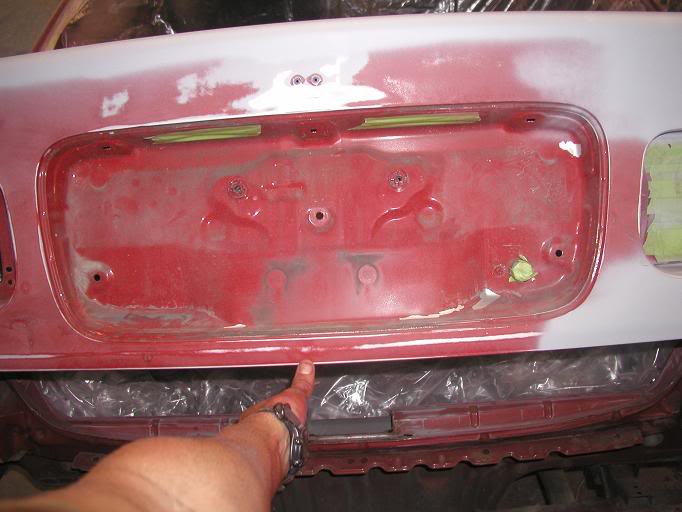
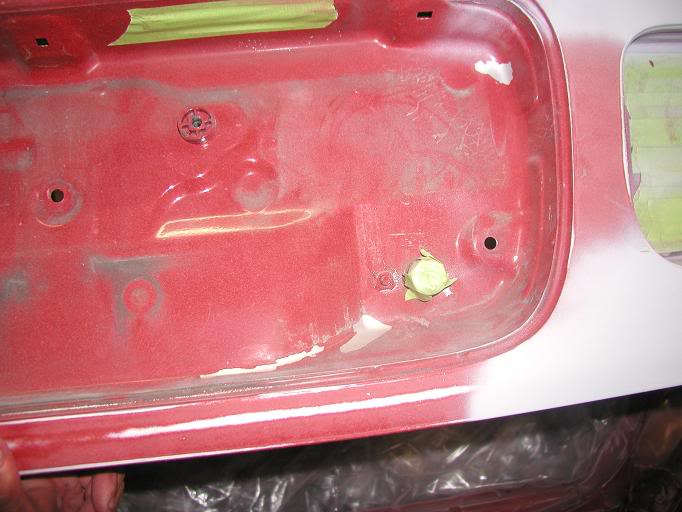
No more rust, all primed over
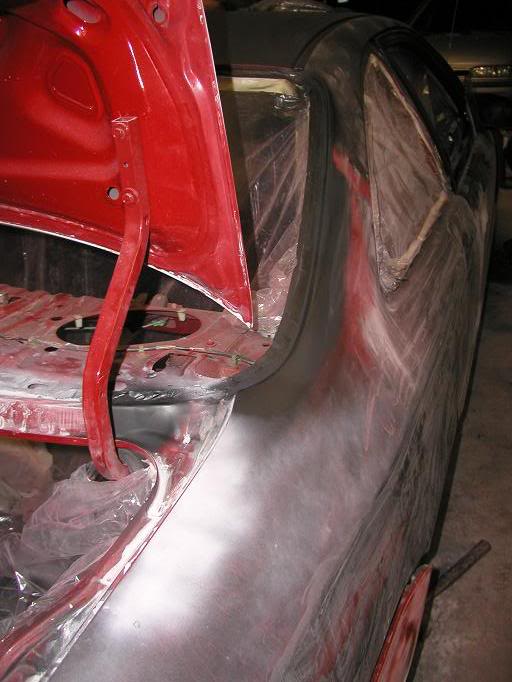
Test fitting the front end
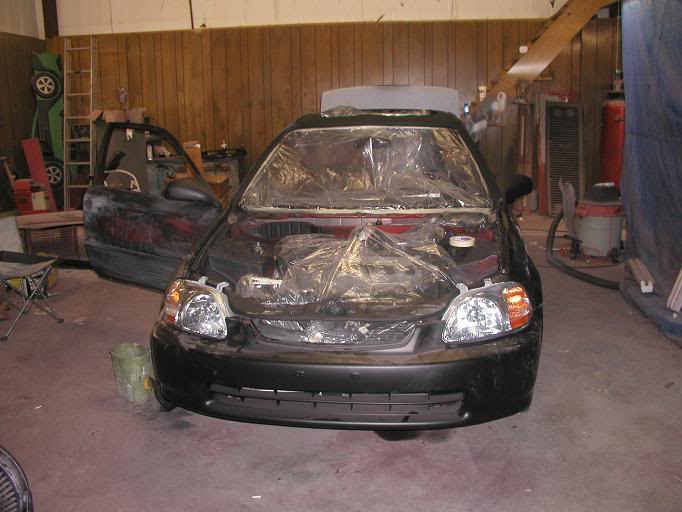
Turns out the drivers side of the bumber is still bent
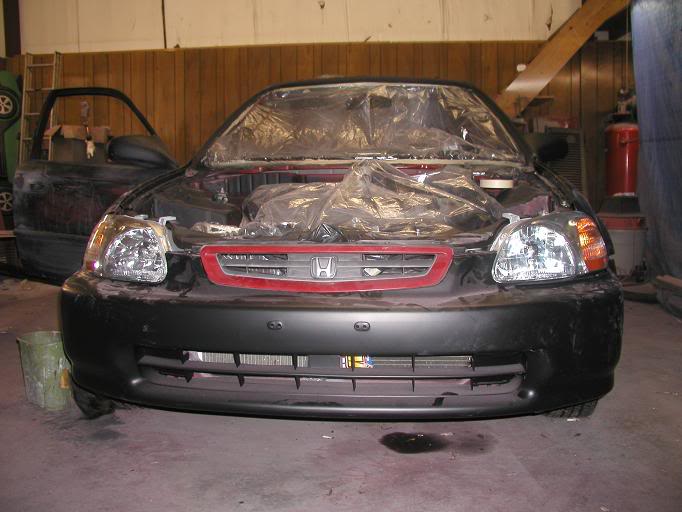
Wet sanding
More wet sanding
Trunk primed with high fill primer after taking all the clear off
You can see where the car was painted before and the cheap paint job is coming off.
Smoothing the emblem holes
No more rust, all primed over
Test fitting the front end
Turns out the drivers side of the bumber is still bent

Thread Starter
Joined: Mar 2006
Posts: 18
From:
RE: My Civic vs a deer
Well here is the latest update. It is taking a lot longer than we anticipated because we keep tearing it down more and more. But we are finally done with that and the paint is going on... at last!!
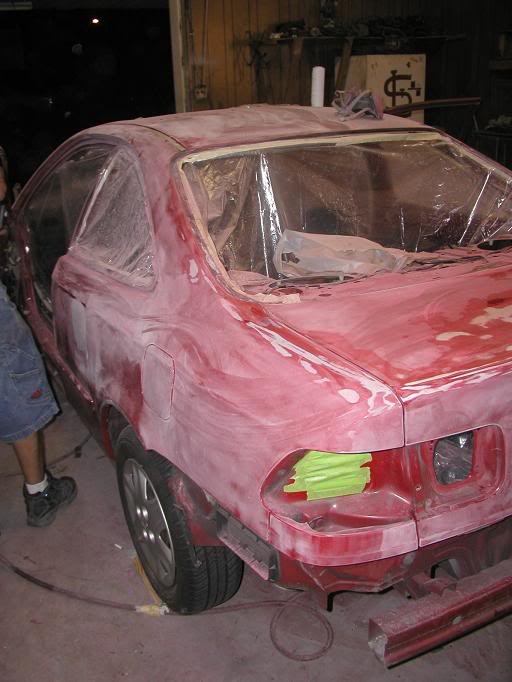
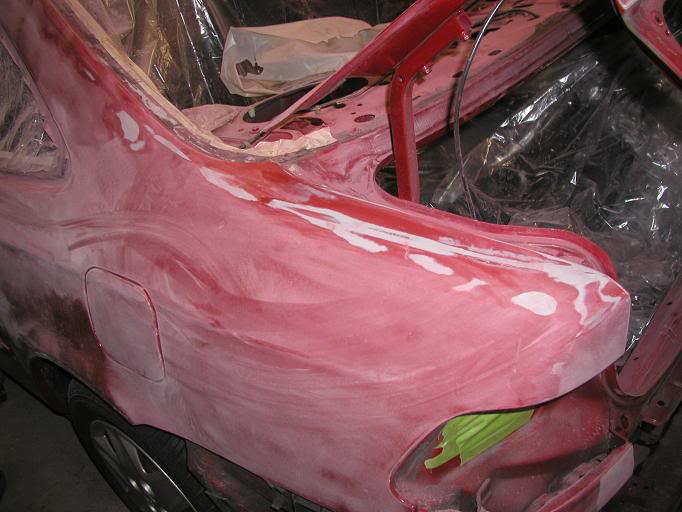
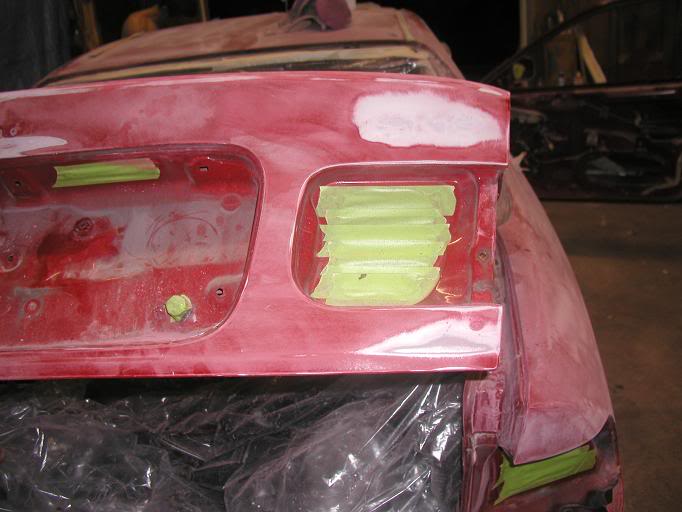
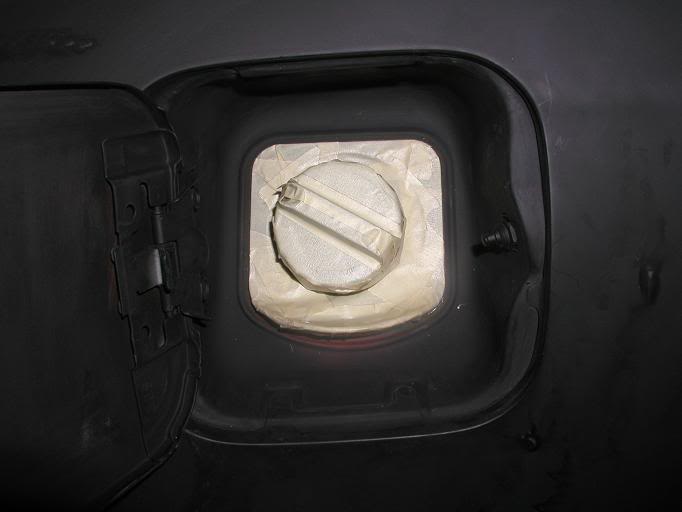
I think I did a pretty good job taping off the gas cap.
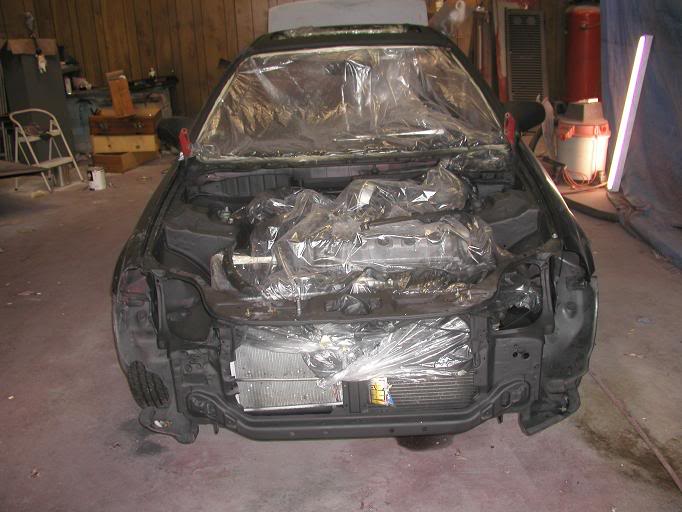
We decided to take a few more things out of the engine bay and then paint everything. Trying to minimize the red where possible.
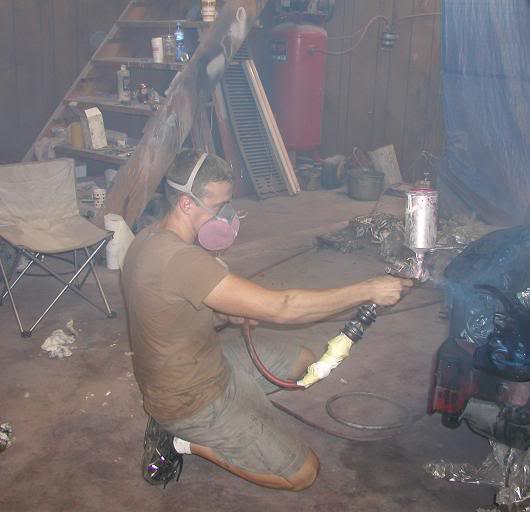
Me learning how to paint.
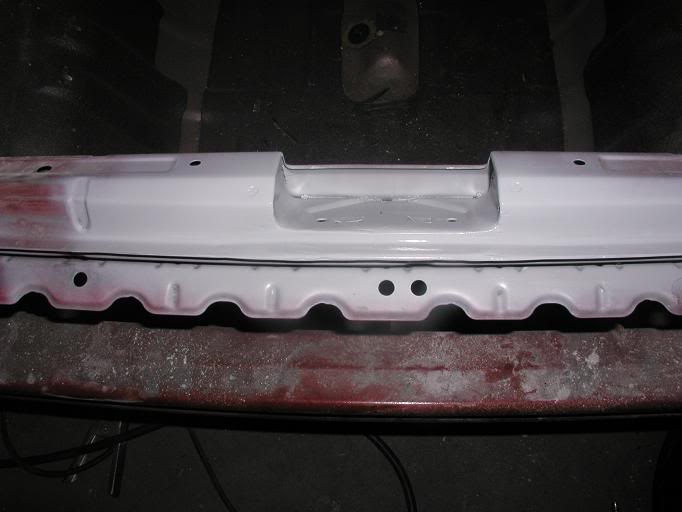
Remember what this used to look like? No more rust...
Finally, some color.
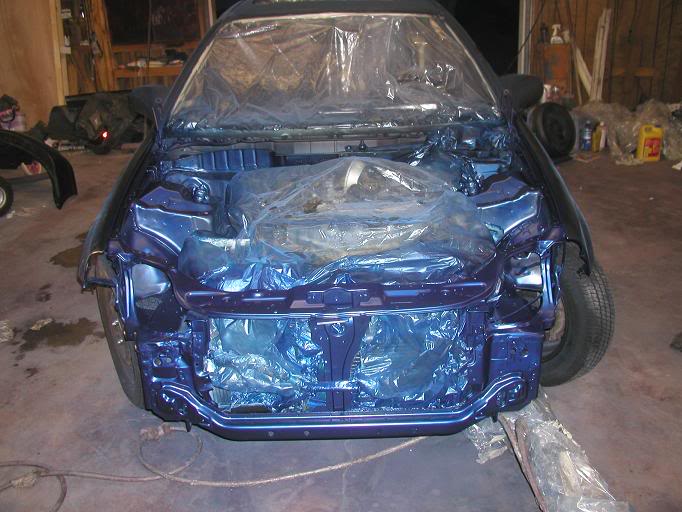
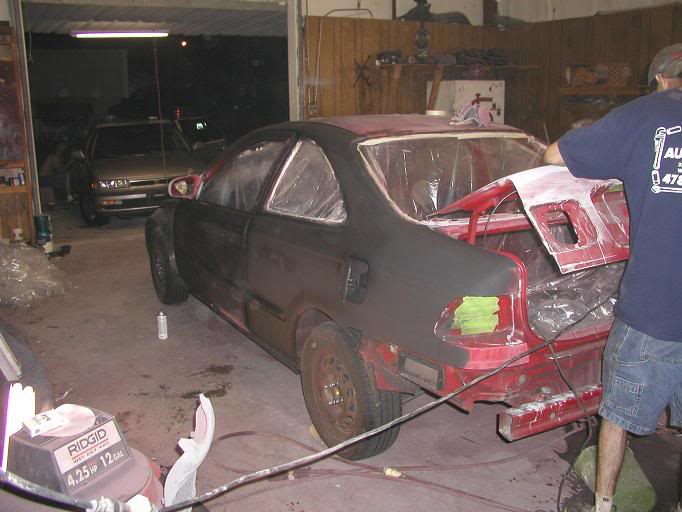
Originally we weren't going to pull the interior, but we thought it would look better, so we ripped it out anyways.
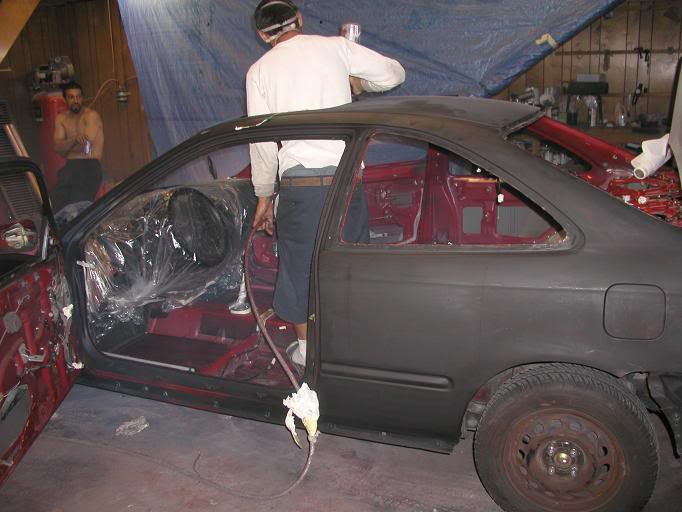
After painting the JAMS!!
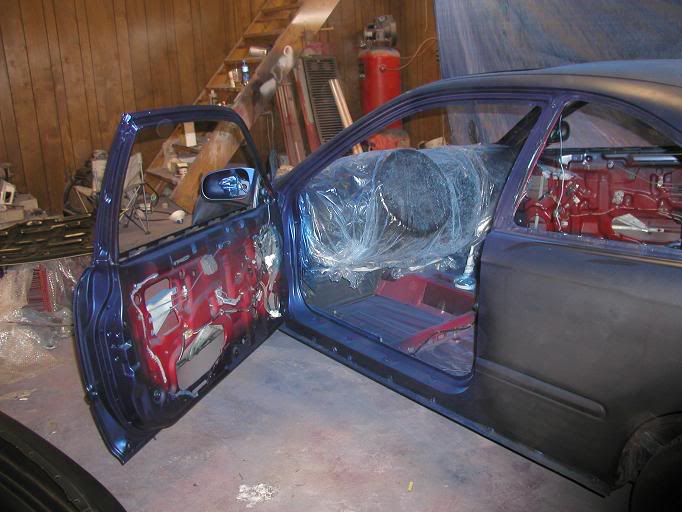
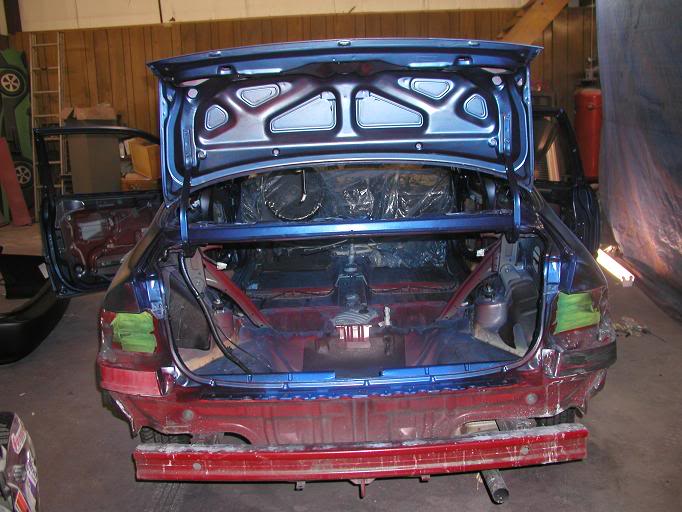
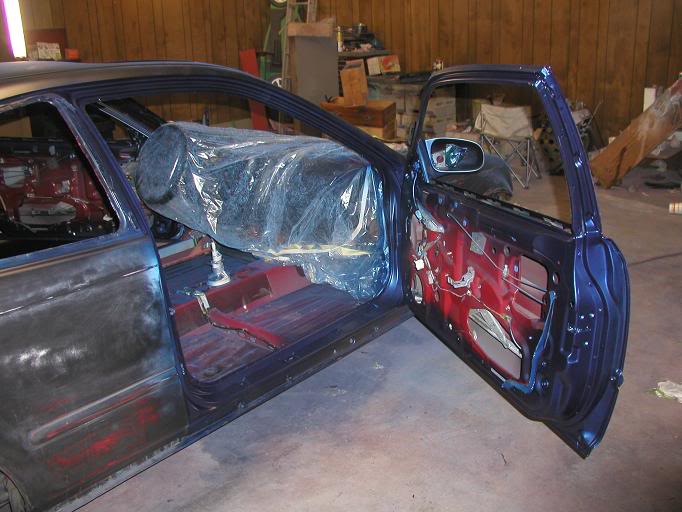
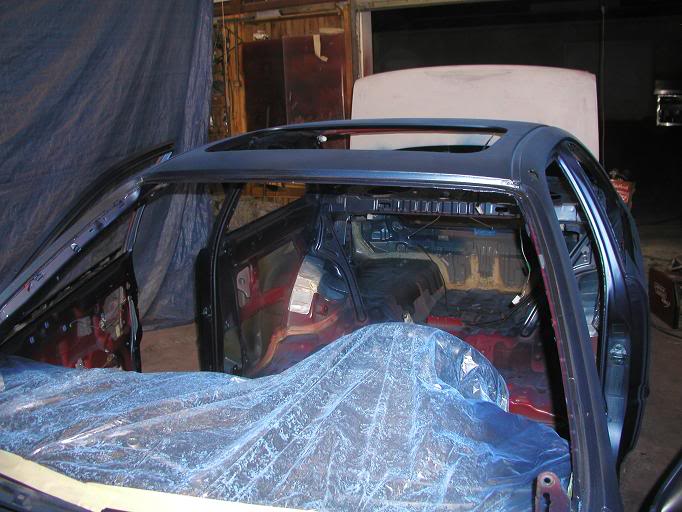
Next is the final wetsanding and dust removal then its all getting painted.
I think I did a pretty good job taping off the gas cap.
We decided to take a few more things out of the engine bay and then paint everything. Trying to minimize the red where possible.
Me learning how to paint.
Remember what this used to look like? No more rust...
Finally, some color.
Originally we weren't going to pull the interior, but we thought it would look better, so we ripped it out anyways.
After painting the JAMS!!
Next is the final wetsanding and dust removal then its all getting painted.

HCF Member
Joined: May 2005
Posts: 1,756
From:
RE: My Civic vs a deer
I love that color blue! That is going to look pimp! I'm glad you all decided to pull the interior, it looks like you guys are doing a thorough job. Looking forward to the finished product. Thanks for the pics.