


Danomatic's Update Thread: Modifying the EJ1


HCF Member
Joined: Sep 2006
Posts: 1,132
From: Bethany Beach, DE

^^ true that and abs can bend a little, but it will also crack tear, etc...polyurethand you twist liek 360 degrees and go right back to how it was.. there impossible to crack and tear and ive scraped to and still riding with...actually when i got in my accident the lip was the only thing that survived on the front end of the car =] =]

Thread Starter
|
June 2010 ROTM
Joined: Oct 2006
Posts: 3,284
From: Milwaukee, WI
Woo wOO,
Here's another project I want to get started but it may have to wait until spring:
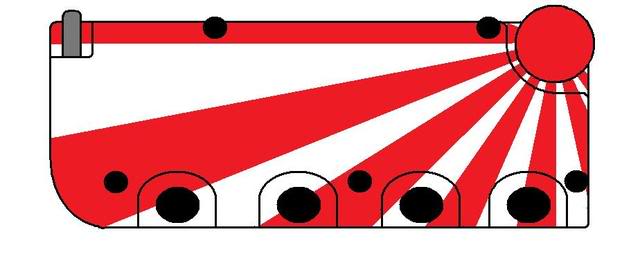
And if you wanted to design your own valve cover design I made a blank template for yall:
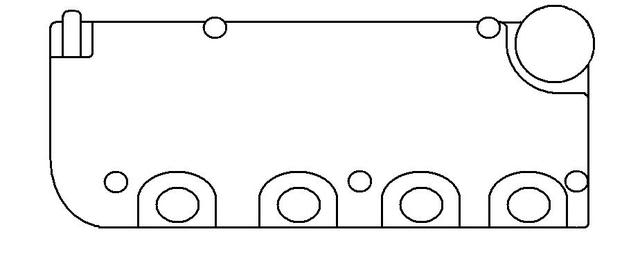
Here's another project I want to get started but it may have to wait until spring:
And if you wanted to design your own valve cover design I made a blank template for yall:

Thread Starter
|
June 2010 ROTM
Joined: Oct 2006
Posts: 3,284
From: Milwaukee, WI
In preparation for my track day on Friday I've had to get off my butt and get some things done.
Here's my new poor man's fastline shifter.
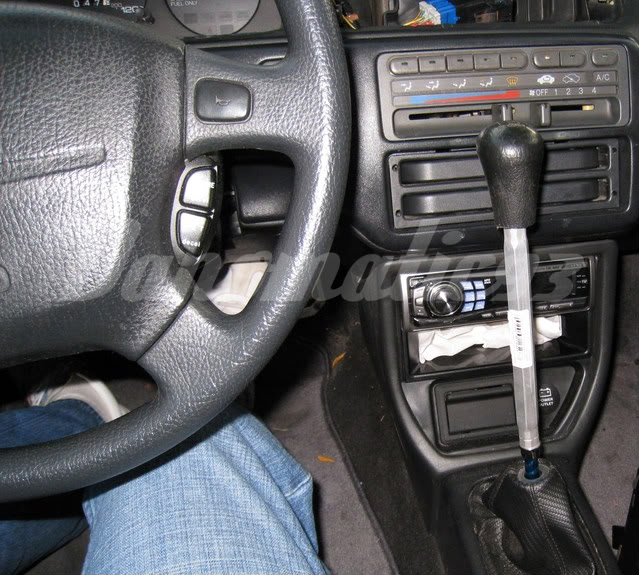
How you ask?
1. Get a turnbuckle (most hardware store have 'em)
2. Re-Drill both ends with a 8.5 metric drill bit
3. Tap both ends with a M10 x 1.5 tap.
4. Get a M10 x 1.5 bolt, cut off the head and clean the threads on the cut end, you may have to use a die.
5. Assemble:
a. Thread the bolt into the shift **** (do not use weighted shift *****).
b. Thread other end of the bolt into on end of the turnbuckle.
c. Thread a M10 X 1.5 nut onto the shifter.
d. Thread the turnbuckle onth the shifter.
e. Tighten nut to turnbuckle.
It will ONLY be used on tracks. For testing, I've been puttin' around town it and it's fun but it blocks my cup holder
Here's my new poor man's fastline shifter.
How you ask?
1. Get a turnbuckle (most hardware store have 'em)
2. Re-Drill both ends with a 8.5 metric drill bit
3. Tap both ends with a M10 x 1.5 tap.
4. Get a M10 x 1.5 bolt, cut off the head and clean the threads on the cut end, you may have to use a die.
5. Assemble:
a. Thread the bolt into the shift **** (do not use weighted shift *****).
b. Thread other end of the bolt into on end of the turnbuckle.
c. Thread a M10 X 1.5 nut onto the shifter.
d. Thread the turnbuckle onth the shifter.
e. Tighten nut to turnbuckle.
It will ONLY be used on tracks. For testing, I've been puttin' around town it and it's fun but it blocks my cup holder


HCF Member
Joined: Mar 2006
Posts: 5,794
that is correct, but is not efficient for dd'ing a car. It's for lower speed courses where gear changes are frequent and require constant attention to the steering wheel.