
Rear Trailing Arm Bushing DIY in progress....


HCF Member
Joined: Dec 2007
Posts: 689
From: Saskatchewan, Canada
holy hell man.
an ED sedan AND an NSX? champion.
also i think it makes more sense to mark the rotation of the bushing with the car on the ground, especially if you are lowered. this way, the bushing won't tear so easily and won't be constantly stretched. get what I mean? :P
that water fitting idea is a really good idea. impressive.

Thread Starter
|
HCF Member
Joined: Jan 2007
Posts: 631
From: Bayarea, CA
My car is stock height, but ya, should have marked it while on ground, and I think I install it slightly off, so a tiny stretch, let see how long it last.
Also got a problem with the aftermarket lca, is that it a bit shorter than stock, didn’t know that at the time of buying it, that the aftermarket lca is to be use on lowered car to compensate for negative camber, now I got positive camber and toe is way off. I will reinstall the oem lca back on when new bushings are replaced. Let see if I can resell the aftermarket lca, technically it’s brand new.
Also got a problem with the aftermarket lca, is that it a bit shorter than stock, didn’t know that at the time of buying it, that the aftermarket lca is to be use on lowered car to compensate for negative camber, now I got positive camber and toe is way off. I will reinstall the oem lca back on when new bushings are replaced. Let see if I can resell the aftermarket lca, technically it’s brand new.

^^You shouldn't be allowed to post unless you post a pic of your NSX as eye candy each time. 
Anyways, I didn't think the LCA was responsible for camber adjusting. That is the job of the upper rear control arm from my understanding.
Anyways, I didn't think the LCA was responsible for camber adjusting. That is the job of the upper rear control arm from my understanding.
Thread Starter
|
HCF Member
Joined: Jan 2007
Posts: 631
From: Bayarea, CA
^^ LOL (I'll remove those pix)
It was actually a little short on the bolt pattern before install, but I install them anyway thought it would just need to be align, during alignment the adjustment on toe is max out, can't go any further. Upper control arm is fix, non-adjustable, so will see when oem is back onto the car. I'll post pix of the comparison of the two arms. This actually created more work than I anticipated.
It was actually a little short on the bolt pattern before install, but I install them anyway thought it would just need to be align, during alignment the adjustment on toe is max out, can't go any further. Upper control arm is fix, non-adjustable, so will see when oem is back onto the car. I'll post pix of the comparison of the two arms. This actually created more work than I anticipated.
Thread Starter
|
HCF Member
Joined: Jan 2007
Posts: 631
From: Bayarea, CA
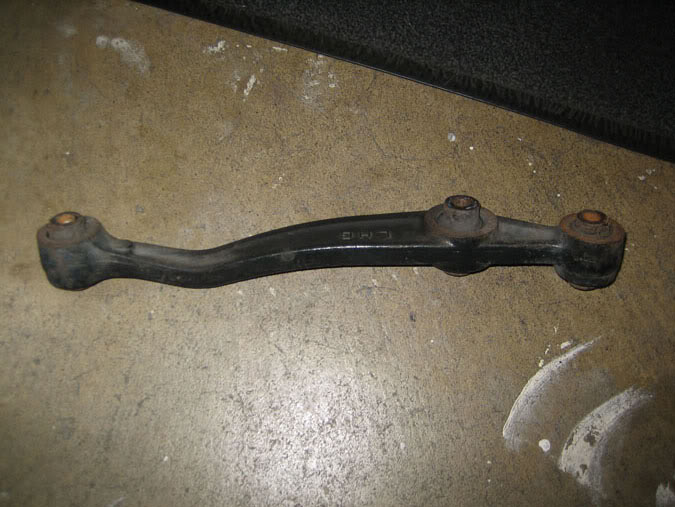
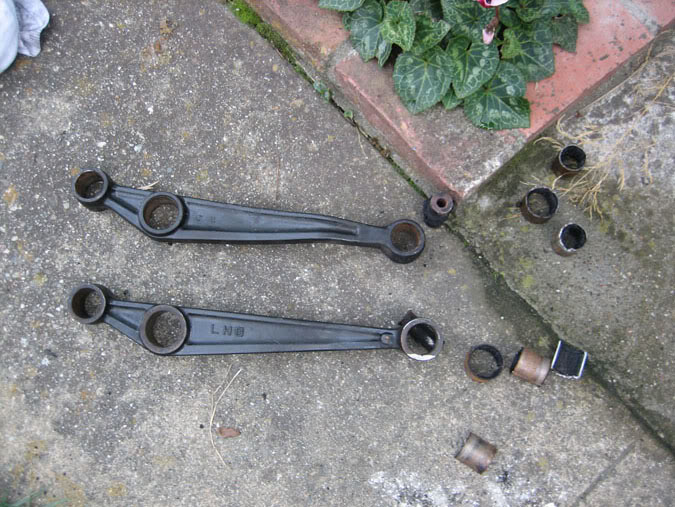
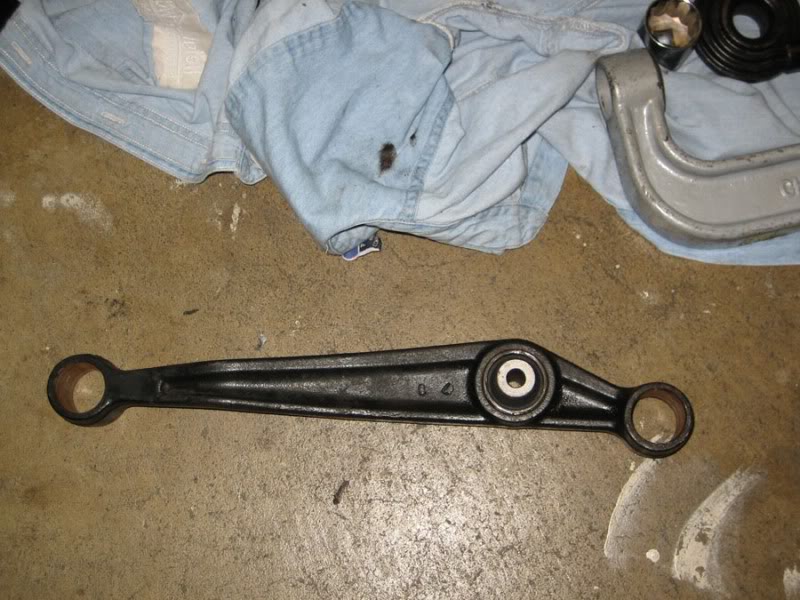
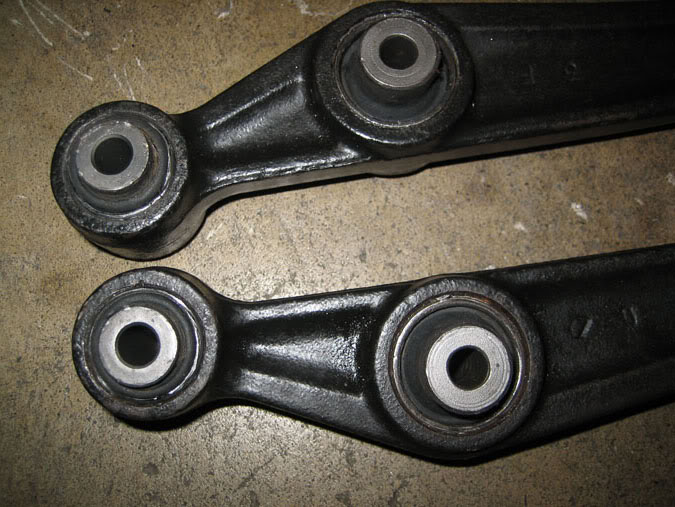
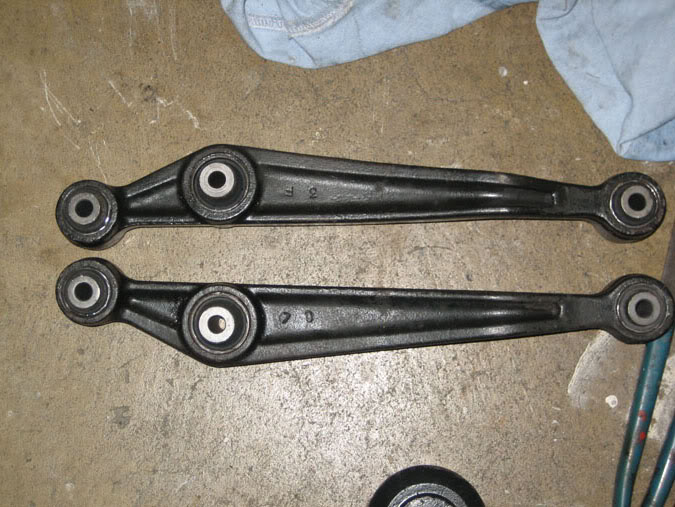
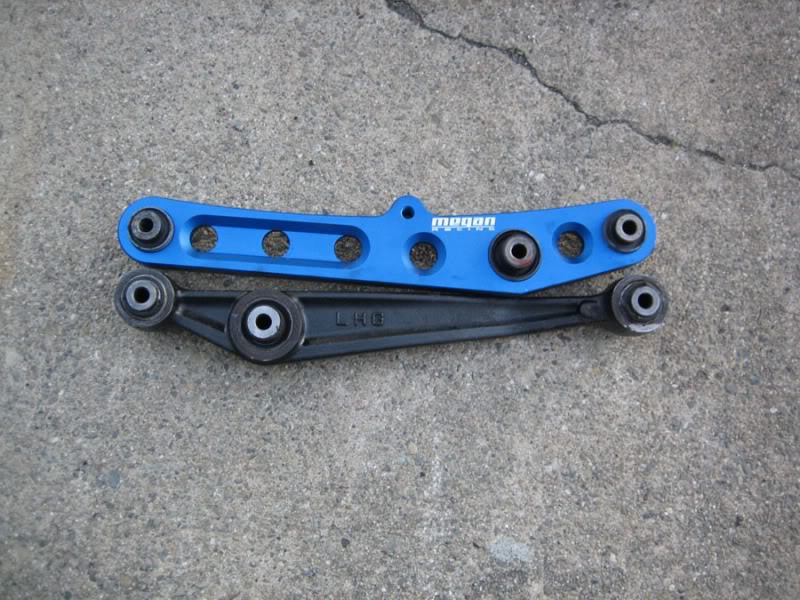
Thought I update my rear LCA as I removed the Megan lca and reinstall my oem lca with new bushing. This has corrected my camber and toe alignment. You can see the width of bolt pattern is a bit shorter on the Megan LCA compare with my original. So now with the original reinstall, feel much better, now the Megan LCA is it up for sale, lol.
Would be best to use the aftermarket LCA if car is lowered, however, mine is not lower.
Below pix of process.
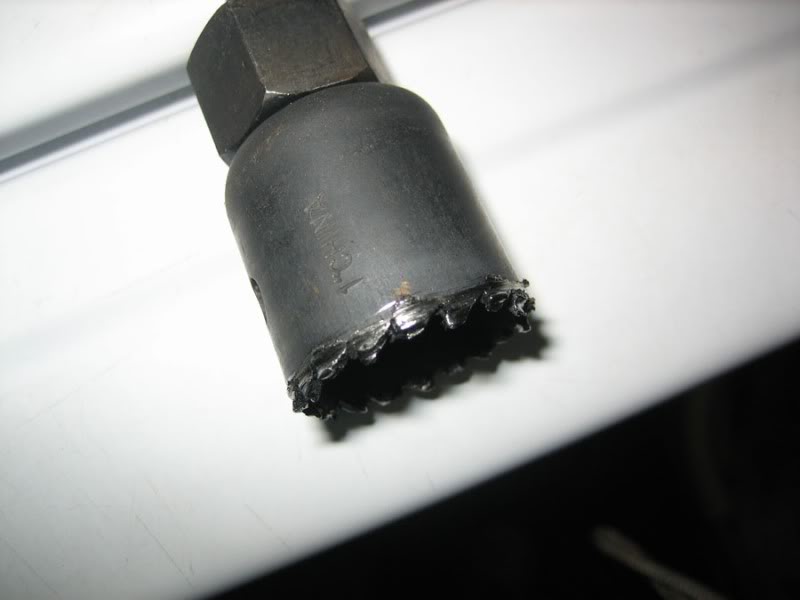
I tried to use the hose saw to cut into the rubber of old bushing
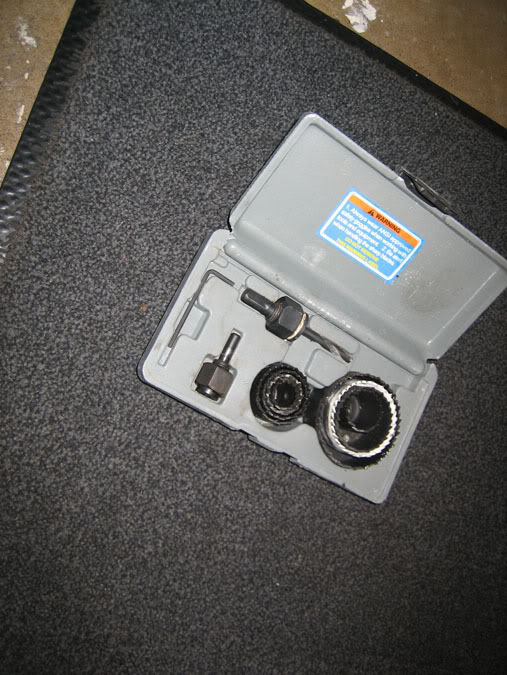
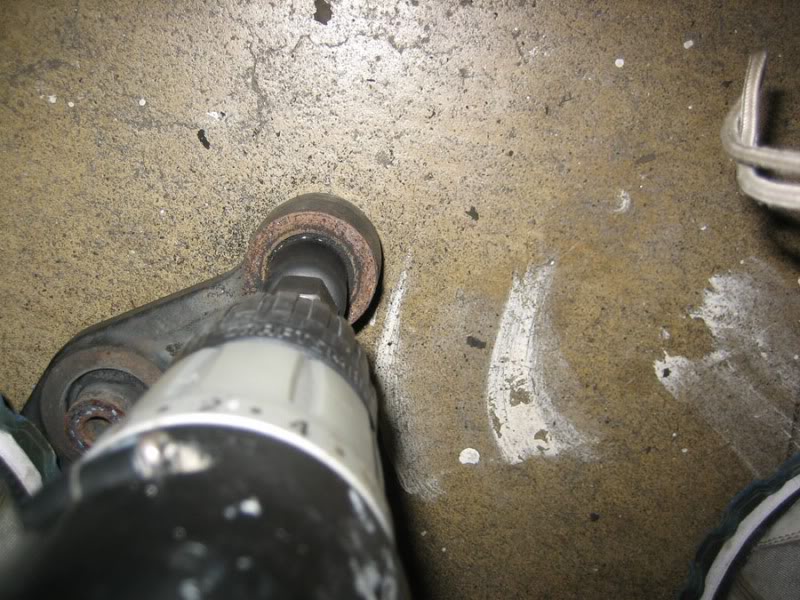
Epic failure..
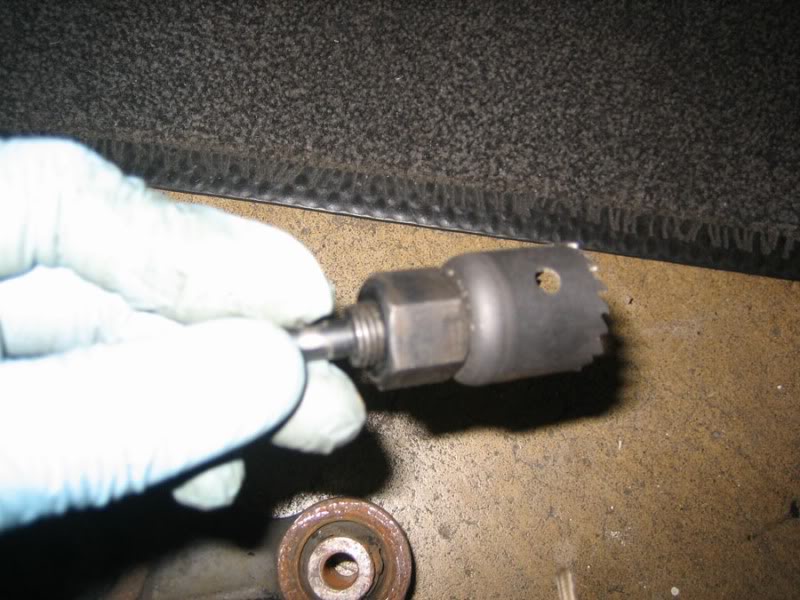
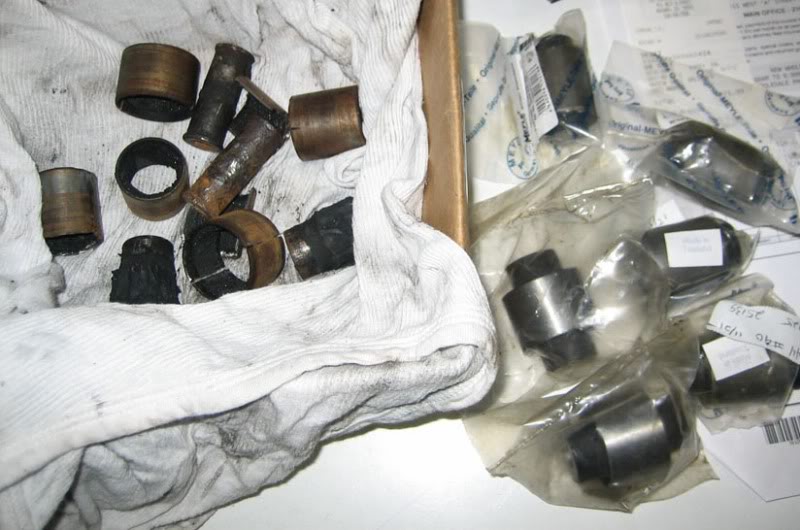
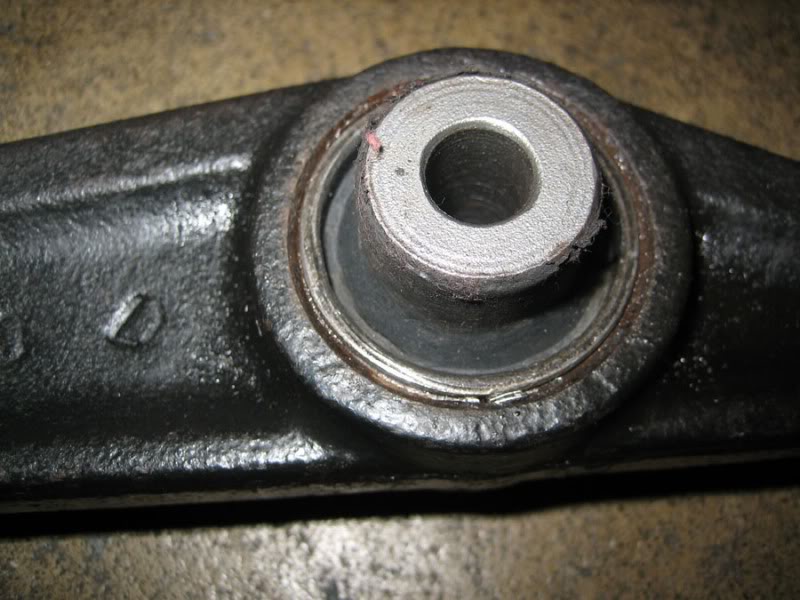
Decide to drill bunch of small holes around the bushing and use a plier to twist off the rod then sort of burn it a bit and use a saw to cut the inside casing and chisel it out
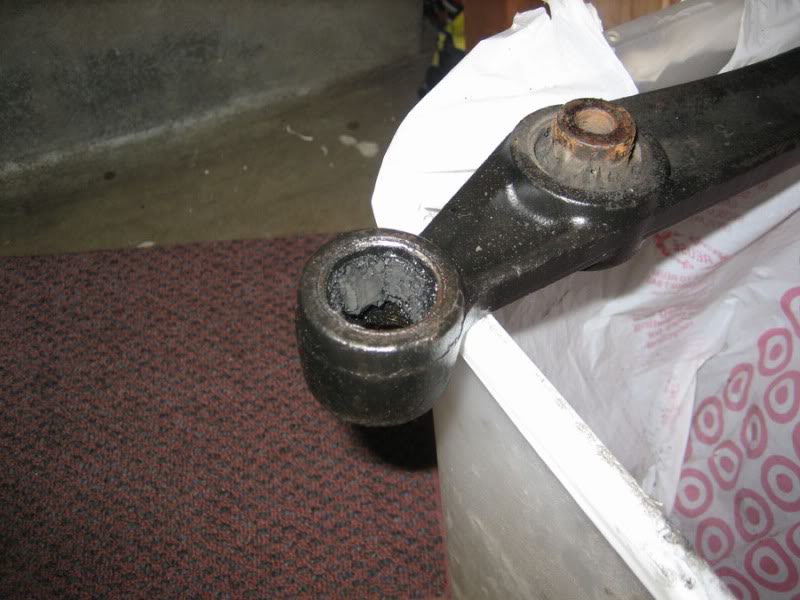
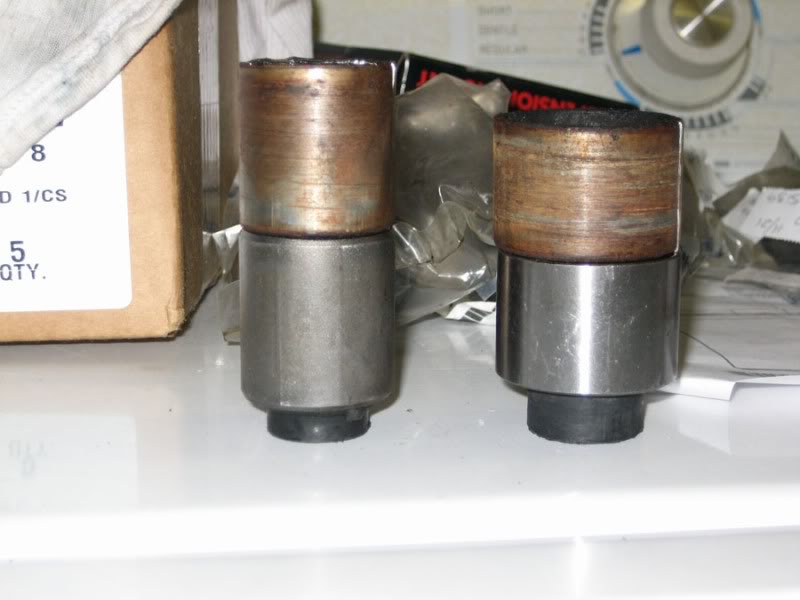
Bushing arrived and sort of match with the old casing
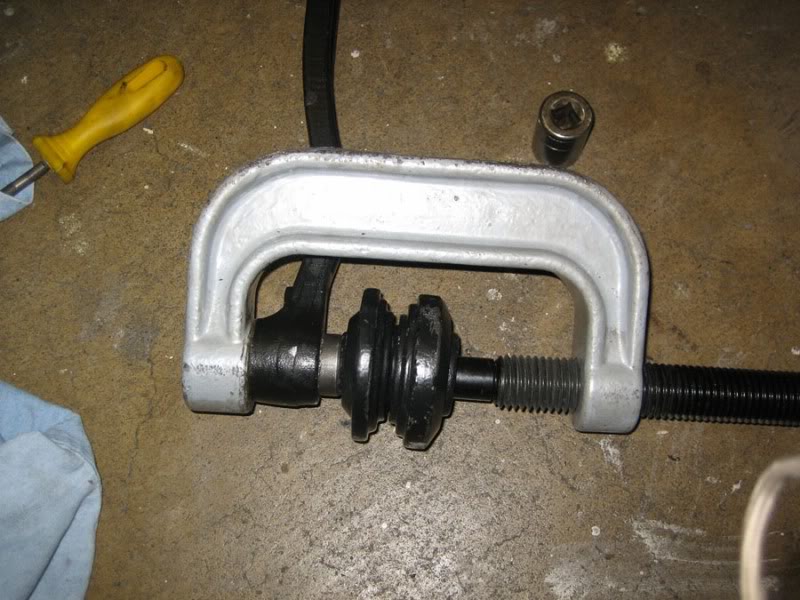
Using the ball joint press for the process
2.5 hours later

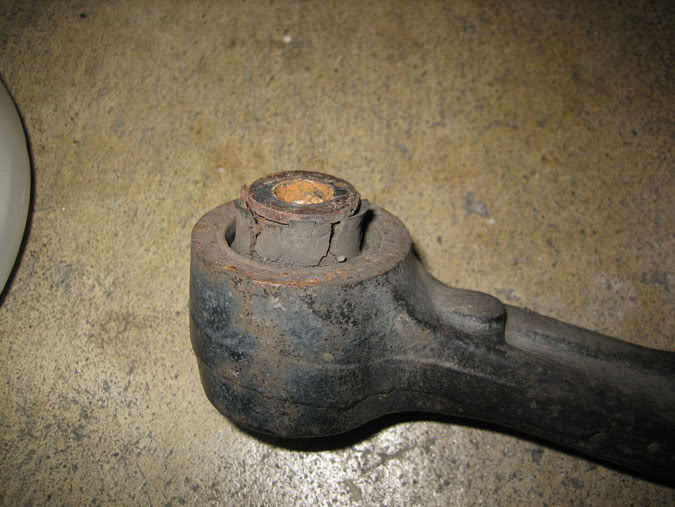
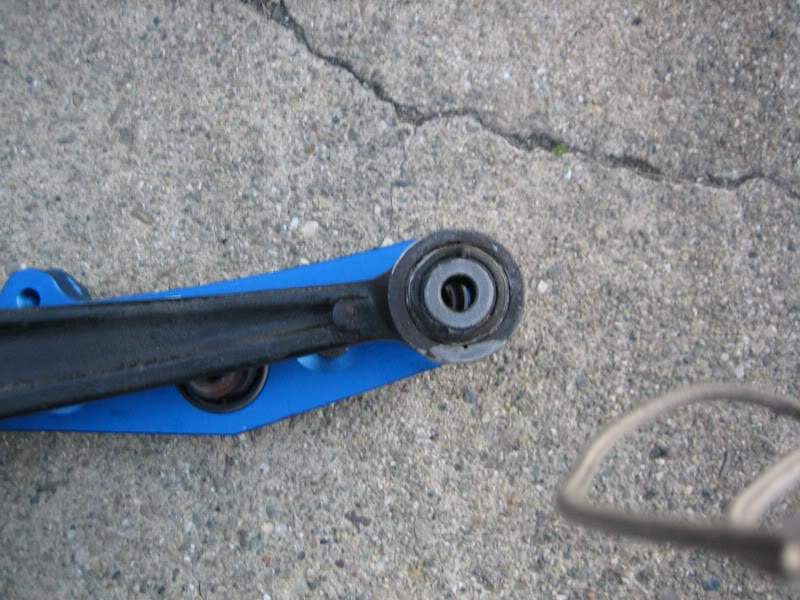
Remove the blue one from car and reinstall back the OEM

Notice the bolt slot did not line up and is off about 3/4 inch (below)
Would be best to use the aftermarket LCA if car is lowered, however, mine is not lower.
Below pix of process.
I tried to use the hose saw to cut into the rubber of old bushing
Epic failure..
Decide to drill bunch of small holes around the bushing and use a plier to twist off the rod then sort of burn it a bit and use a saw to cut the inside casing and chisel it out
Bushing arrived and sort of match with the old casing
Using the ball joint press for the process
2.5 hours later
Remove the blue one from car and reinstall back the OEM
Notice the bolt slot did not line up and is off about 3/4 inch (below)

Just to add a bit to the thread -
I did my trailing arm bushings a few months ago, and it took me about 6 hours. I decided to leave the trailing arms in the car, which worked fine once I got the bolts at the front end of the arm loose. They were all rusty, and took a lot of force to remove even after multiple soakings with PB Blast.
As for the Honda tool, I can't imagine how hard it must be to remove/install the bushings with a hammer. I rented the tool from a Honda enthusiast, and it was worth every penny to me.
The tricky part for me was the driver's side bushing installation. For whatever reason, the bushing wouldn't go in straight, and insisted on seating itself at an angle. As soon as I saw it doing this, I'd stop pressing it in, knock it out with a hammer (it would pop right out), re-clock it, then try again. After repeating this for three hours, I finally put some white grease on it, and the bushing finally went in straight.
The passenger side one went in with no problems, so my guess is that either the bushing was off slightly, or the driver's side had seen some action during the 15 years before I owned it.

Thread
Thread Starter
Forum
Replies
Last Post
Gone in 60
Suspension, Brakes, Tires & Wheels
2
Jun 11, 2010 08:24 AM
danomatic93
PRIVATE For Sale / Trade Classifieds
31
Jan 14, 2009 11:02 AM
98 EJ8
PRIVATE For Sale / Trade Classifieds
1
Aug 26, 2007 09:13 PM