


Turtlegrip 1997 Civic DX


Thread Starter
|
HCF Member
Joined: Mar 2011
Posts: 485
From: Los Angeles

On my glove box you just pinch the sides and it will lay down like in my pic, then those 4 screws on the hinges are the only ones holding it up. Getting the screws on the hinges is just slightly too tight for me to fit a screw driver straight in as to not strip the screw, so I had to apply some pressure down so I could fit the Philips in there.

Everyone has there own way of doing things I guess 
I normally get an 8mm (or 6mm... can't remember) socket and wrench to pull the screws/bolts out from the underside.
Good work with everything though. Can't wait to see more updates.
I normally get an 8mm (or 6mm... can't remember) socket and wrench to pull the screws/bolts out from the underside.
Good work with everything though. Can't wait to see more updates.
Thread Starter
|
HCF Member
Joined: Mar 2011
Posts: 485
From: Los Angeles
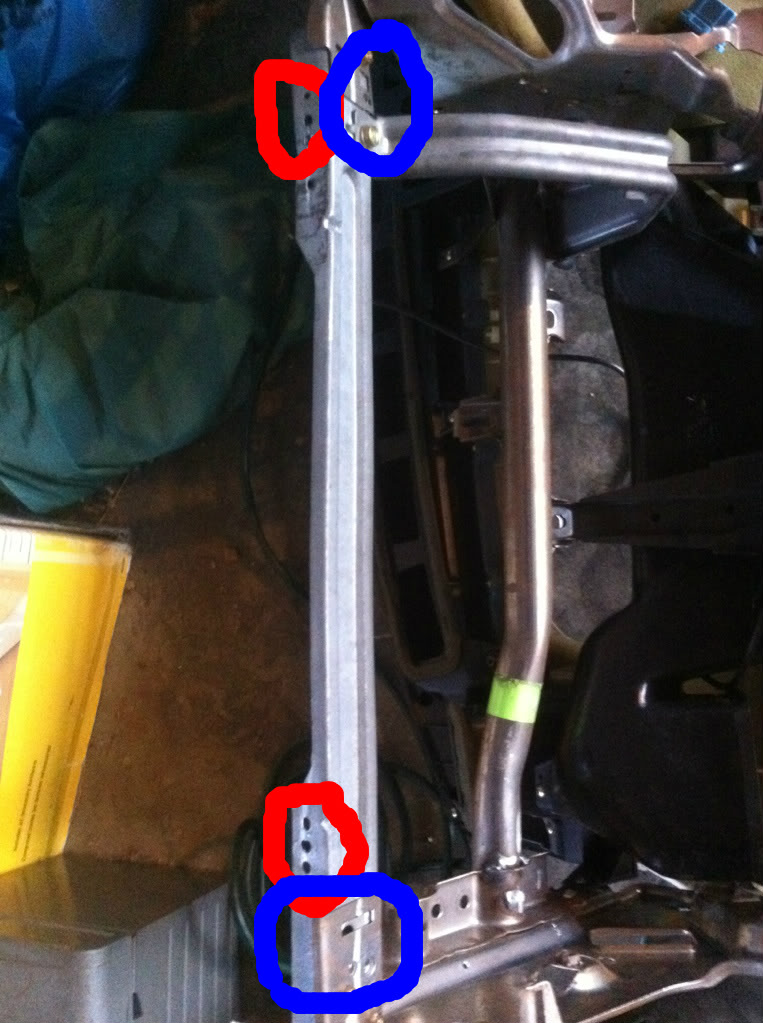
ahh i see, think you removed it from the Blue circles while i removed it form the hinges that would be in the red circles:
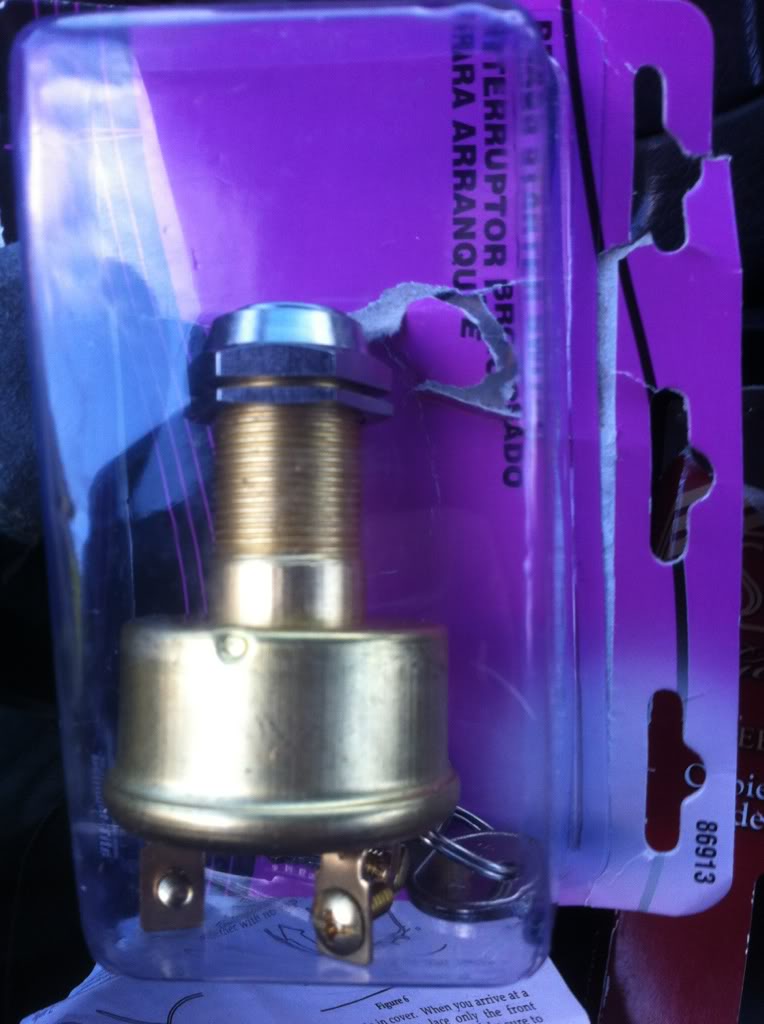
Got some ignition keys (x2) that i will mount, somewhere =P, as kill switches, so ill just take the keys with me in bad areas, generic keys but as good as any kill switch with proper placement i would say, and if i have 2, all the better once they find the first one!:
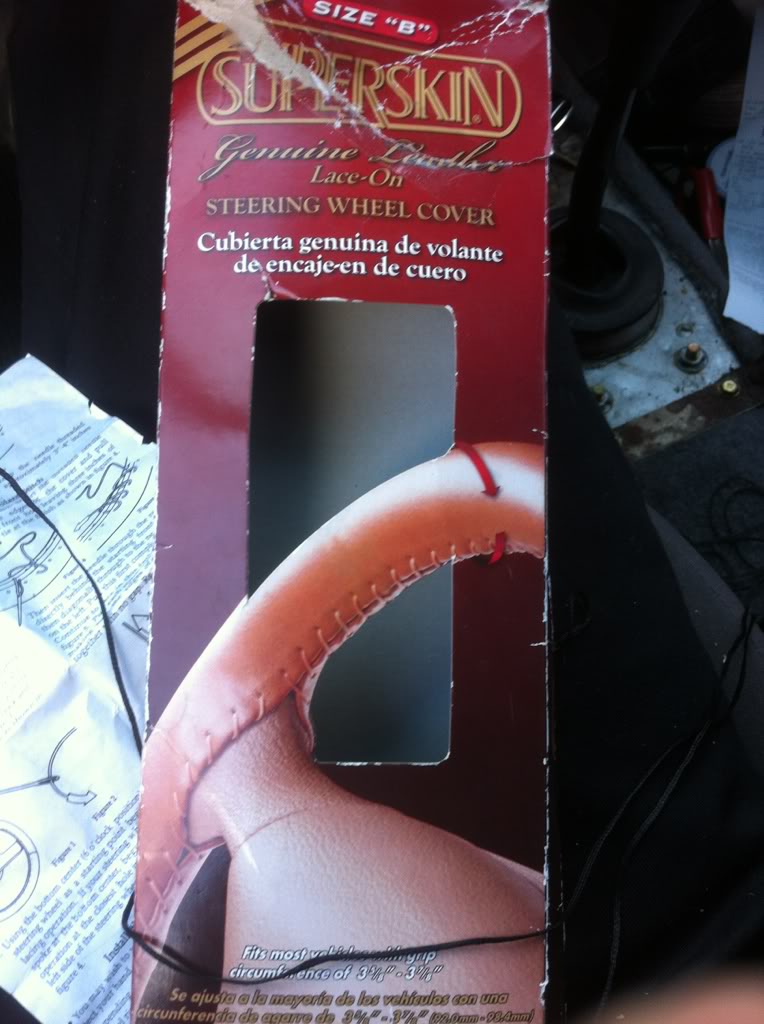
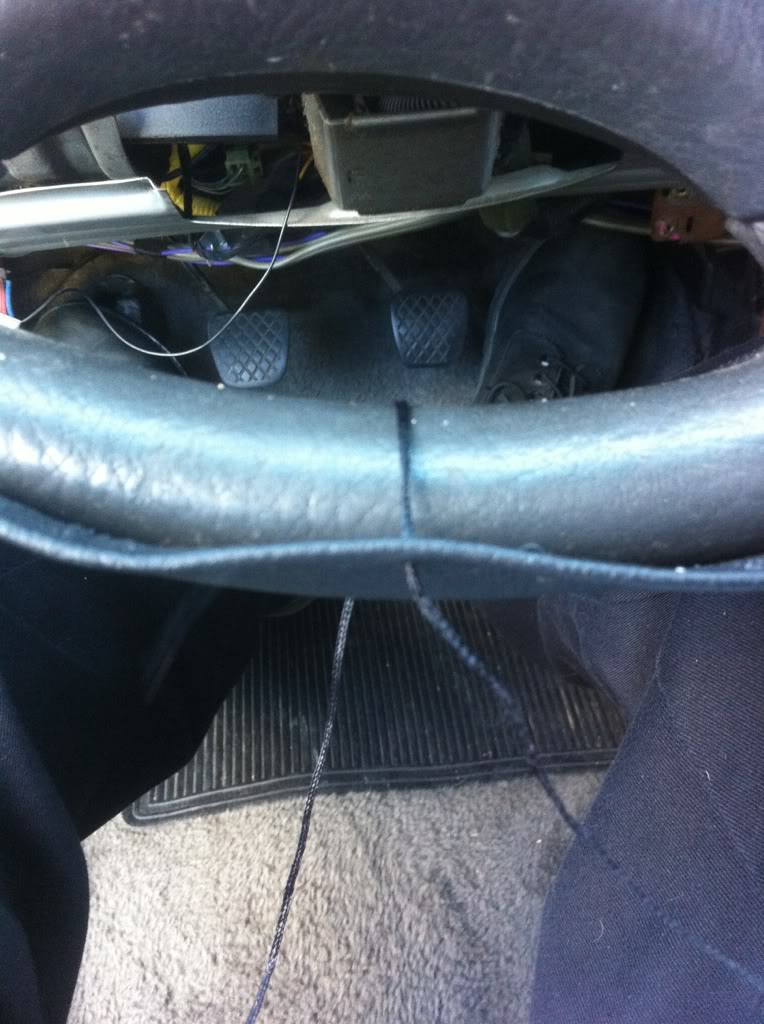
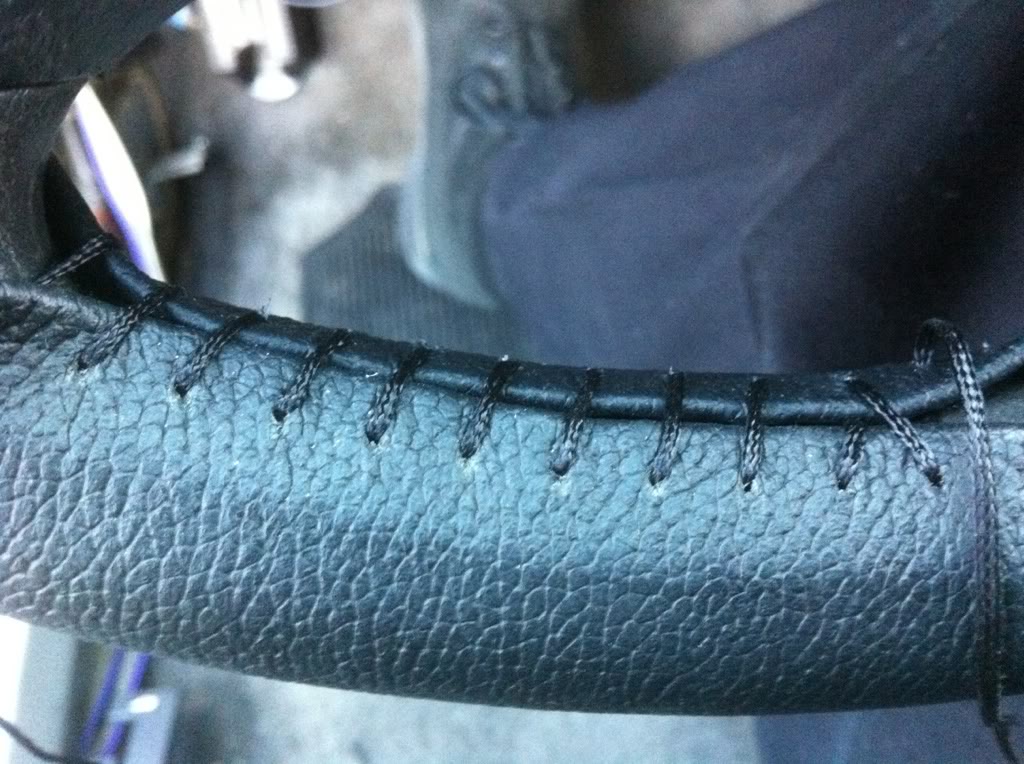
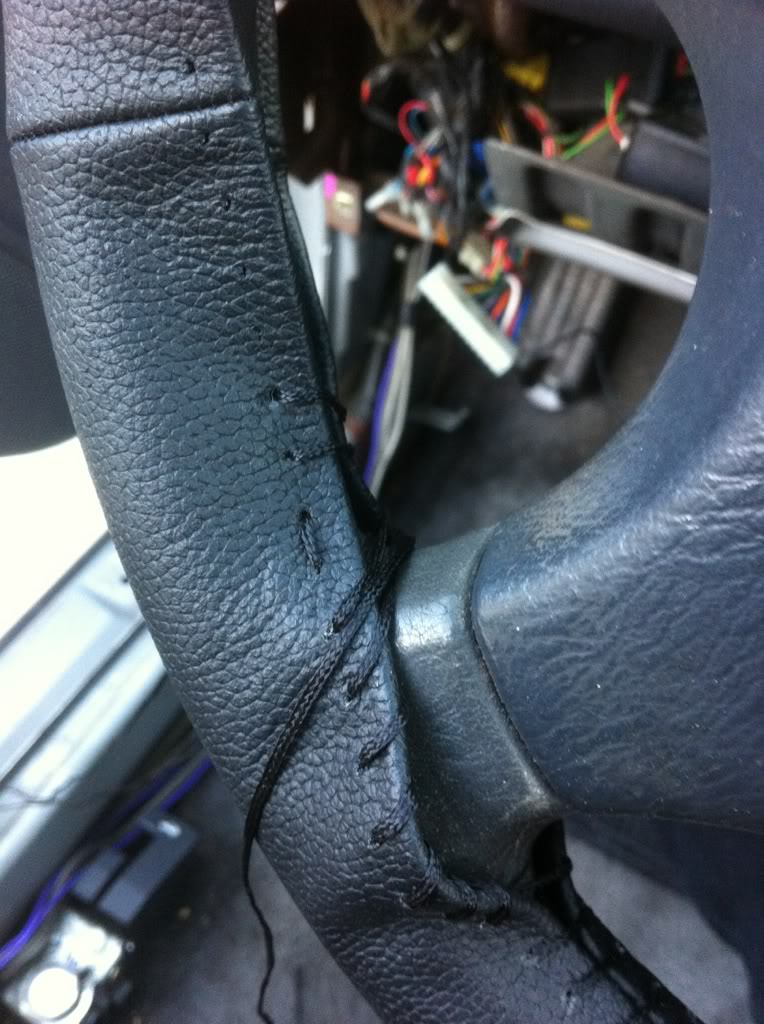
Got a nice tight leather wheel grip, love these things, but it is byfar the hardest thing i have done to my car so far lol... after 2 needles snapping and cutting myself all over, i have made it through about an 1/8th of the wheel lmao. But it is looking nice!:
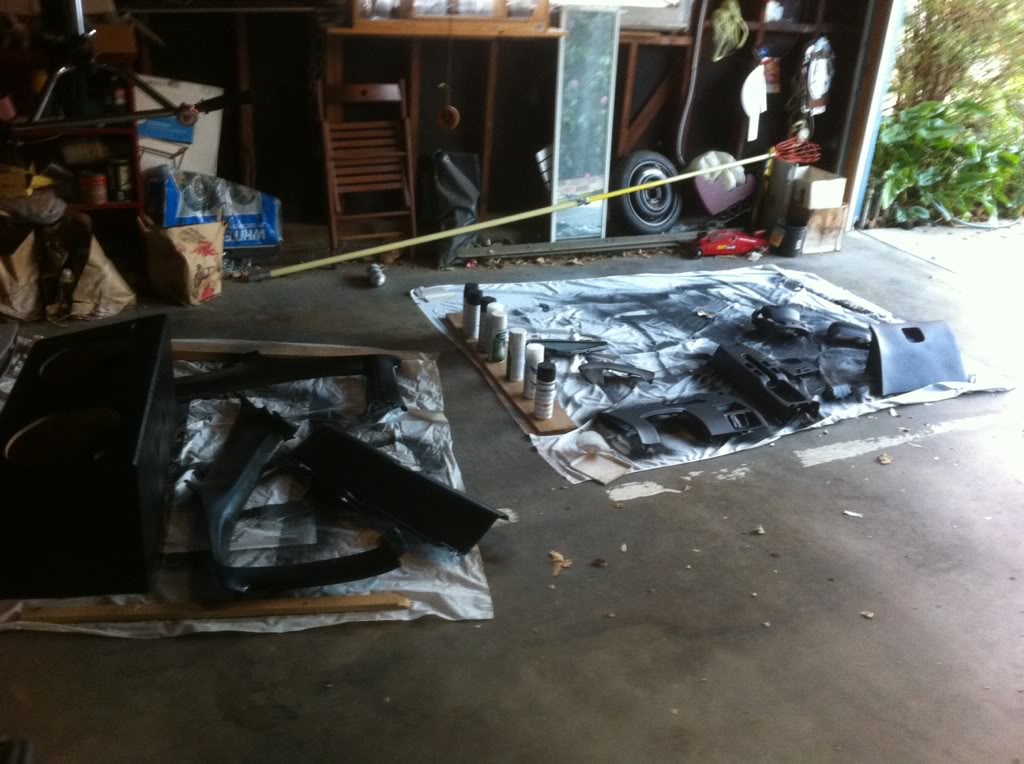
Now just waiting on things to slowly dry, so i can sand and paint more other things... Battery coming, battery tray coming, nowhere in my area sells 1/0 gauge crimps so i have to wait for more from amazon, waiting on climate control so i can figure out how i will mount my screen, and then everything else is golden. Will continue to keep everyone updated!
Got some ignition keys (x2) that i will mount, somewhere =P, as kill switches, so ill just take the keys with me in bad areas, generic keys but as good as any kill switch with proper placement i would say, and if i have 2, all the better once they find the first one!:
Got a nice tight leather wheel grip, love these things, but it is byfar the hardest thing i have done to my car so far lol... after 2 needles snapping and cutting myself all over, i have made it through about an 1/8th of the wheel lmao. But it is looking nice!:
Now just waiting on things to slowly dry, so i can sand and paint more other things... Battery coming, battery tray coming, nowhere in my area sells 1/0 gauge crimps so i have to wait for more from amazon, waiting on climate control so i can figure out how i will mount my screen, and then everything else is golden. Will continue to keep everyone updated!
Got some ignition keys (x2) that i will mount, somewhere =P, as kill switches, so ill just take the keys with me in bad areas, generic keys but as good as any kill switch with proper placement i would say, and if i have 2, all the better once they find the first one
Not really feeling the steering wheel. Have you thought about getting a 99-00 SI wheel?
Lucky that you can paint stuff in Feb! It is like 30 F out here. Hate it.
Thread Starter
|
HCF Member
Joined: Mar 2011
Posts: 485
From: Los Angeles
haha hits the 40s at night, i just came back from working up north in 0-20 F. But days are high 60s to 70s, and i keep everything in a garage, none the less the drying process is slow, i am giving every coat the full 24 hours to dry...... yawn, but the small pieces i did first are dry with 6 coats total (1 primer - 2 rubber paint - 3 clear coats) but if i dig my nail into it i can dent the paint, but even then its really hard to pull it off, so assuming i let the rest dry better, and no one tries to key the inside of my car then the paint is looking good.
was having some idle problems, for a while now actually. drops to like 200-300 rpm when i first come to idle (like at a red light) but evens out nicely and stays fine, and doesnt even do it at all sometimes. After i had engine unplugged for a while, and then back in, it got worse but then today (a day since resetting ecu) it has gotten better than it was initially.
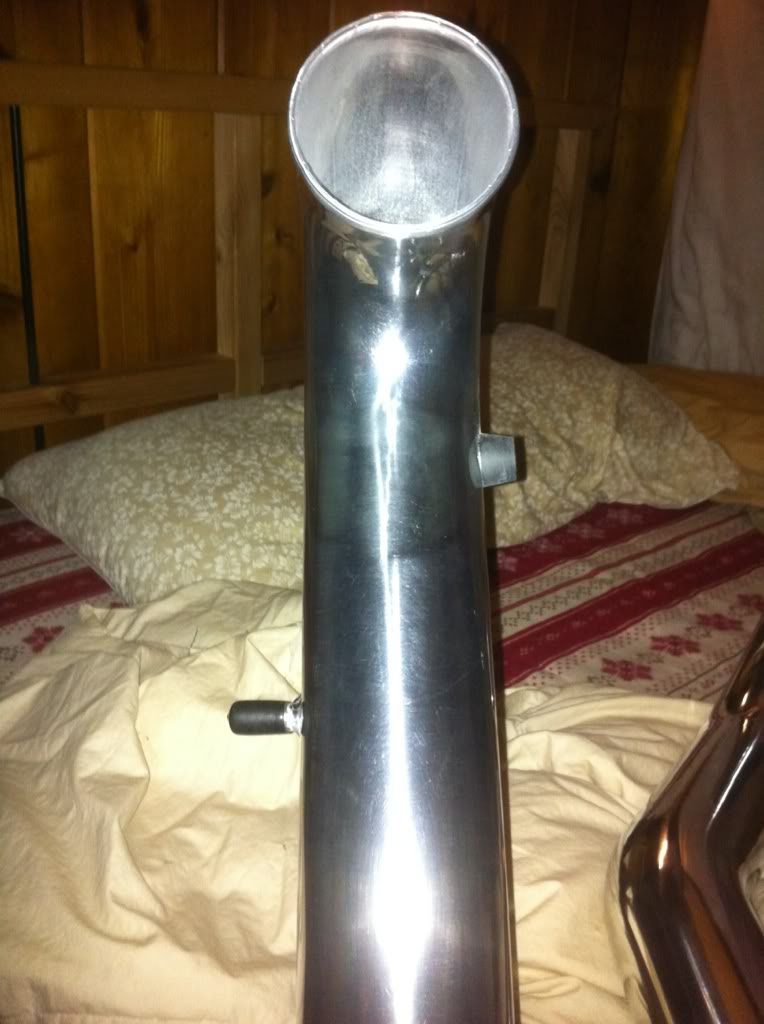
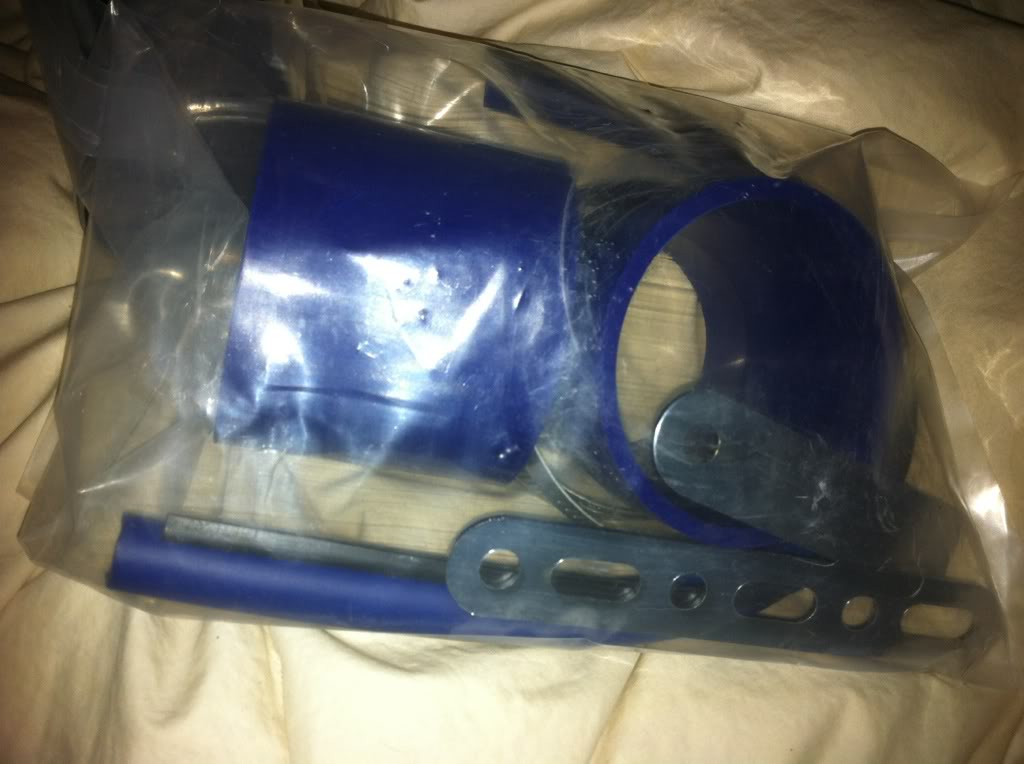
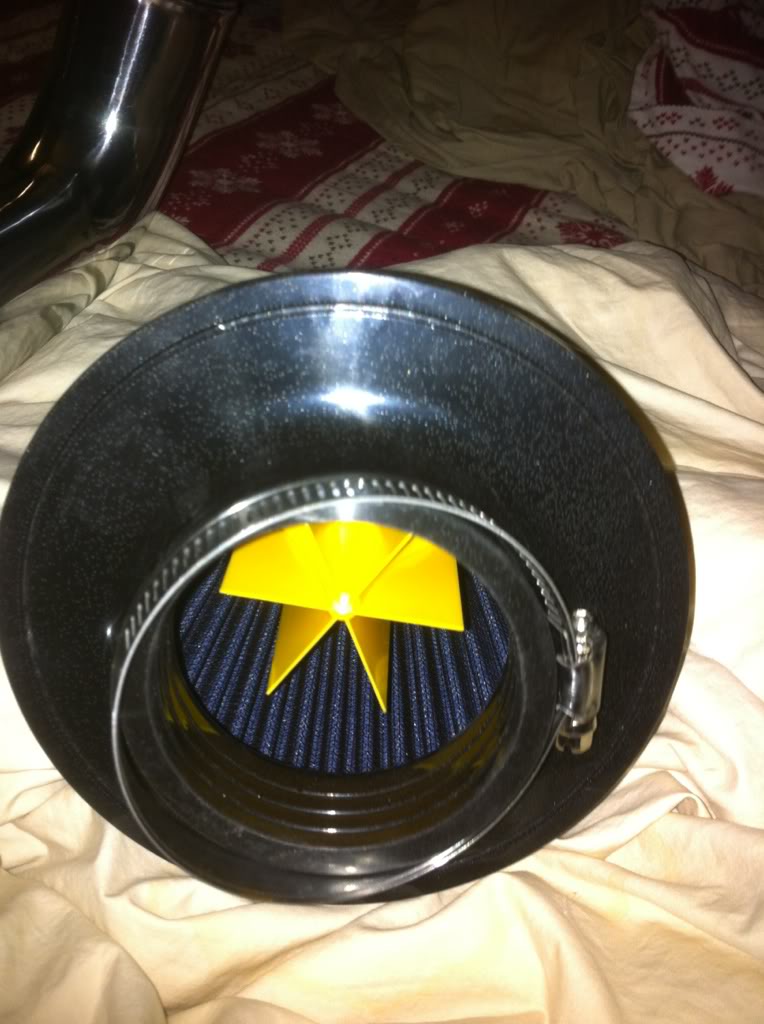
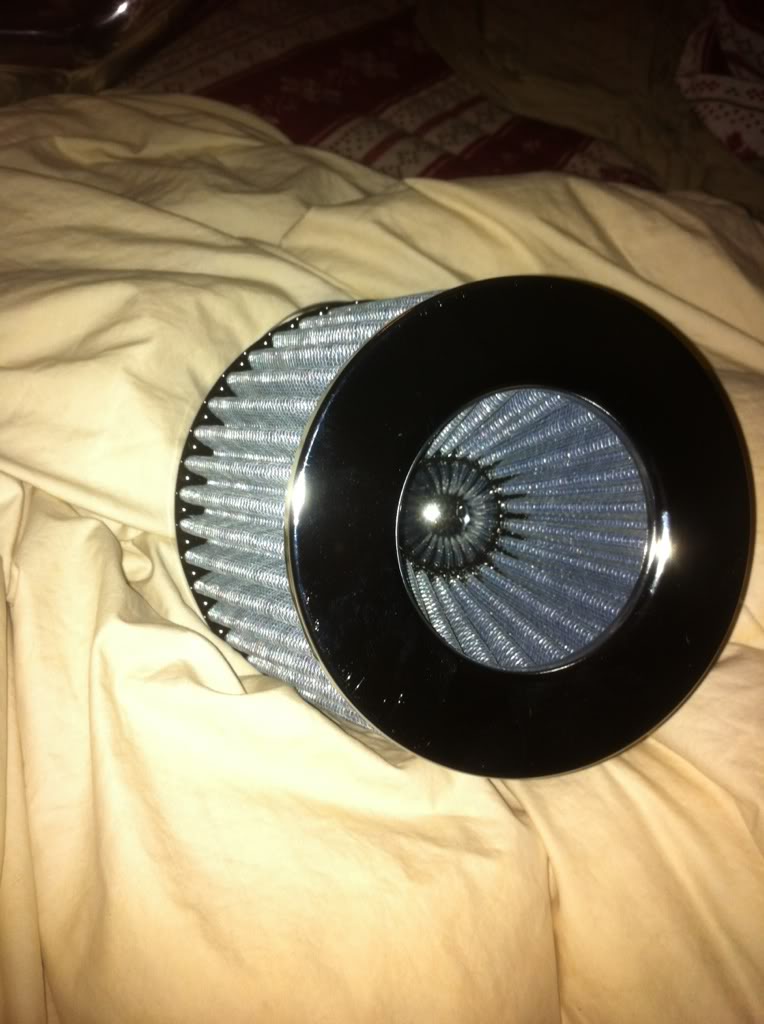
I tricked myself into buying a CAI off ebay and a K&N filter, i will change fuel filter and clean the IACV at the same time as installing that. Also got OEM JDM civic floor mats (so they claim) but its the all black ones with red stitching and say civic on the front ones sides. Driving around with nothing but the main dash and 1 seat has been a blast though, and my dog loves the room hahaha.
No pics this time!
was having some idle problems, for a while now actually. drops to like 200-300 rpm when i first come to idle (like at a red light) but evens out nicely and stays fine, and doesnt even do it at all sometimes. After i had engine unplugged for a while, and then back in, it got worse but then today (a day since resetting ecu) it has gotten better than it was initially.
I tricked myself into buying a CAI off ebay and a K&N filter, i will change fuel filter and clean the IACV at the same time as installing that. Also got OEM JDM civic floor mats (so they claim) but its the all black ones with red stitching and say civic on the front ones sides. Driving around with nothing but the main dash and 1 seat has been a blast though, and my dog loves the room hahaha.
No pics this time!
Thread Starter
|
HCF Member
Joined: Mar 2011
Posts: 485
From: Los Angeles
Put in a little bit of work today...
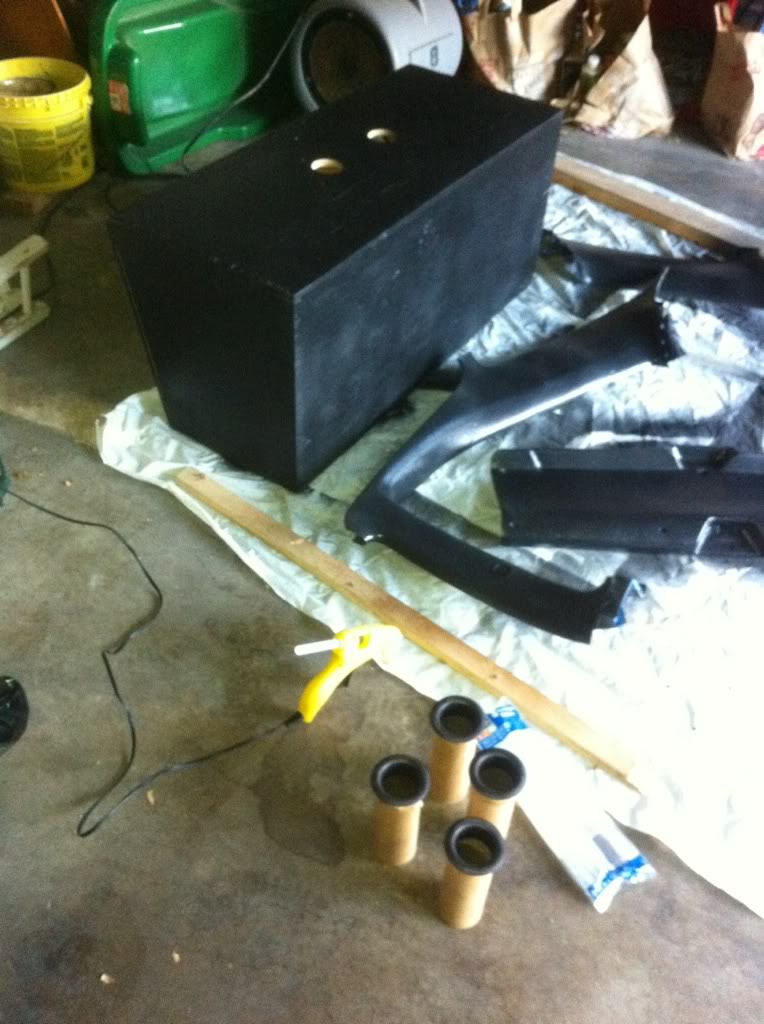
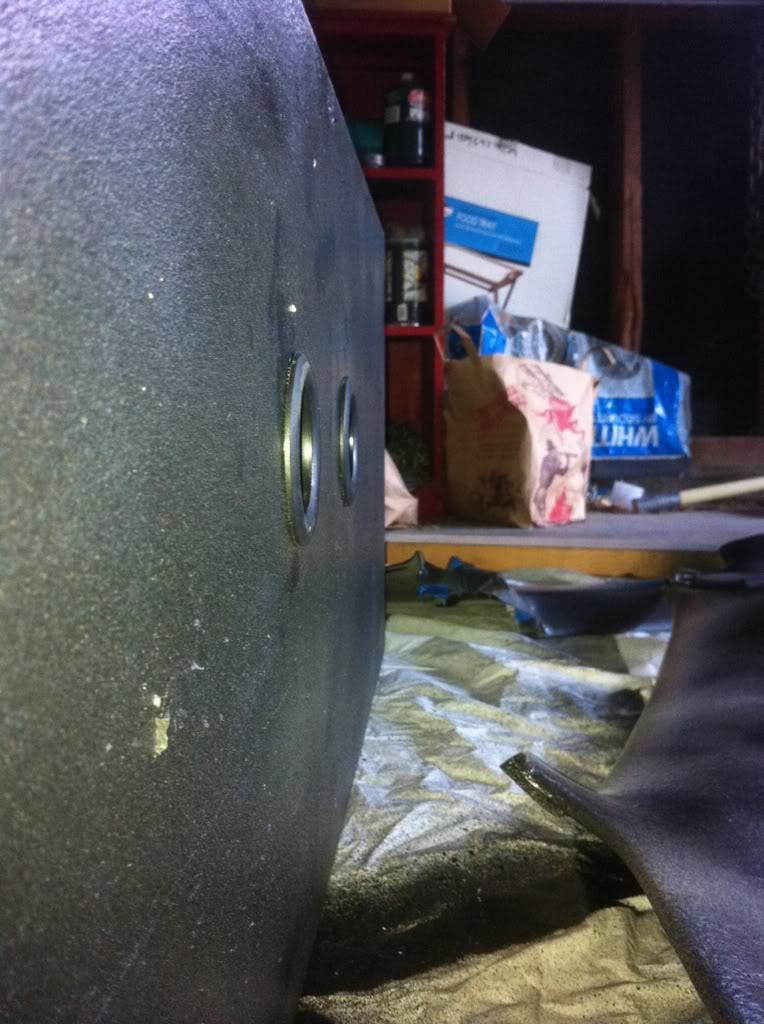
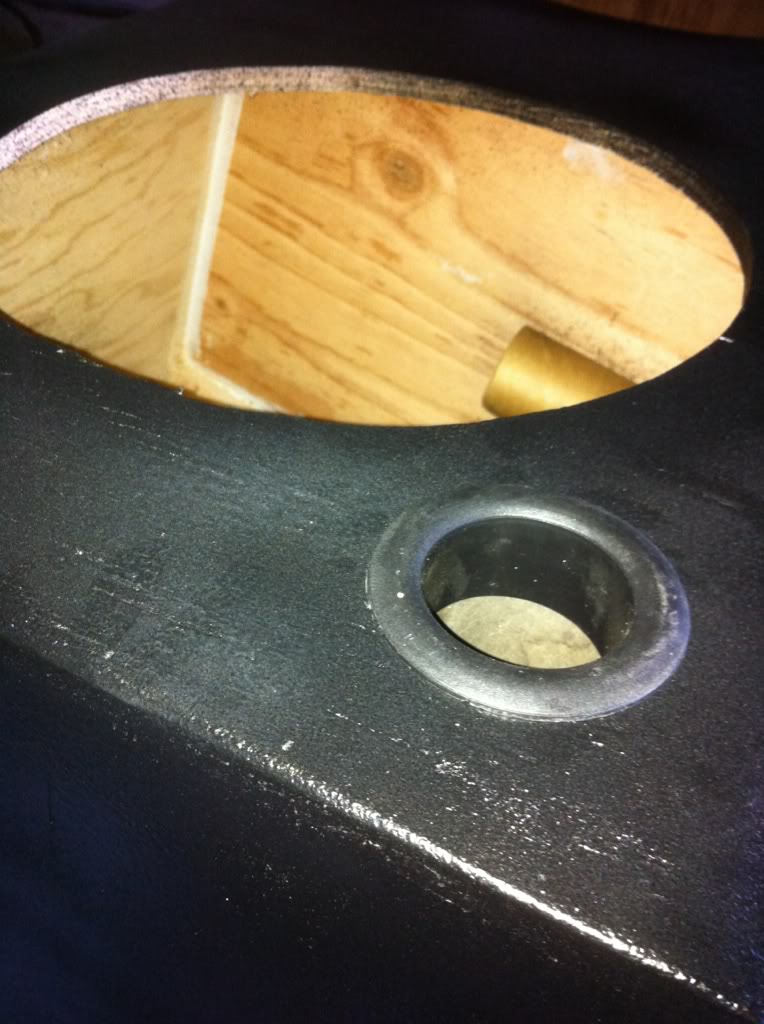
Put the air vents in the sub case, gotta get some speaker wire terminals, i have a few sitting around in old speakers, but gonna try to buy some new ones tomorrow before I reuse old ones. Then I will throw the subs back in there, they need to be repaired badly (outer most rubber rim), WellFedHobo said it isnt too hard to do yourself, so I will probably get the stuff I need and hope on that sometime.
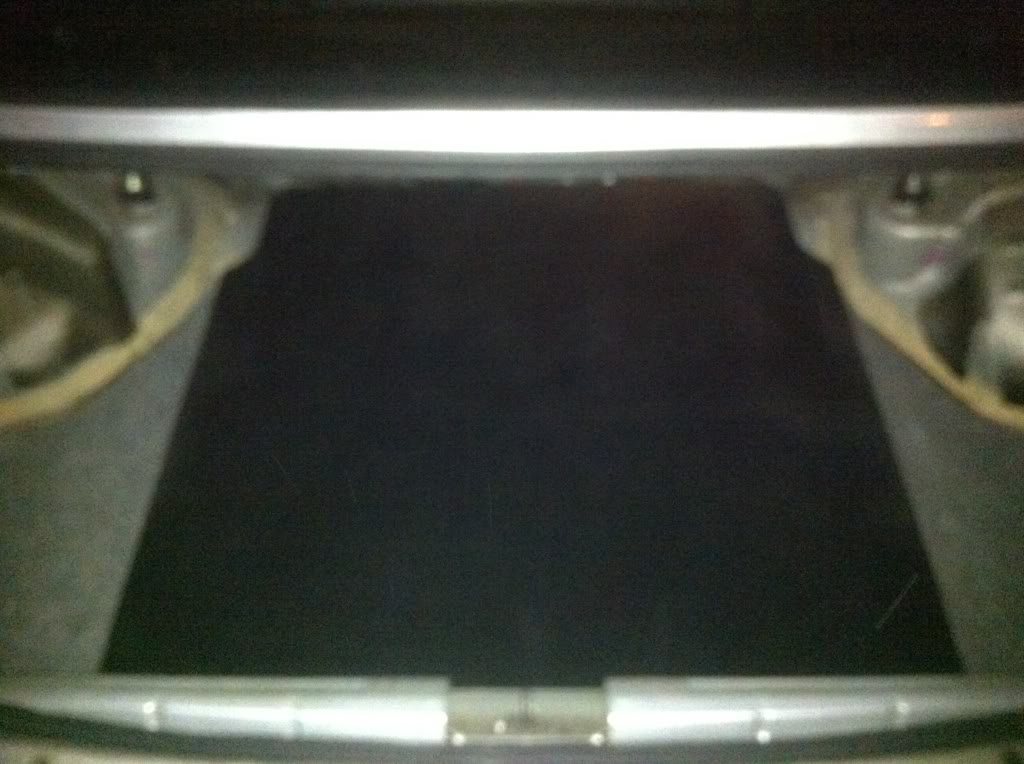
Put the new trunk bottom in the car, got the spare/misc tools under it, enough to handle any problem i might run into on the road, short of a blown engine lol... Started placing things in there, comp fits PERFECT on the right side, ill just mount some wood to the frame and then the PC to the wood. I could not believe how perfect and tight it fits, almost dont need to mount it, but of course i will. The battery should be on the left... and ill probably just mount the capacitors to the floor or maybe the side of the sub; the inverter will mount next to the amps on the back of the rear seats.
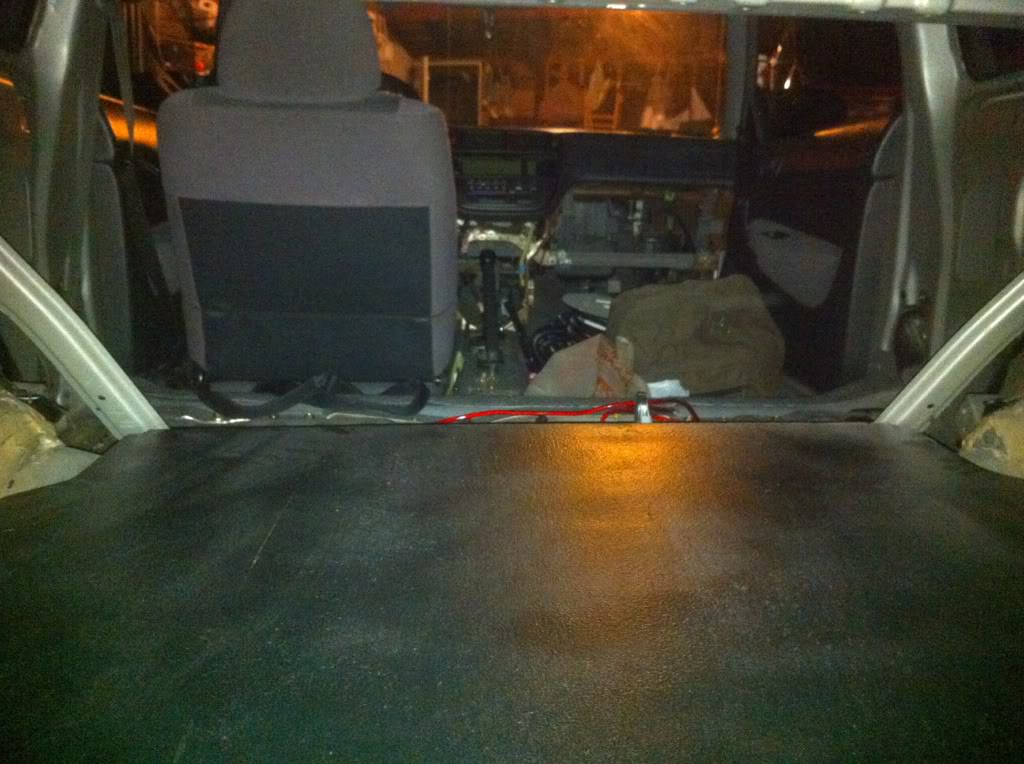
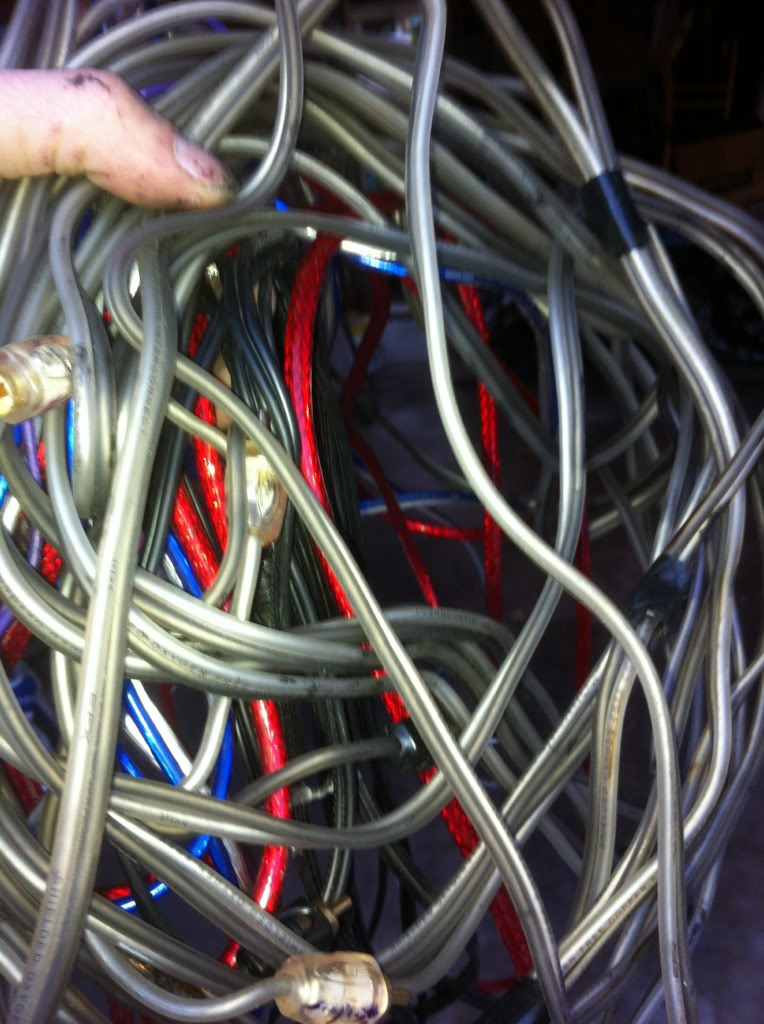
I removed all the old crap wiring, god what a mess.... could not get out 2 ground wires/screws, due to them being stripped and one actually has solder melted into the screw slot so I cant but a Philips head in it.... Im gonna go to the shop that did it and make them take it out. Anyways:
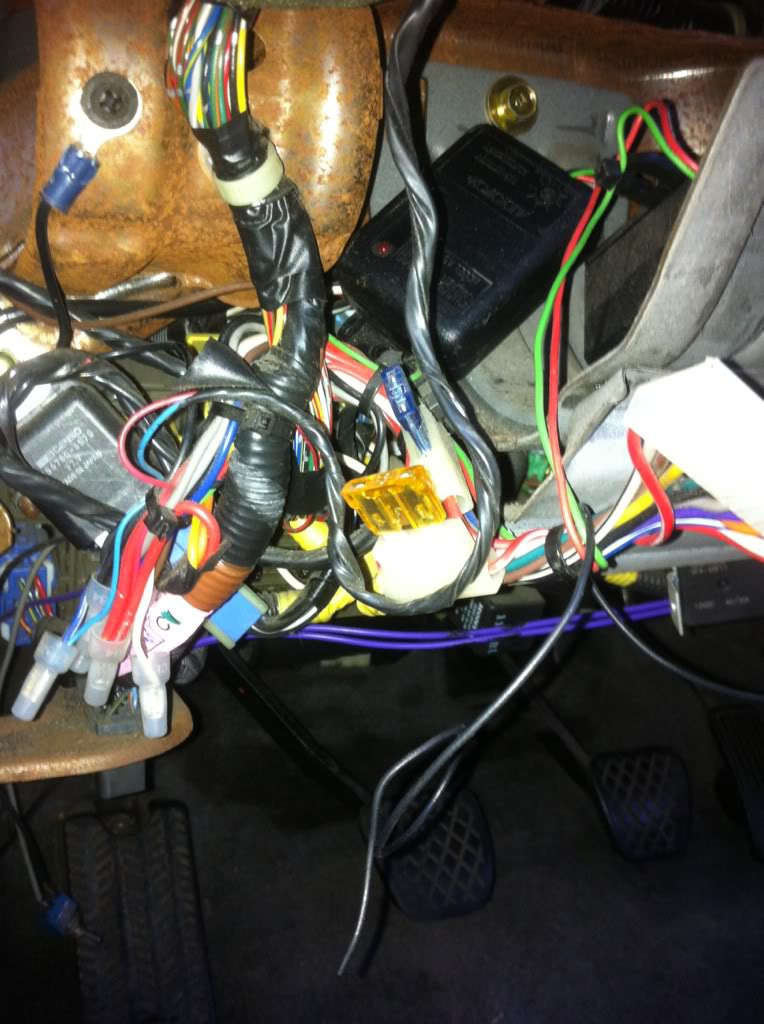
What I guess would be an alarm (if it wasnt cut and splices in a million places) is an unsightly mess also, popoed all that out, and luckily the car still starts, in fact, on further inspection the alarm wasnt even connected to anything but itself... I got some cool shock sensors and LEDs out of it though.
Before:
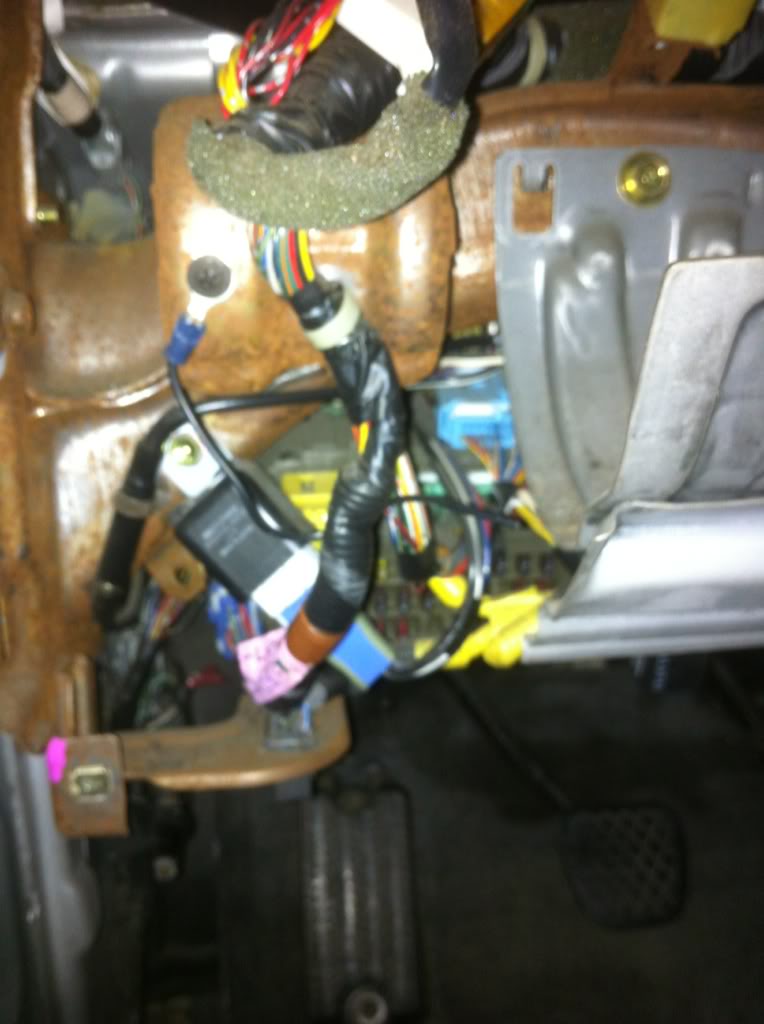
After:
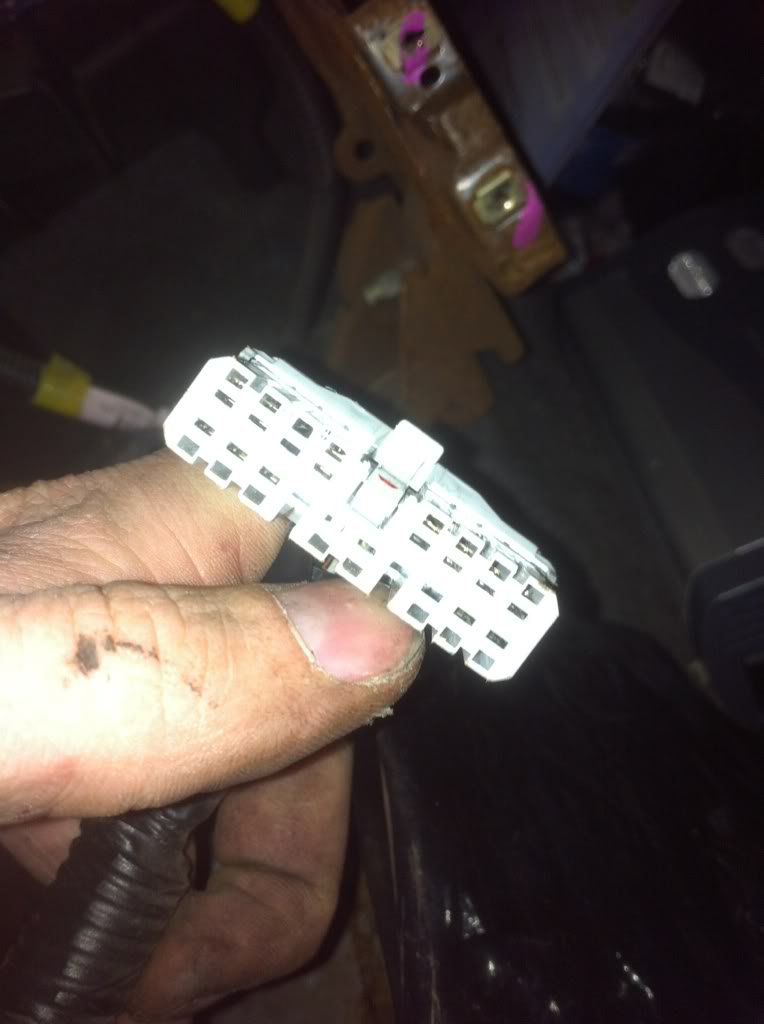
Looking at the new dash for a while, and snatched this out of it, i pretty positive this is an internal antenna... for reasons that seems obvious...
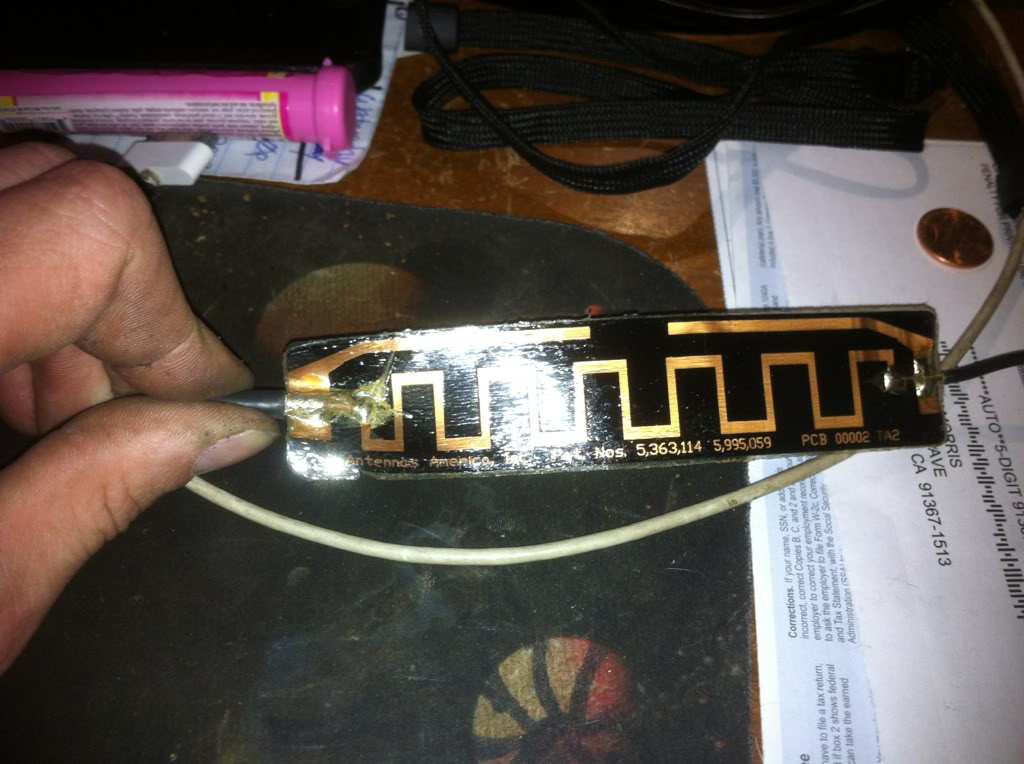
Reads: Antennas America Inc. Pat. Nos.5,363,114 5,995,059 PCB 00002 TA2
Of no use to me now, but another cool come up... Got some wiring diagrams, but if anyone has a link to a DIY stock stereo removal repin that would be great. Also gotta Gotta set up some a REM wire for the isolator, I think I will just use the one from the stock stereo plug...
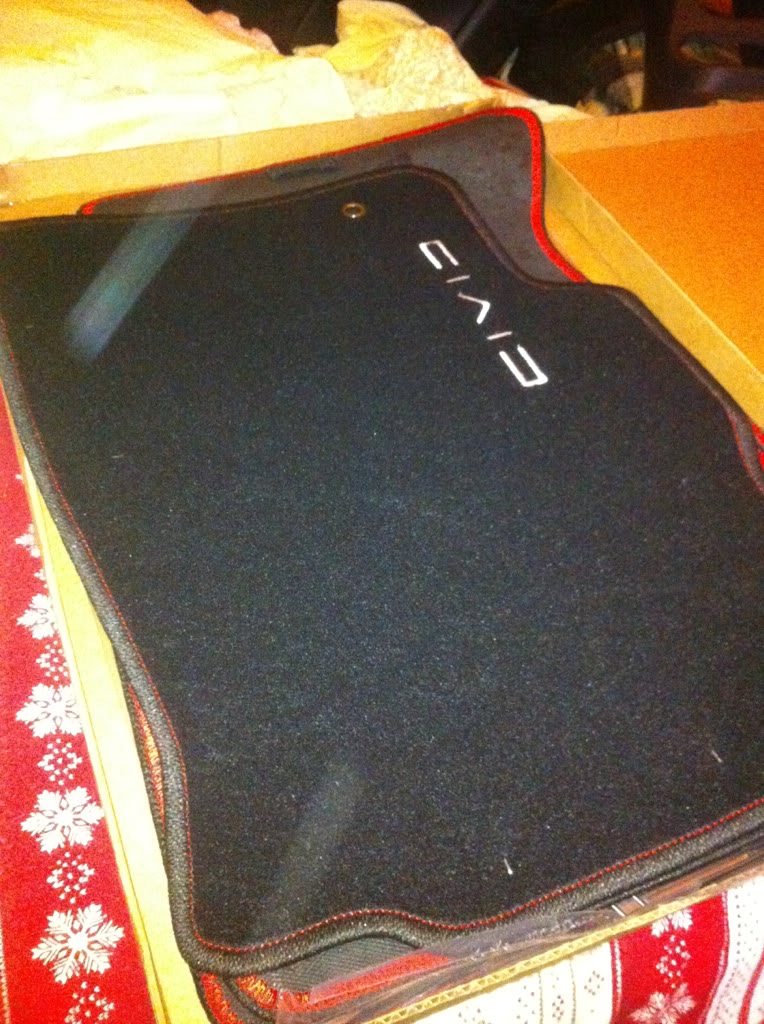
The new floor mats came today, seem weirdly shaped, but I thing (hope) they will fit right in! Still waiting on that darn climate control. And working on the seemingly endless sanding/painting...
Now back to school work which I am falling a little behind on, mostly due to shipping delays, not the car, I swear! Will keep you all updated.
Put the air vents in the sub case, gotta get some speaker wire terminals, i have a few sitting around in old speakers, but gonna try to buy some new ones tomorrow before I reuse old ones. Then I will throw the subs back in there, they need to be repaired badly (outer most rubber rim), WellFedHobo said it isnt too hard to do yourself, so I will probably get the stuff I need and hope on that sometime.
Put the new trunk bottom in the car, got the spare/misc tools under it, enough to handle any problem i might run into on the road, short of a blown engine lol... Started placing things in there, comp fits PERFECT on the right side, ill just mount some wood to the frame and then the PC to the wood. I could not believe how perfect and tight it fits, almost dont need to mount it, but of course i will. The battery should be on the left... and ill probably just mount the capacitors to the floor or maybe the side of the sub; the inverter will mount next to the amps on the back of the rear seats.
I removed all the old crap wiring, god what a mess.... could not get out 2 ground wires/screws, due to them being stripped and one actually has solder melted into the screw slot so I cant but a Philips head in it.... Im gonna go to the shop that did it and make them take it out. Anyways:
What I guess would be an alarm (if it wasnt cut and splices in a million places) is an unsightly mess also, popoed all that out, and luckily the car still starts, in fact, on further inspection the alarm wasnt even connected to anything but itself... I got some cool shock sensors and LEDs out of it though.
Before:
After:
Looking at the new dash for a while, and snatched this out of it, i pretty positive this is an internal antenna... for reasons that seems obvious...
Reads: Antennas America Inc. Pat. Nos.5,363,114 5,995,059 PCB 00002 TA2
Of no use to me now, but another cool come up... Got some wiring diagrams, but if anyone has a link to a DIY stock stereo removal repin that would be great. Also gotta Gotta set up some a REM wire for the isolator, I think I will just use the one from the stock stereo plug...
The new floor mats came today, seem weirdly shaped, but I thing (hope) they will fit right in! Still waiting on that darn climate control. And working on the seemingly endless sanding/painting...
Now back to school work which I am falling a little behind on, mostly due to shipping delays, not the car, I swear! Will keep you all updated.
Last edited by Turtlegrip; Feb 14, 2012 at 06:31 PM.

Thread Starter
|
HCF Member
Joined: Mar 2011
Posts: 485
From: Los Angeles
lol i forgot that i dont have that hook up there on the driver side for the mat. I went to a dealership to get it done once (recall so its free) but they said it would be 5-6 hours to install it...... they wouldnt budge so i never got it... can i just screw any little hook into the floor?
Last edited by Turtlegrip; Feb 14, 2012 at 09:48 PM.
Thread Starter
|
HCF Member
Joined: Mar 2011
Posts: 485
From: Los Angeles
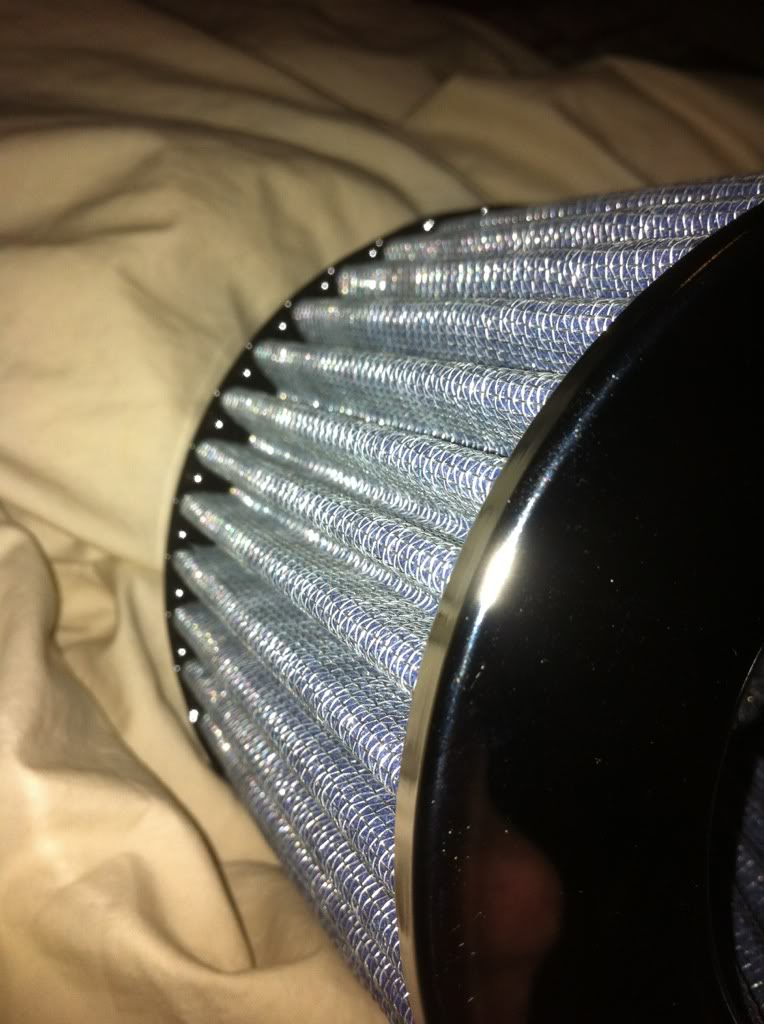
Cold air intake come in today! Ill buy a K&N filter tomorrow!
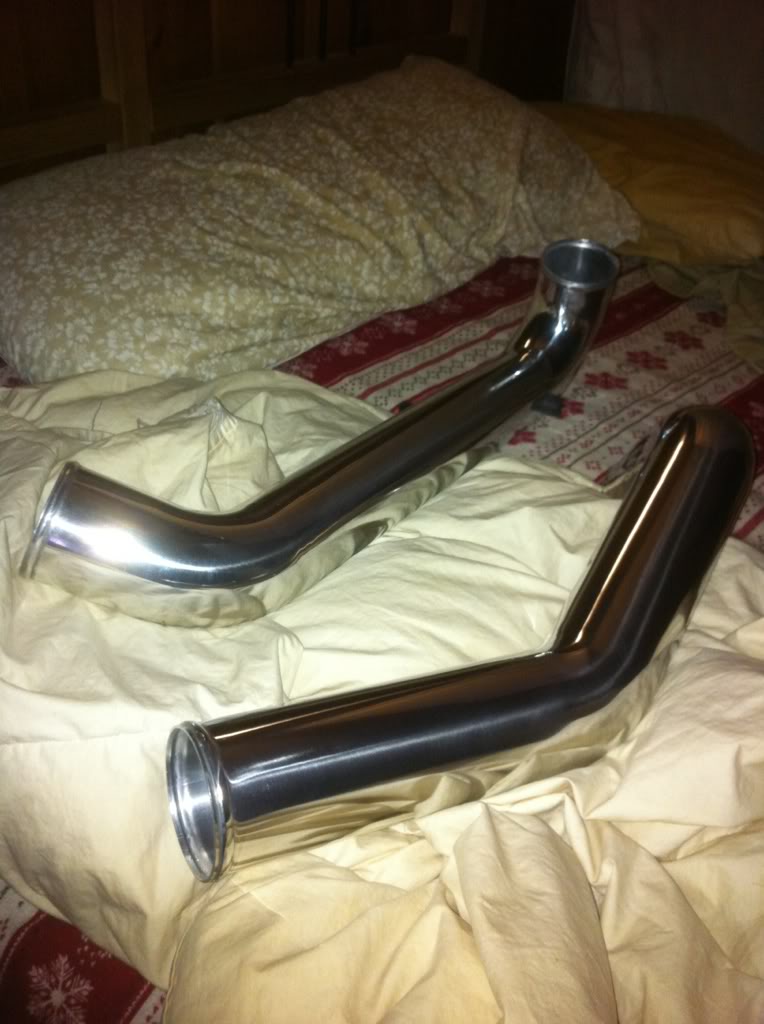
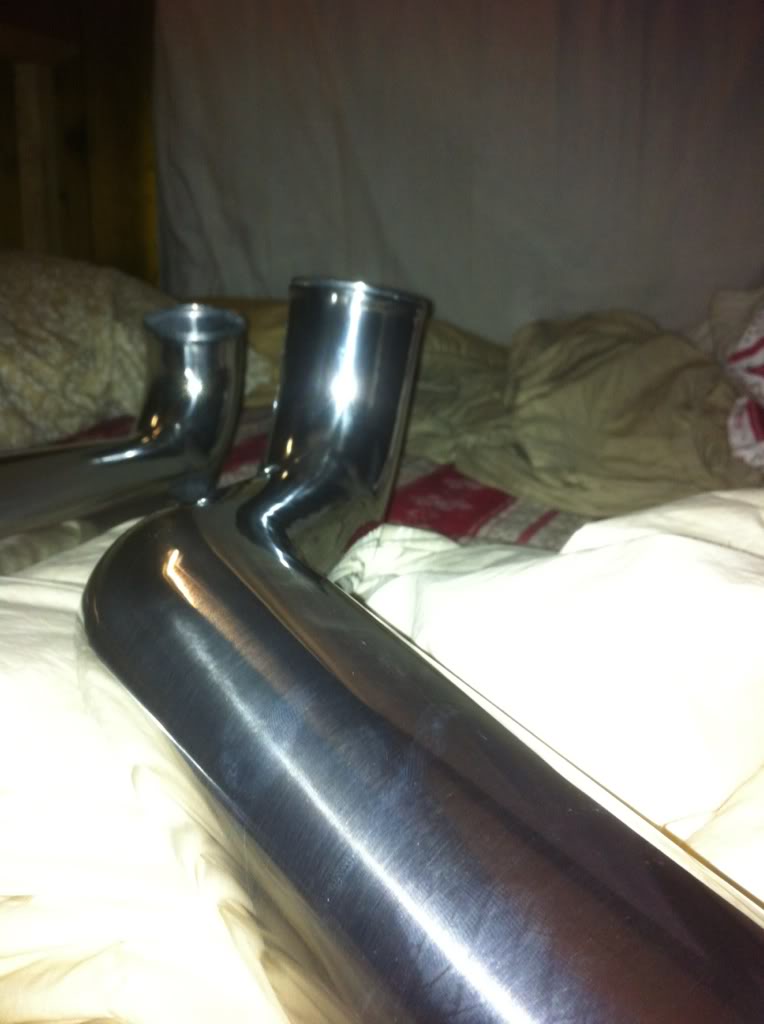
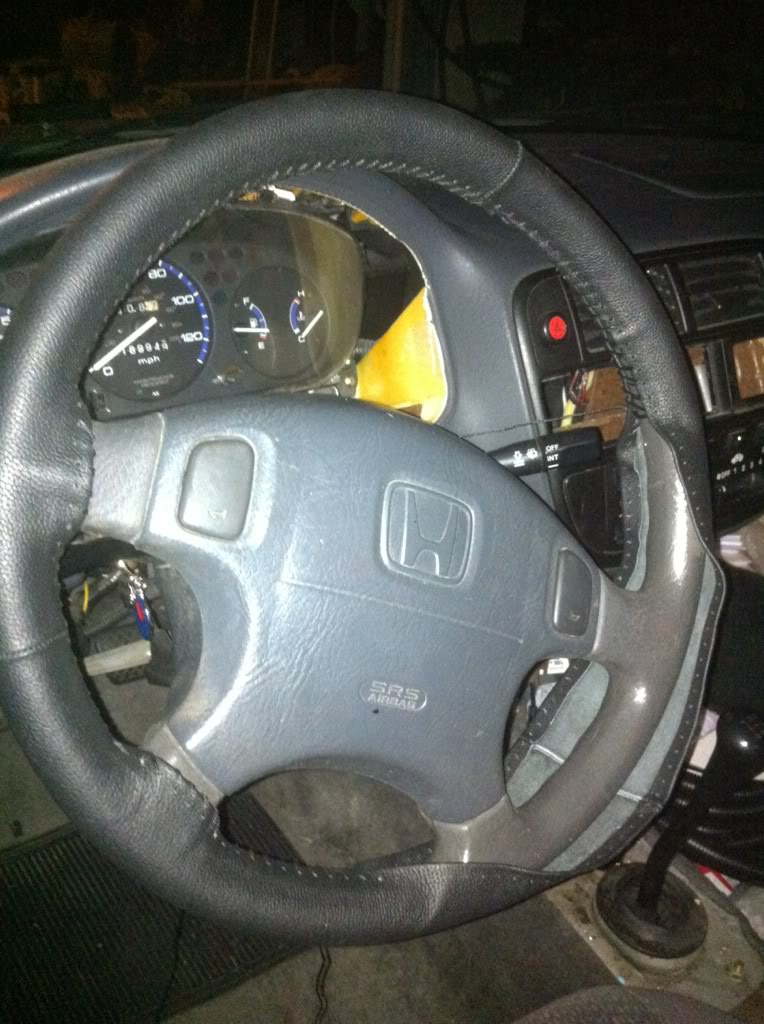
Steering is coming along... haha, it actually take a lot of time, which I dont have between school and other things. As to the suggestion of another steering wheel, I like mine just fine, I cant think of anything another steering wheel could offer. This one fits my grip great esp with the leather grip, since the real part is falling apart heh...
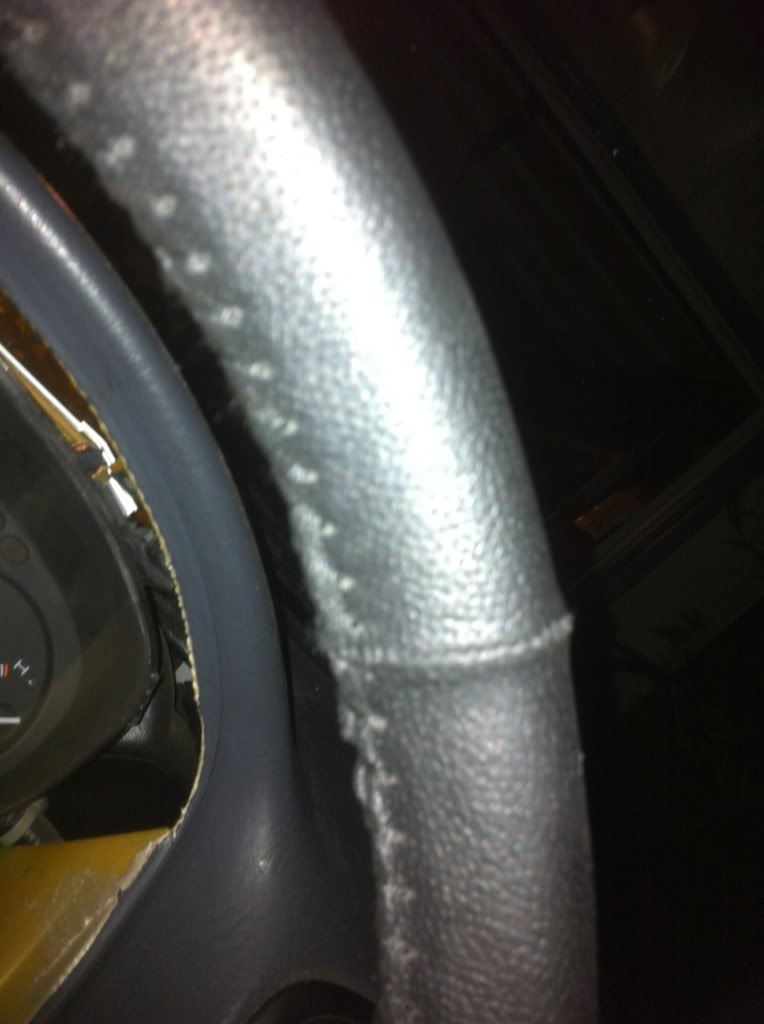
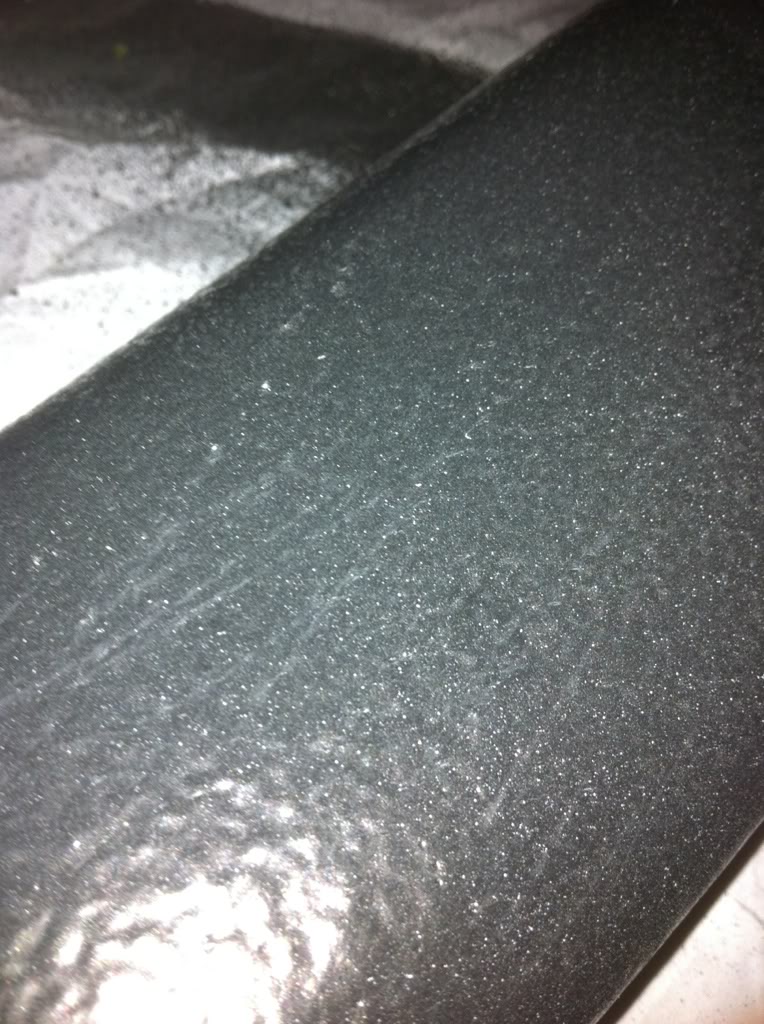
The paint is giving me a little bit of a headache, when it is lightly scratched it leaves marks all over... So I am gonna keep doing what I am doing but after the 3rd clear coat I am gonna do another sanding of like 1500 grit then I will use matte black vinyl paint and 1 more clear coat. Outside of that the paint is pretty strong and looking pretty good. The paint is getting a little bit thick, but everything was really loose before so this should help all around, sound, fitting and looks! And I do think it looks pretty nice!
Auto-Zone keeps forgetting to actually order my battery, since it is the only place I can get the Optima d31m, I am forced to deal with them... Should finally be here in a couple days... Tomorrow should be the cold air intake, fuel filter, cleaning the iacv and finishing the speaker box then get to finishing on sanding, at least the dash since I know what to do for the paint now, and then i can swap out the dash and not have a heating unit until I get the climate control, which is in IL right now and I am in CA, dash might not even been done by the time it gets here. Can't do the kill switches until I switch the dash and harness... Maybe I can just do the speaker rewire, and then set up the trunk. I will just have to see what happens and update tomorrow!
Steering is coming along... haha, it actually take a lot of time, which I dont have between school and other things. As to the suggestion of another steering wheel, I like mine just fine, I cant think of anything another steering wheel could offer. This one fits my grip great esp with the leather grip, since the real part is falling apart heh...
The paint is giving me a little bit of a headache, when it is lightly scratched it leaves marks all over... So I am gonna keep doing what I am doing but after the 3rd clear coat I am gonna do another sanding of like 1500 grit then I will use matte black vinyl paint and 1 more clear coat. Outside of that the paint is pretty strong and looking pretty good. The paint is getting a little bit thick, but everything was really loose before so this should help all around, sound, fitting and looks! And I do think it looks pretty nice!
Auto-Zone keeps forgetting to actually order my battery, since it is the only place I can get the Optima d31m, I am forced to deal with them... Should finally be here in a couple days... Tomorrow should be the cold air intake, fuel filter, cleaning the iacv and finishing the speaker box then get to finishing on sanding, at least the dash since I know what to do for the paint now, and then i can swap out the dash and not have a heating unit until I get the climate control, which is in IL right now and I am in CA, dash might not even been done by the time it gets here. Can't do the kill switches until I switch the dash and harness... Maybe I can just do the speaker rewire, and then set up the trunk. I will just have to see what happens and update tomorrow!