


Turtlegrip 1997 Civic DX



What size piping is that intake? I have a 2.5" AEM Dryflow filter I would sell you. I need to upgrade my intake for the H22 to 3" and I obviously cannot use this filter with the bigger piping. Let me know if you are interested.

Thread Starter
|
HCF Member
Joined: Mar 2011
Posts: 485
From: Los Angeles
I ended up with a 3" filter and made a grommet type thing to snug it in, it has a small spot that leaks and I am pretty sure that is giving it a whining noise, i have some videos ill post below...
I started today out finishing the sub box, all good to go, plugged them in, and as bad as they look they still sounds amazing, Rockford for the win!
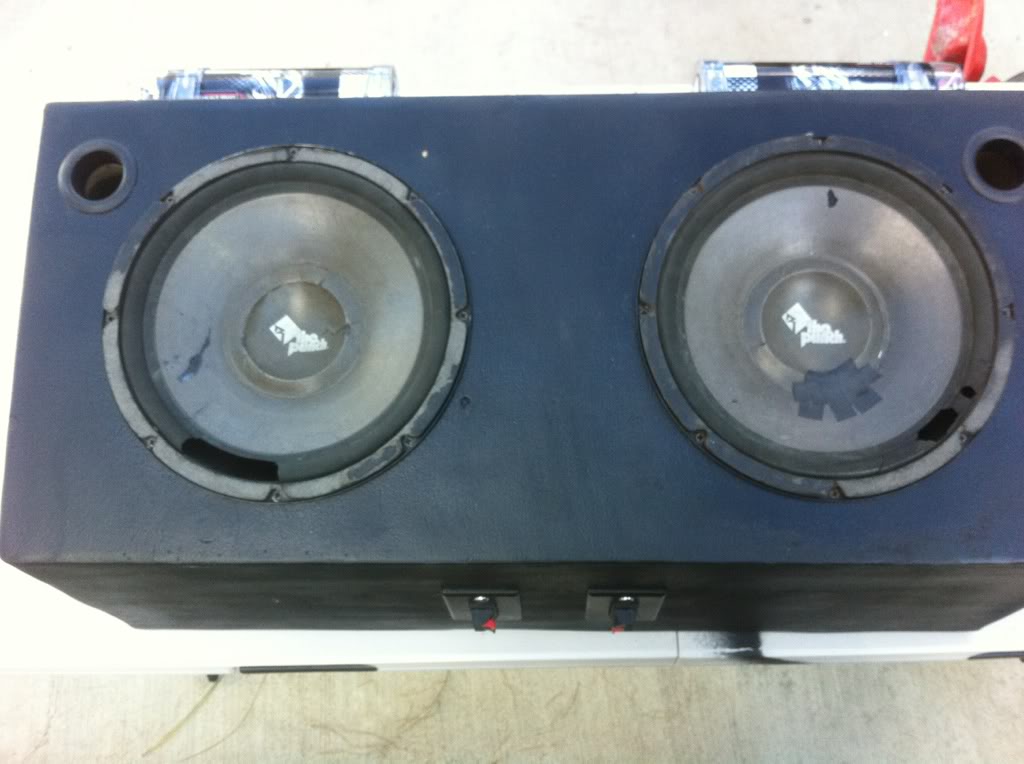
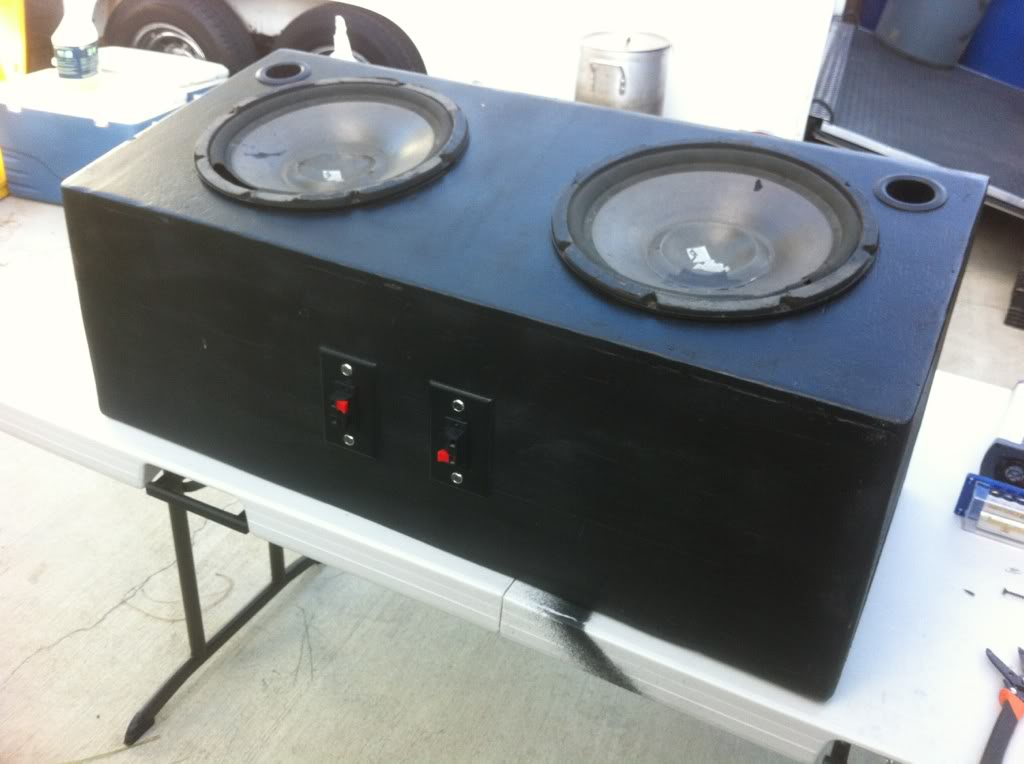
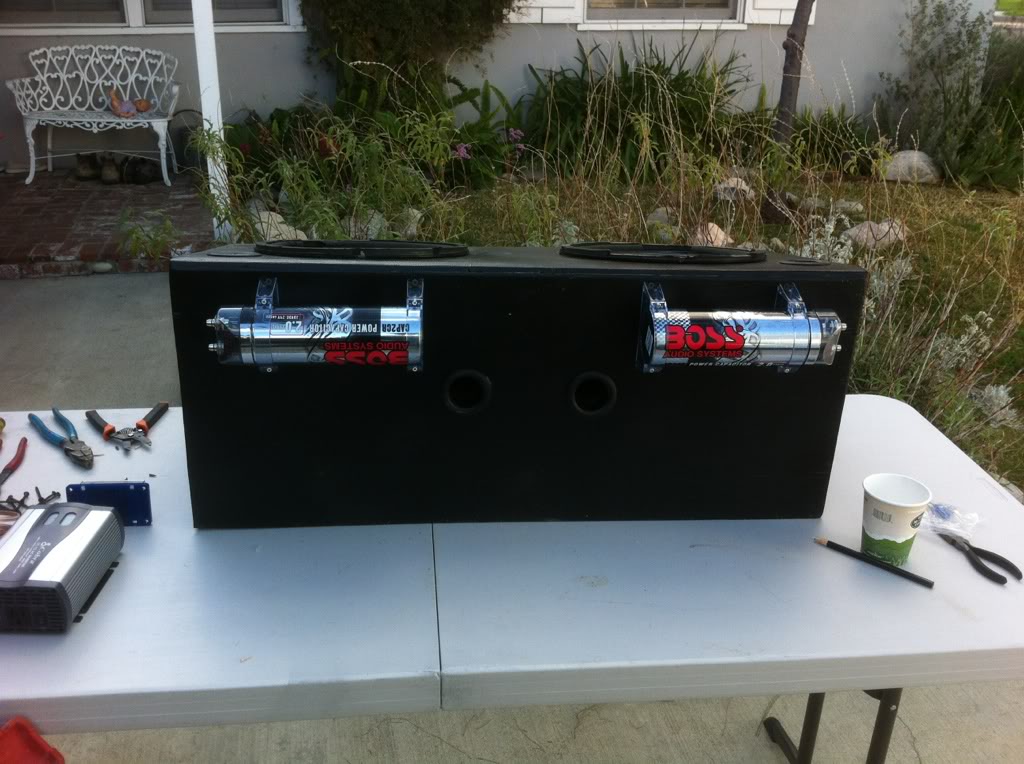
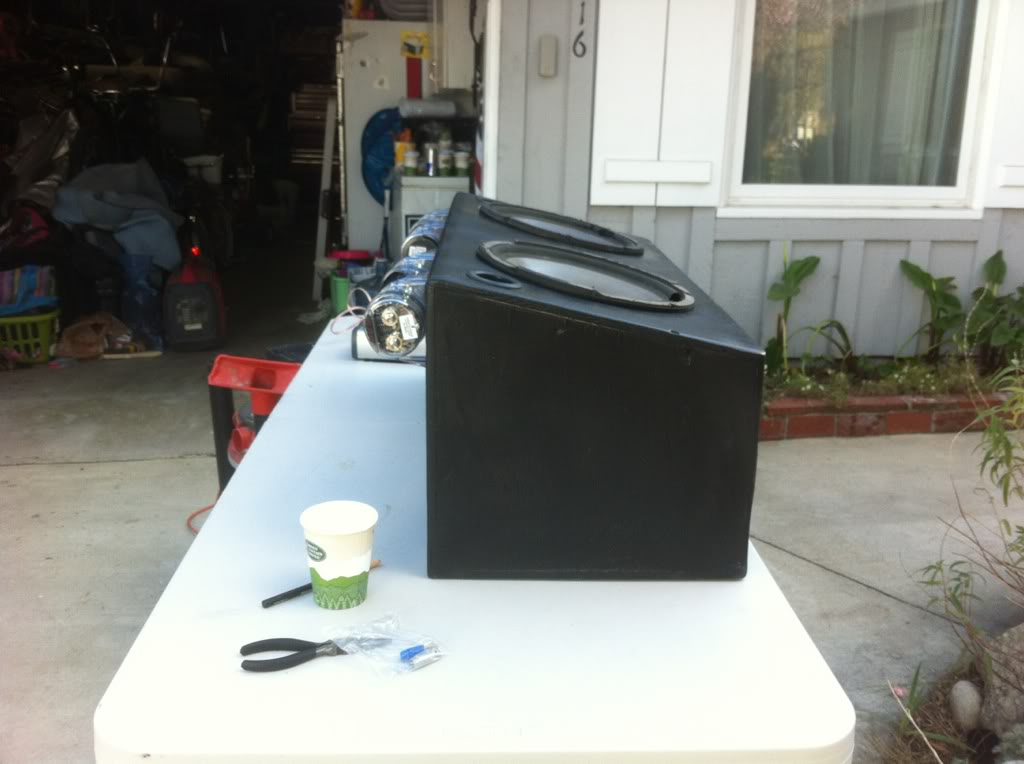
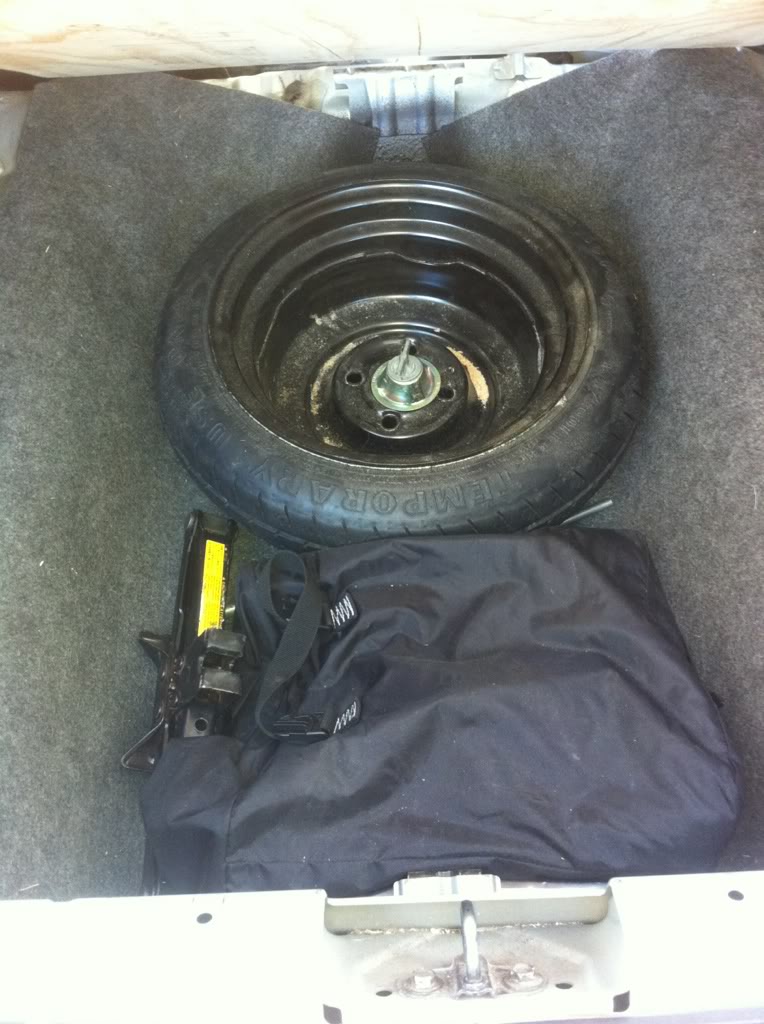
haha tools in the trunk, random pic...
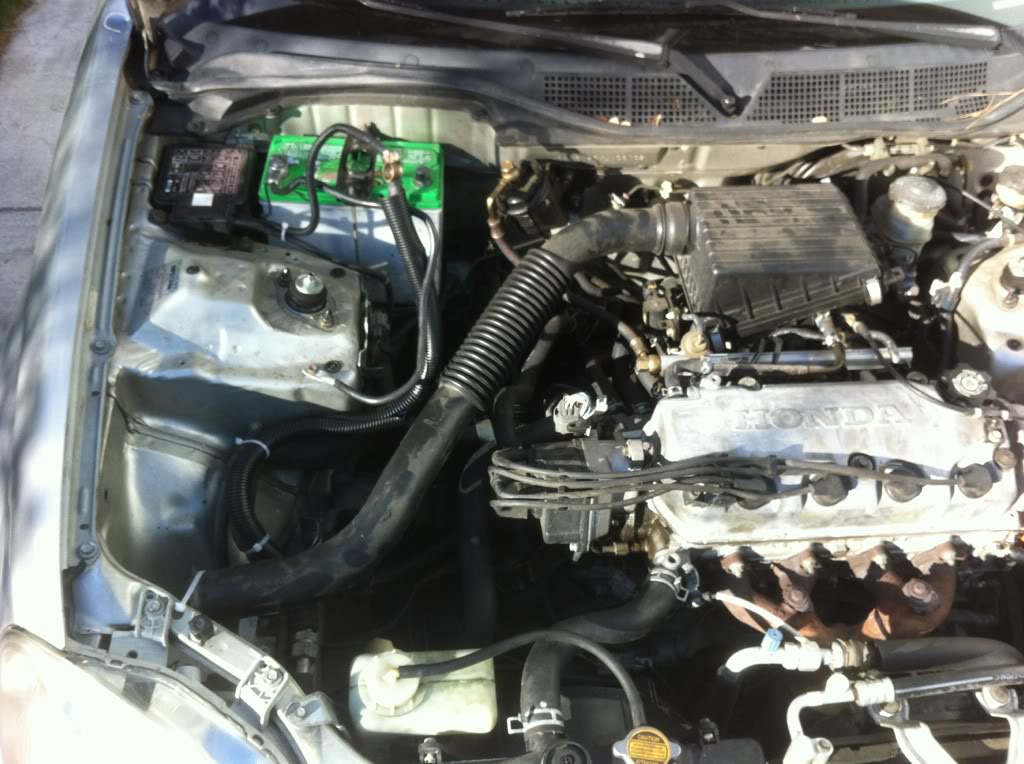
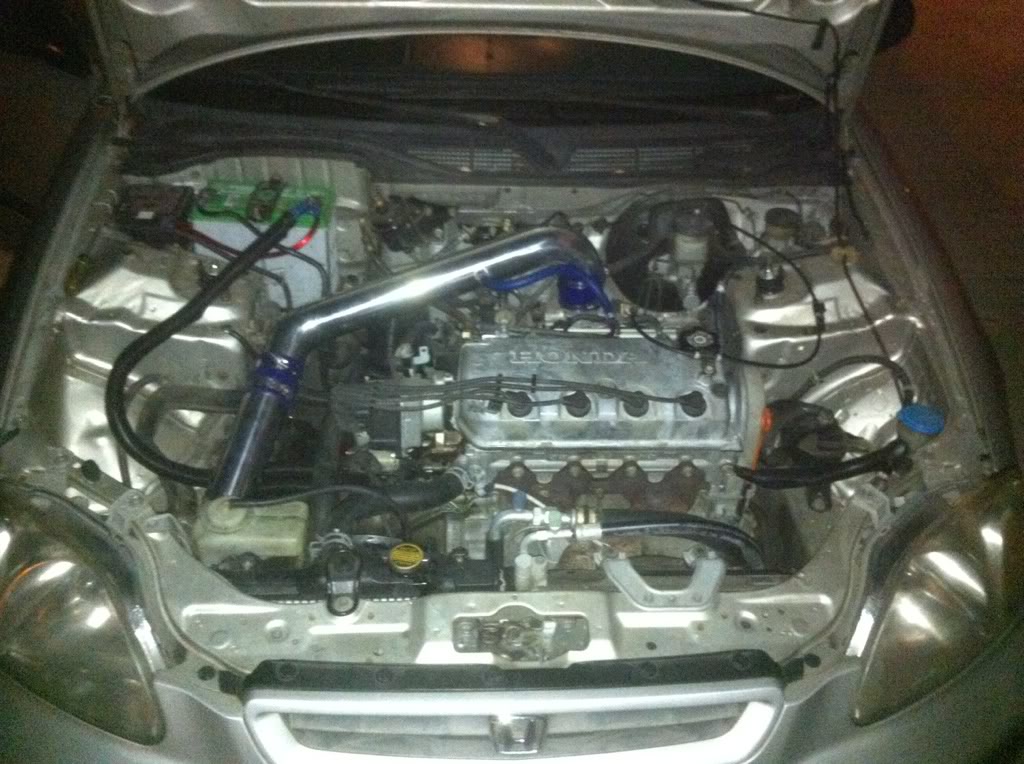
Engine bay at the start of the day:
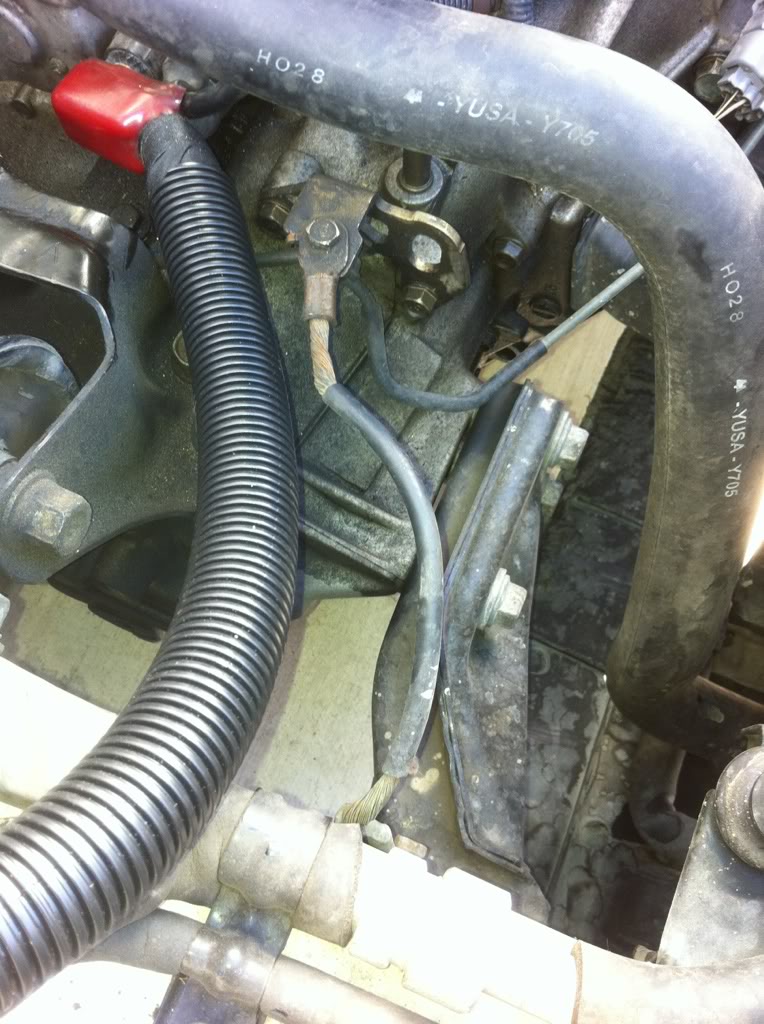
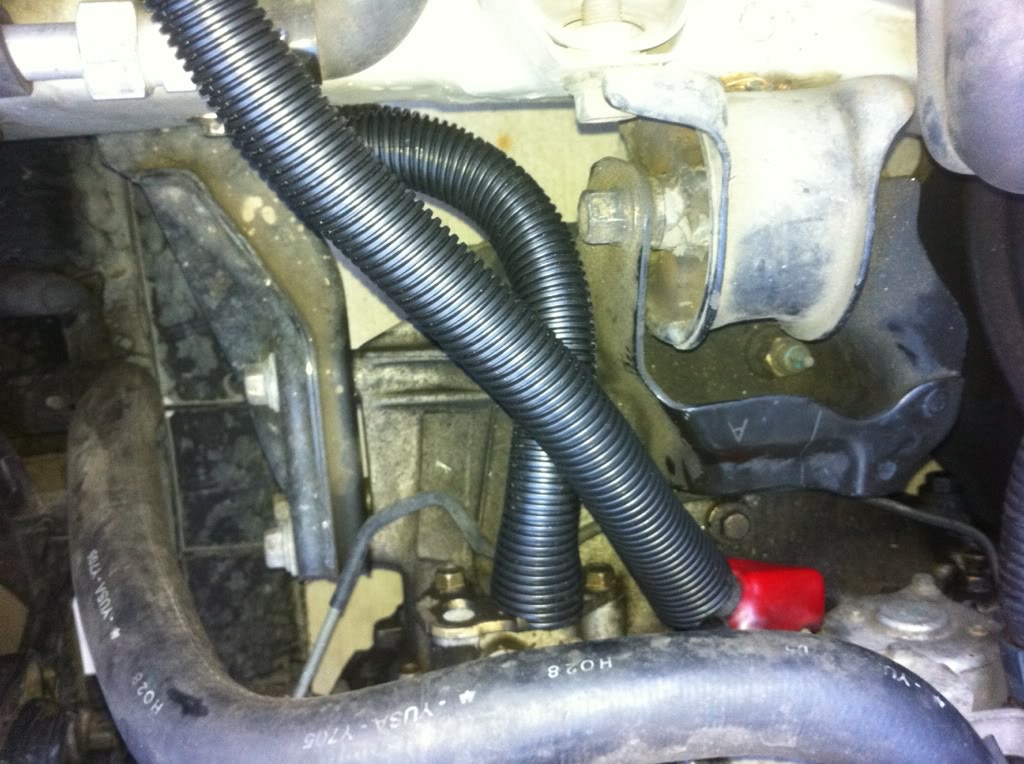
Last ground cable i needed to replace...
Got it made fast, I am getting good at soldering haha:
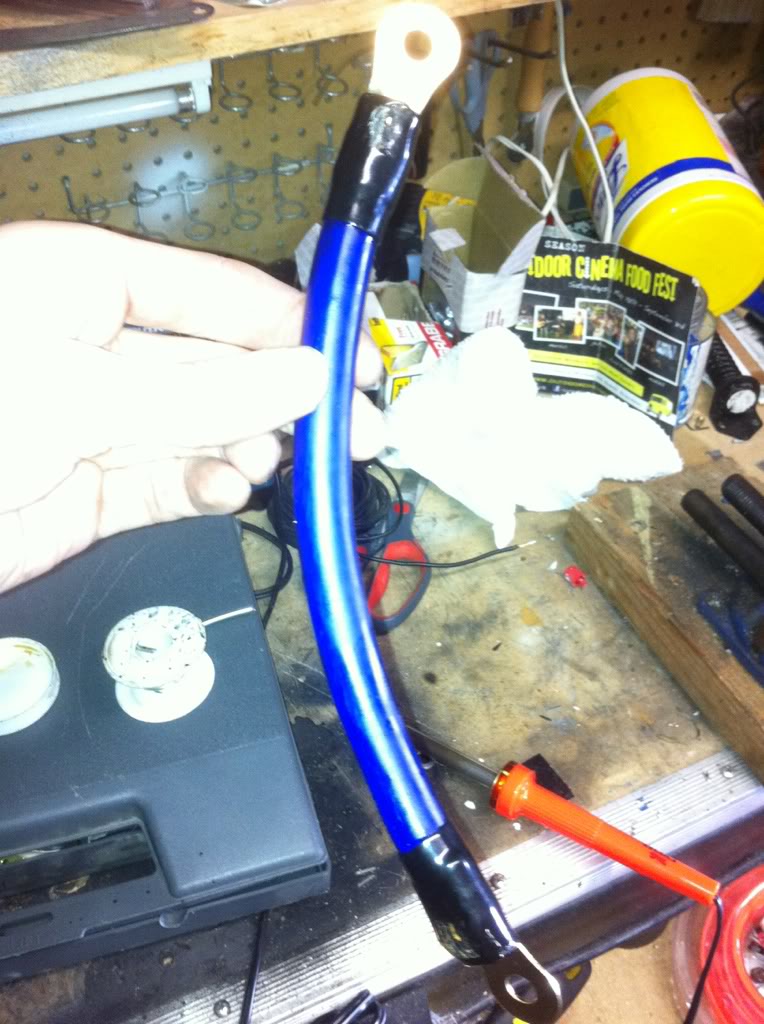
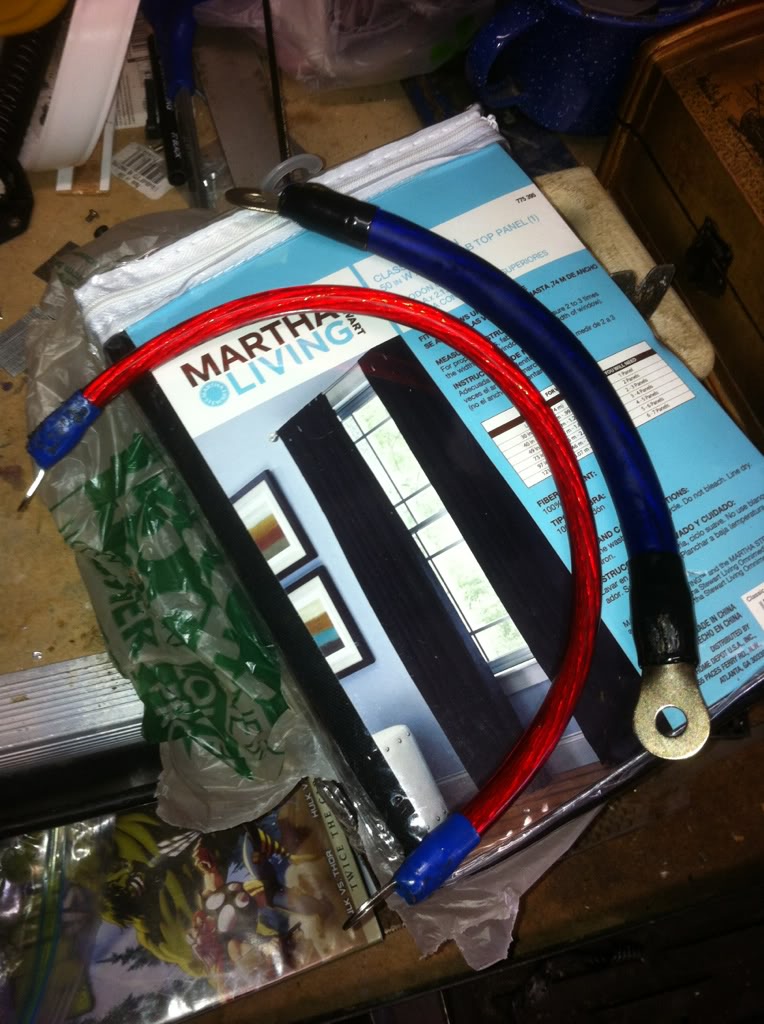
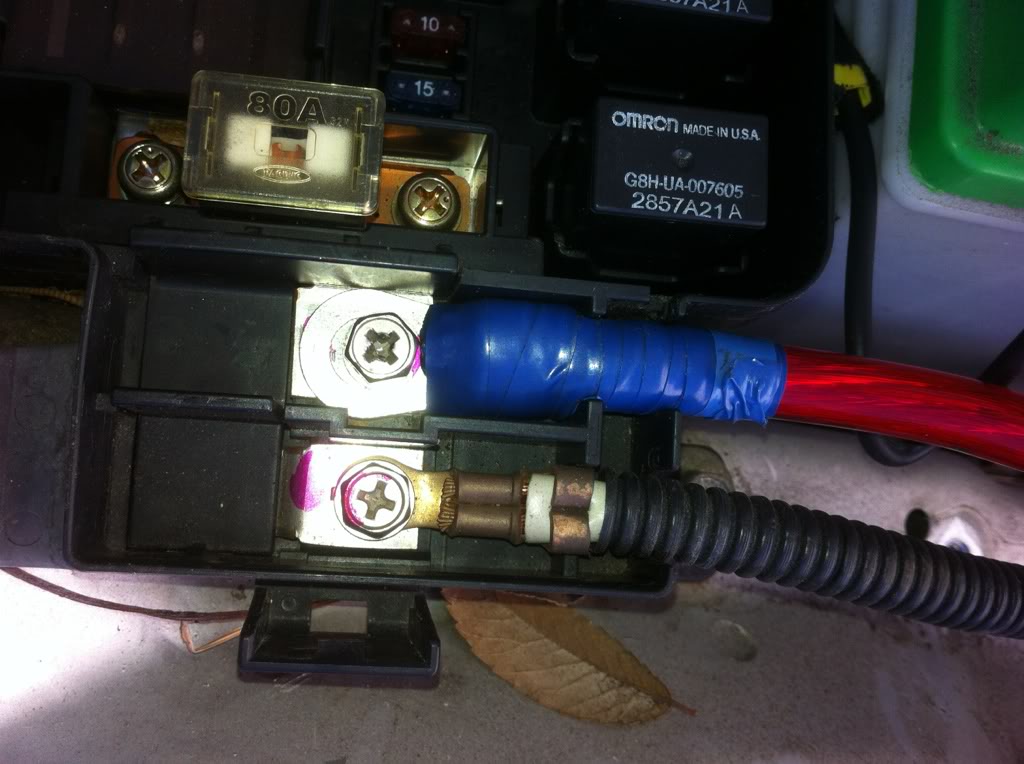
Also made a 4 gauge power cable from the battery to the fuse box...
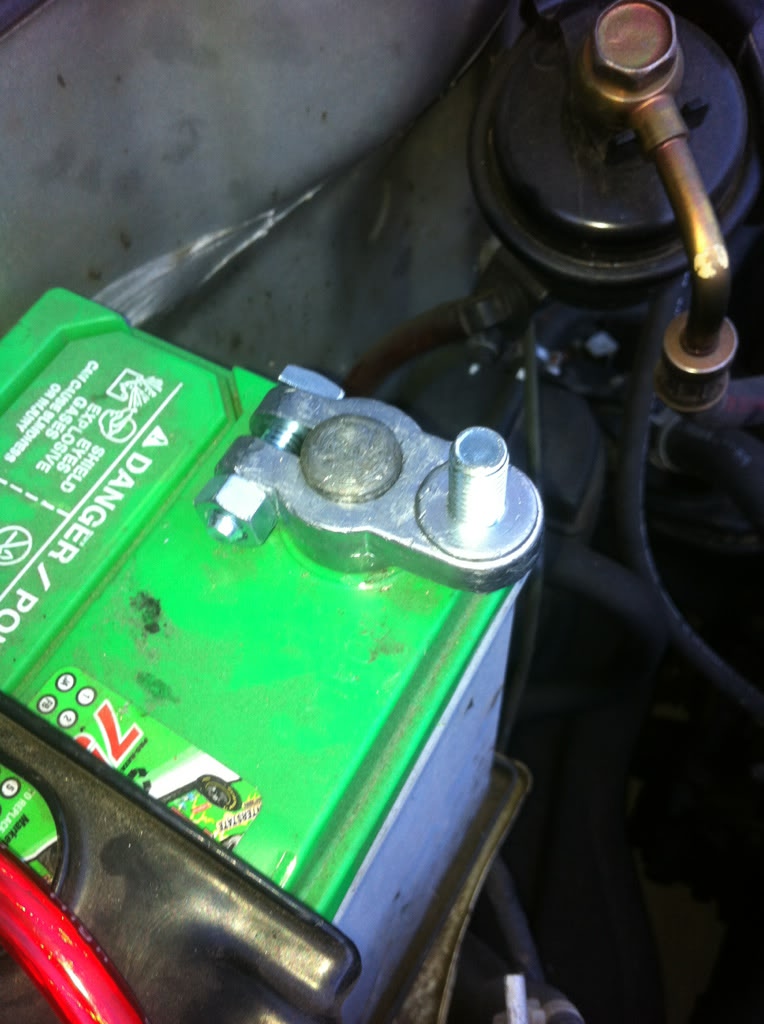
Threw in the the battery terminal so I can plug more stuff onto it, have to drill crimps to fit them on, but no big deal.
Looking for the IACV and unplugged this, spilling coolant everywhere heh... IACV another day, it was getting dark already...
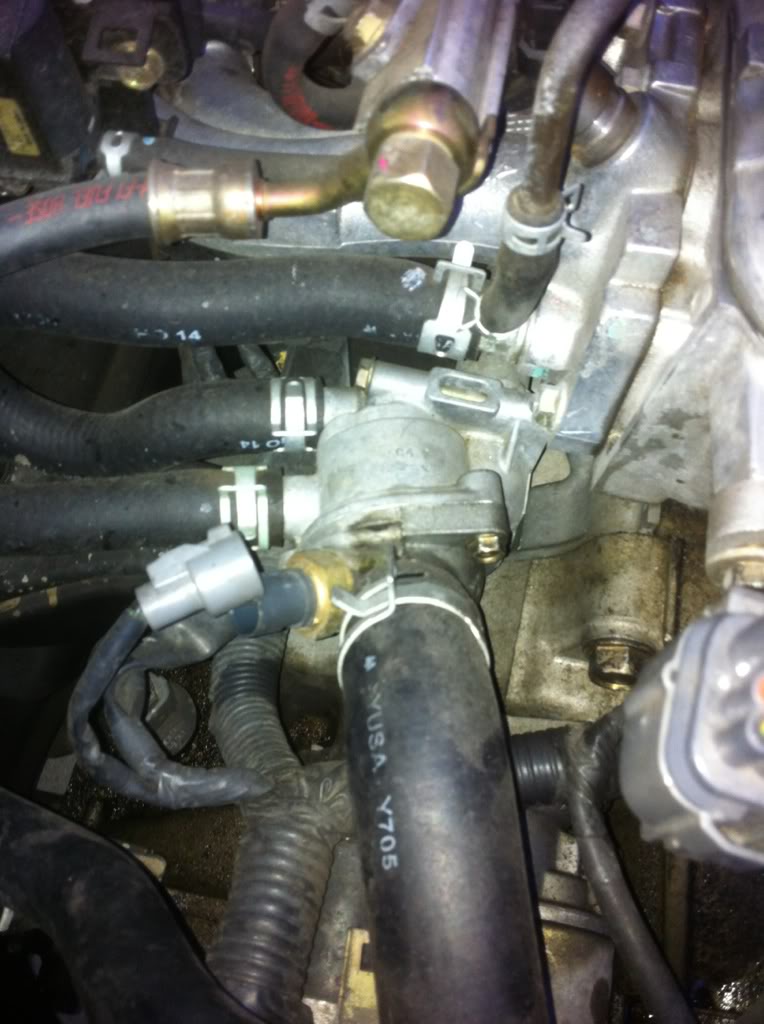
So let me just throw in the intake before it is too dark, barely did it in time!
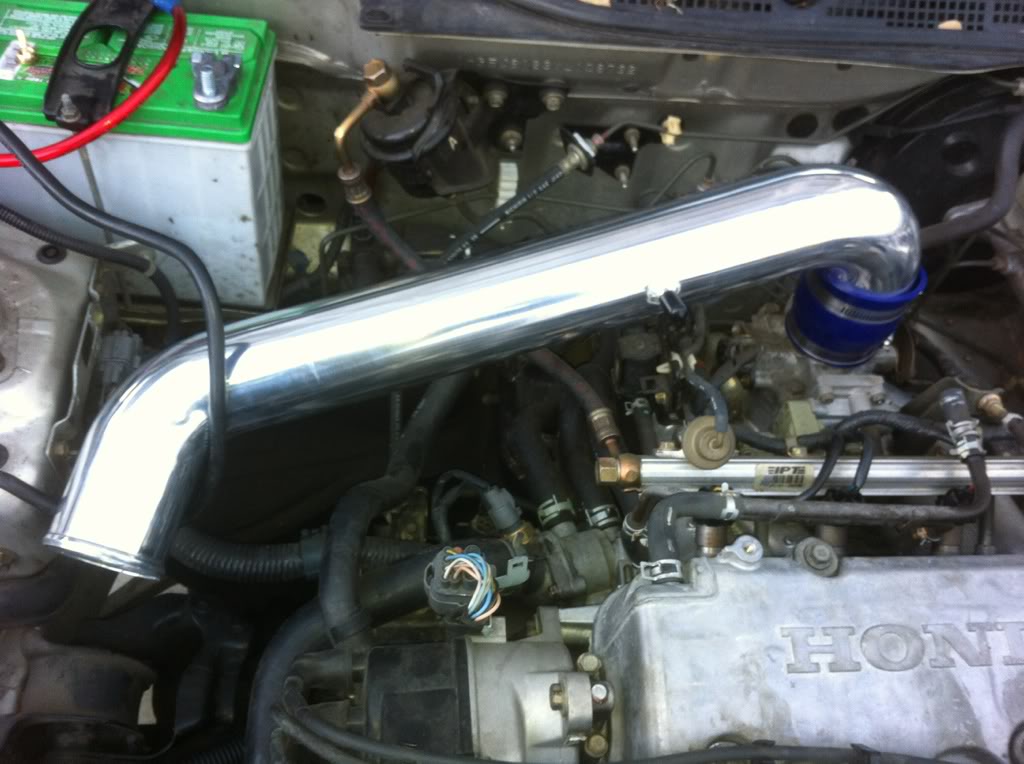
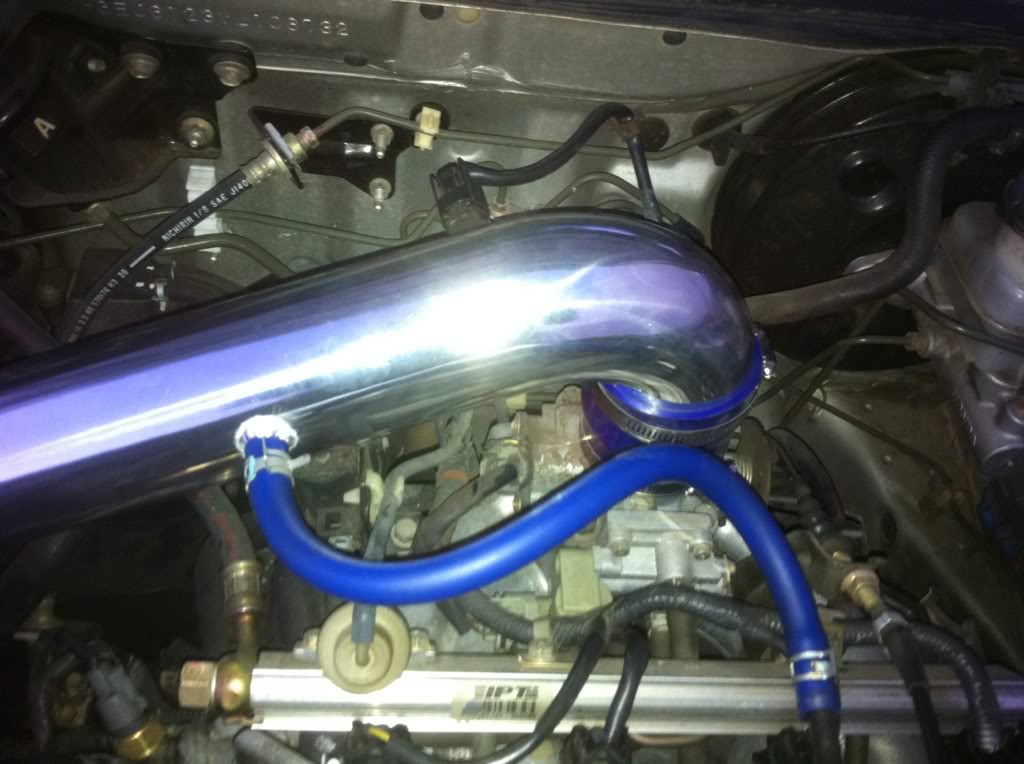
Like I said above, 3" filter, 2.75" tubing, so i made a rubber grommet to make it fit nicely, very tight and snug, very happy for an ebay filter, BUT! The grommet i made has a small space not covered, like very small, I couldnt get a pic... But the car makes this squeal just barely at times but still noticable, I am guessing it is air slipping thru that hole... I will throw some expanding glue or sealant in that crack and see if it helps, here is a pic, then a video to hear it, and then a random video of me driving... cant notice much in the driving one, especially since I have a crack in my exhaust manifold and my bushings are constantly screaming... Driving a little fast in this, cant get into higher gears on the streets due to insane amounts of cops in my area, youll get pulled over instantly if you pass other cars...
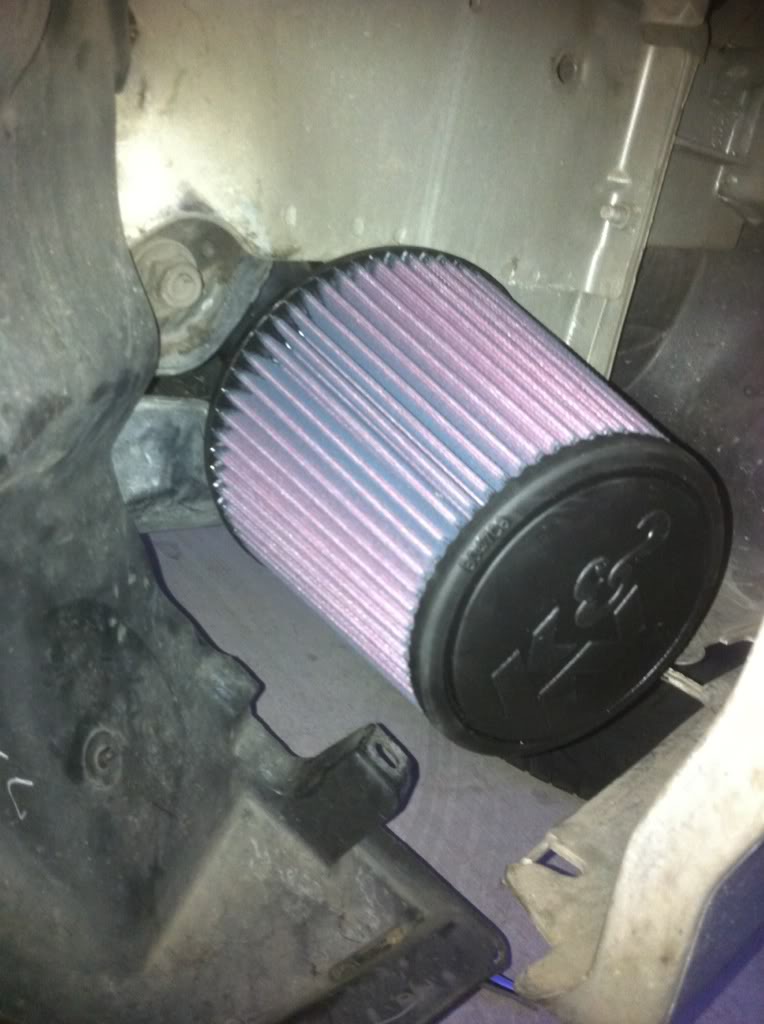
In drive way, you can hear the sound, that little chirp/whistle...
On the road...
Nice day, I was "working" while doing all this haha so it was a bit slow and didnt get much done... But my battery should be here tomorrow, so that means ill be able to finish my trunk, either way I am going to throw everything else back in, mount amps, run power cable, mount PC, ect. I will get as much stuff done as I can tomorrow, at least I want my amps up and running so i can just throw my iPod output on them and have some music, better than nothing... the paint that was scratching just needed to dry more, busting out the hair dryer for the next few days, gonna go over everything before I add new coats, each time. Doing dash tonight, so I can throw it in the car this weekend, get the kill switches going and repin the stereo plug and what not... I am very happy everything is moving along without a hitch, even the steering wheel is almost done -_-
Another update incoming tomorrow!
Last edited by Turtlegrip; Feb 16, 2012 at 07:43 PM.
Thread Starter
|
HCF Member
Joined: Mar 2011
Posts: 485
From: Los Angeles
Finished the trunk today, tired though, gonna get stereo running and PC running tomorrow...
Side walls for trunk:
Stock...
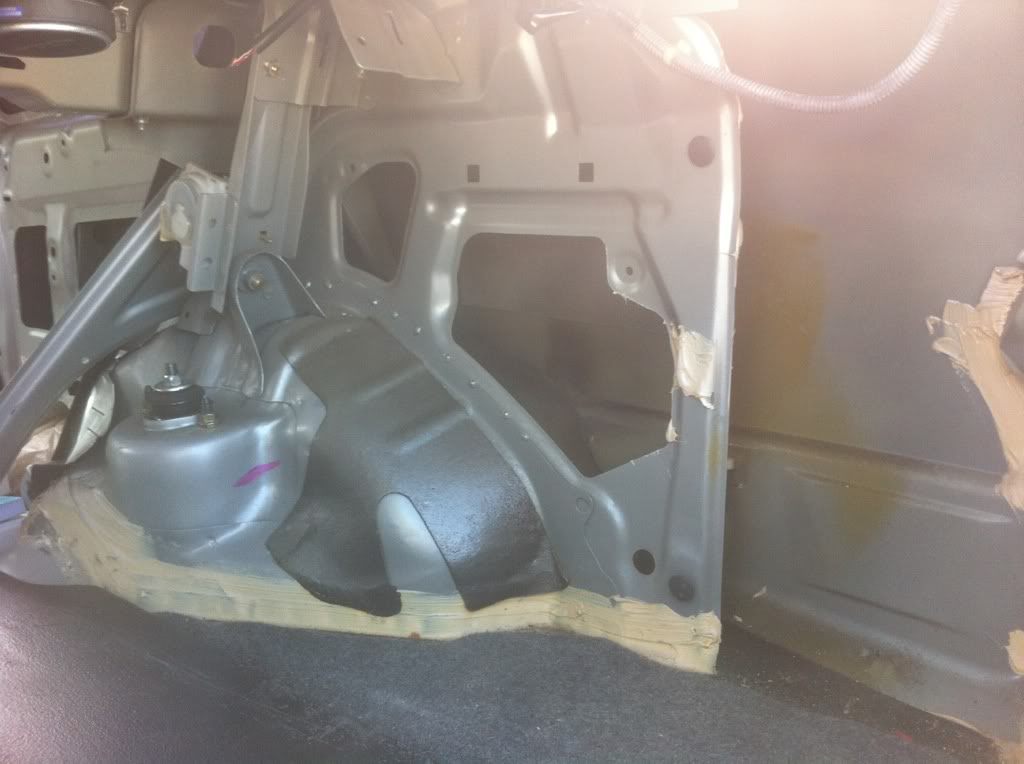
Right Side...
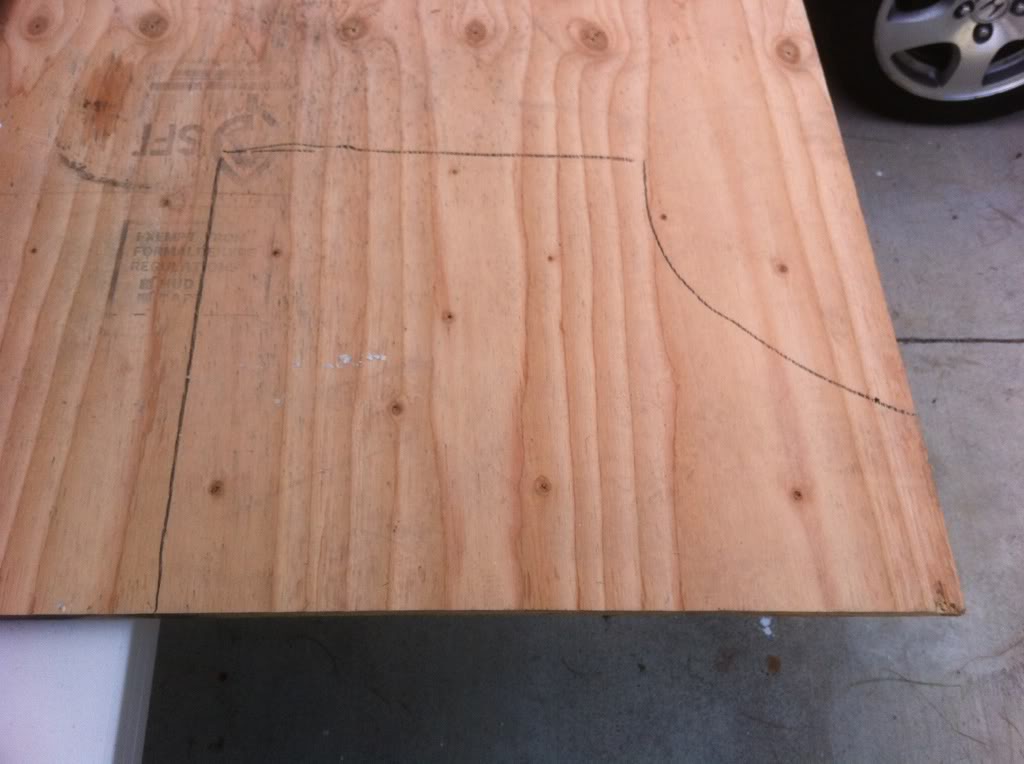
Left Side...
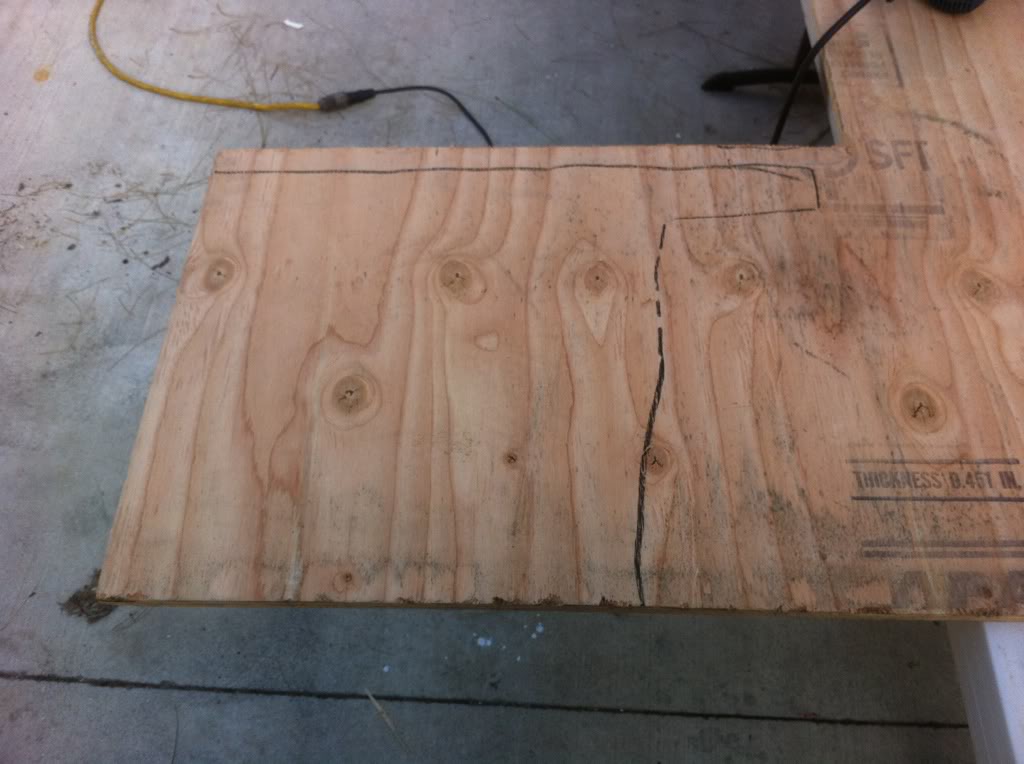
Respectively...
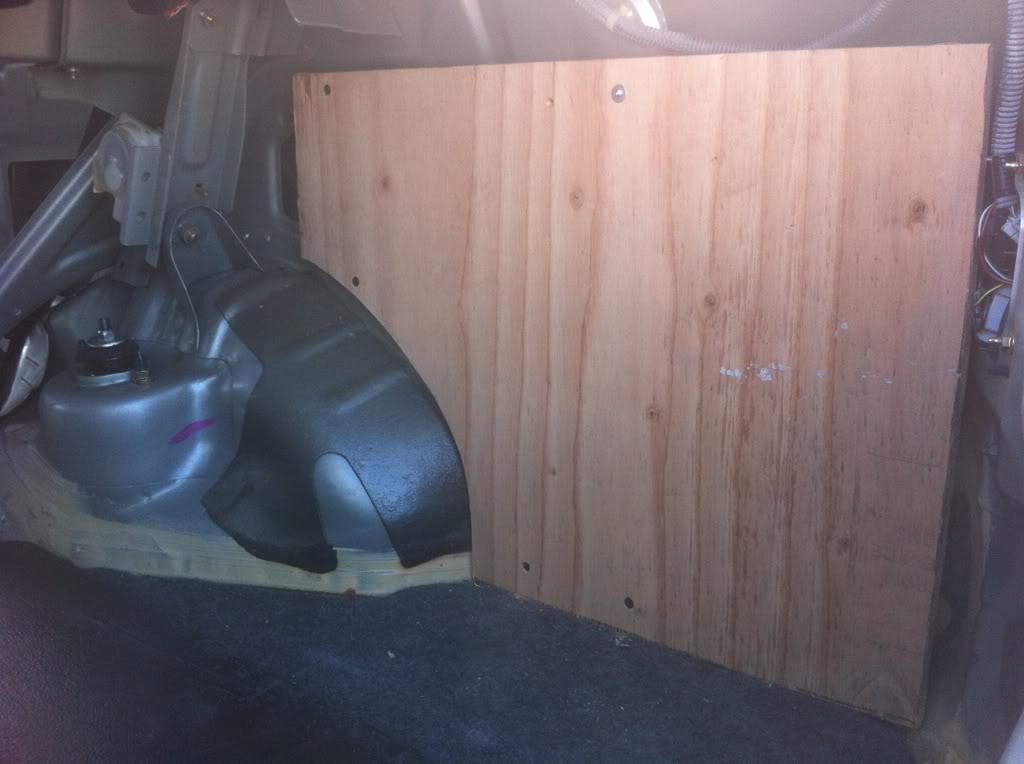
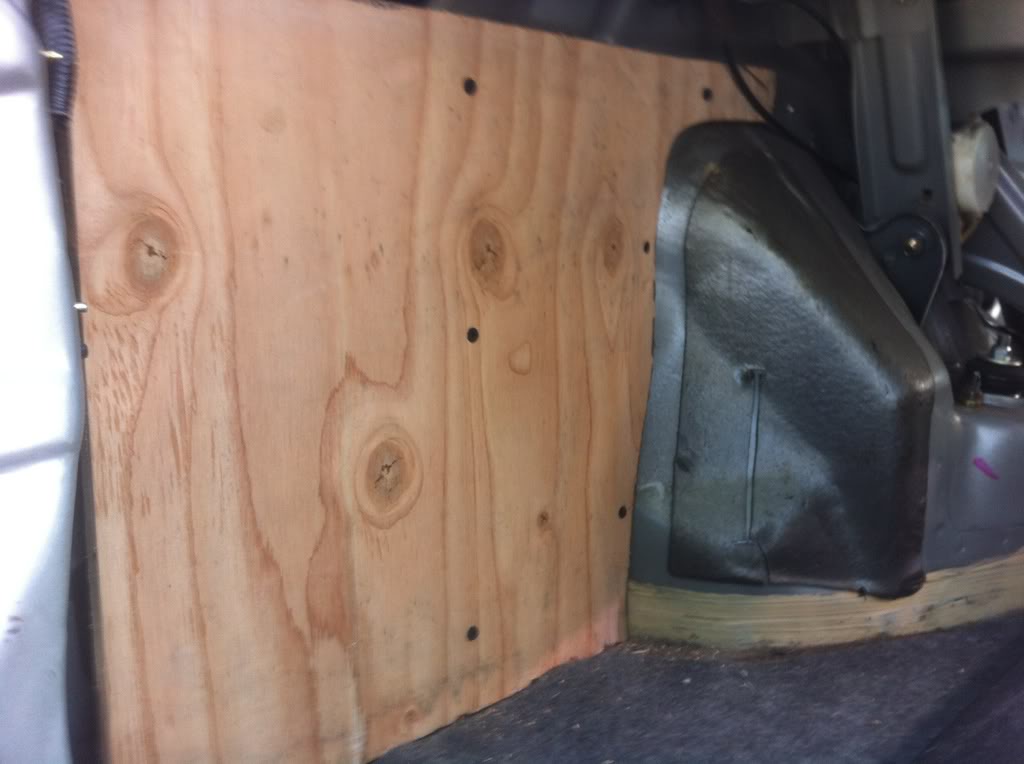
Left Side with Battery Tray...
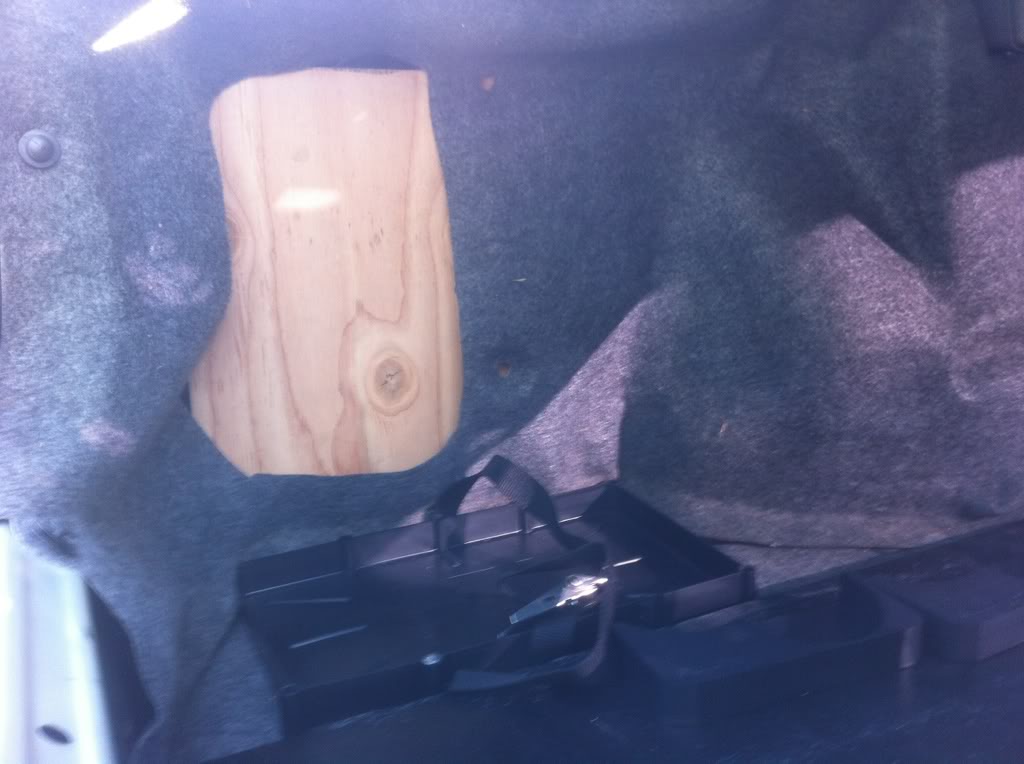
Right Side Padded for PC Mount...
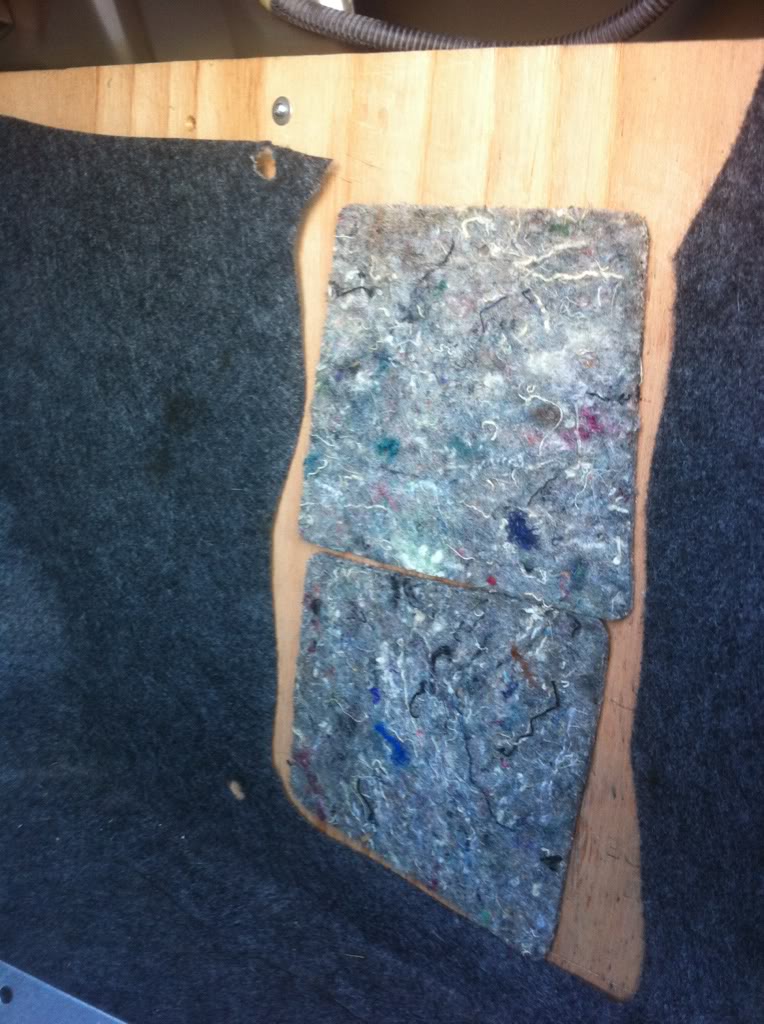
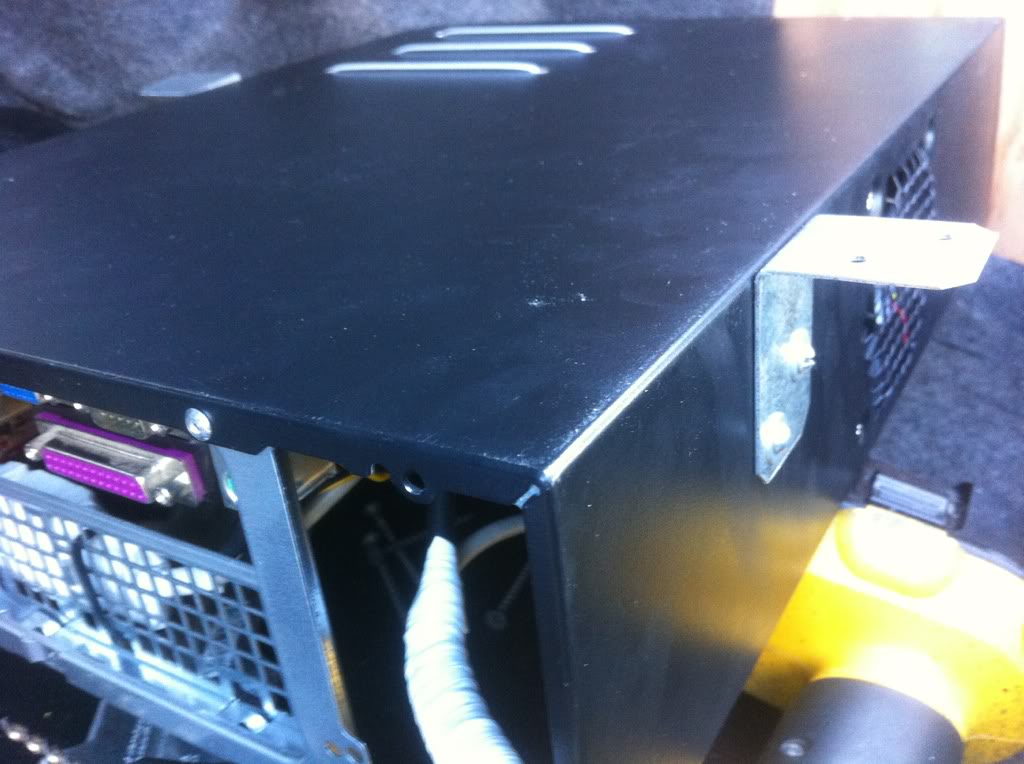
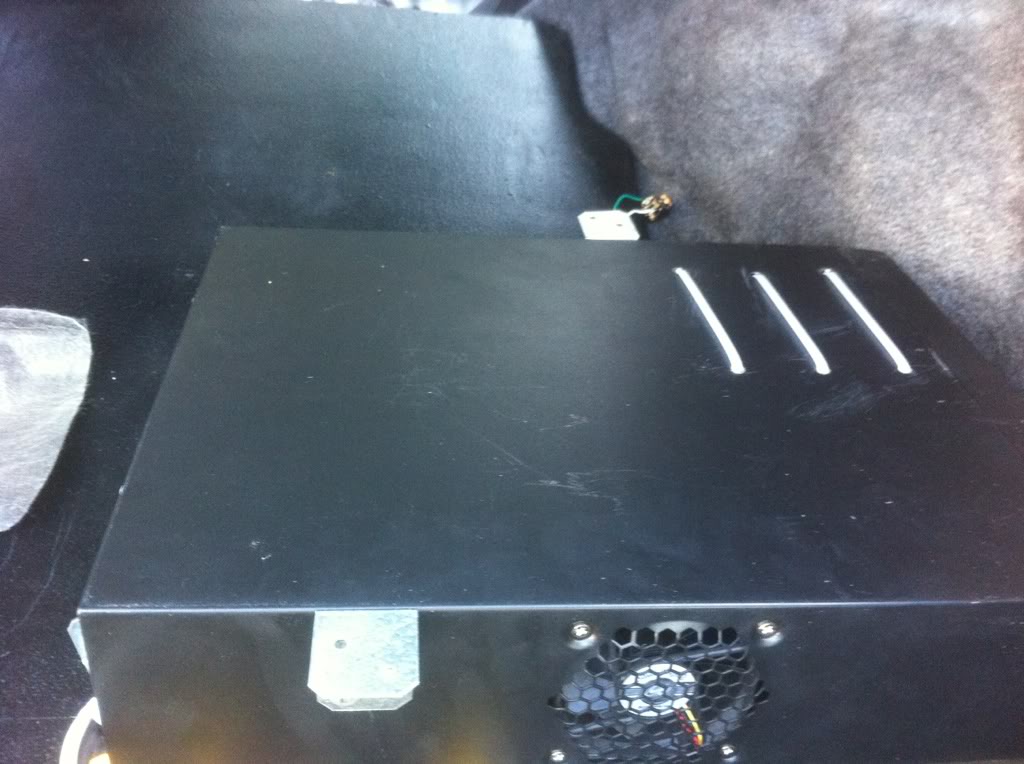
PC Brackets (also a bracket on the floor to hold it still /w foam padding)...
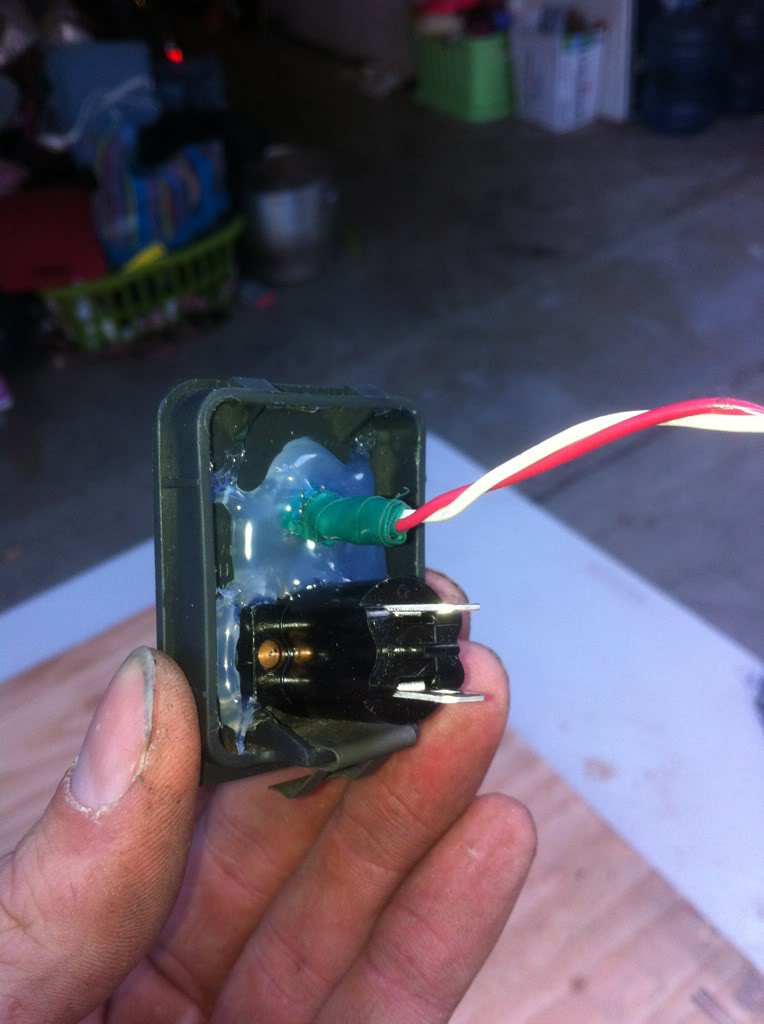
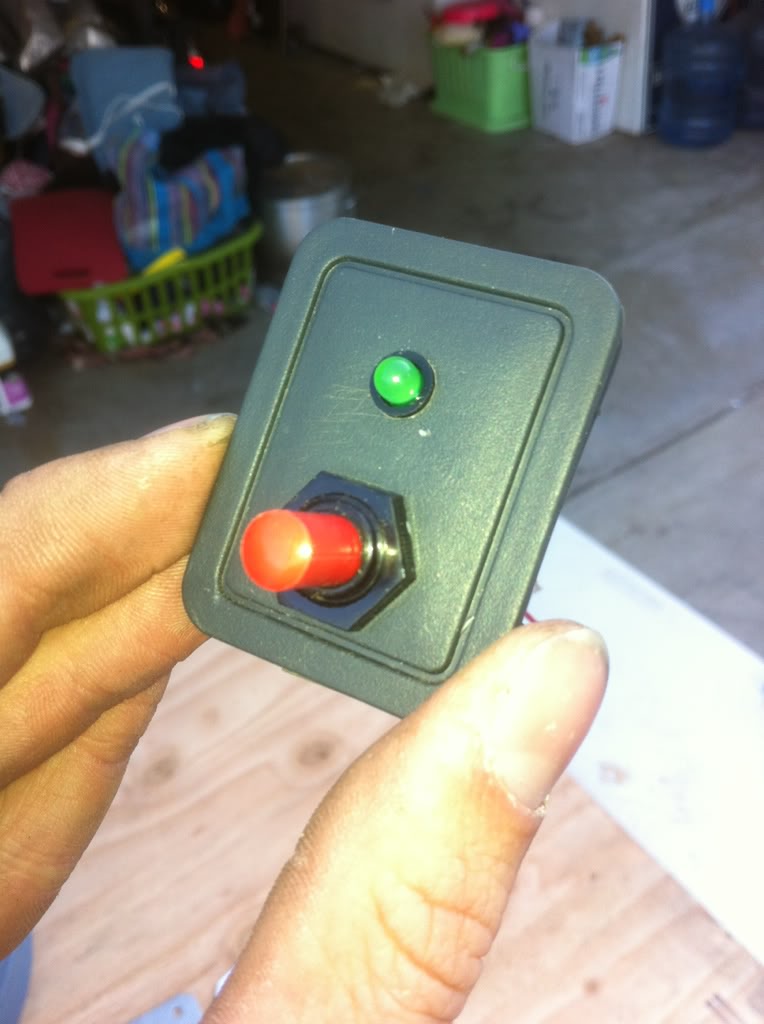
PC Power Switch and LED Power...
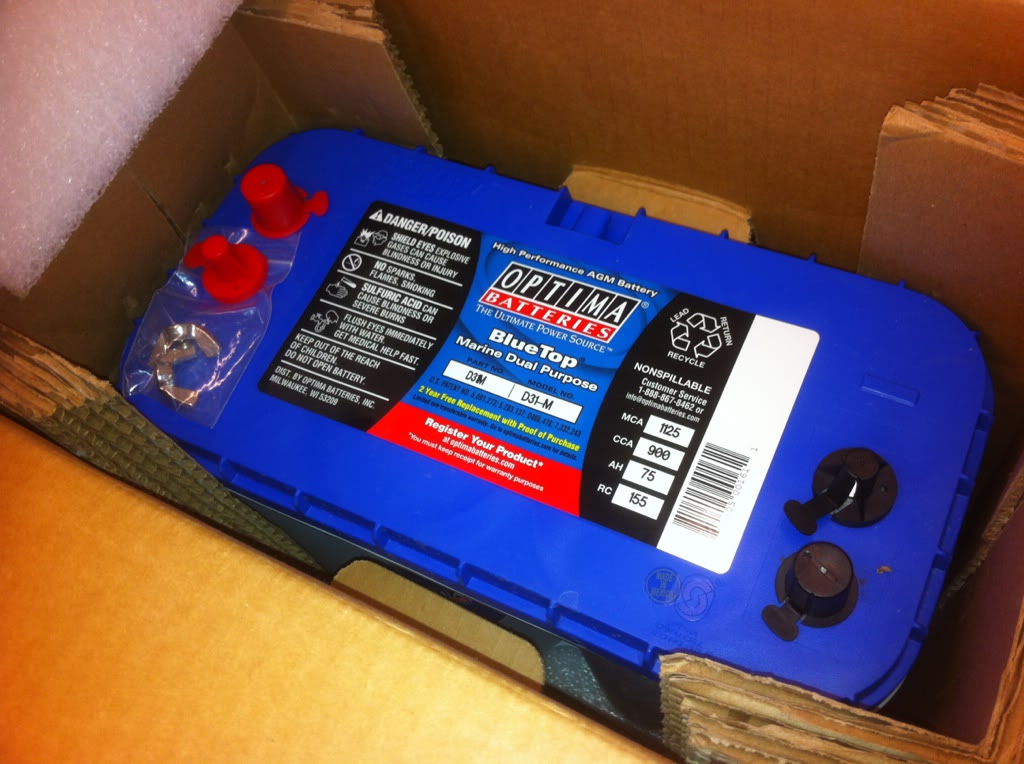
Then I went and picked up the battery... haha huge hassle but i FINALLY got the D31M, thing is big lol... The AutoZone is retarded and ended up with 3 of these batteries because they kept ordering new ones and telling me they didnt come in, when apparently they were all building up in receiving room....
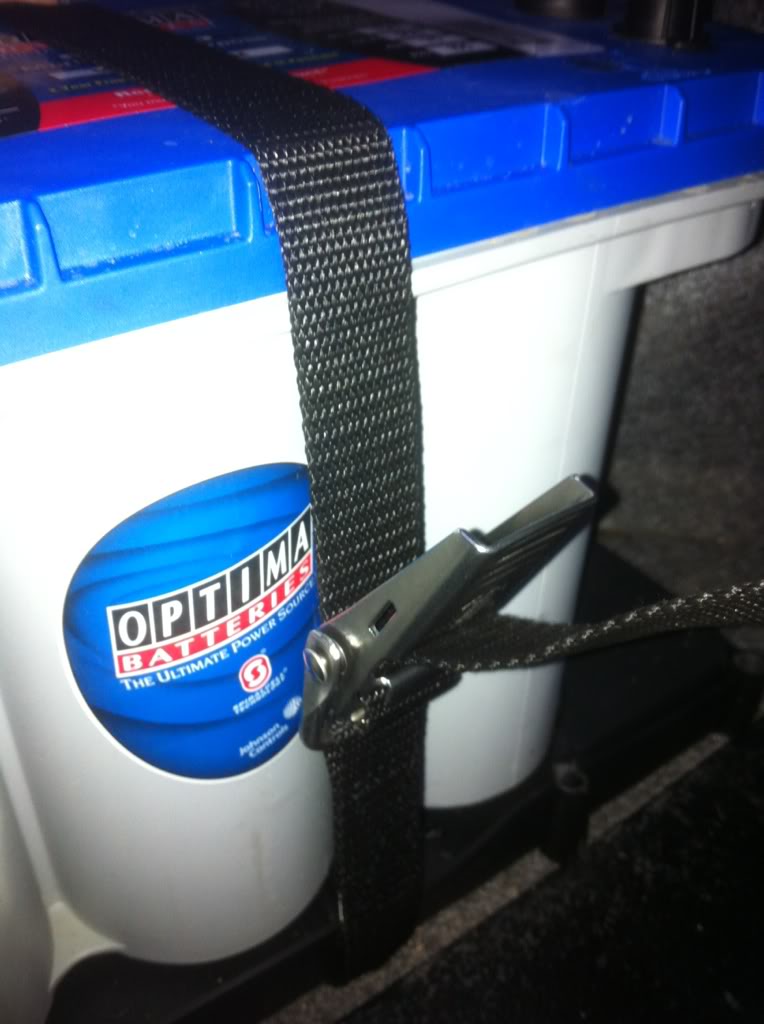
This cable the battery mount came with is whack....
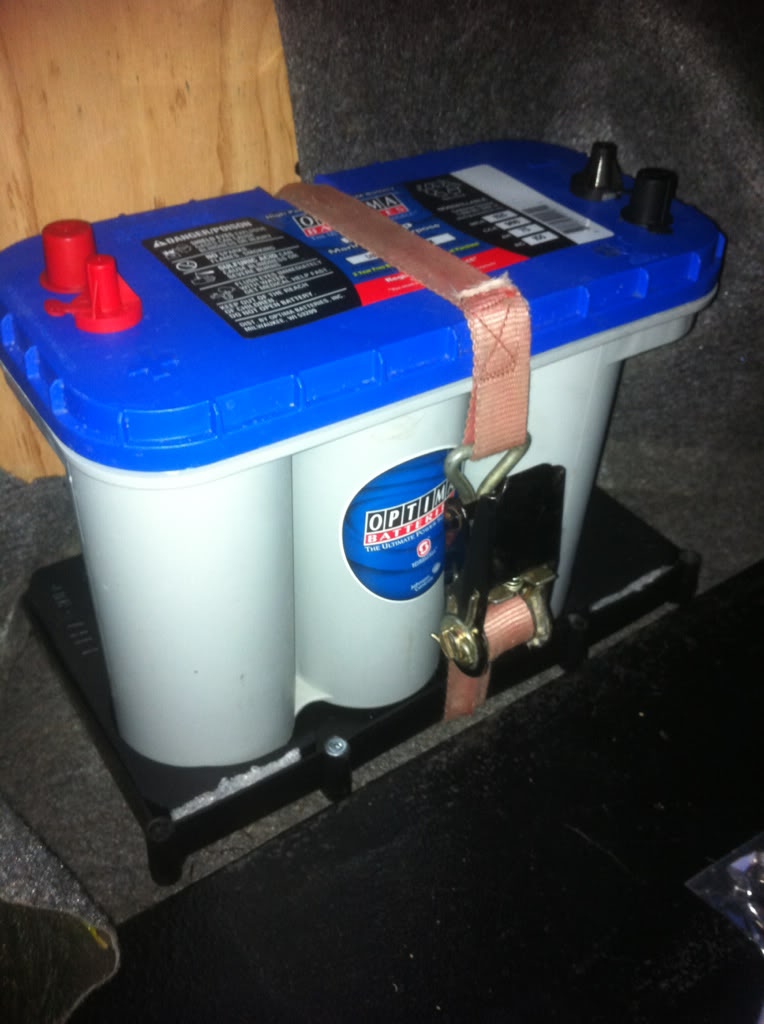
My battery cable...
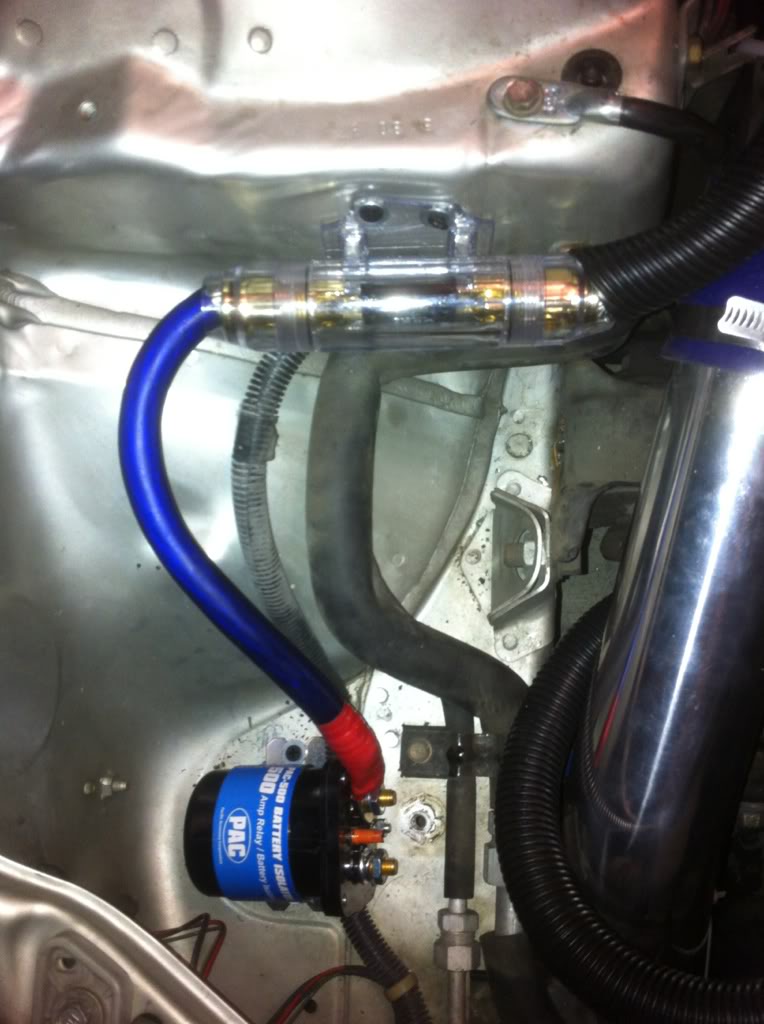
The 150A ANL Fuse and 500AMP PAC Isolator... Isolator is poorly mounted/glued, gonna use rivets to get it in nice tomorrow...
Power Cable through the hole for the old power cables...
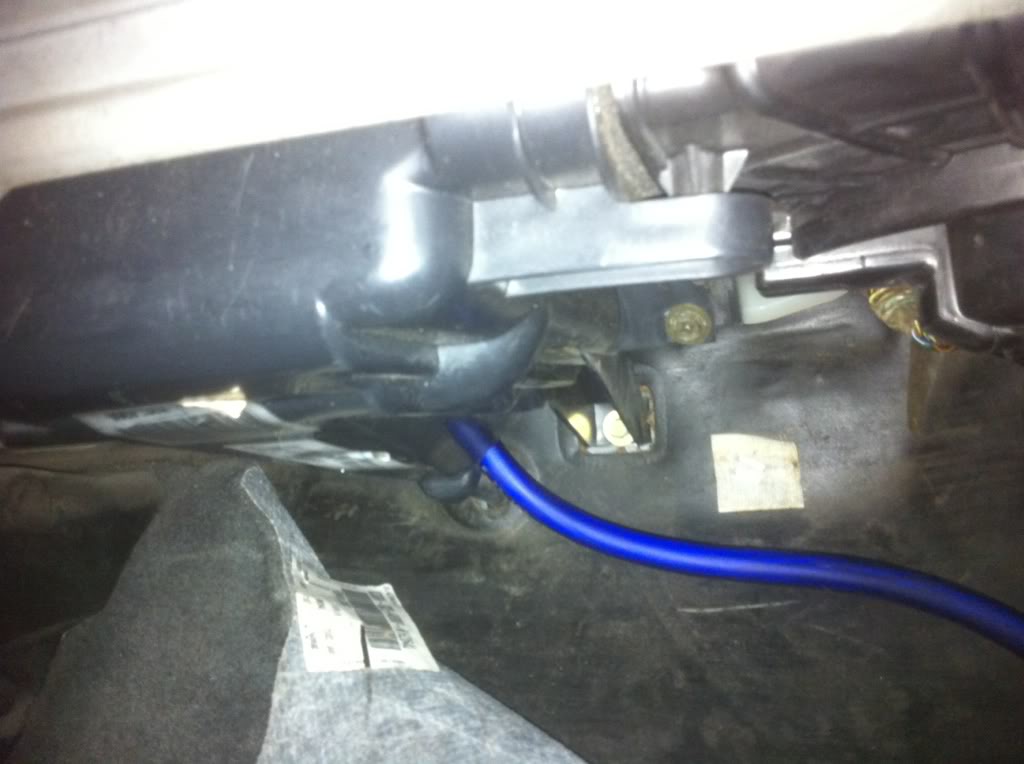
Under these panels by fuel tank, where sucked to get back on right... But I was pretty hungry at that point, so I ate after this...
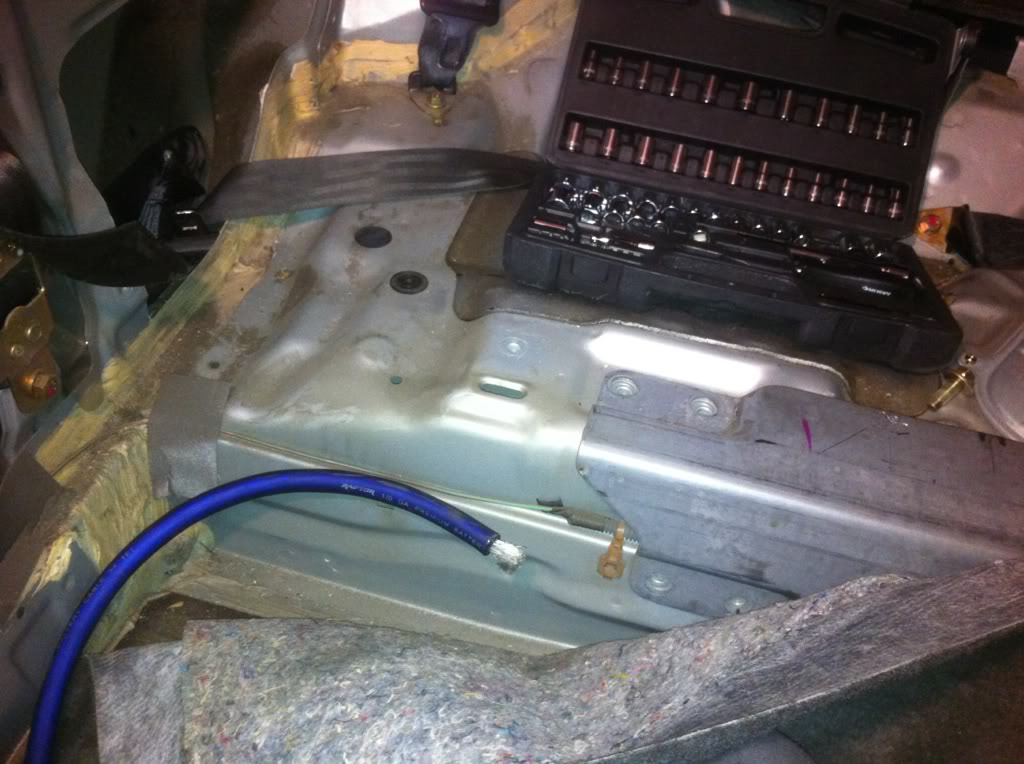
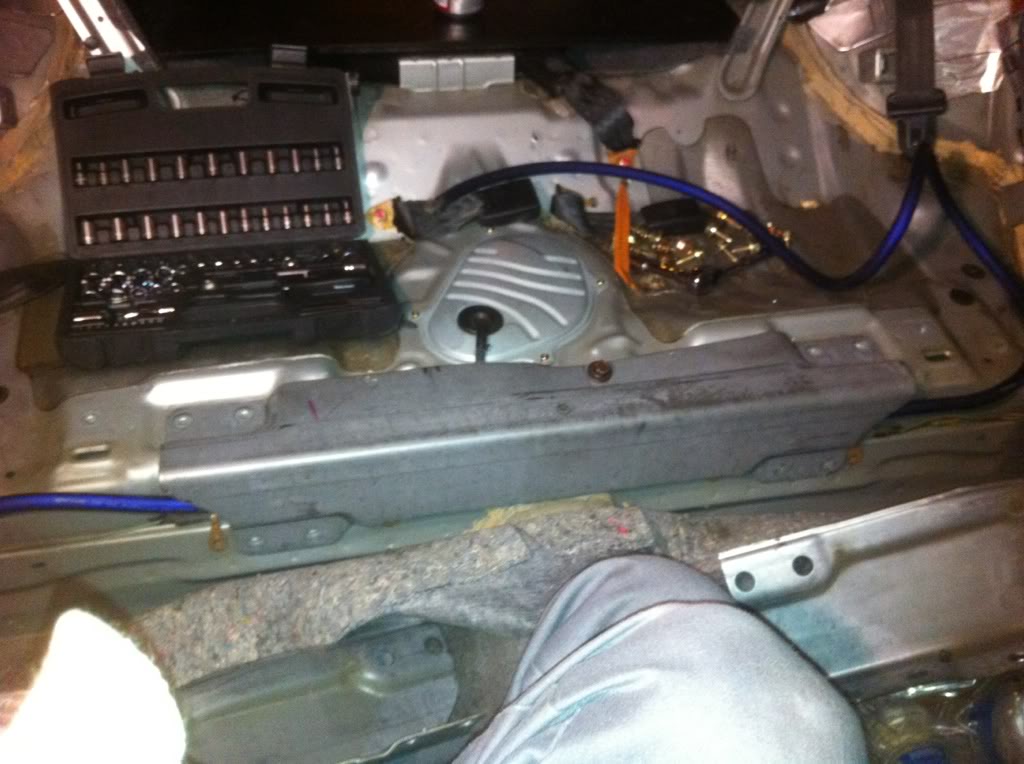
i THINK these assecory lines are Remote Lines???? #1-8, they seem to work so Ill be lazy and assume they are, old REM stuff was plugged into it before... This one goes to the Isolator, 2 more will go to amps...
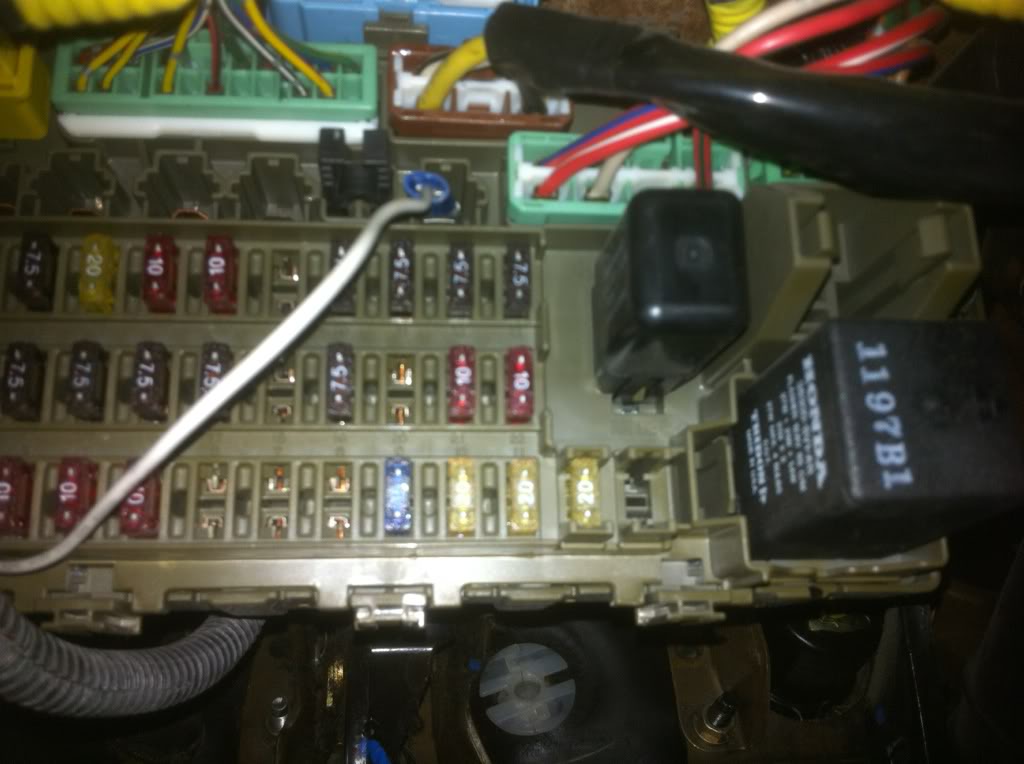
Engine Bay, getting a little messy, but oh well, im not really up to tucking everything all hidden, and I want the 1/0 gauge cable... Didnt get to the IACV today, but i know where it is now lol...
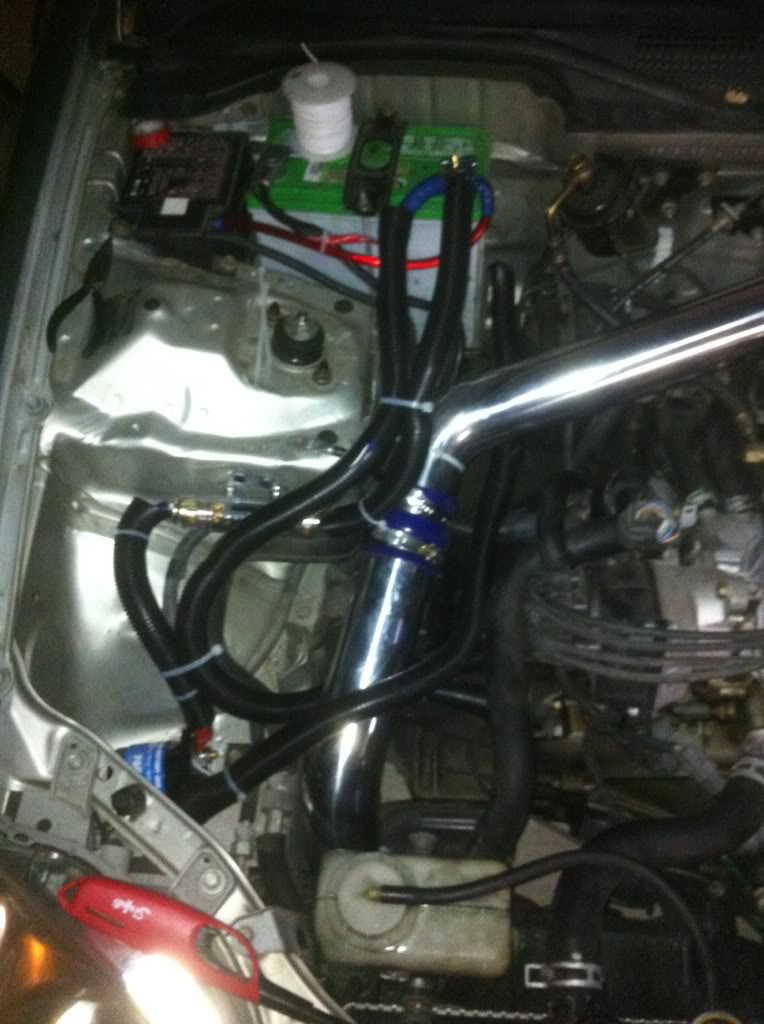
Optima is grounded under the passenger seat, where the amps use to be mounted... Will make a better bolt tomorrow, and will ground capacitors on same spot, but on the left and right, Gonna ground the inverter to the battery ground i think, seems legit...
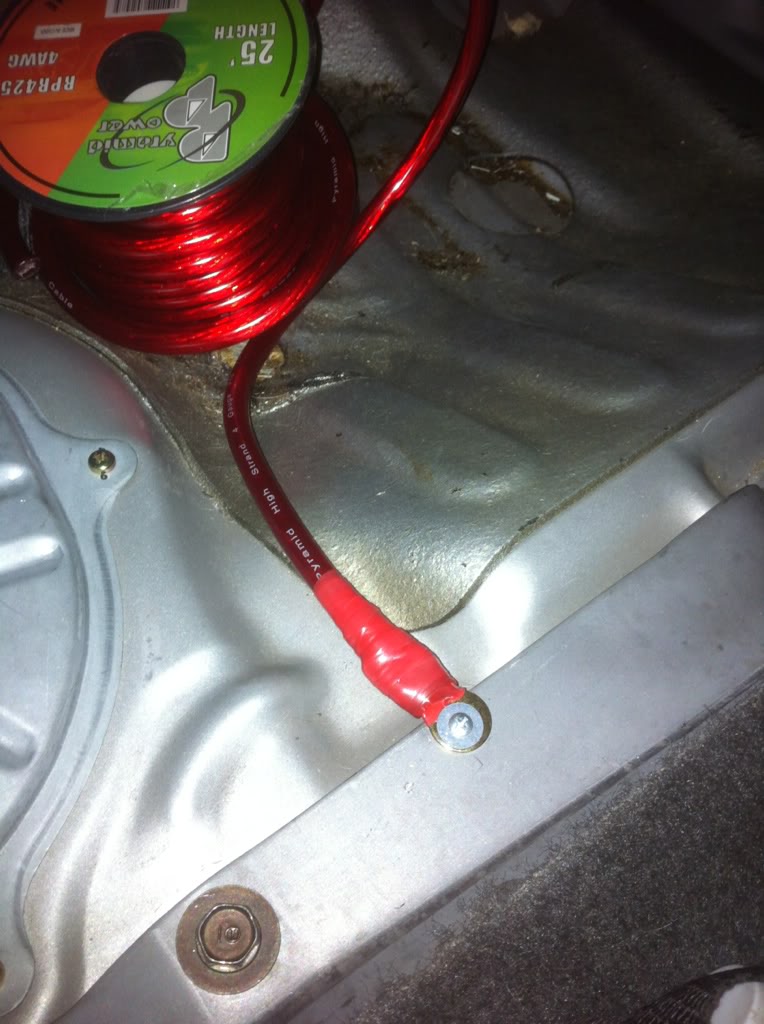
not sure where to mount inverter, probably on the back of rear seats with the amps. Ran out of 1/0 gauge wire, so I will take one of the engine ground and make it 4 gauge and take that 1/0 gauge for the optima-1/0gauge fuse-1/0gauge distribution block...tomorrow ill just throw all the cables where they will go and just be a little sloppy, so i can at least have the PC and amps running while I wait for painting to be done... Which is till going nicely. Then I will tuck everything nicely when I put interior back together. Will do fuel pump kill switch first, while pc is in car lol... rear seats will be back on for now...
Here is my battery!
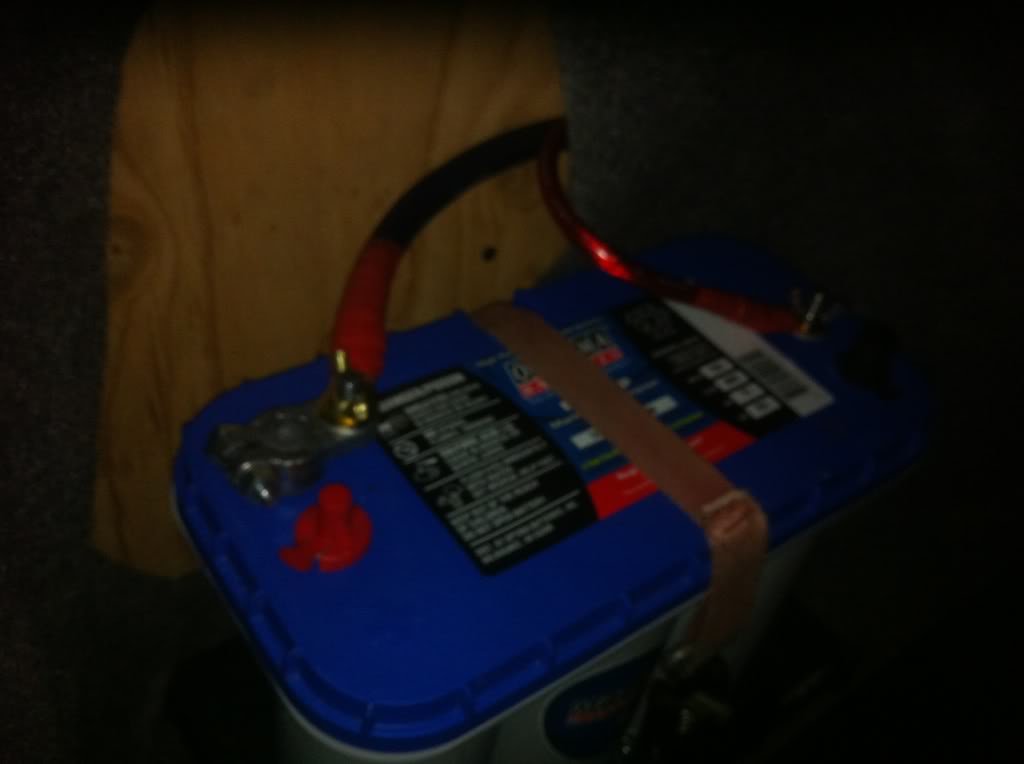
*yawn*
Side walls for trunk:
Stock...
Right Side...
Left Side...
Respectively...
Left Side with Battery Tray...
Right Side Padded for PC Mount...
PC Brackets (also a bracket on the floor to hold it still /w foam padding)...
PC Power Switch and LED Power...
Then I went and picked up the battery... haha huge hassle but i FINALLY got the D31M, thing is big lol... The AutoZone is retarded and ended up with 3 of these batteries because they kept ordering new ones and telling me they didnt come in, when apparently they were all building up in receiving room....
This cable the battery mount came with is whack....
My battery cable...
The 150A ANL Fuse and 500AMP PAC Isolator... Isolator is poorly mounted/glued, gonna use rivets to get it in nice tomorrow...
Power Cable through the hole for the old power cables...
Under these panels by fuel tank, where sucked to get back on right... But I was pretty hungry at that point, so I ate after this...
i THINK these assecory lines are Remote Lines???? #1-8, they seem to work so Ill be lazy and assume they are, old REM stuff was plugged into it before... This one goes to the Isolator, 2 more will go to amps...
Engine Bay, getting a little messy, but oh well, im not really up to tucking everything all hidden, and I want the 1/0 gauge cable... Didnt get to the IACV today, but i know where it is now lol...
Optima is grounded under the passenger seat, where the amps use to be mounted... Will make a better bolt tomorrow, and will ground capacitors on same spot, but on the left and right, Gonna ground the inverter to the battery ground i think, seems legit...
not sure where to mount inverter, probably on the back of rear seats with the amps. Ran out of 1/0 gauge wire, so I will take one of the engine ground and make it 4 gauge and take that 1/0 gauge for the optima-1/0gauge fuse-1/0gauge distribution block...tomorrow ill just throw all the cables where they will go and just be a little sloppy, so i can at least have the PC and amps running while I wait for painting to be done... Which is till going nicely. Then I will tuck everything nicely when I put interior back together. Will do fuel pump kill switch first, while pc is in car lol... rear seats will be back on for now...
Here is my battery!
*yawn*
Last edited by Turtlegrip; Feb 18, 2012 at 01:51 AM.

Thread Starter
|
HCF Member
Joined: Mar 2011
Posts: 485
From: Los Angeles
thank you Hobo, very nice to have handy!
Leaking oil =( tranny seal?
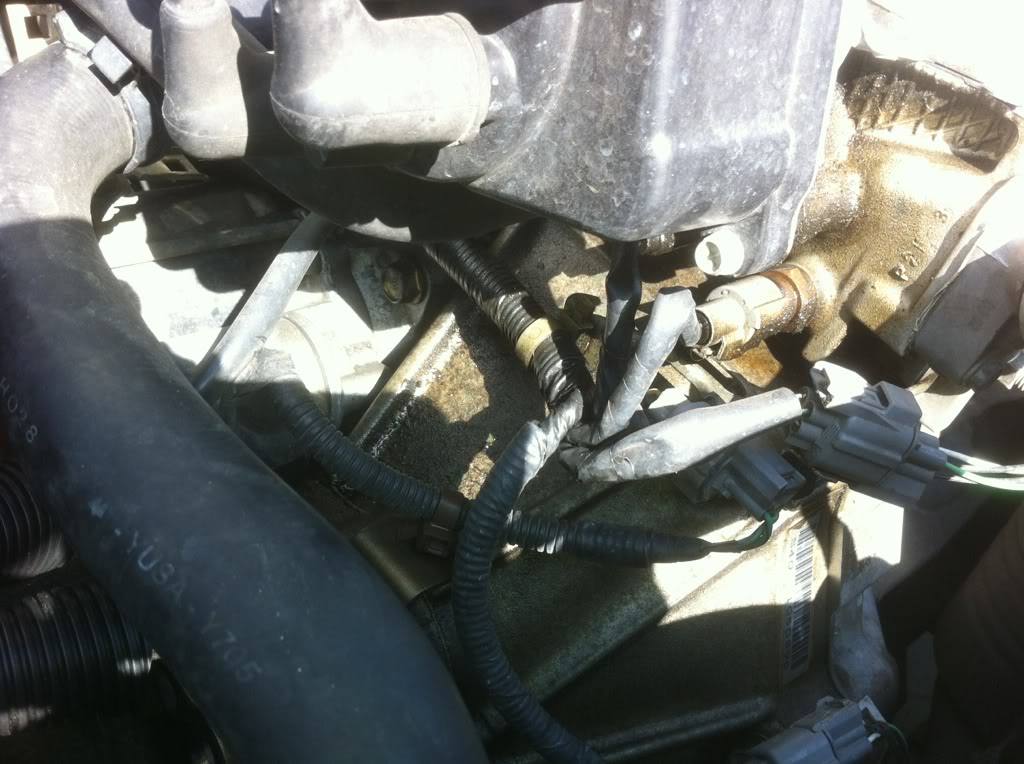
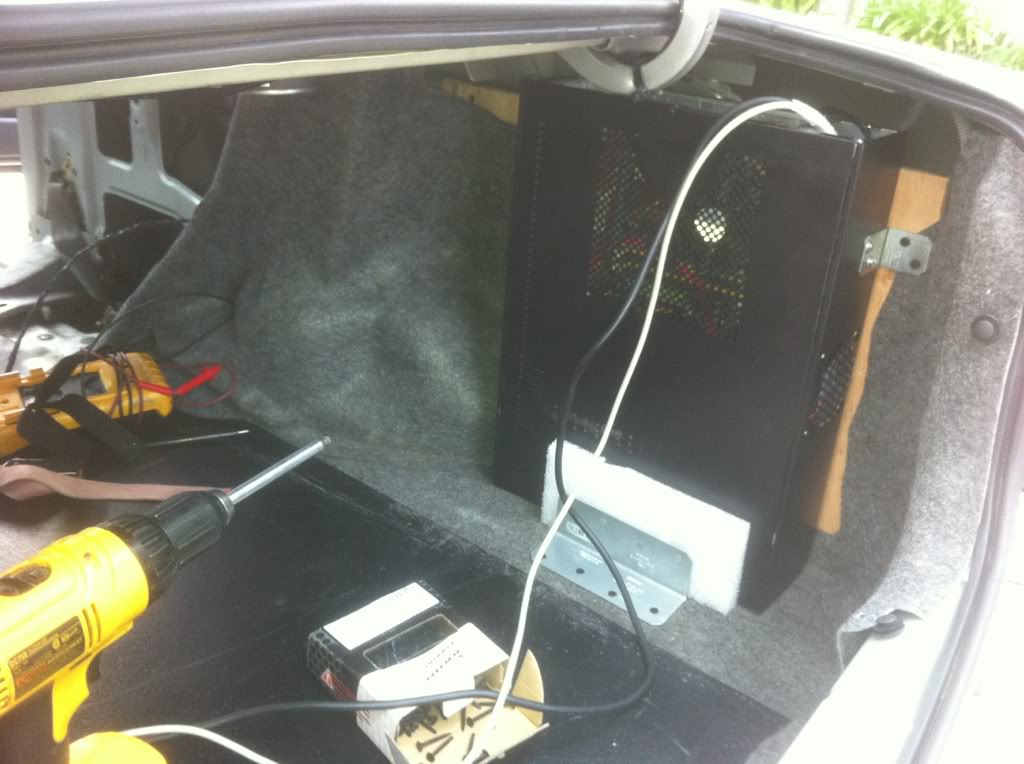
Mounted PC
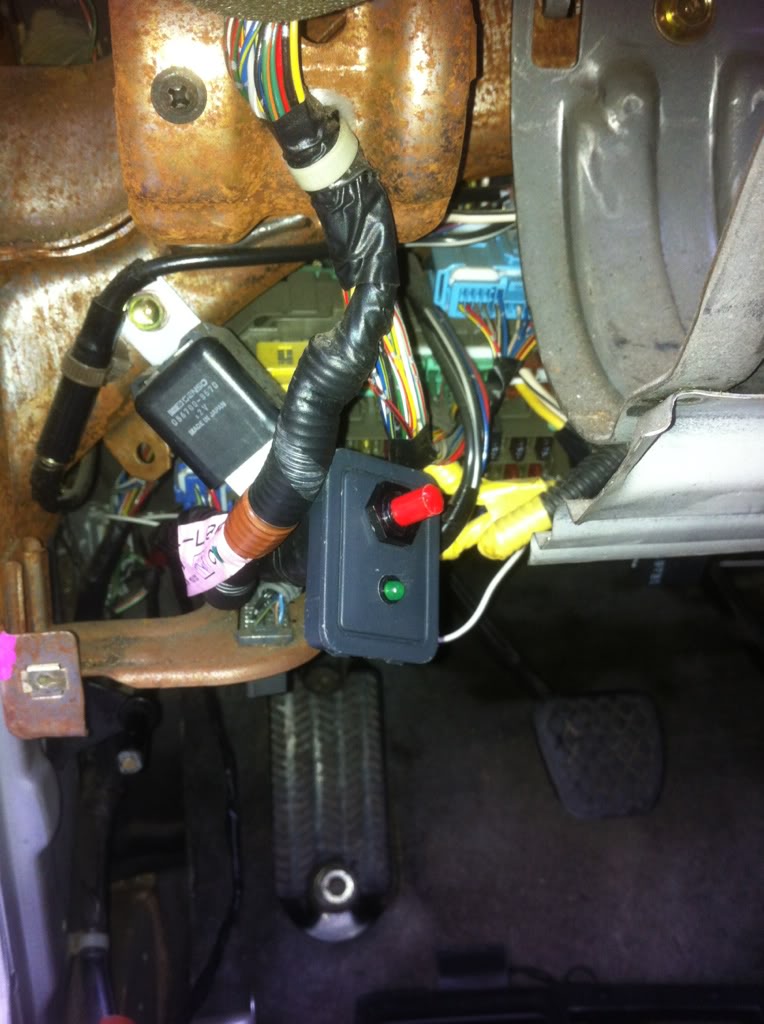
Switch wired up to the front, all the wiring and tucking took a lot longer than expected, but the trunk is not yet tucked, as i will get too... (also helping a friend with radiator/thermostat here and there and that turned into a mess, he pretty sure he put the new thermostat in wrong, i didnt help with that part...)
Threw the amps in, the REM wire was working, i have one that is spliced right at the end, but I threw the amp in and it landed on a wire and now that only give 10v, and it needs like 12v to turn on, so i just have a short that ill wire to battery in back every time i get in, ill fix this monday though, gotta catch up on school work tomorrow... Re wired the speakers, taking the door off and all, i think i see and easier way to do it, ill try to make a little DIY or something on here -_- stock wires suck though...
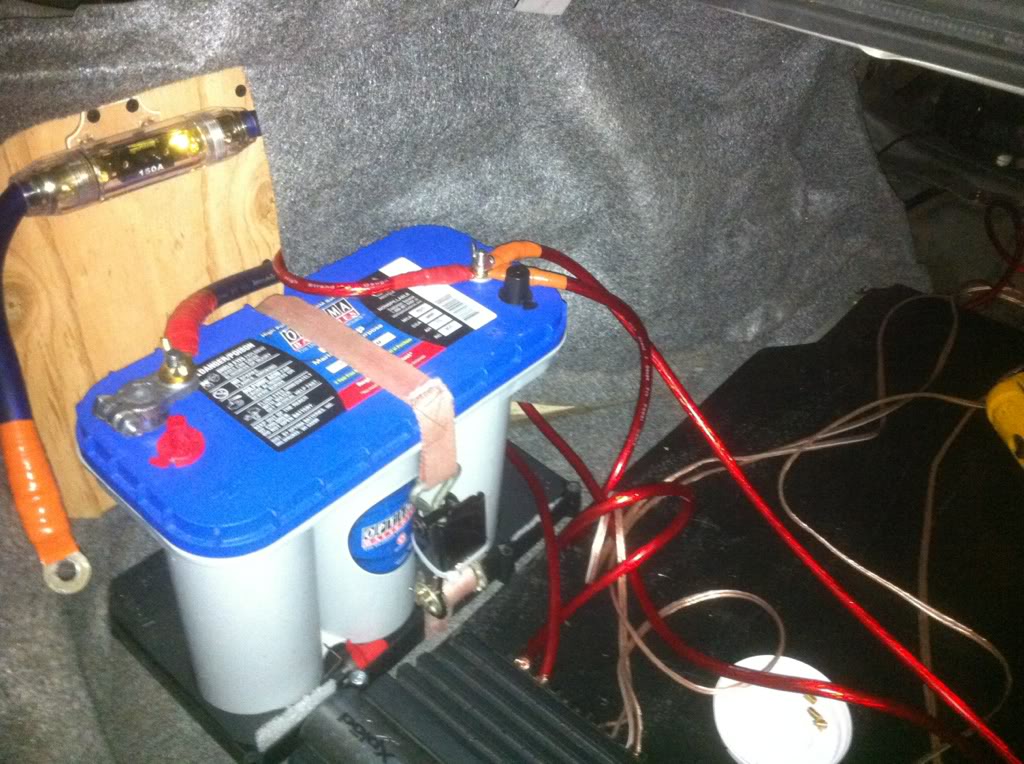
Battery, with 150amp fuse to a four 4 gauge distribution block (right behind that carpet), 2 for amp, 1 to inverter and one split to capacitors... I think I will end up lining the trunk with a new cloth around the sides to clean up the look... thats a little ways off though so i wont worry about it...
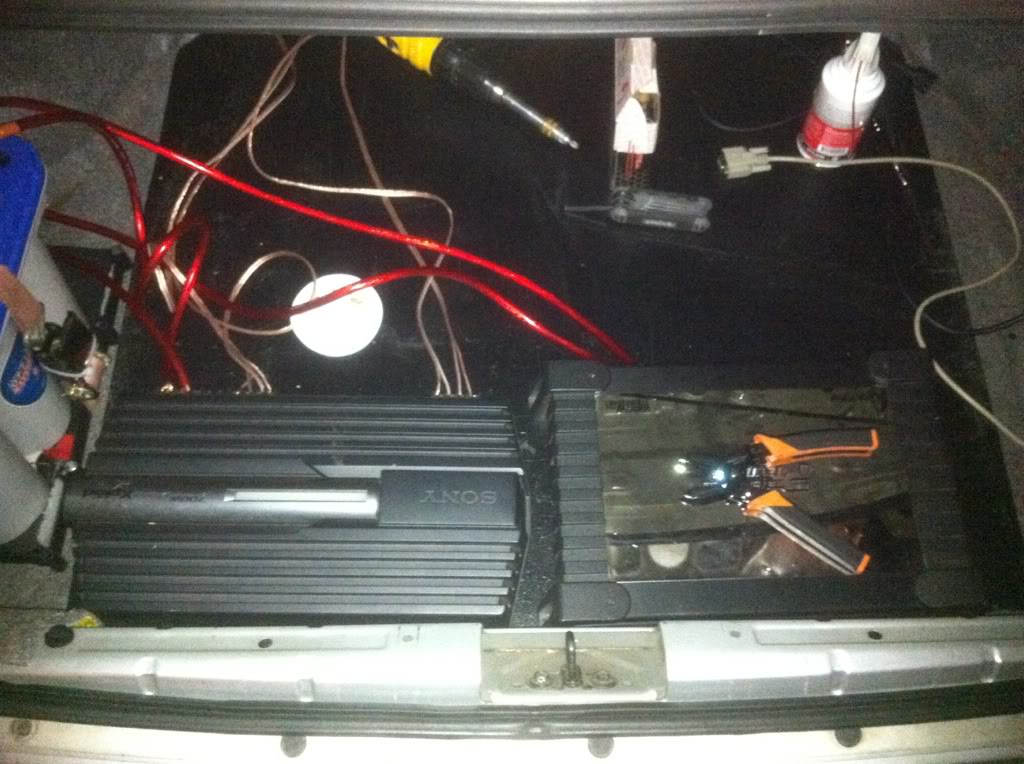
Trunk set up, capacitors are not set up, the inverter is just clamped to the battery for now, I need to get new RCA-3.5mm cables tomorrow for the PC to amps, these dont fit well together and it if messing up the connection... Need a few other cables to have everything fit nicely, still waiting for that climate control, paint is going nicely, but here you go..
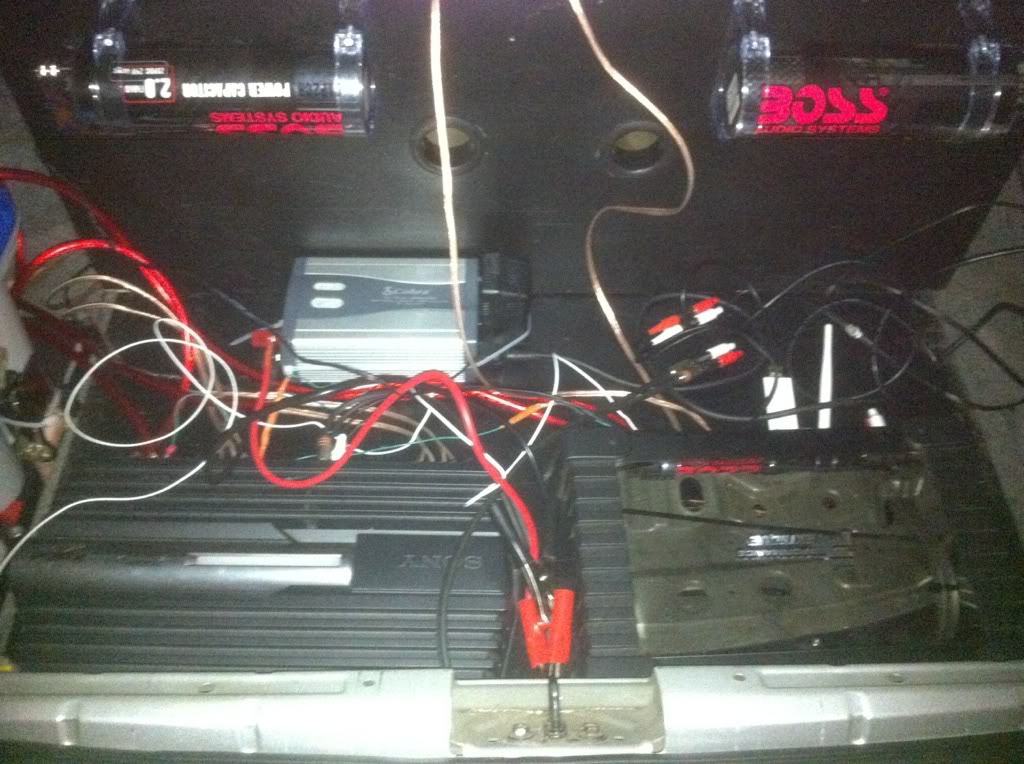
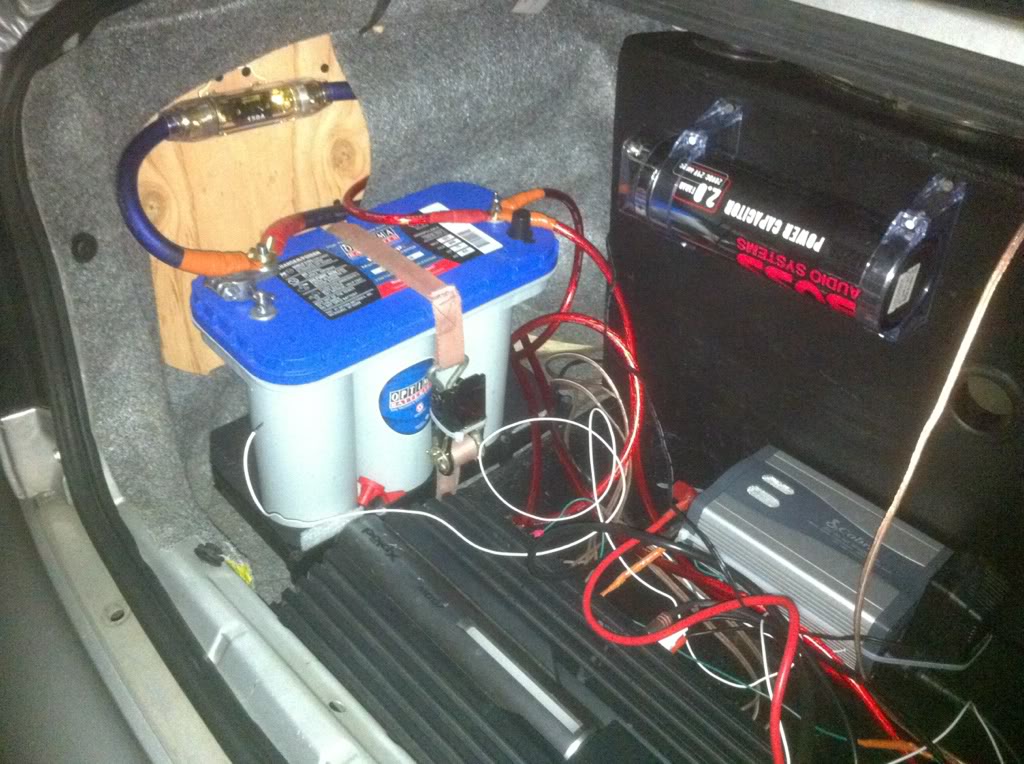
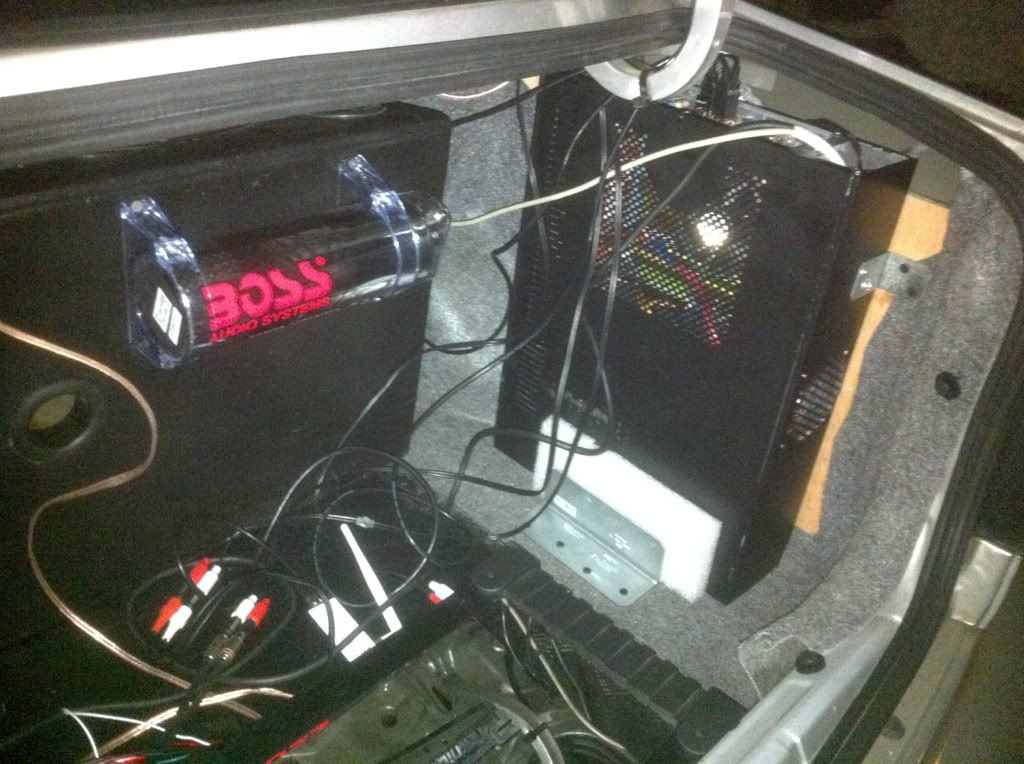
Nothing is set up where it will be right now, amps will be on rear seats with the inverter so everything will look a lot cleaner, but i just wanted functionality for now, so i can EQ amps and PC, ect.
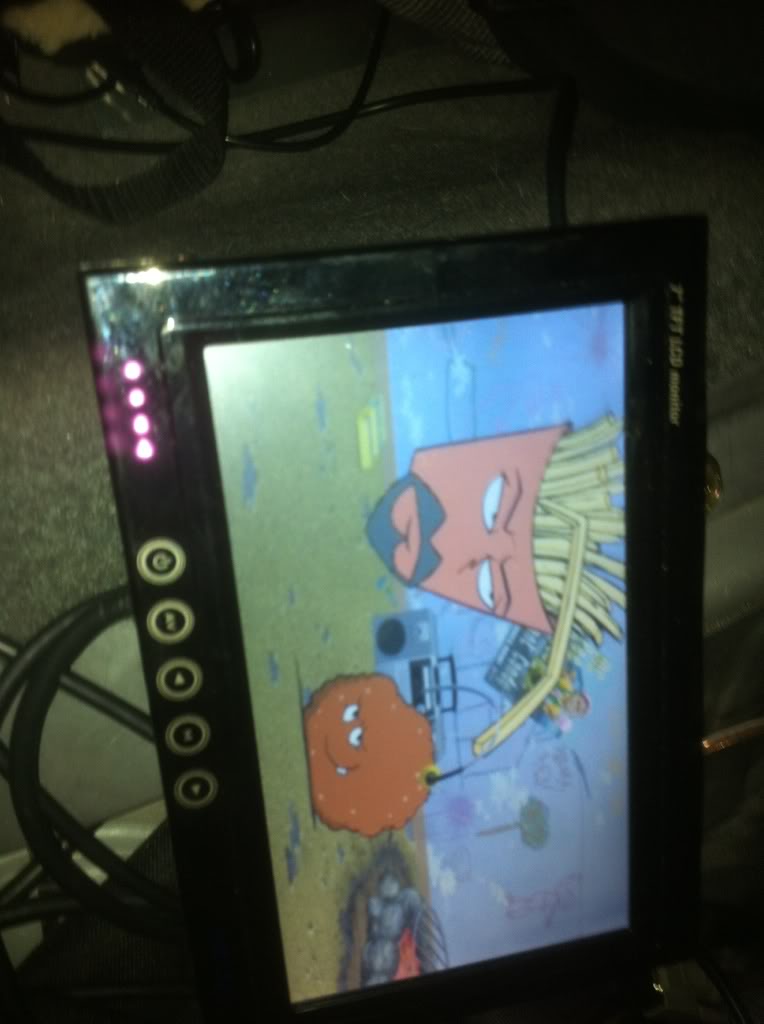

Ill update in a couple of days!
Leaking oil =( tranny seal?
Mounted PC
Switch wired up to the front, all the wiring and tucking took a lot longer than expected, but the trunk is not yet tucked, as i will get too... (also helping a friend with radiator/thermostat here and there and that turned into a mess, he pretty sure he put the new thermostat in wrong, i didnt help with that part...)
Threw the amps in, the REM wire was working, i have one that is spliced right at the end, but I threw the amp in and it landed on a wire and now that only give 10v, and it needs like 12v to turn on, so i just have a short that ill wire to battery in back every time i get in, ill fix this monday though, gotta catch up on school work tomorrow... Re wired the speakers, taking the door off and all, i think i see and easier way to do it, ill try to make a little DIY or something on here -_- stock wires suck though...
Battery, with 150amp fuse to a four 4 gauge distribution block (right behind that carpet), 2 for amp, 1 to inverter and one split to capacitors... I think I will end up lining the trunk with a new cloth around the sides to clean up the look... thats a little ways off though so i wont worry about it...
Trunk set up, capacitors are not set up, the inverter is just clamped to the battery for now, I need to get new RCA-3.5mm cables tomorrow for the PC to amps, these dont fit well together and it if messing up the connection... Need a few other cables to have everything fit nicely, still waiting for that climate control, paint is going nicely, but here you go..
Nothing is set up where it will be right now, amps will be on rear seats with the inverter so everything will look a lot cleaner, but i just wanted functionality for now, so i can EQ amps and PC, ect.
Ill update in a couple of days!
Last edited by Turtlegrip; Feb 18, 2012 at 11:41 PM. Reason: (pc didnt load any pics at first)
If oil is sitting on top of the transmission, I doubt the leak has anything to do with the transmission itself. It could be a distributor o-ring, or VTEC solenoid gasket. Try to clean the oil off 100%, then keep checking that area ot see where the leak is stemming from.
Thread Starter
|
HCF Member
Joined: Mar 2011
Posts: 485
From: Los Angeles
If oil is sitting on top of the transmission, I doubt the leak has anything to do with the transmission itself. It could be a distributor o-ring, or VTEC solenoid gasket. Try to clean the oil off 100%, then keep checking that area to see where the leak is stemming from.
To fix the REM wire to amps, and to not rely on the ignition, I am making a switch that will click them on and off, will mount next to PC switch, and the bass control will be on there too, still want ambient LED lighting, but that will be another project...
Gonna do fuel pump kill switch tomorrow too, gonna look up the wiring tonight. Ignition kill switch will be part of the new dash i think so just waiting on that. Waiting on paint too... need to take A Pillars off and paint them, along with relining headliner, maybe Ill do that all too if there is time after the kill switch. Still not climate control but it is at the local UPS, ill get it tuesday i guess lol...
My sound card is giving my crap. not only will it not put out on all 3 channels, it wont tell programs to force stereo and not surround sound. I will probably return and replace this one to see if that is the issue, running rear speaker and subs right now (sounds great). PC is running and great. Ill make a little video tomorrow. Need to get a new media player, or better winamp skin, everything is just so small and heard to tap while driving... (so i havent been, pulling over to mess with it haha). I need to invest in PCMScan now.
Thread Starter
|
HCF Member
Joined: Mar 2011
Posts: 485
From: Los Angeles
so, after dealing with school work (somehow finishing all of it...) and losing my dog and having to pay a hefty fine to the pound to get here back, luckily they didnt already kill her, some of those pound people just arent right...
I got the PC running just how i want it. it is a 5 wire touch screen, so calibration is a joke, just takes a little bit of calibrating myself to touch it right, but it really isnt that bad... Sound is good, no in car bass control besides the EQ on the PC, but thats fine, i have it set just how I like it.
Here is a little video of the ride, after a long day...
Ill make a much better video once everything is complete...
I got the climate control and started messing around with fitment:
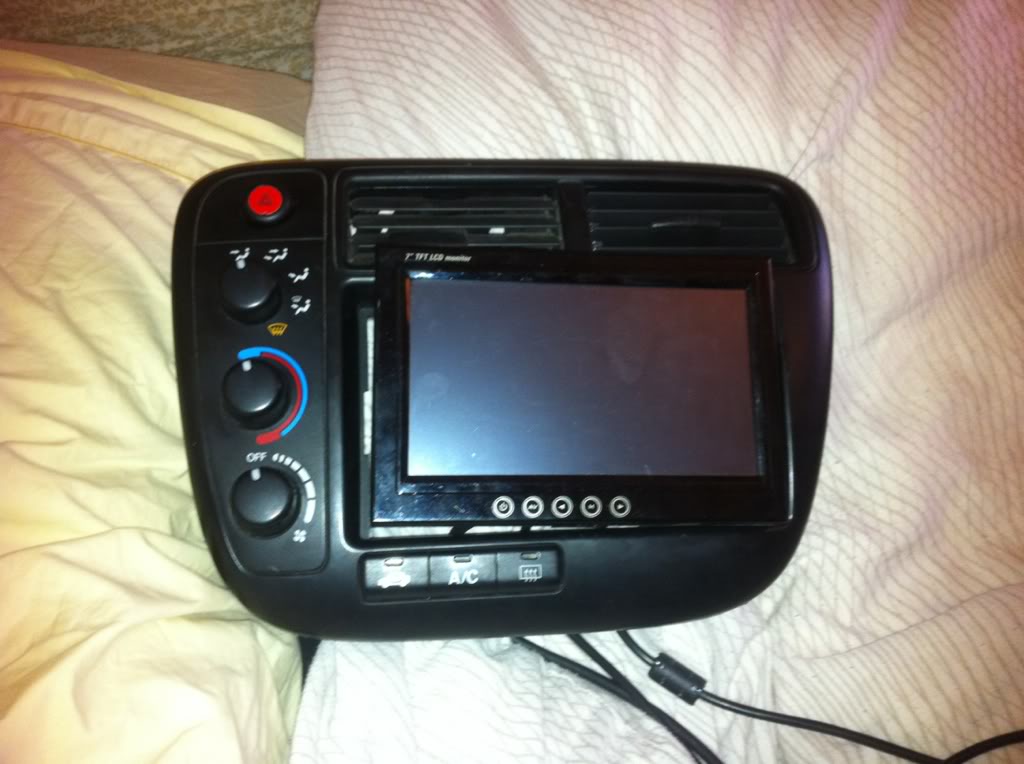
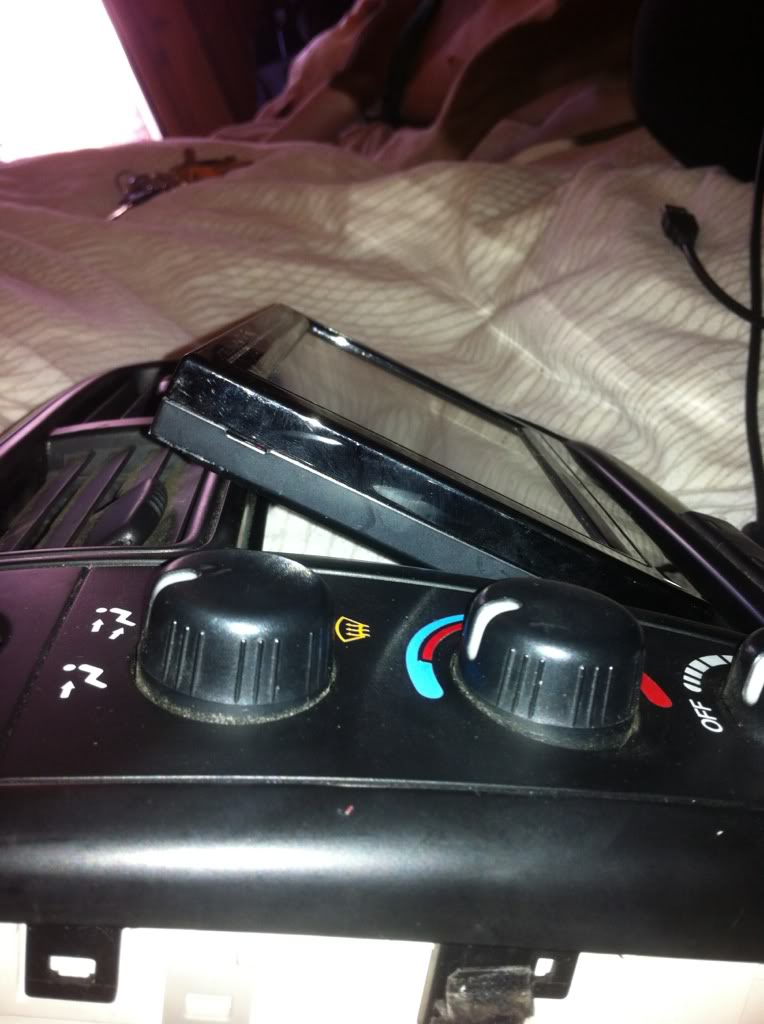
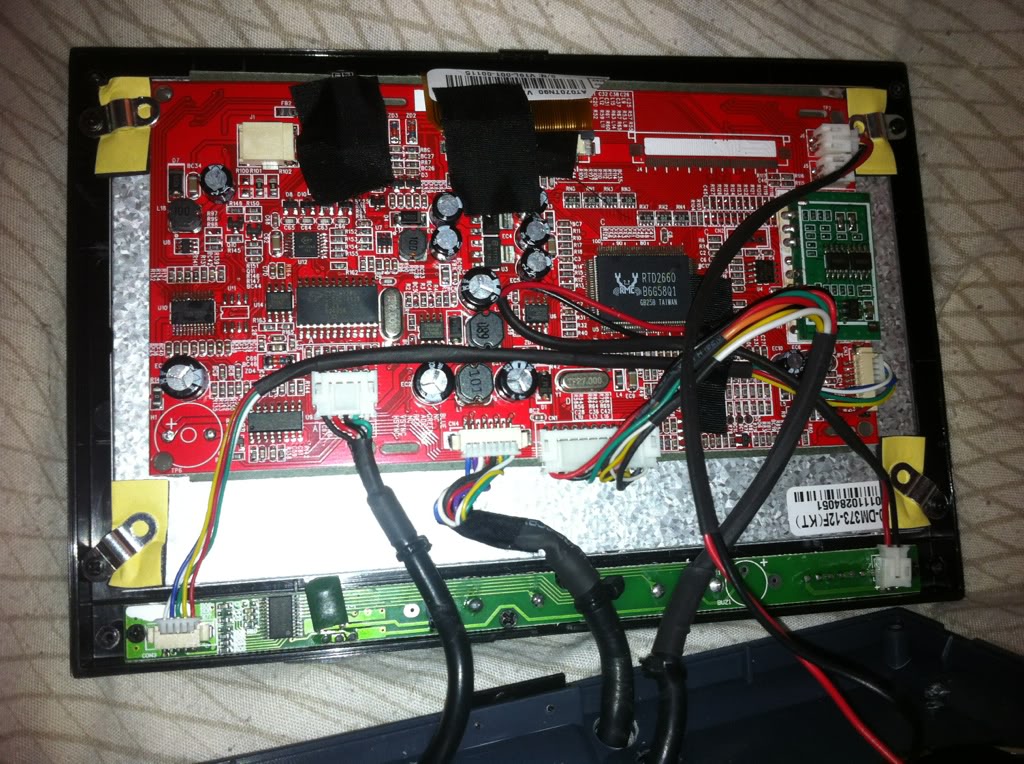
So i was gonna start grinding the face plate and what not, but I decided that since I really have no experience with fabricating something like this, and the person that would normally help me (step-dad) Is away on work... I very reluctantly payed a local shop 100$ (-_-) to make me a custom fitment. They said it will be done in a couple hours, so I told them ill come get it tomorrow and just take your time on it... That finally look is important to me, so I want it to look clean. (knock on wood for letting them work on my only climate control).
Also got in the car the other morning, after forgetting my phone in it the night before (laying on the dash). and as I go to use my phone it says this:
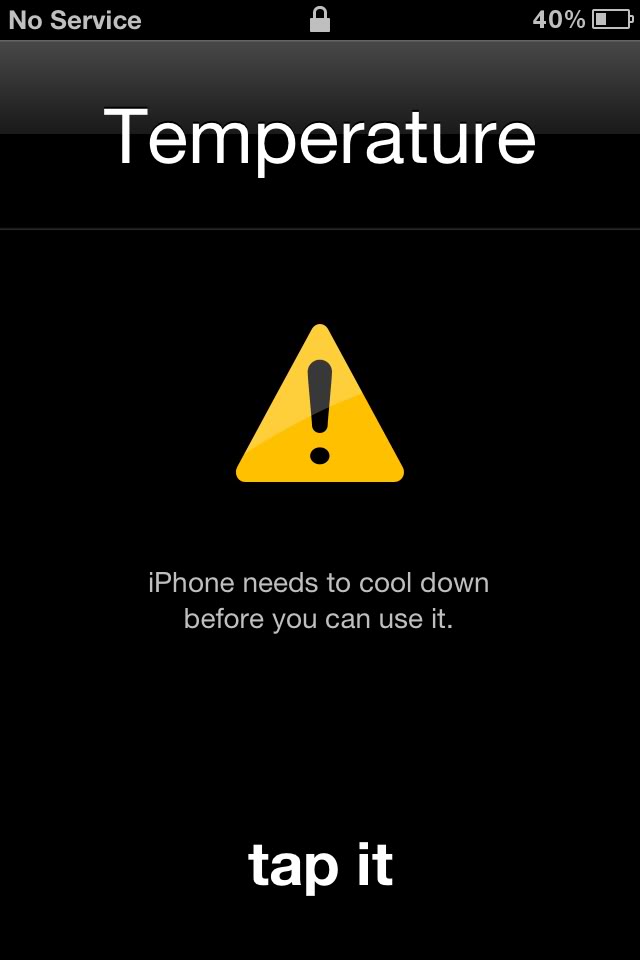
So I stuck it in the AC vent for a minute and it was fine again, but it got me worrying about the PC (even though it started right up no problem when the phone wouldnt). The PC isnt in direct sunlight, and the trunk seems to stay cooler than the actual car, no windows i guess... Worst case I will have to remember to air the trunk out on very hot days, but i typically only park in my garage and will park on streets even less now. Need to get started on those kill switches.
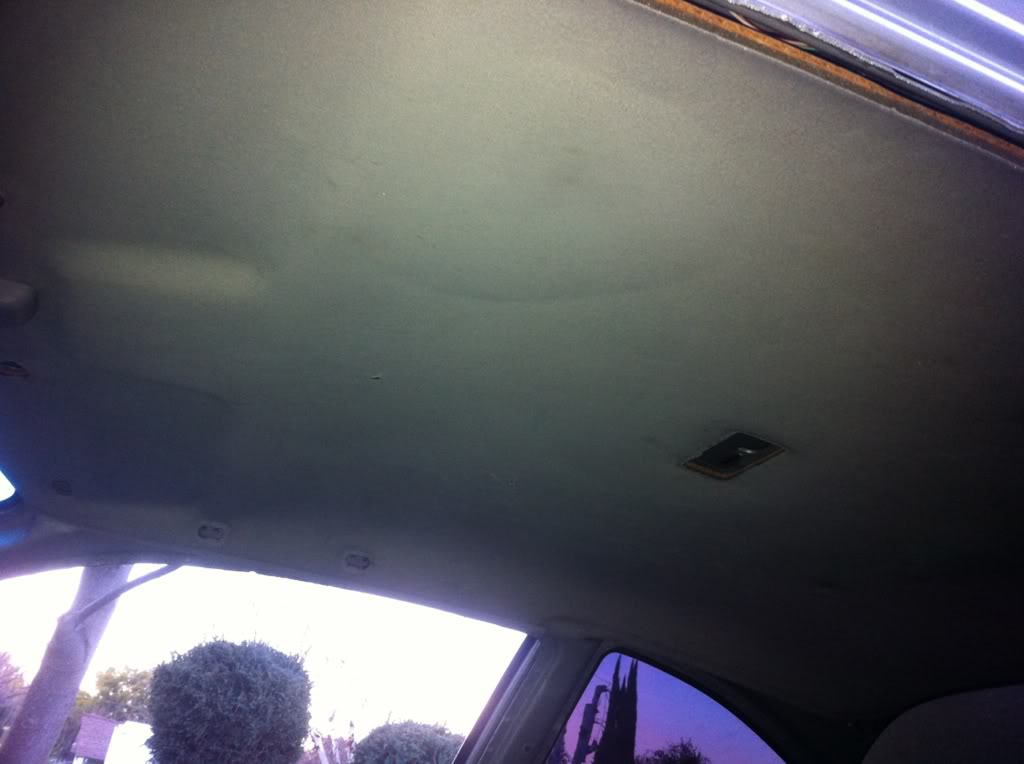
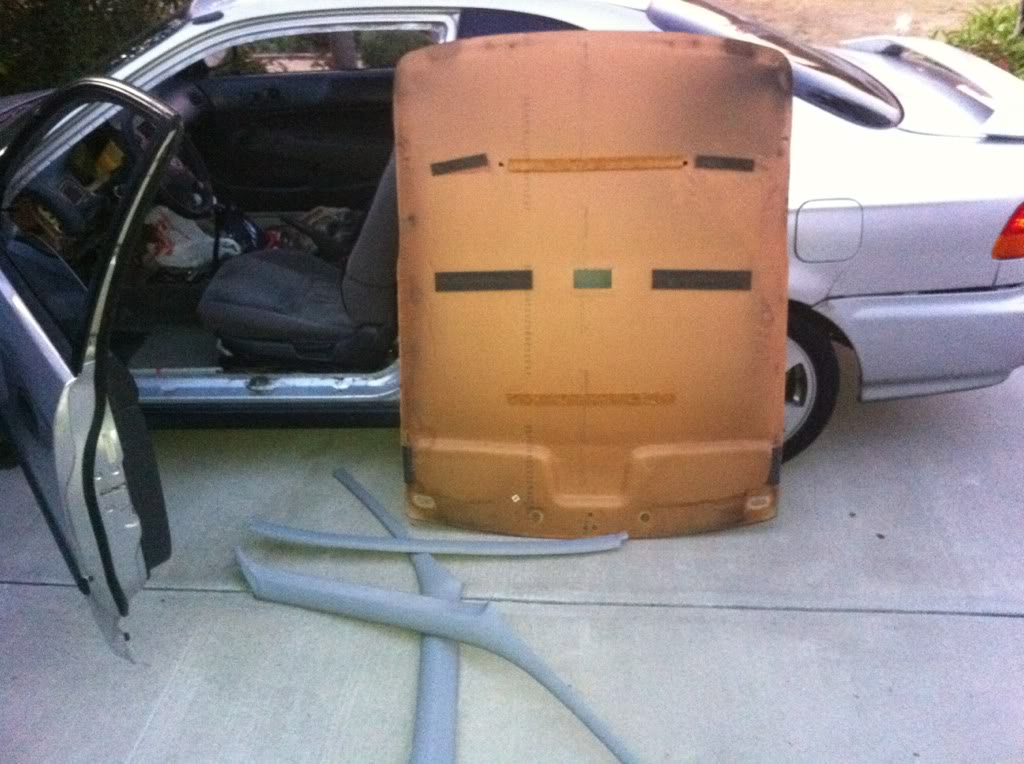
Popped the headliner off:
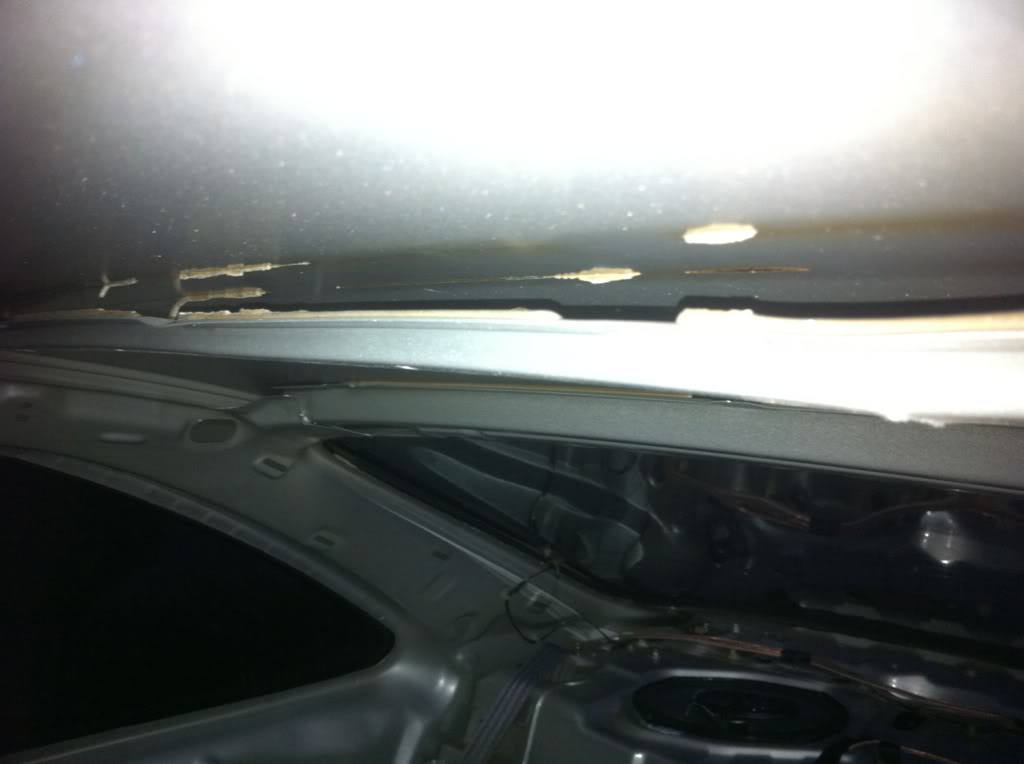
Those 2 pins were giving me a lot of grief and ended up bending that railing they attach to. Doesnt look like anything a little glue wont fix:
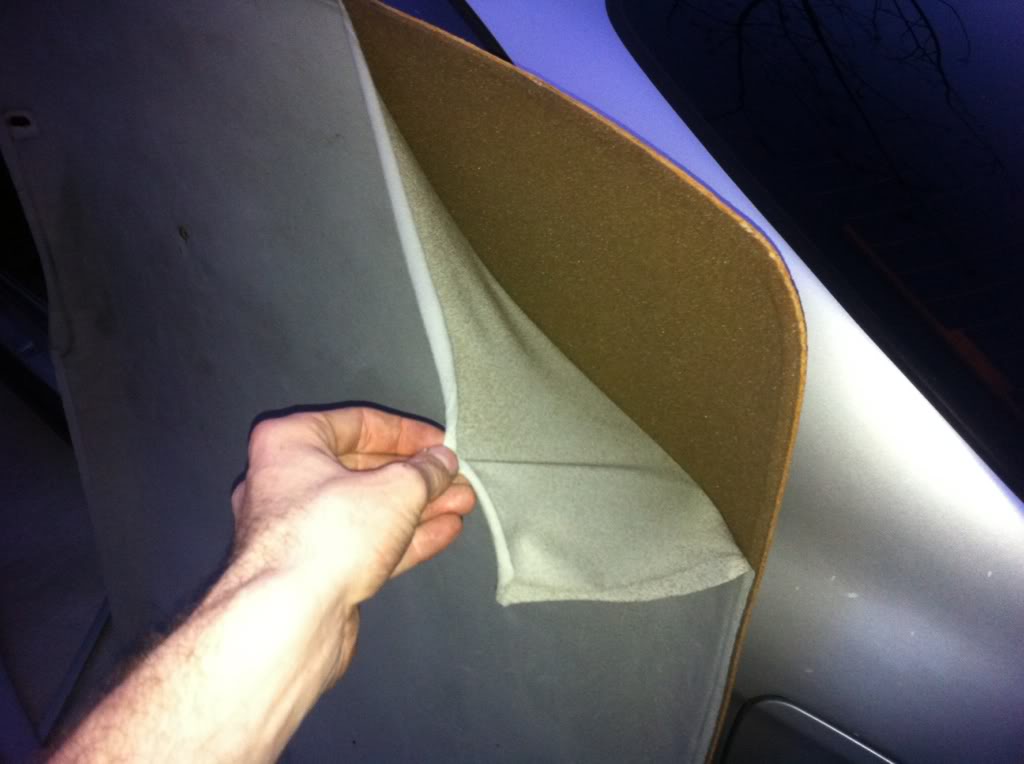
The headliner board and foam are in great condition and the old cloth peeled right off!
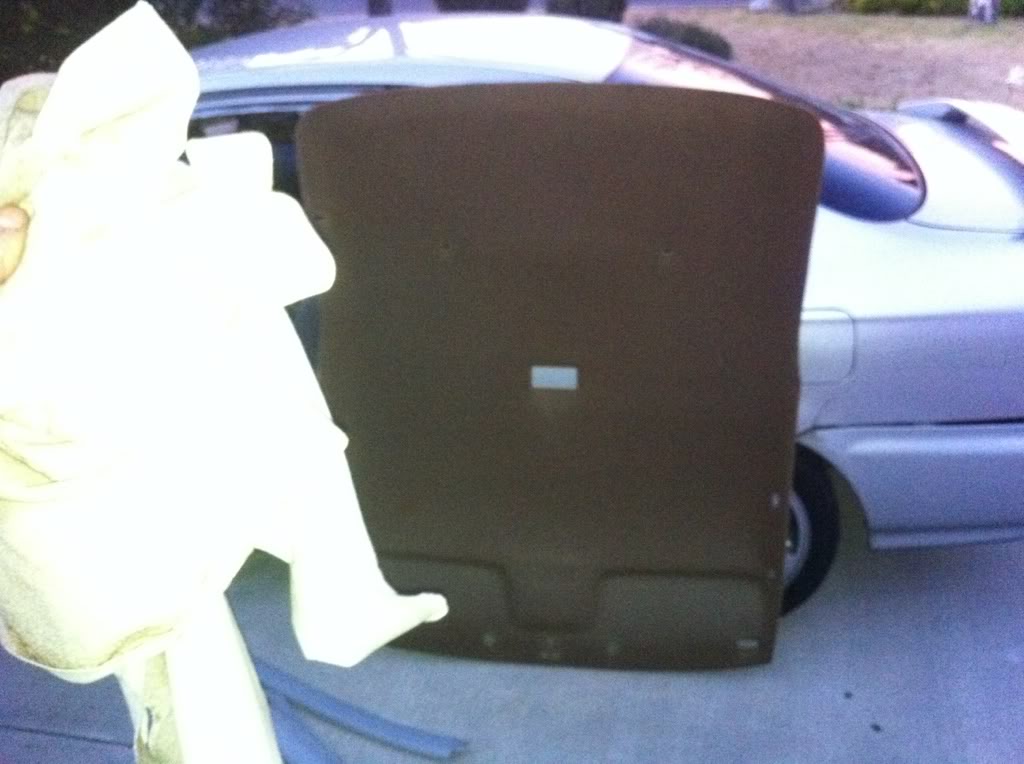
I will do headliner tonight, get new sun visor clips (mine have been broken) and windshield wiper control (also broken) tomorrow, along with picking up my climate control. Then this weekend I will throw the new dash and heater unit in. Everything is ready to go... Just need to get a USB hub installed somewhere and paint the pillars and rear side walls, but right now i just want my new dash in and get at least 1 passenger seat in.
Last night while looking for my dog I was stopped by police (being out at night is an offense apparently) and they saw my car was stripped and immediately assumed I stole it, so they went rummaging thru all my tools and everything that was organized and just wrecked my stuff, luckily nothing was broken before they said i could go...
off to school for now...
I got the PC running just how i want it. it is a 5 wire touch screen, so calibration is a joke, just takes a little bit of calibrating myself to touch it right, but it really isnt that bad... Sound is good, no in car bass control besides the EQ on the PC, but thats fine, i have it set just how I like it.
Here is a little video of the ride, after a long day...
Ill make a much better video once everything is complete...
I got the climate control and started messing around with fitment:
So i was gonna start grinding the face plate and what not, but I decided that since I really have no experience with fabricating something like this, and the person that would normally help me (step-dad) Is away on work... I very reluctantly payed a local shop 100$ (-_-) to make me a custom fitment. They said it will be done in a couple hours, so I told them ill come get it tomorrow and just take your time on it... That finally look is important to me, so I want it to look clean. (knock on wood for letting them work on my only climate control).
Also got in the car the other morning, after forgetting my phone in it the night before (laying on the dash). and as I go to use my phone it says this:
So I stuck it in the AC vent for a minute and it was fine again, but it got me worrying about the PC (even though it started right up no problem when the phone wouldnt). The PC isnt in direct sunlight, and the trunk seems to stay cooler than the actual car, no windows i guess... Worst case I will have to remember to air the trunk out on very hot days, but i typically only park in my garage and will park on streets even less now. Need to get started on those kill switches.
Popped the headliner off:
Those 2 pins were giving me a lot of grief and ended up bending that railing they attach to. Doesnt look like anything a little glue wont fix:
The headliner board and foam are in great condition and the old cloth peeled right off!
I will do headliner tonight, get new sun visor clips (mine have been broken) and windshield wiper control (also broken) tomorrow, along with picking up my climate control. Then this weekend I will throw the new dash and heater unit in. Everything is ready to go... Just need to get a USB hub installed somewhere and paint the pillars and rear side walls, but right now i just want my new dash in and get at least 1 passenger seat in.
Last night while looking for my dog I was stopped by police (being out at night is an offense apparently) and they saw my car was stripped and immediately assumed I stole it, so they went rummaging thru all my tools and everything that was organized and just wrecked my stuff, luckily nothing was broken before they said i could go...
off to school for now...
Thread Starter
|
HCF Member
Joined: Mar 2011
Posts: 485
From: Los Angeles
Got the headliner done.
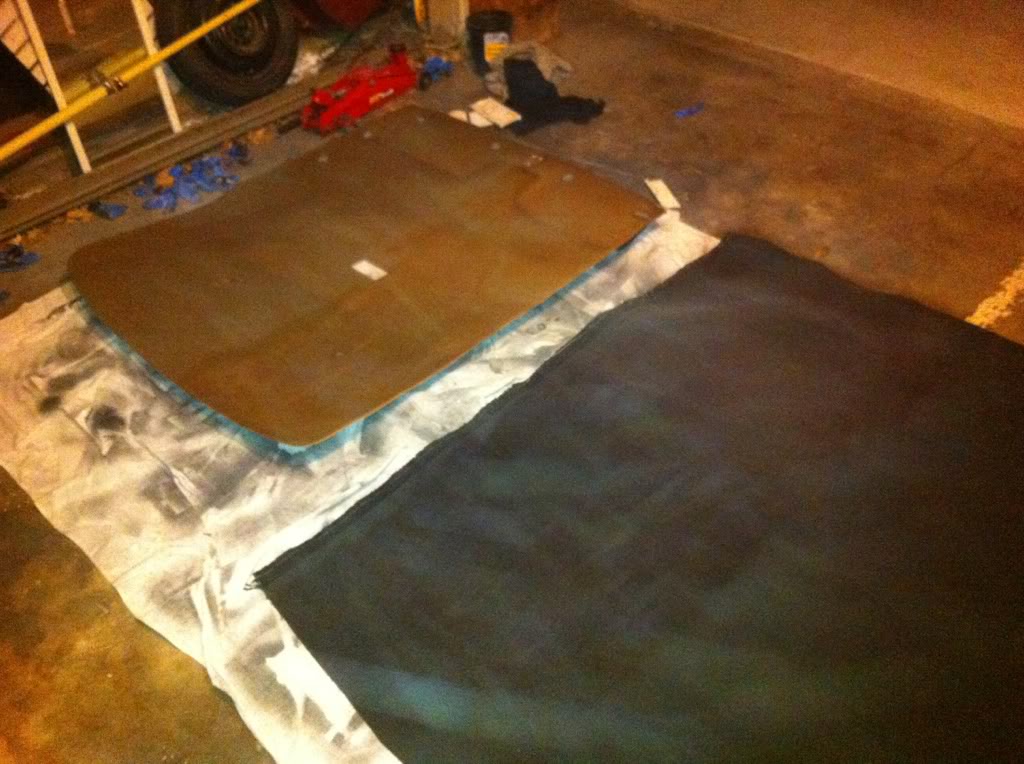
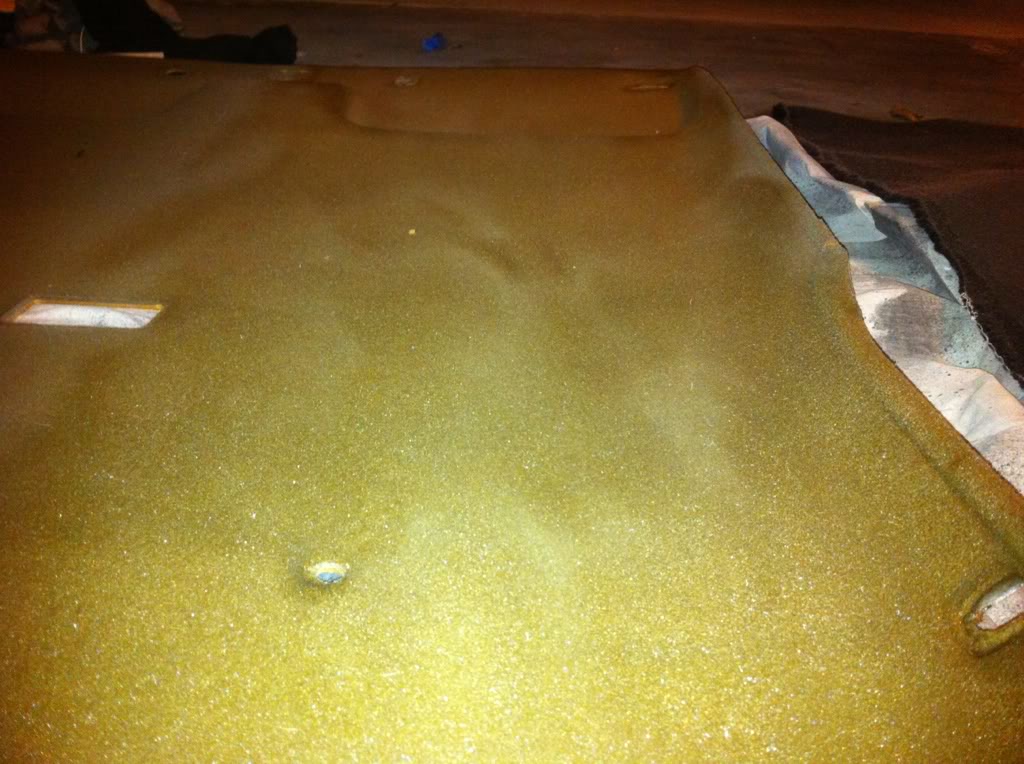
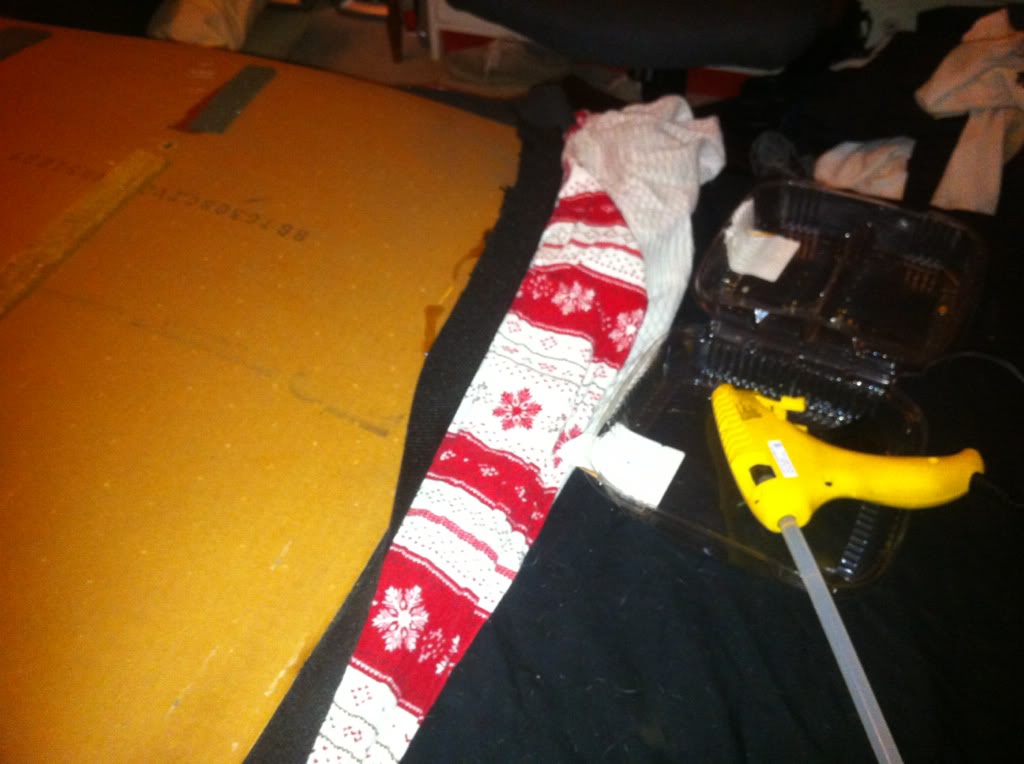
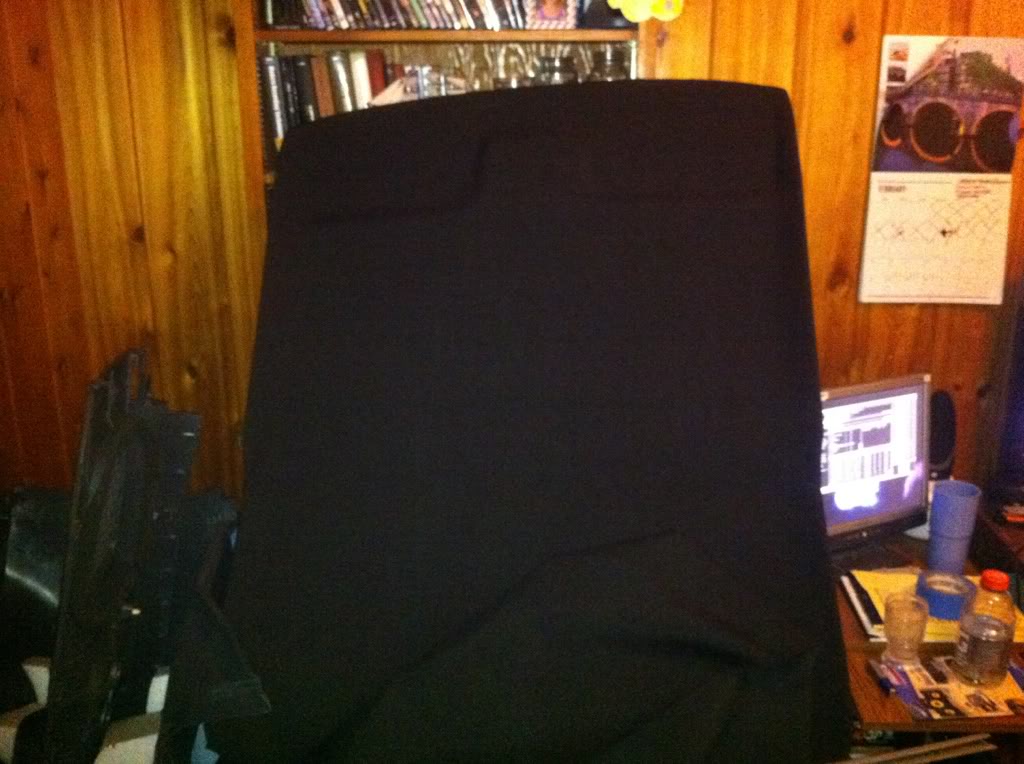
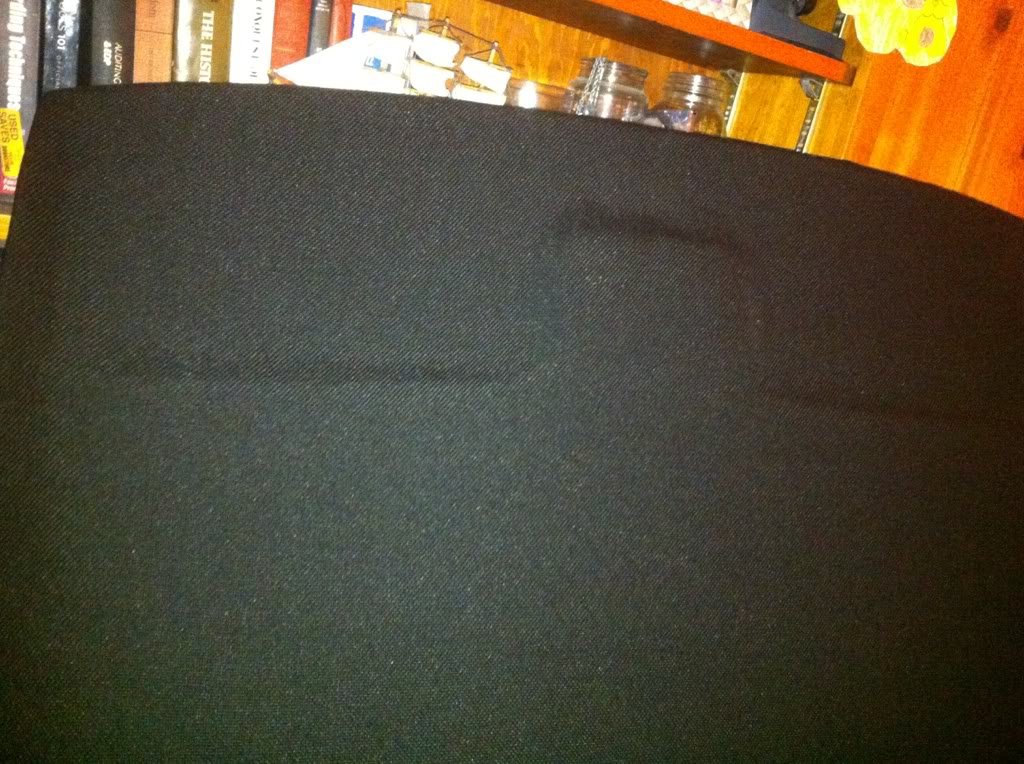
Was gonna put it right back in but i decided to paint everything.
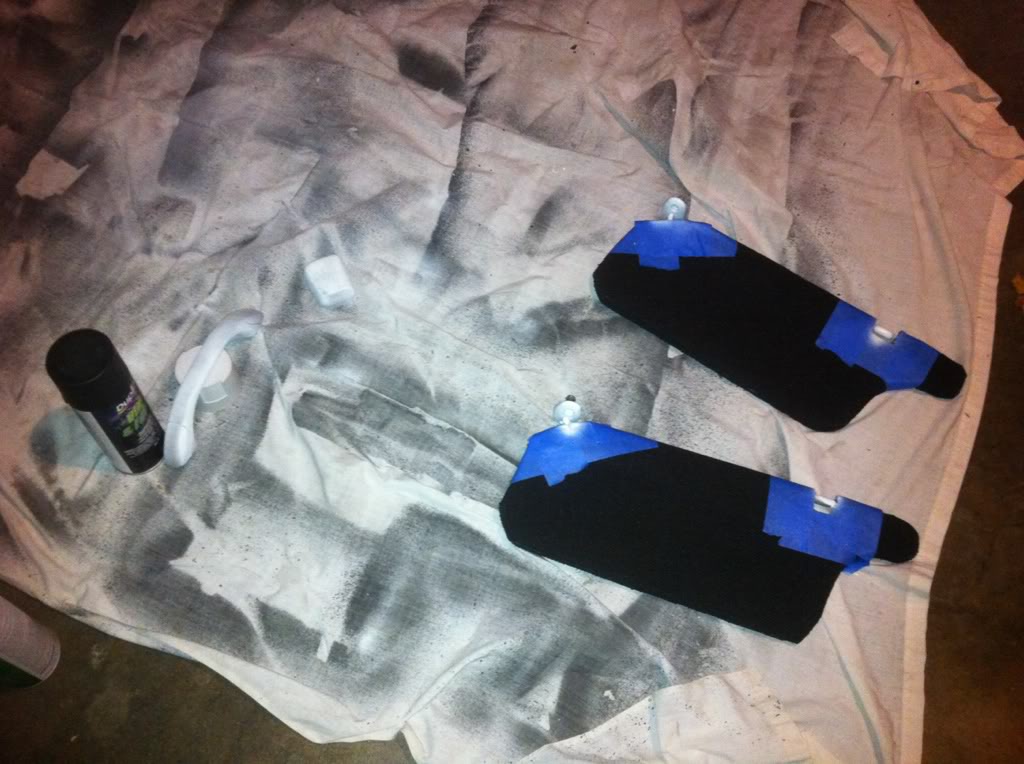
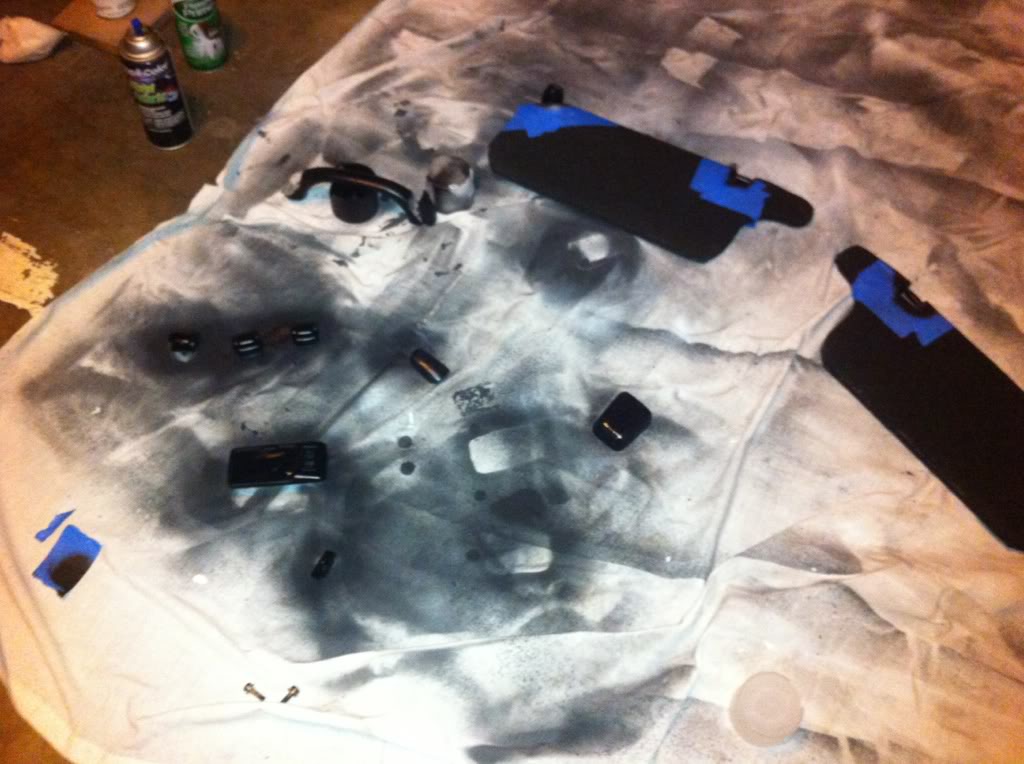
And the screen is good to go, gonna glue it to the dash, since i dont want it to pop out like it is normally able to...
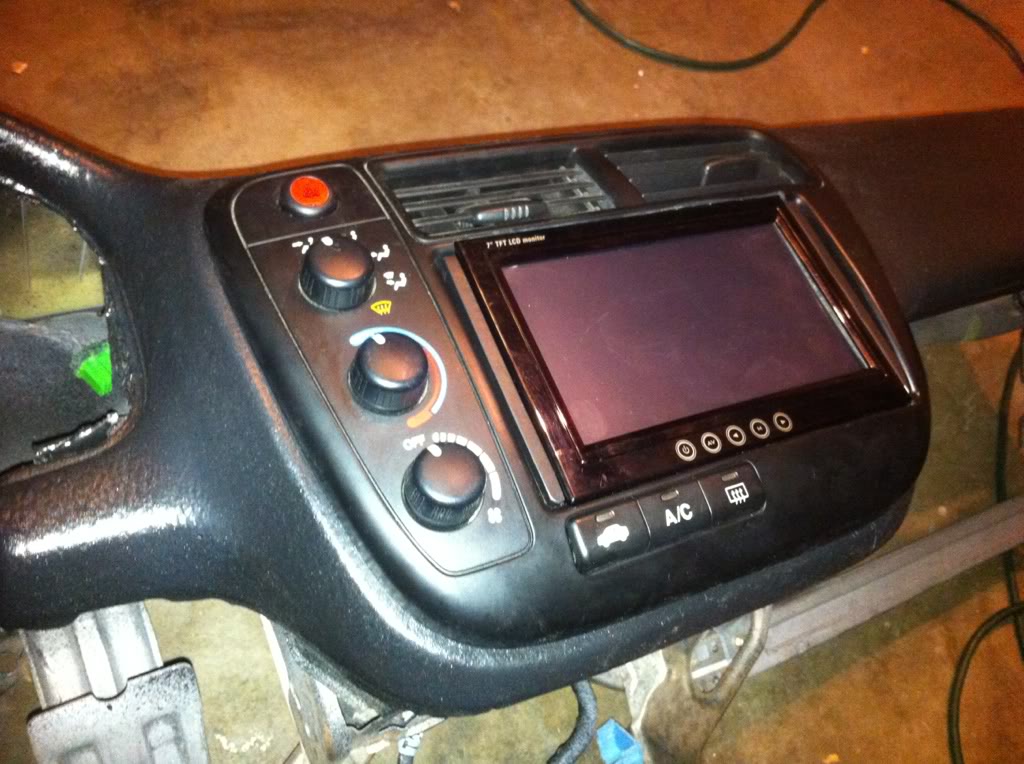
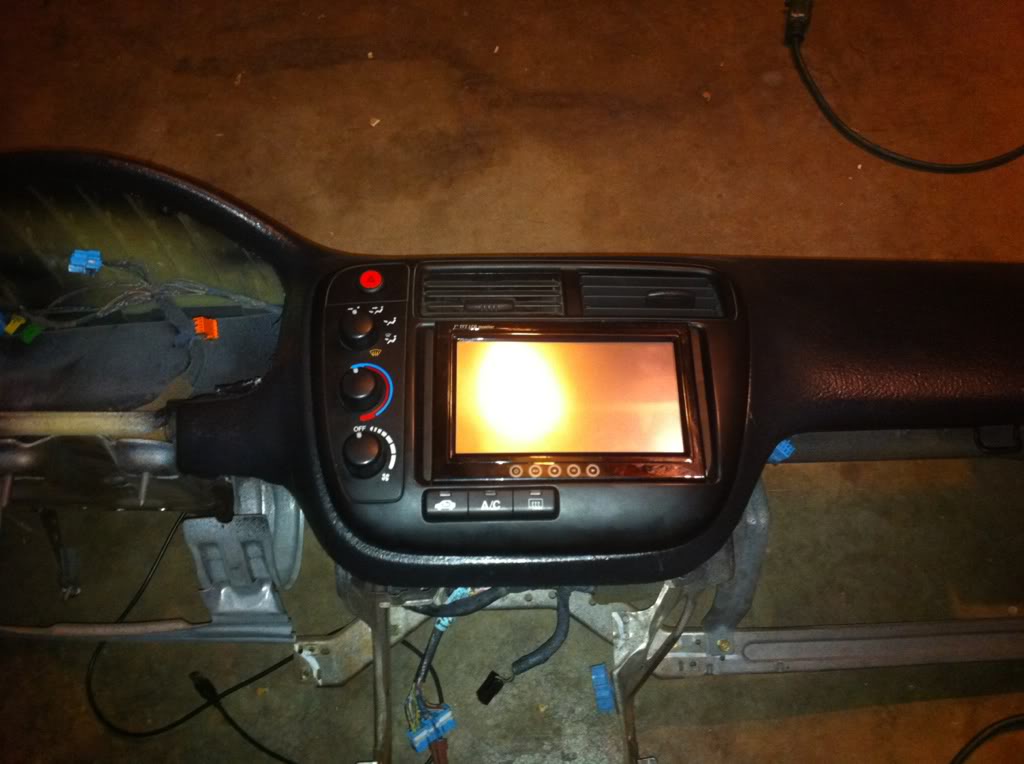
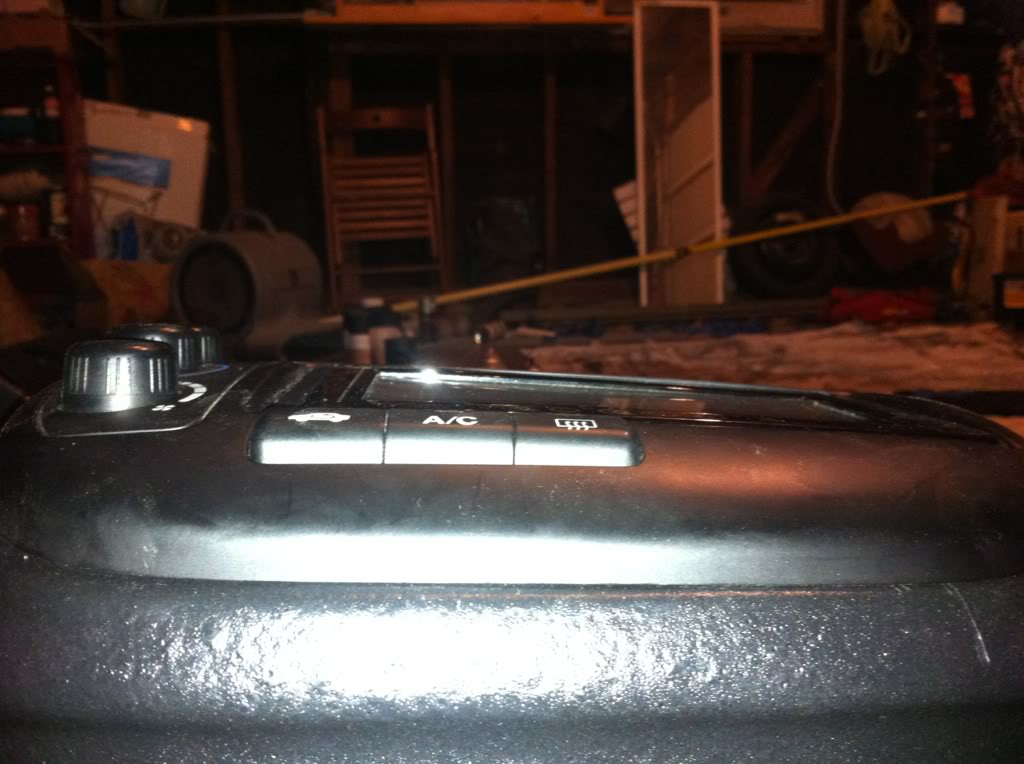
Looks decent. Im happy with it. gonna swap the dash and heater unit tomorrow.
Was gonna put it right back in but i decided to paint everything.
And the screen is good to go, gonna glue it to the dash, since i dont want it to pop out like it is normally able to...
Looks decent. Im happy with it. gonna swap the dash and heater unit tomorrow.