
Cvcrcr's project/fix-up thread (version 1.1)


Realized I will have to re-do the headliner since I screwed up on cutting the hole for the wink mirror bracket on the drivers side. It looks like **** IMO. However, everyone who sees the "issue" says I am OCD and it shouldn't bother me. It will probably be getting re-wrapped again when the car is in for paint.
Installed the HIDs last night. I ended up spending about 3 hours on it, and I still need to re-route some wires. Everything is working perfectly and I am very happy with them. The lights still need to be adjusted a little bit, but I haven't even had a chance to drive with them installed yet. I will post pics or the cut-off etc when I can.
Today, I put the velocity stack and 45 degree coupler on my intake set-up. Took a little bit of cutting and working around things, but it is exactly where I want it. All that is left is installing the fog bezels and making some sheet of aluminum to help direct air to the velo. stack.
Last edited by cvcrcr99; Jul 3, 2010 at 05:45 AM.
Picture update!
Thomas the Train headliner pics...


Pic of the HIDs after the camera darkened the shot automatically and focused:
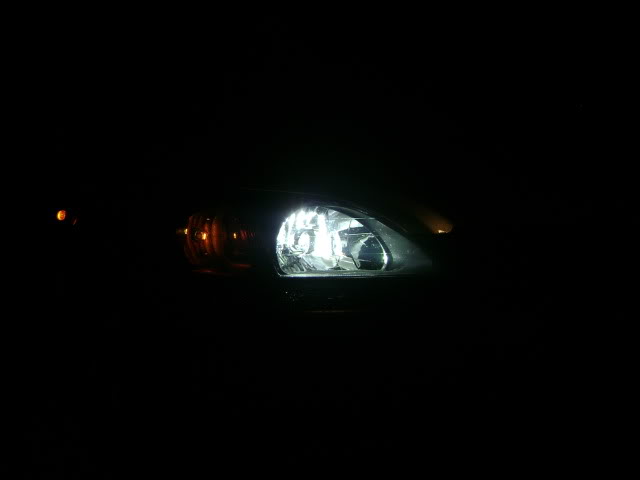
Pic of the HIDs before the camera could focus and reduce the over all light of the picture:
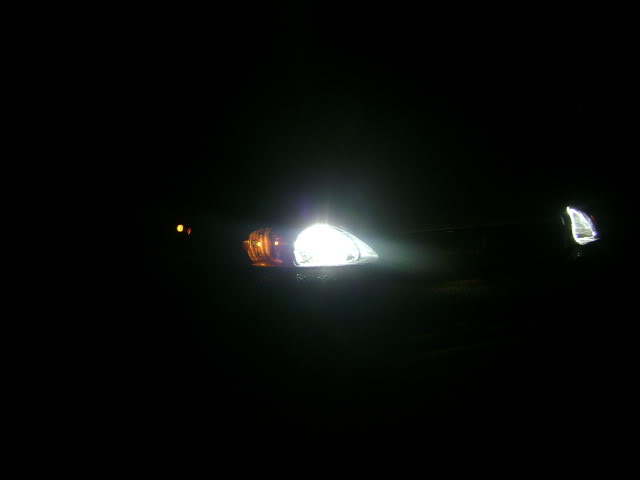
Back of the driver headlight:
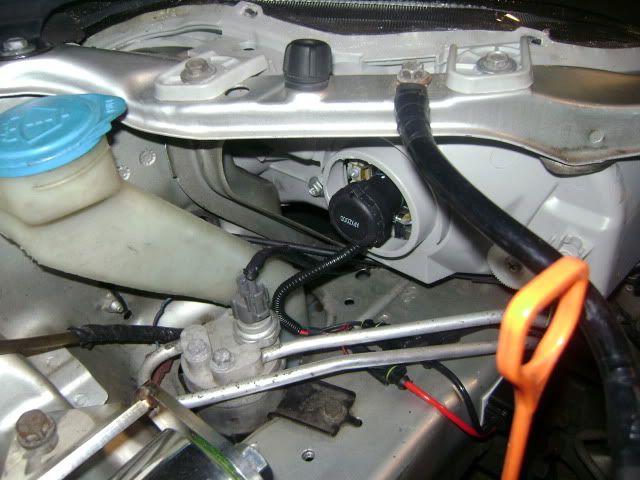
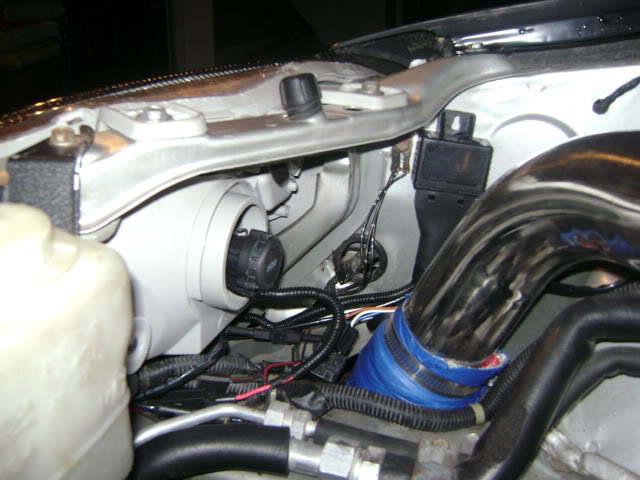
And the rat's nest behind the passenger side. Dont worry, it'll all be tucked eventually.
The driver side headlight shakes around slightly when driving, so I will be switching the bulbs and seeing if the problem goes away, or if it continues on either side to narrow down the problem. If that doesnt help at all, I will be swapping in the OEM Honda headlight housings and seeing if that makes any difference. After that, I really can't think of what I would be able to do to stop the vibrations. I doubt the 75A mounts help
Thomas the Train headliner pics...
Pic of the HIDs after the camera darkened the shot automatically and focused:
Pic of the HIDs before the camera could focus and reduce the over all light of the picture:
Back of the driver headlight:
And the rat's nest behind the passenger side. Dont worry, it'll all be tucked eventually.
The driver side headlight shakes around slightly when driving, so I will be switching the bulbs and seeing if the problem goes away, or if it continues on either side to narrow down the problem. If that doesnt help at all, I will be swapping in the OEM Honda headlight housings and seeing if that makes any difference. After that, I really can't think of what I would be able to do to stop the vibrations. I doubt the 75A mounts help

HCF Member
Joined: Jun 2007
Posts: 1,184
From: Texas
you could put the factory rubber seal back on, and it may hold the mounting sleeve a little better and help with the vibrations.
and ya my wiring behind the passenger headlight isn't the best either, but you can't see any of it on my car because the factory air box covers all of it up.
also I'm waiting before I completely make the wiring looks good because I'm thinking that one of the ballasts may be bad. So I don't want hide all the wires really nice then have to undo it in a couple of days.
Whats wrong with the ballast you received?
https://www.hondacivicforum.com/foru...ad.php?t=81982
It is a b!tch for me to put back in though (you can see the paint scratched on the handle since I had to work it in - another reason to re-do it), especially with the thicker-than-OEM fabric. I need to re-do it, b/c it is a PITA to even try and move the cover, and it looks like **** from the out side when shut. I will post pictures of what I mean next time I get a chance.
I installed the rubber headlight seals and they definitely did help, but the driver side is still shaking a little bit when the rpms are between 2800-4000. Next step is to switch the bulbs around and see if the problem is still on the drivers side, or moves over to the passenger side with the bulb.
Okay switched the bulbs around, and the problem moved with the headlight to the pass side. Obviously, a problem with the bulb. I compared the bulbs to each other, shook them and sure enough, the problem child made an excessive rattling noise. Ended up sliding a piece of folded electrical tape where the bulb was "loose", and the shaking stopped! I will report back when I am able to actually drive with them in, instead of just turning the car on, and slightly revving the motor up.
Pics!
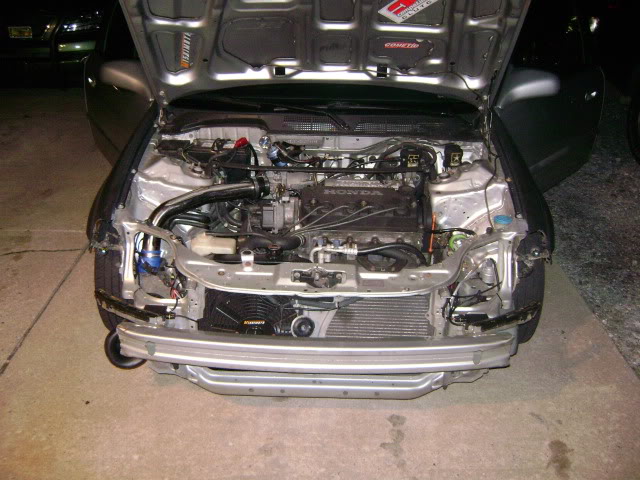
-Front end off, and showing where I put the ballasts:
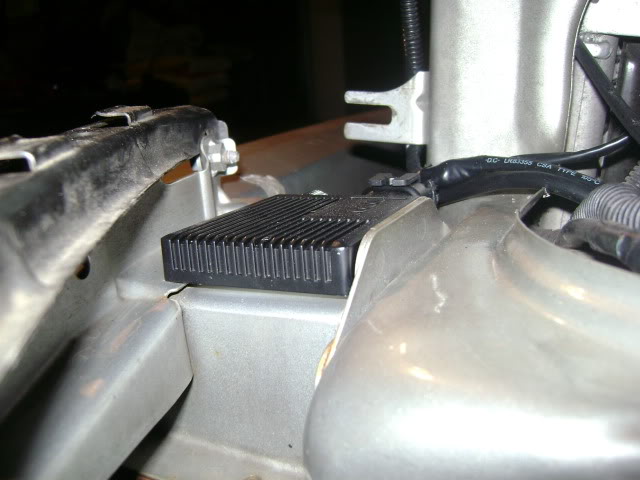
-Up close of the ballast. I really think this is a prime spot for them. Out of sight, no dirt/water marks on them at all, and no wiring issues. They have been installed for about a week:
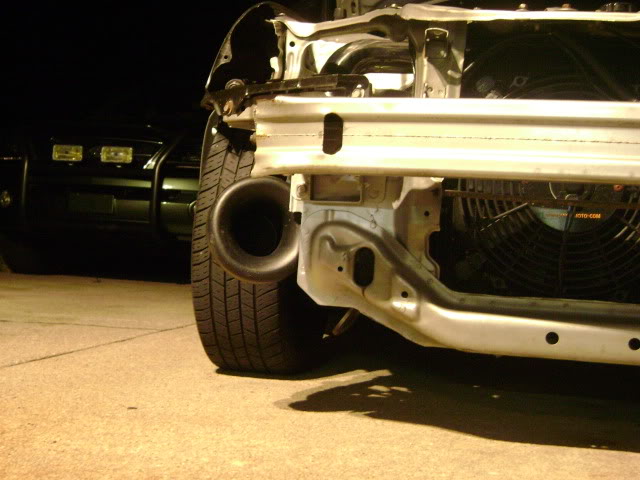
Pic of the Velocity stack mounted (you can kinda see it in the first pic above...):
Next up is tucking the passenger side wires in the engine bay, and cleaning up the HID wiring. That is, if the bulb stays put and doesn't start to shake on me.
Pics!
-Front end off, and showing where I put the ballasts:
-Up close of the ballast. I really think this is a prime spot for them. Out of sight, no dirt/water marks on them at all, and no wiring issues. They have been installed for about a week:
Pic of the Velocity stack mounted (you can kinda see it in the first pic above...):
Next up is tucking the passenger side wires in the engine bay, and cleaning up the HID wiring. That is, if the bulb stays put and doesn't start to shake on me.

So when ur done with this sick *** car u wanna trade for my hatch and start over with that one?! ") lmao i only wish But for real u do amazing work, that ballasts look like like they're suppost to be there and all the work you do for mishimoto is amazing haha wish you were close to me so that i could come around and bug you about your coupe lol
lmao i only wish But for real u do amazing work, that ballasts look like like they're suppost to be there and all the work you do for mishimoto is amazing haha wish you were close to me so that i could come around and bug you about your coupe lol 
lmao i only wish But for real u do amazing work, that ballasts look like like they're suppost to be there and all the work you do for mishimoto is amazing haha wish you were close to me so that i could come around and bug you about your coupe lol

