


Cvcrcr's project/fix-up thread (version 1.1)



Having a different color front end seems like it would bother me, but it really doesn't. I'm fairly used to it by now. I would rather drive around with a different color front, than having dented fenders and a broken bumper.
What are you planning to do with the clusters? That would be pretty cool if you could have all the gauges faced up (when you complete your collection), basically lay a piece of glass over it all and have it as a coffee table. Bad *** IMO
What are you planning to do with the clusters? That would be pretty cool if you could have all the gauges faced up (when you complete your collection), basically lay a piece of glass over it all and have it as a coffee table. Bad *** IMO
Last edited by cvcrcr99; Jul 26, 2009 at 10:39 AM.
Yesterday, I received the lip kit via Fedex in the morning. Installed it, and then left the house to get some things done etc etc. When I got home from errands, I found these in my mailbox! Time to bust out the dremel and start cutting!
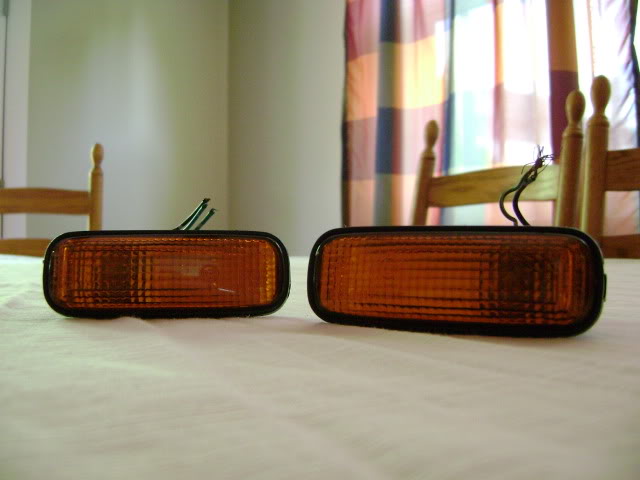
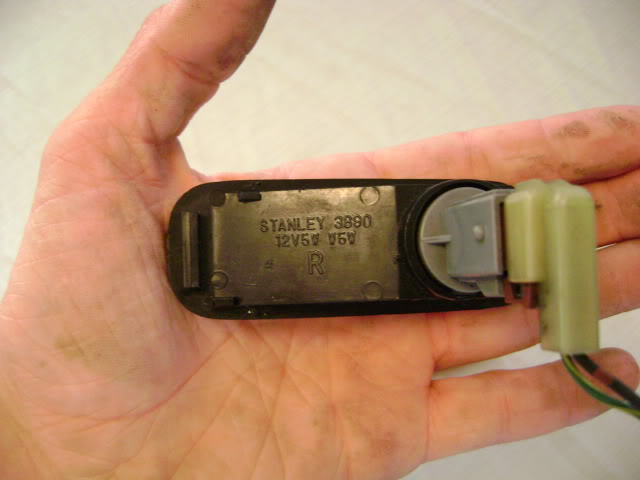


I'll probably end up putting them on some time within the next week or so. Basically, the next time I have a full day free from parenting. lol In the mean time, I have to go search around the forum for the wiring instructions. I know it's around somewhere, I just haven't felt like searching for it yet. haha
I didn't like how the lip kit moved around a little when attached to the bumper, so I added some extra self-tapping screws to the underside. No movement at all now!
Also, continuing to work on the sub enclosure! I would put up pics, but the thing looks fugly right now (bare MDF board, some glue, and screws..lol). I will post up pics once it is done, carpeted, and installed.
I guess the only thing to look forward to now are new mirrors which should be coming by the end of the week, and installation of the side markers. As soon as that's all done with, I will be 100% ready for paint!
Also, continuing to work on the sub enclosure! I would put up pics, but the thing looks fugly right now (bare MDF board, some glue, and screws..lol). I will post up pics once it is done, carpeted, and installed.
I guess the only thing to look forward to now are new mirrors which should be coming by the end of the week, and installation of the side markers. As soon as that's all done with, I will be 100% ready for paint!
Received the trunk carpet from Nikeh34d today. Tomorrow will include a trip to Home depot to grab another board of MDF in order to complete a new trunk floor! The carpet I got will be attached with spray adhesive once the boards are cut to size.
If all goes well, I should have the sidemarkers installed and wired in on Thursday.
If all goes well, I should have the sidemarkers installed and wired in on Thursday.
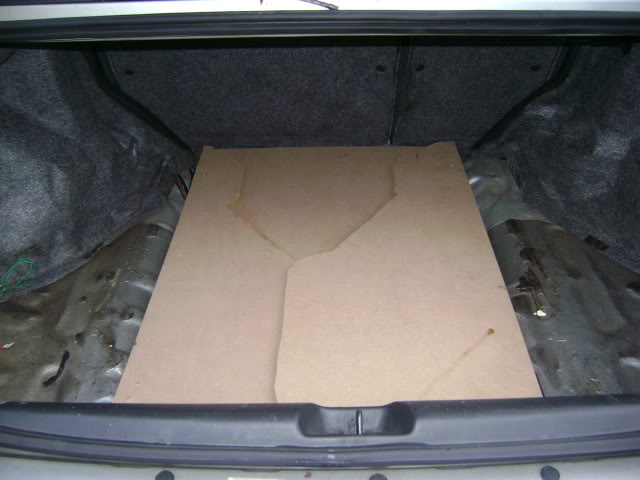
Alright, I got a bunch of work done over the past two days. Here we go. First off, I made a new trunk floor! Here's the old one....
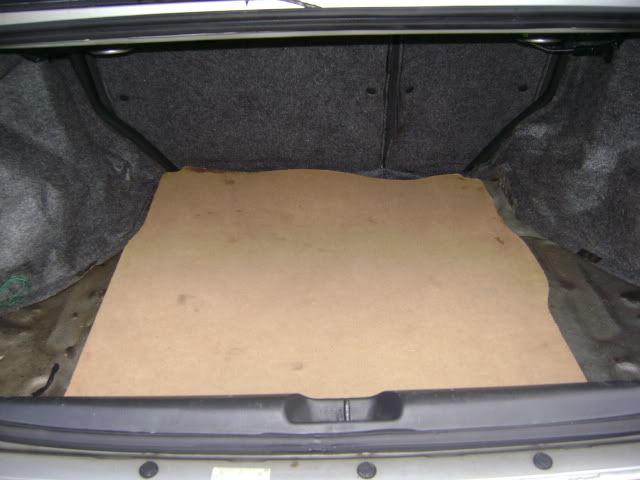
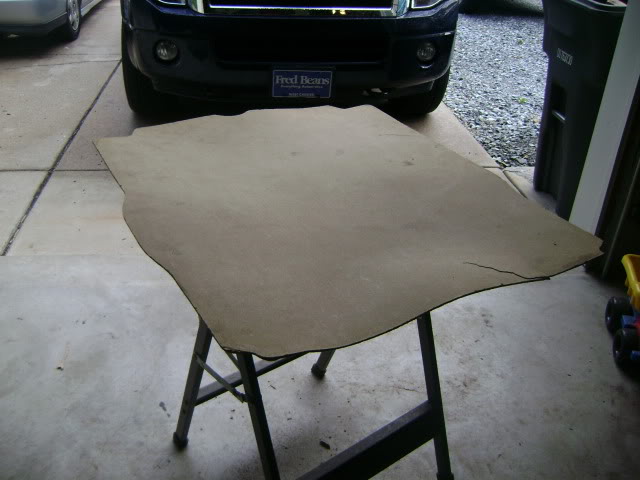
.....old indeed (about 10 years old), warped, and featuring a foot long crack in the board right behind the rear seats.
I used the trunk carpet Nike sent me as a template to make it easier for myself... this is what I ended up creating...
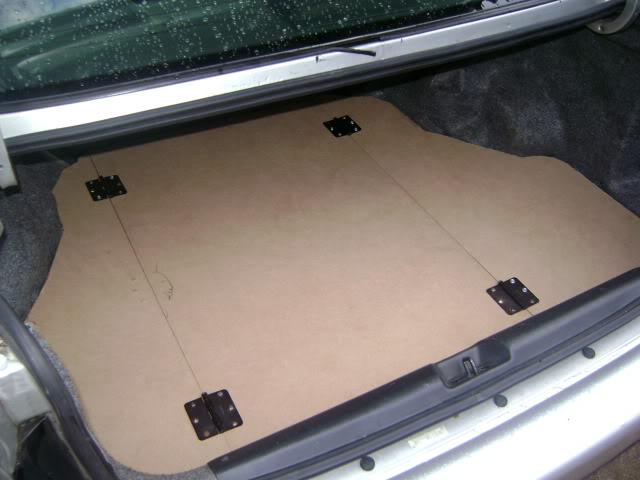
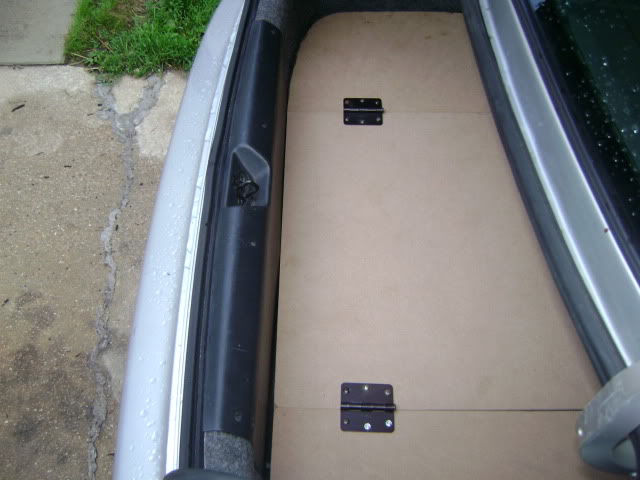
......now, a pic of the hinges in action.
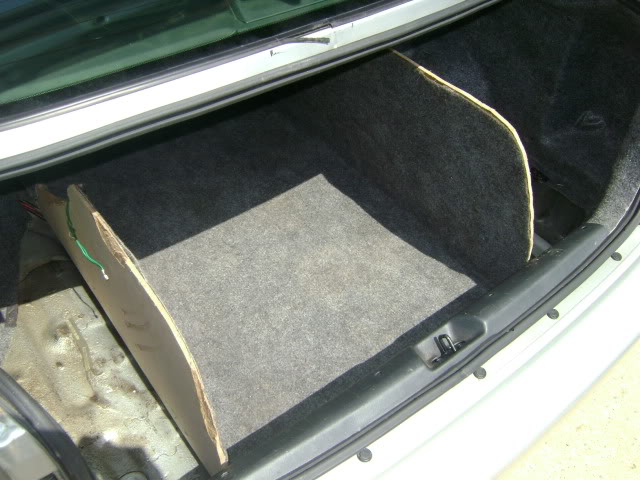
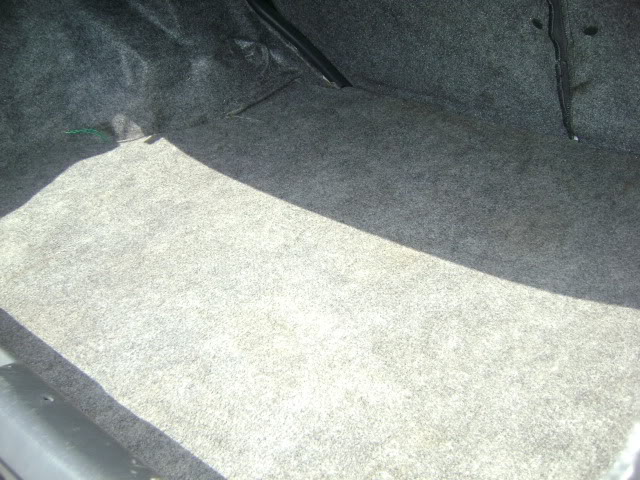
The hinges were added in order to be able to take the floor in and out easier. I then used spray adhesive to attach Nike's trunk carpet, and let dry. The final product.
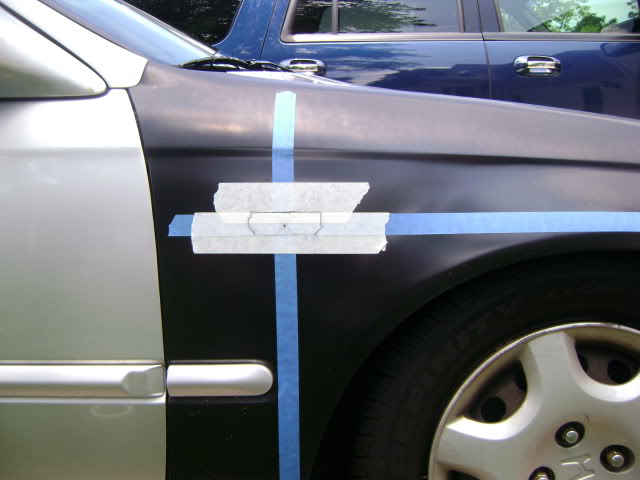
Additionally, I installed my sidemarkers today! Once again, the Dremel came through for me. Here are some pics of before cutting.
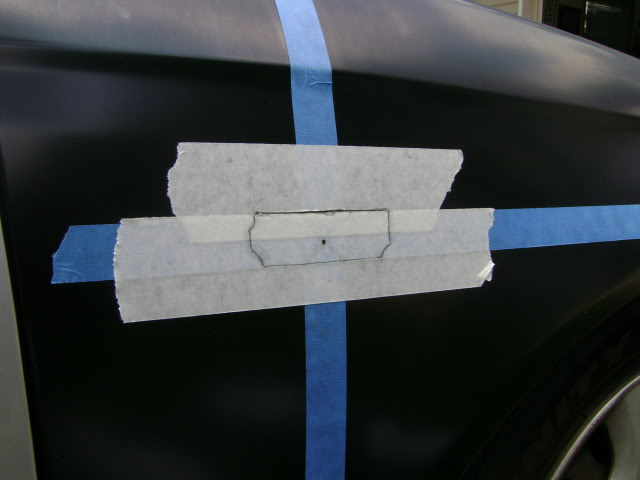
And now the actual sidemarkers in the fenders...
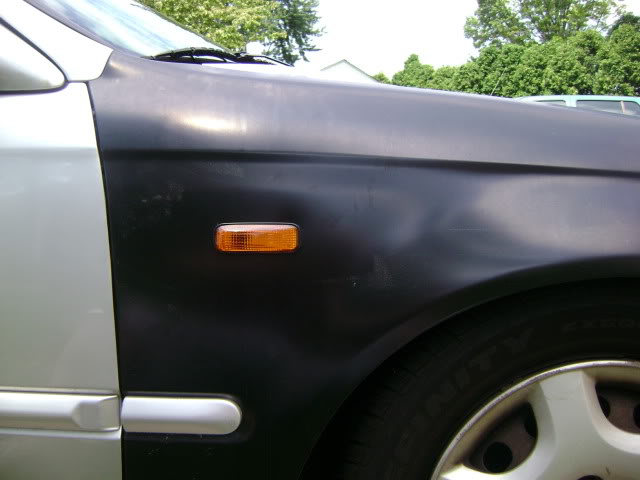
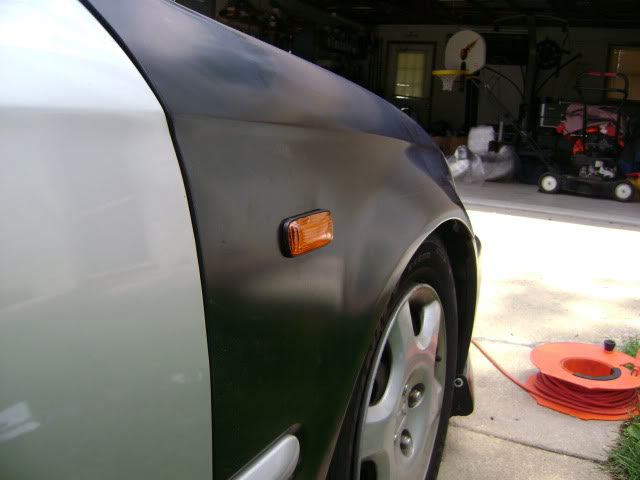
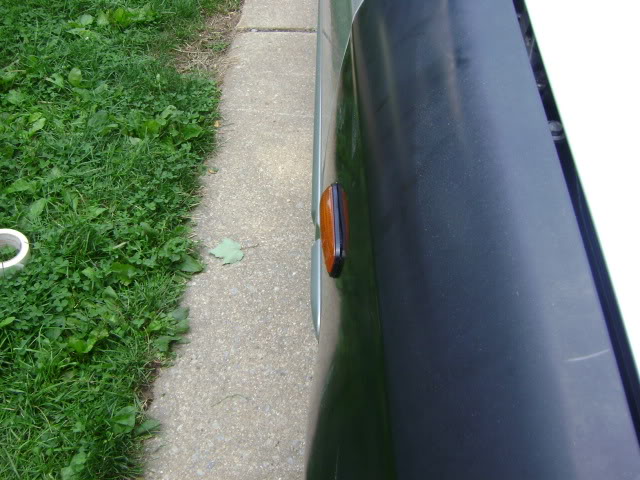
I used this page for all the measurements and how to set it up correctly (http://www.jdmuniverse.com/forums/ho...r-install.html), and I used Danomatic's DIY for the wiring.(https://www.hondacivicforum.com/foru...emarker+wiring) I ended up choosing Option three as it is the most ballin'. lol I'll try to get some evening vid's of the sidemarkers in action tonight or tomorrow evening. Let me know what you guys think!
.....old indeed (about 10 years old), warped, and featuring a foot long crack in the board right behind the rear seats.
I used the trunk carpet Nike sent me as a template to make it easier for myself... this is what I ended up creating...
......now, a pic of the hinges in action.
The hinges were added in order to be able to take the floor in and out easier. I then used spray adhesive to attach Nike's trunk carpet, and let dry. The final product.
Additionally, I installed my sidemarkers today! Once again, the Dremel came through for me. Here are some pics of before cutting.
And now the actual sidemarkers in the fenders...
I used this page for all the measurements and how to set it up correctly (http://www.jdmuniverse.com/forums/ho...r-install.html), and I used Danomatic's DIY for the wiring.(https://www.hondacivicforum.com/foru...emarker+wiring) I ended up choosing Option three as it is the most ballin'. lol I'll try to get some evening vid's of the sidemarkers in action tonight or tomorrow evening. Let me know what you guys think!
Last edited by cvcrcr99; Jul 30, 2009 at 11:48 AM.
Wet-sanded my newly purchased OEM lights, used some extra silicone on them, and installed them... no more junky DEPO fogged up lights! Completely wash/cleaned my car inside and out. Simple greened the engine bay.
Finally went ahead and did the parking brake/video bypass for my headunit. Converted a few movies to mp4 format be able to use them on my new ipod (thanks trust)....now I can entertain my son on longer trips! lol
Finally went ahead and did the parking brake/video bypass for my headunit. Converted a few movies to mp4 format be able to use them on my new ipod (thanks trust)....now I can entertain my son on longer trips! lol