
Hobo's 2000 LX daily driver


Okay, got some paint done today. I am very happy with how the front turned out. I'm alright with how the back turned out. I am appalled and angry at how BAD the side skirts turned out. They look like complete poop. I may not even put them back on until I can sand back to plastic and start over. My GOD, they're awful. If I wasn't so emotionally dead, I'd cry. Really. The adhesion promoter wouldn't go on evenly. It gave me some bad orange peel. Then when I sanded it down smooth and sprayed base over it, the pattern turned into something like snake skin. Came right through the paint. And now, even after HOURS of sanding, the clear coat simply will NOT go on smooth. Polyurethane takes paint nicely. ABS plastic tries to spit it back at you.
Argh, I'm so frustrated. I just have to walk away for a bit.
Pics of the good will follow at some point tonight.
Argh, I'm so frustrated. I just have to walk away for a bit.
Pics of the good will follow at some point tonight.
I was so mad at those side skirts that they're still sitting on my parent's back deck. I went home without them and will deal with them tomorrow. I plan on getting up early (as long as I'm not hung over) and sanding them down to plastic, then starting over. Then I'll do handles on the car. **** trying to take them off to paint them. I'll just tape the hell out of the doors so there's no overspray. I might also paint a few other bits while I'm at it.
Anyways, to the pics from today.
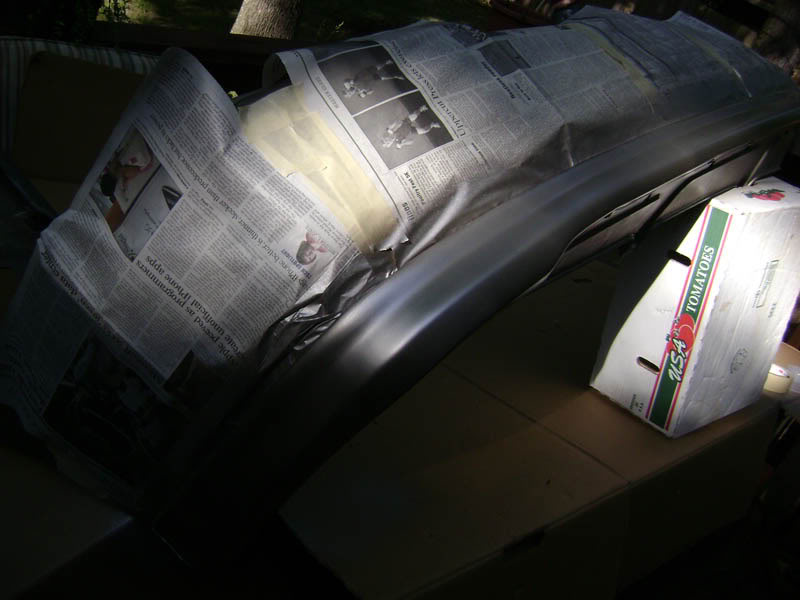
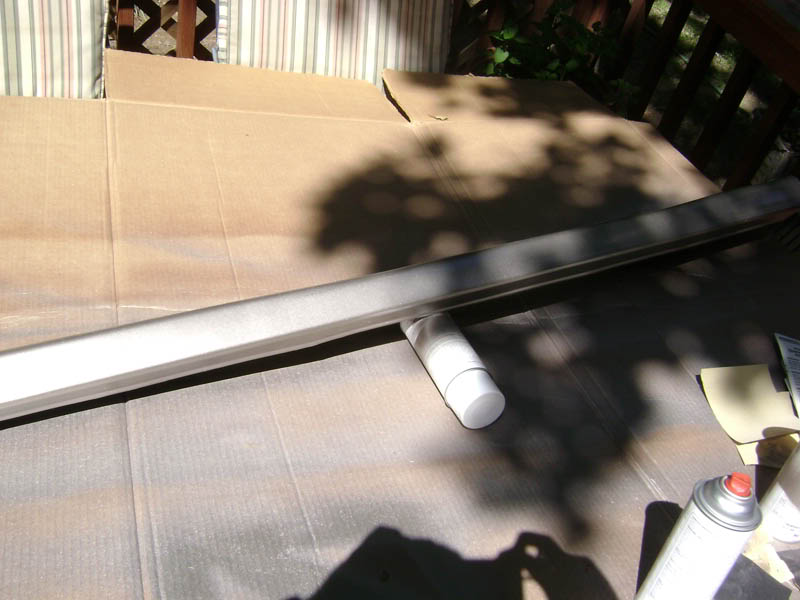
Front all prepped and masked, with adhesion promoter...
A few layers in...
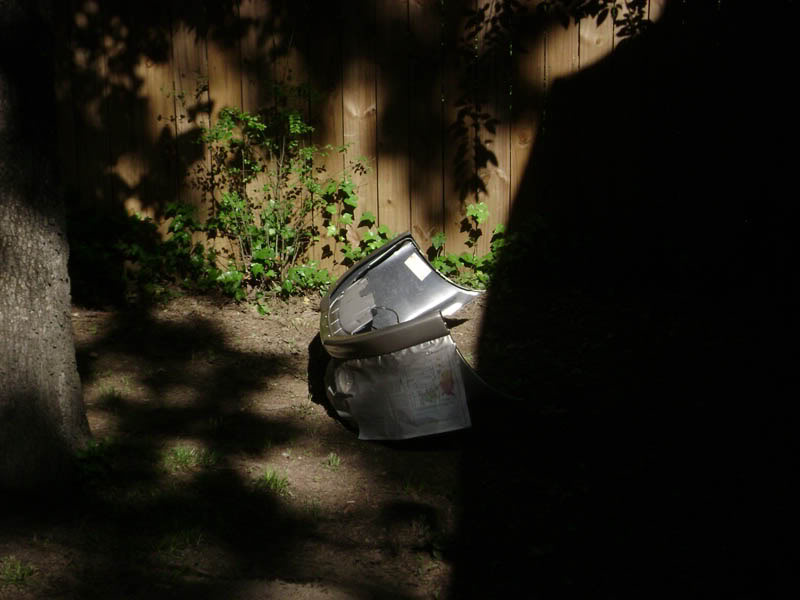
Sitting in the only sunny place left so the paint can dry...
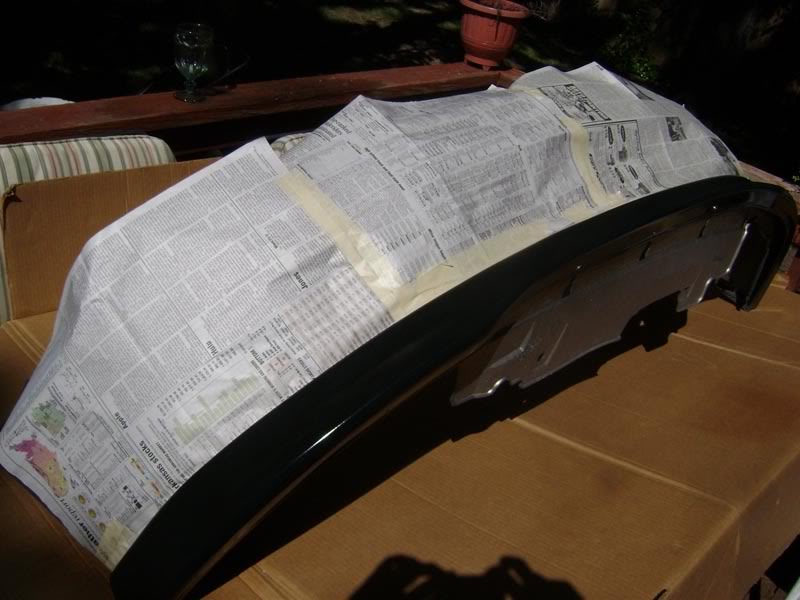
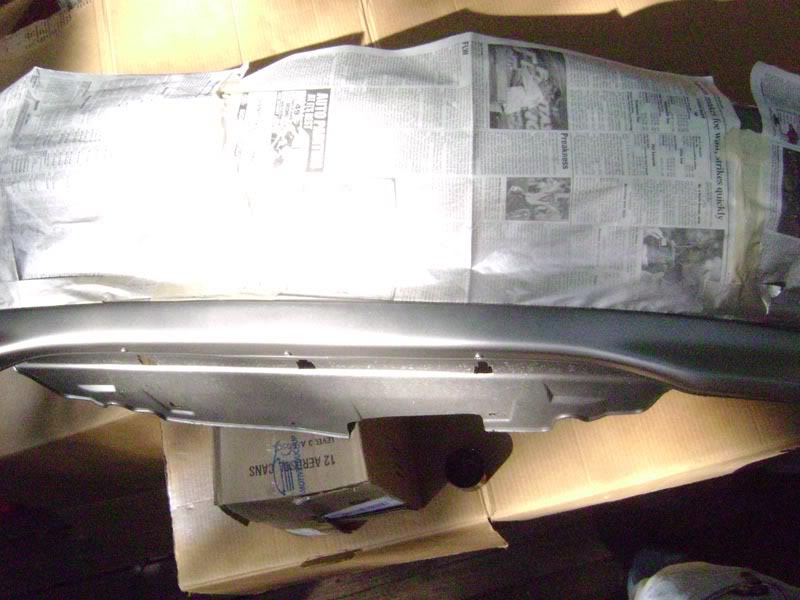
Back all prepped, with adhesion promoter...
First layer on...
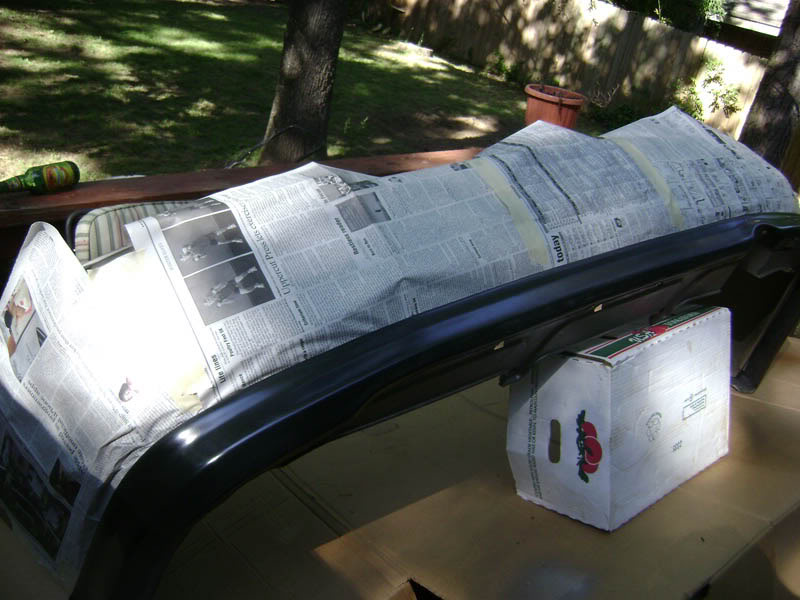
Done-ish...

Putting it back together...
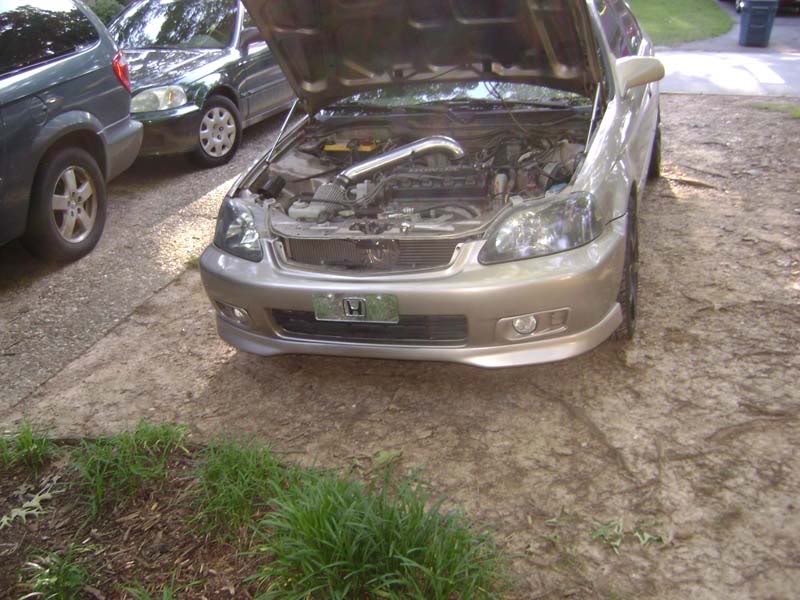
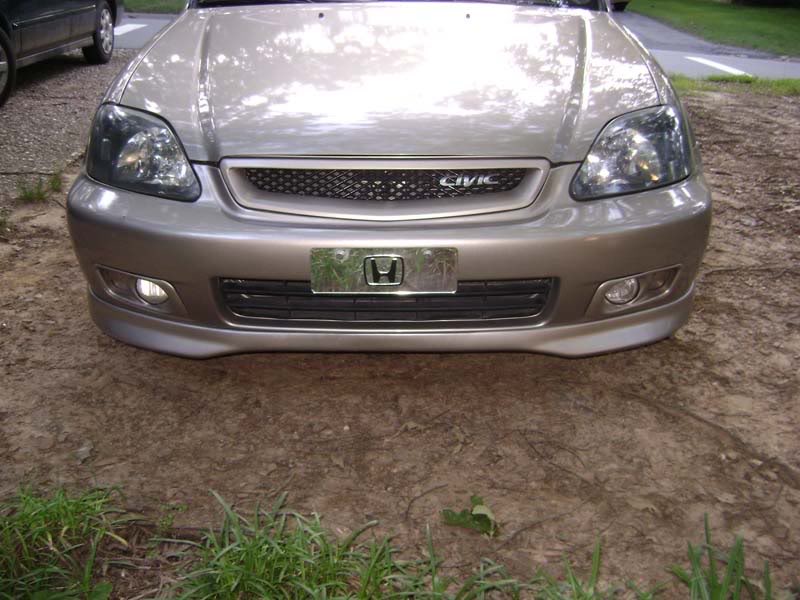
Front is done...
Back is reinstalled...

Teaser picture of what it might look like once I finish...
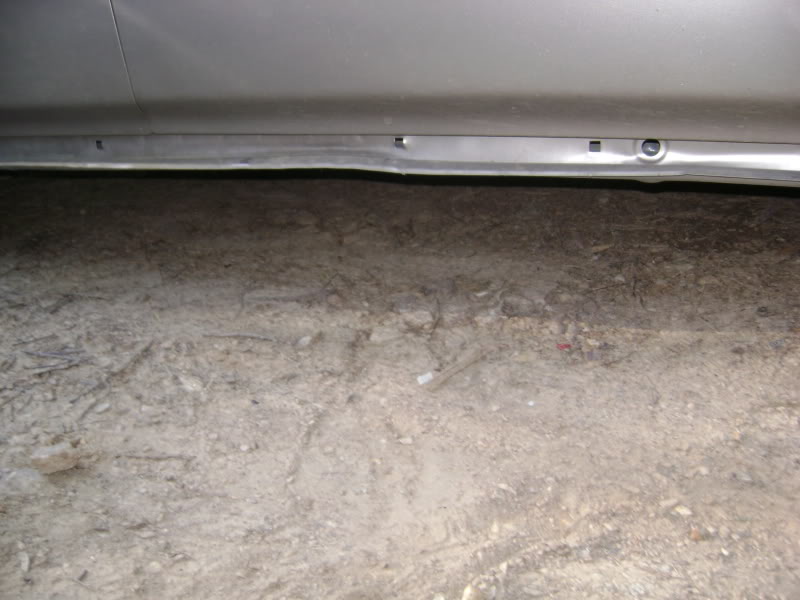
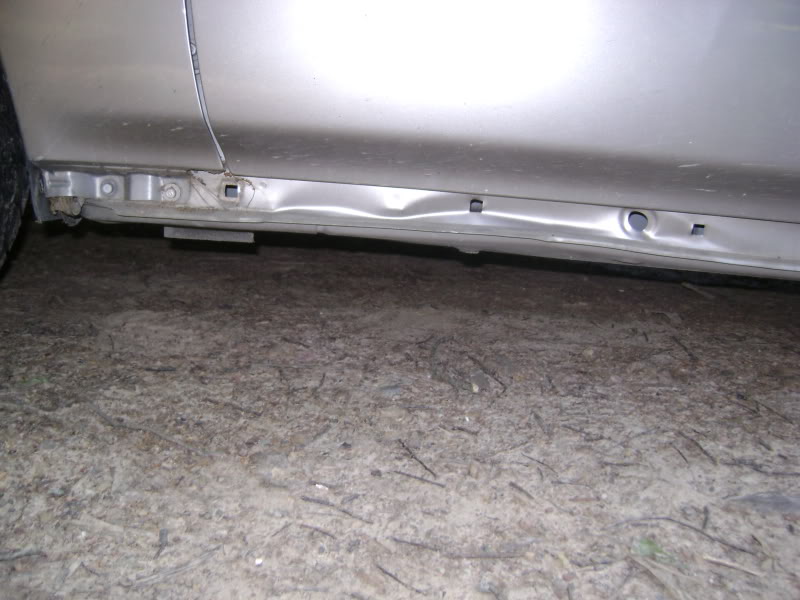
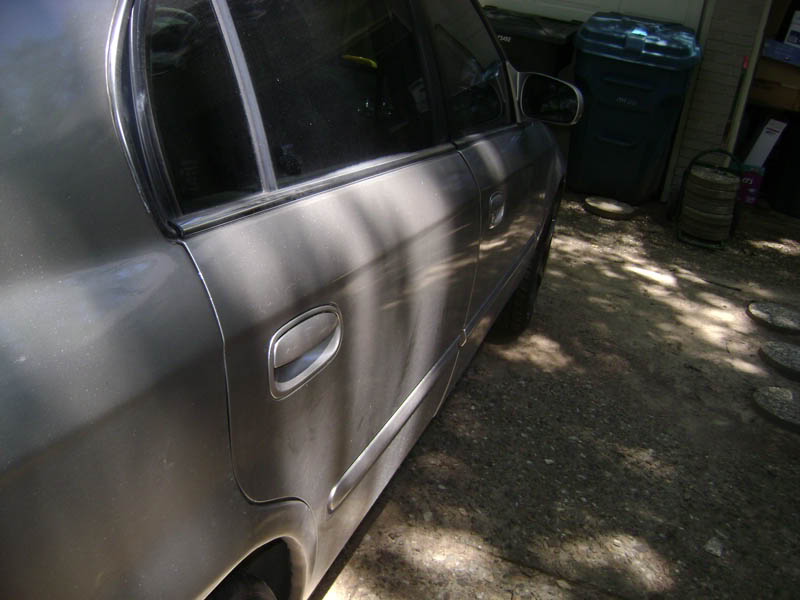
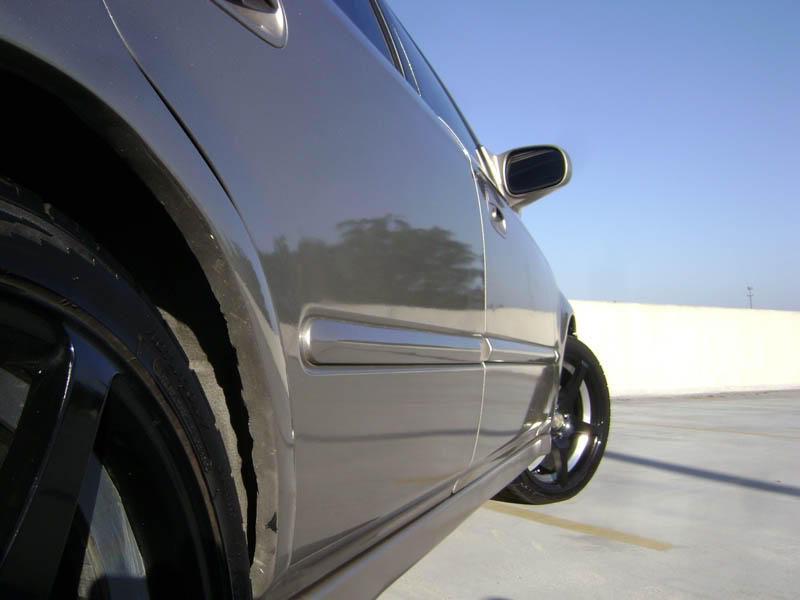
And now, more bad. It seems that a previous owner bottomed this car out on a few speed bumps. There's some body damage under the side skirts. The side skirts themselves are also a little damaged, but as they say, "it'll buff out."

So there you have it. I'm glad to be moving forward again. I'll work more tomorrow and will hopefully finish. More pics to come, more progress to come.
Si rims will look better on this car with this new paint. Just have to order tires. I'm gonna have my local shop install the rear disc brakes, bleed the system, and realign everything. They'll also end up doing the tires. It'll be a day project but it's coming soon.
Anyways, to the pics from today.
Front all prepped and masked, with adhesion promoter...
A few layers in...
Sitting in the only sunny place left so the paint can dry...
Back all prepped, with adhesion promoter...
First layer on...
Done-ish...
Putting it back together...
Front is done...
Back is reinstalled...
Teaser picture of what it might look like once I finish...
And now, more bad. It seems that a previous owner bottomed this car out on a few speed bumps. There's some body damage under the side skirts. The side skirts themselves are also a little damaged, but as they say, "it'll buff out."
So there you have it. I'm glad to be moving forward again. I'll work more tomorrow and will hopefully finish. More pics to come, more progress to come.
Si rims will look better on this car with this new paint. Just have to order tires. I'm gonna have my local shop install the rear disc brakes, bleed the system, and realign everything. They'll also end up doing the tires. It'll be a day project but it's coming soon.


Those plans are still in the works. i need to lose some weight in the back of the car. The sub boxes are too heavy. I also need to take a GOOD look at the rest of the car to make sure any further modification is worth it. I'm sick of finding more and more hidden damage.
Recognized HCF Member
Joined: Jun 2006
Posts: 11,203
From: Brownsburg, IN 46112
well that damage can easily be from a shop lifting the civic up... either on a lift or with some jacks or jack stands. i wouldnt worry about it IMO. thats very common damage on a unibody!
This wasn't lifting damage. I wish I had gotten a pic of how the exhaust pipe is bent in the same place as the other two major dents, straight across. Minor bend, but you can see a slight crescent straight across from one side to the other. heh.
Im about to head over to my parents house via autozone for more sandpaper. This time I'm bringing some spot glazing putty with me to do some scratch repair. Might as well fix something while I'm at it.
Im about to head over to my parents house via autozone for more sandpaper. This time I'm bringing some spot glazing putty with me to do some scratch repair. Might as well fix something while I'm at it.

What a day. Whew.
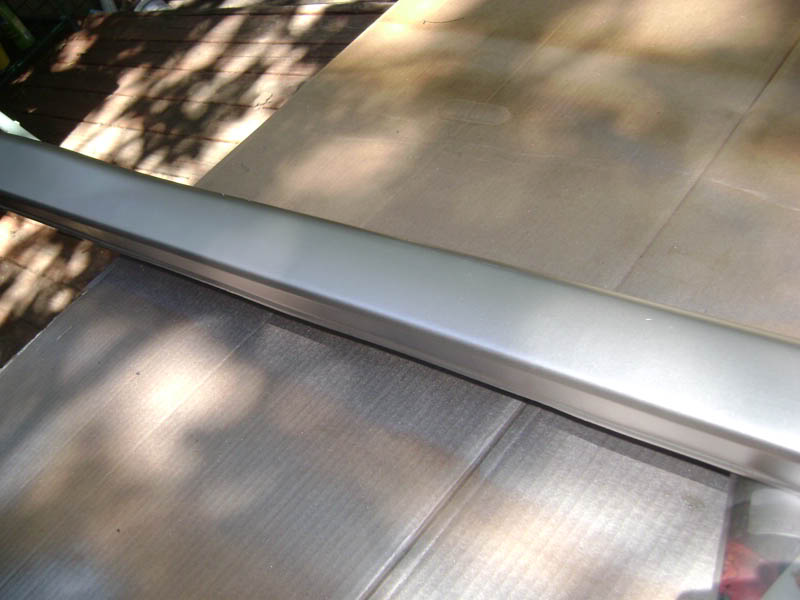
Started right back up where I stopped yesterday: Side skirts! Sanding was a DAMNED PAIN. Back to plastic, glazing and spot putty, fixed all the scratches, repainted.
BOOM. That's what I'm taking about.

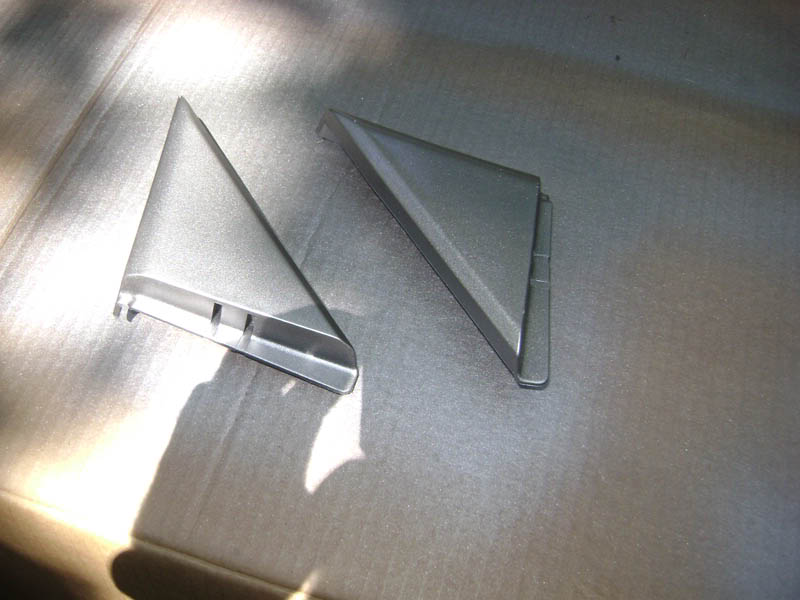
While I was painting... side project...


While the side skirts were drying, I masked off the handles and went to work...


Base coat...

Base + clear...
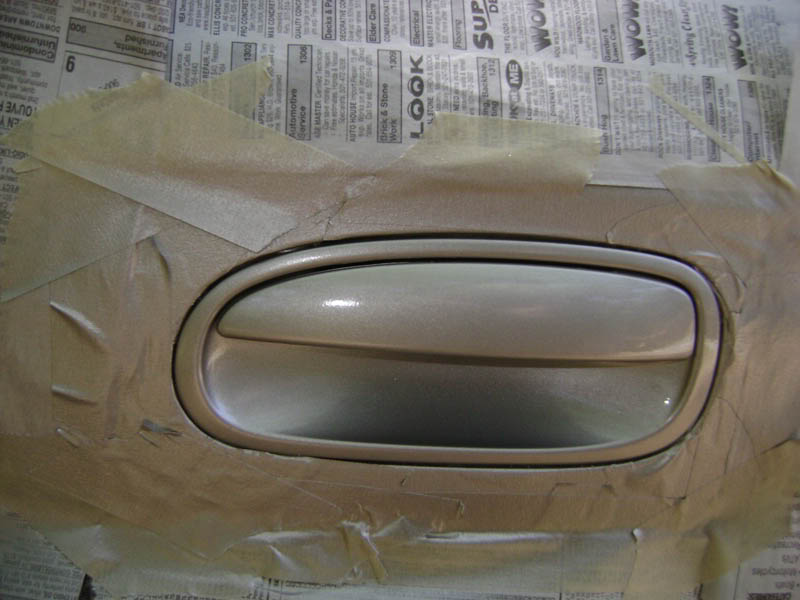
Then I peeled all the tape off to see how it ended up. The flash and the light makes the new paint look too light. When you look at it all in person, it's like a 98% match. I dunno why the flash makes it look so off.
At this point, it was time to wash the car off. That's when tragedy struck... Here's what happened.
I went to the car wash to spray the doors down. When I got to the back bumper, there were these odd green spots. I figured some bird had some drippy **** so I aimed and blasted it away.
It wasn't bird stuff. It was paint from another car. Some asshat nudged my bumper. Well, I sprayed the green paint away. Unfortunately I also blasted a ton of my clear coat off. Damn it.

Yeah, there you have it. A somewhat accurate representation of the female reproductive system on the back bumper of my car. Luckily I had clear coat in a rattle can so I resprayed it. Unfortunately you can still see the outline. I'm not gonna worry about any more paint until I get ready to have the whole thing resprayed in Electron Blue Pearl. That'll be over a year from now.
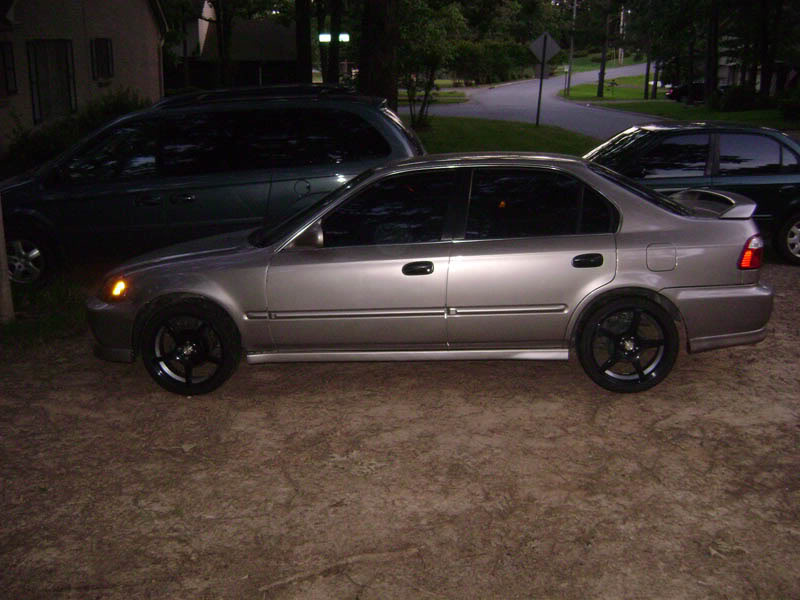
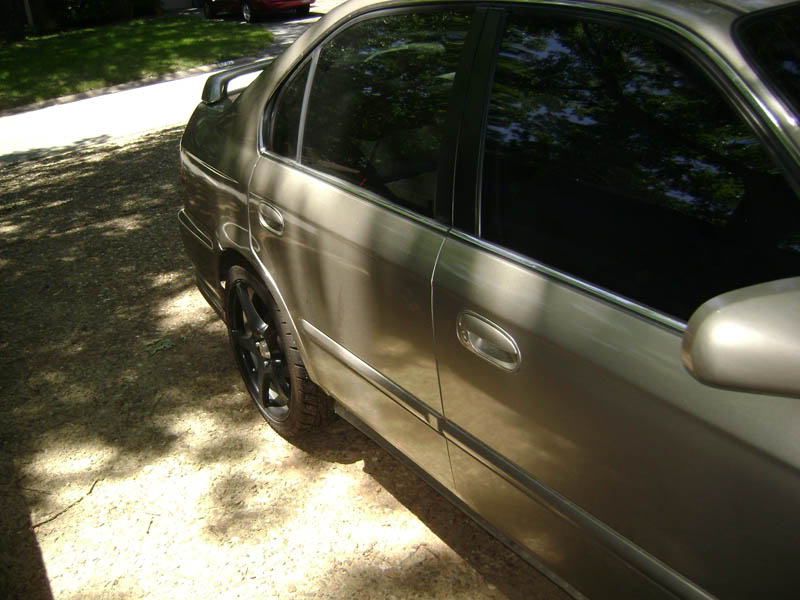
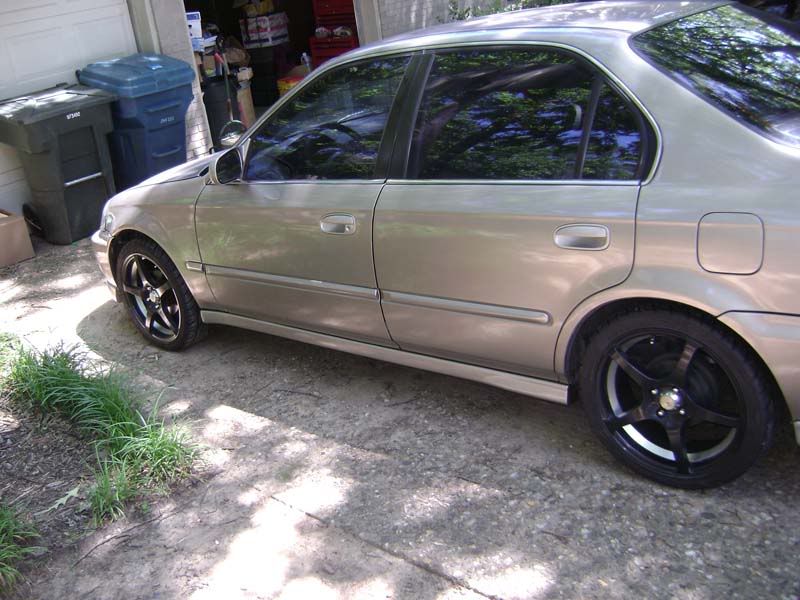
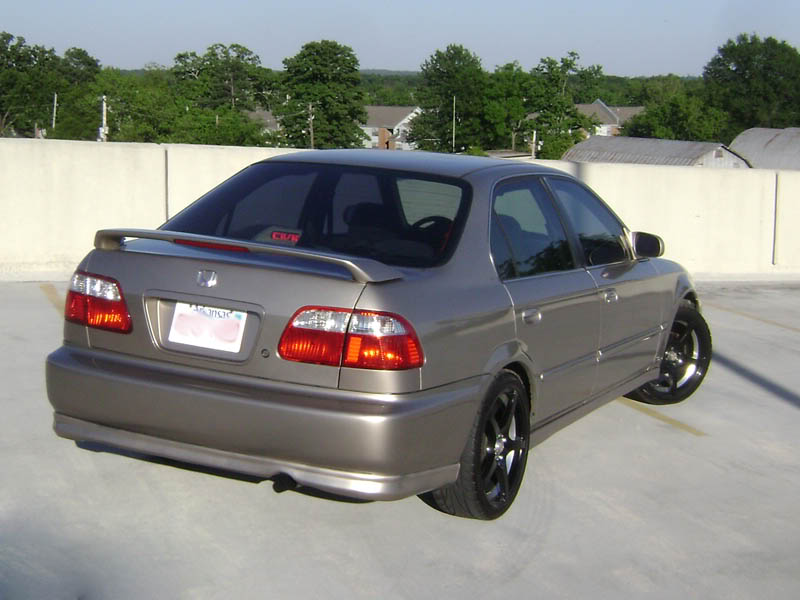
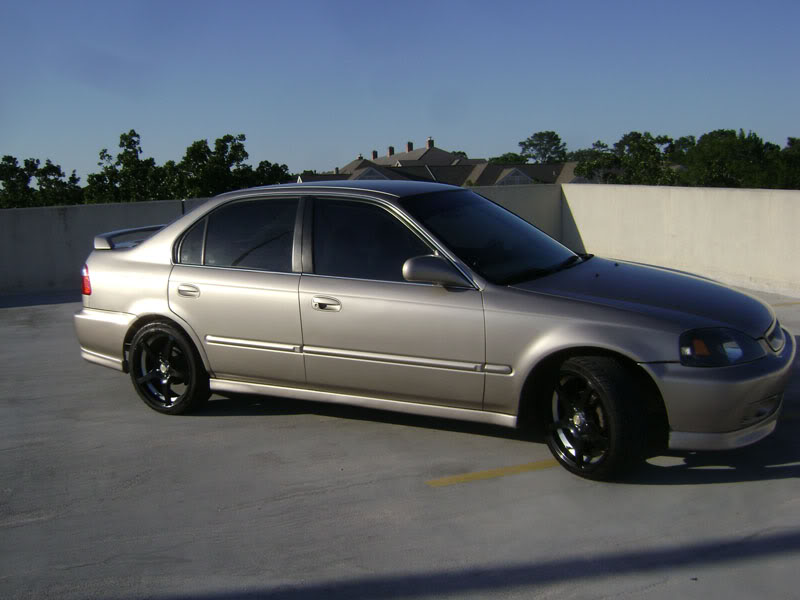
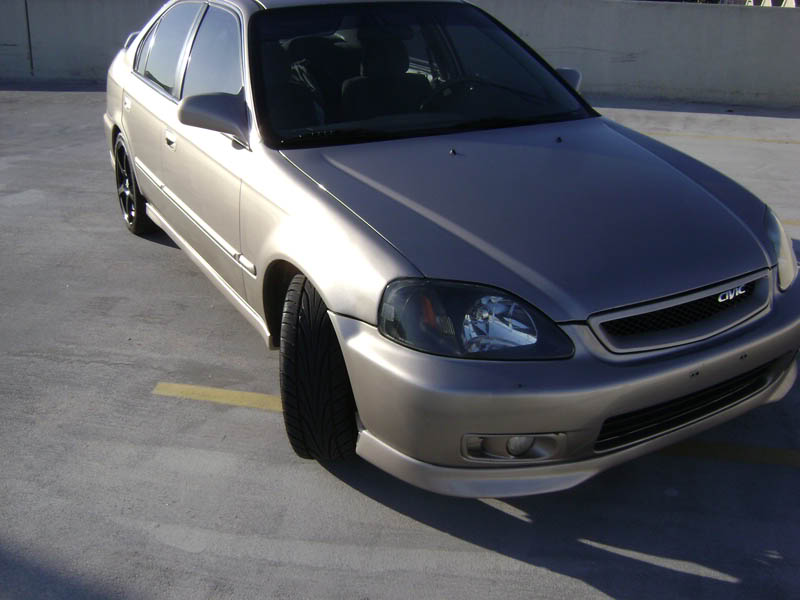
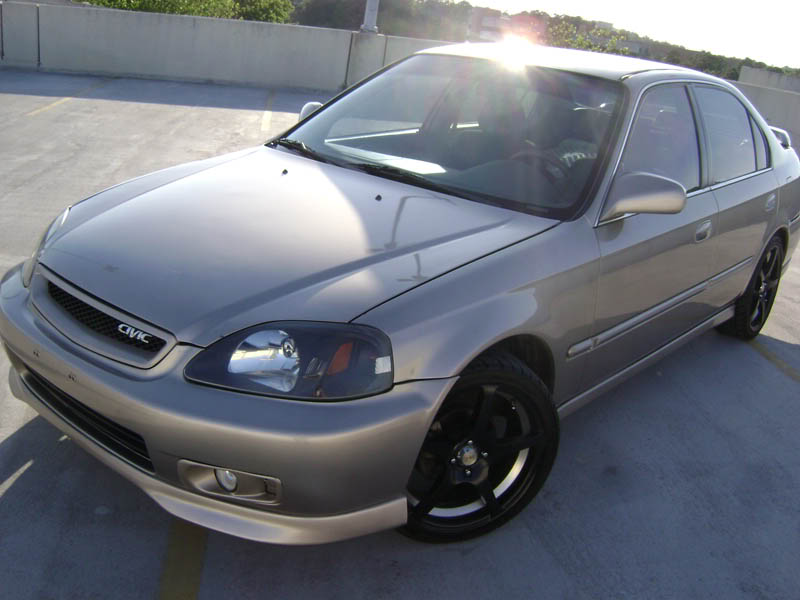
And now, for the mini-impromptu-bad-lighting-end-of-the-day photoshoot. Not really a photoshoot. Just some pics at the old standby location that show where the car is now... the transitional state. Just think of how the Si rims will look on it.

Whew. Last updates on the project for a bit.
[edit]
Oh, and I do have blockoff caps for that bumper. its just that the holes have been made so huge that the plugs wont fit. So I have to fill the holes and redrill. Or, maybe use Addiction's Trick: the Hot Glue Gun.
Started right back up where I stopped yesterday: Side skirts! Sanding was a DAMNED PAIN. Back to plastic, glazing and spot putty, fixed all the scratches, repainted.
BOOM. That's what I'm taking about.
While I was painting... side project...
While the side skirts were drying, I masked off the handles and went to work...
Base coat...
Base + clear...
Then I peeled all the tape off to see how it ended up. The flash and the light makes the new paint look too light. When you look at it all in person, it's like a 98% match. I dunno why the flash makes it look so off.
At this point, it was time to wash the car off. That's when tragedy struck... Here's what happened.
I went to the car wash to spray the doors down. When I got to the back bumper, there were these odd green spots. I figured some bird had some drippy **** so I aimed and blasted it away.
It wasn't bird stuff. It was paint from another car. Some asshat nudged my bumper. Well, I sprayed the green paint away. Unfortunately I also blasted a ton of my clear coat off. Damn it.
Yeah, there you have it. A somewhat accurate representation of the female reproductive system on the back bumper of my car. Luckily I had clear coat in a rattle can so I resprayed it. Unfortunately you can still see the outline. I'm not gonna worry about any more paint until I get ready to have the whole thing resprayed in Electron Blue Pearl. That'll be over a year from now.
And now, for the mini-impromptu-bad-lighting-end-of-the-day photoshoot. Not really a photoshoot. Just some pics at the old standby location that show where the car is now... the transitional state. Just think of how the Si rims will look on it.
Whew. Last updates on the project for a bit.
[edit]
Oh, and I do have blockoff caps for that bumper. its just that the holes have been made so huge that the plugs wont fit. So I have to fill the holes and redrill. Or, maybe use Addiction's Trick: the Hot Glue Gun.
Last edited by WellFedHobo; May 19, 2009 at 05:46 PM.